
|
Low Cost Dome (PVC)written by Rene K. Mueller, Creative Commons CC BY NC 2014, last updated Sun, January 18, 2015 2014/07/04: Rain Cover & StormThe next days the weather forecast predicted thunderstorm and rain, so before the evening I thought to
which I did: 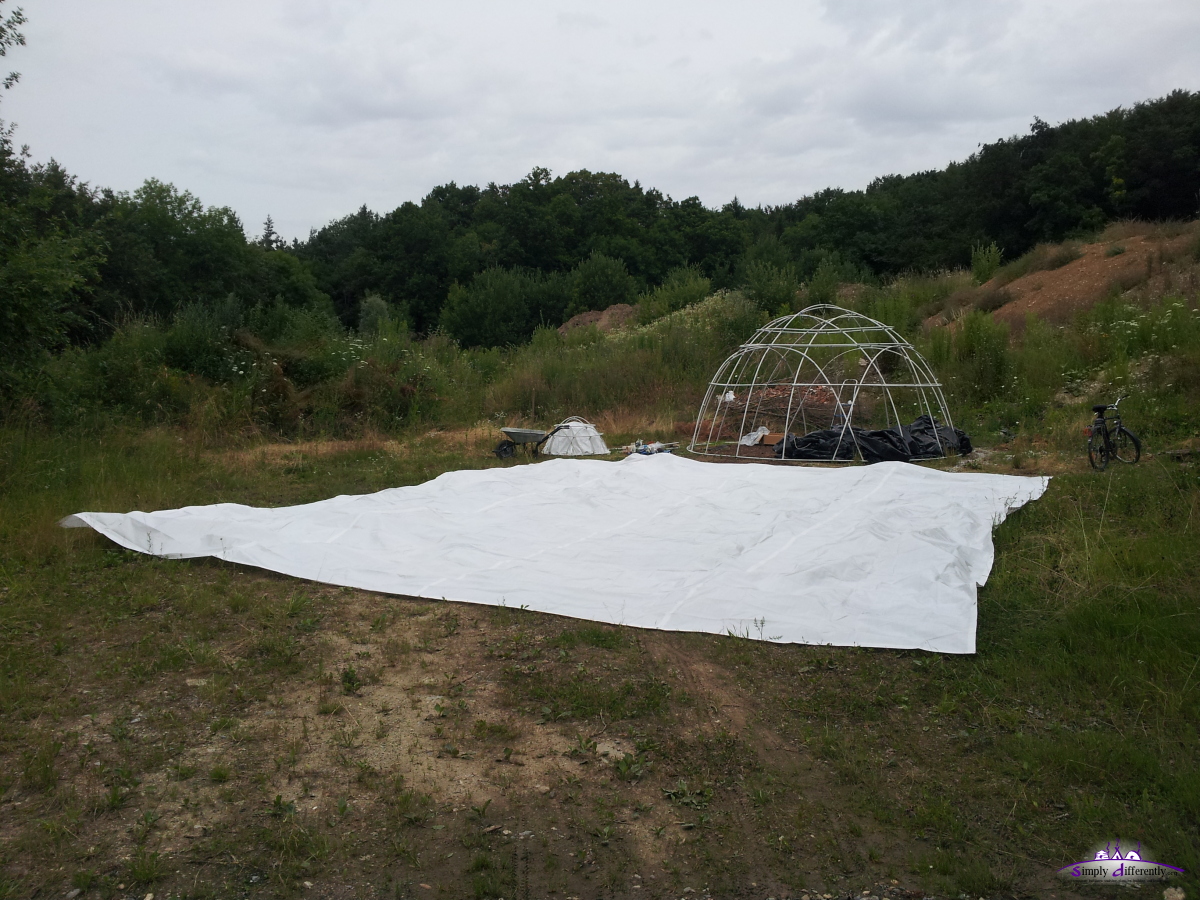 Laying out the 8m x 10m PE cover 2014/07/04 12:18 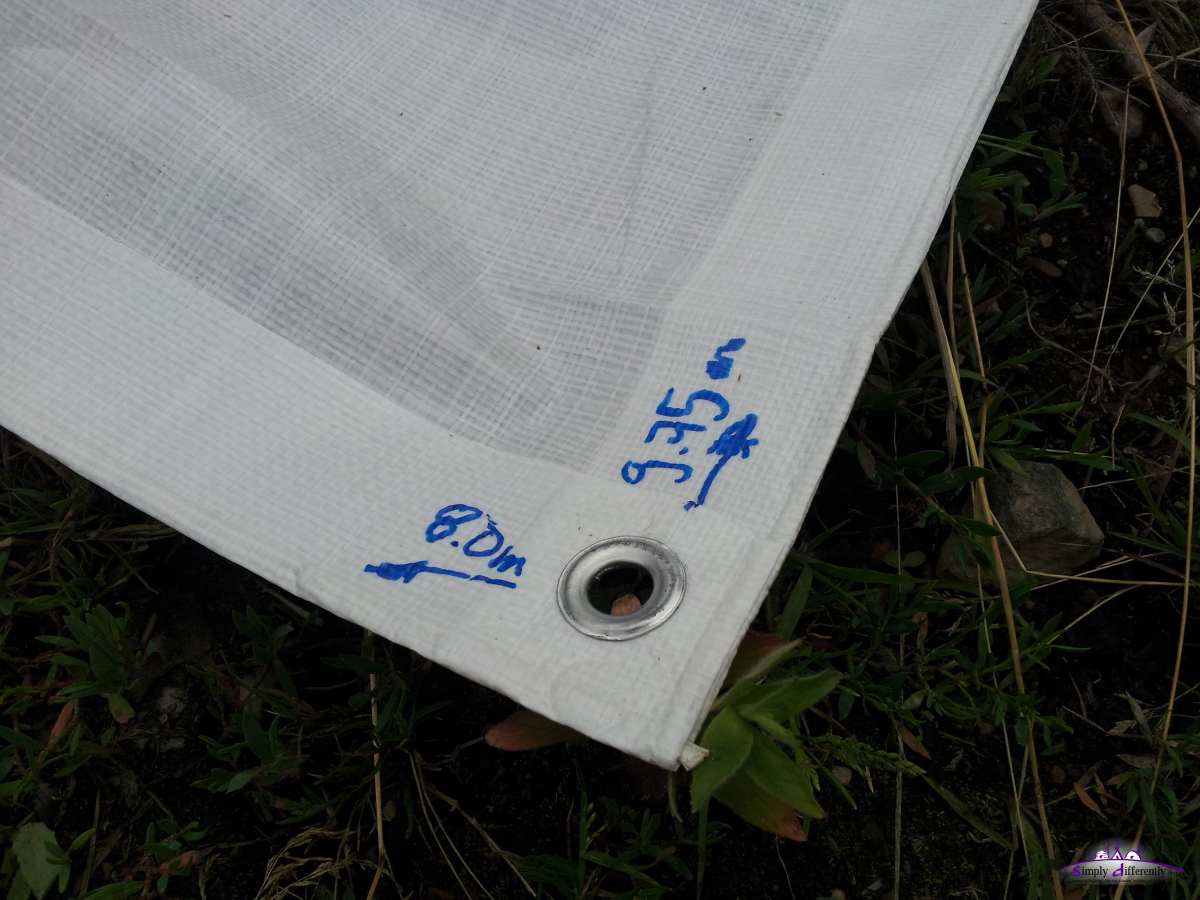 Measure in detail 8m x 10m is 8.0m x 9.75m 2014/07/04 12:26 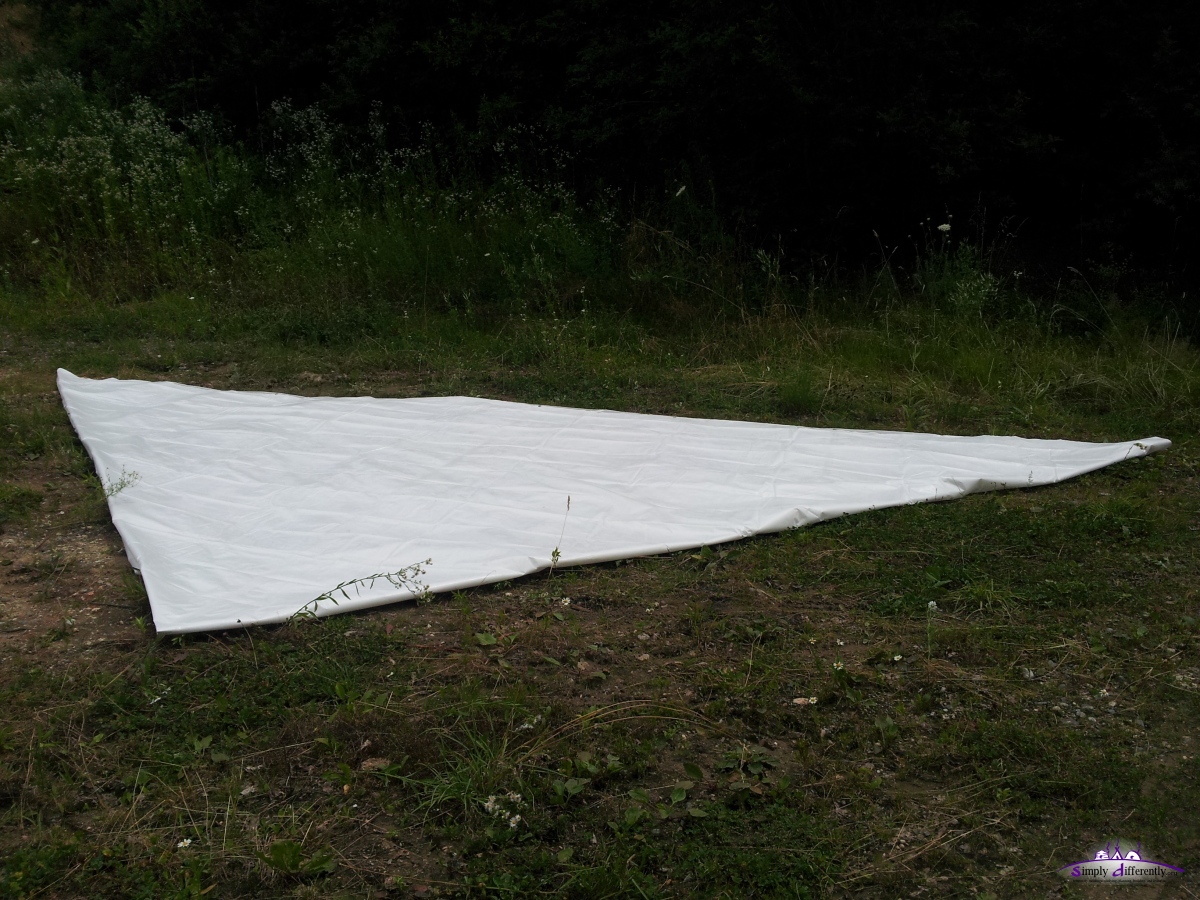 Folding twice to determine center 2014/07/04 12:46 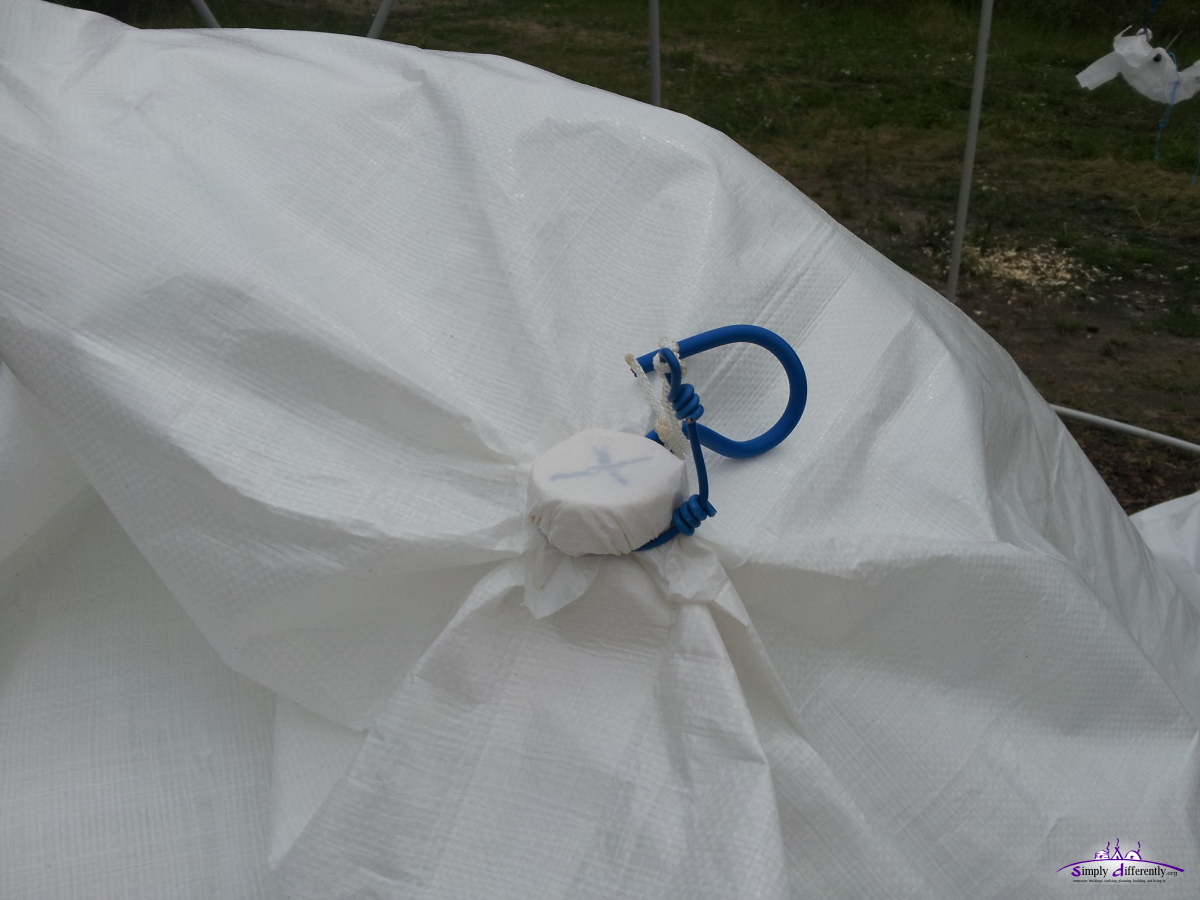 Main top capture and hook 2014/07/04 14:44 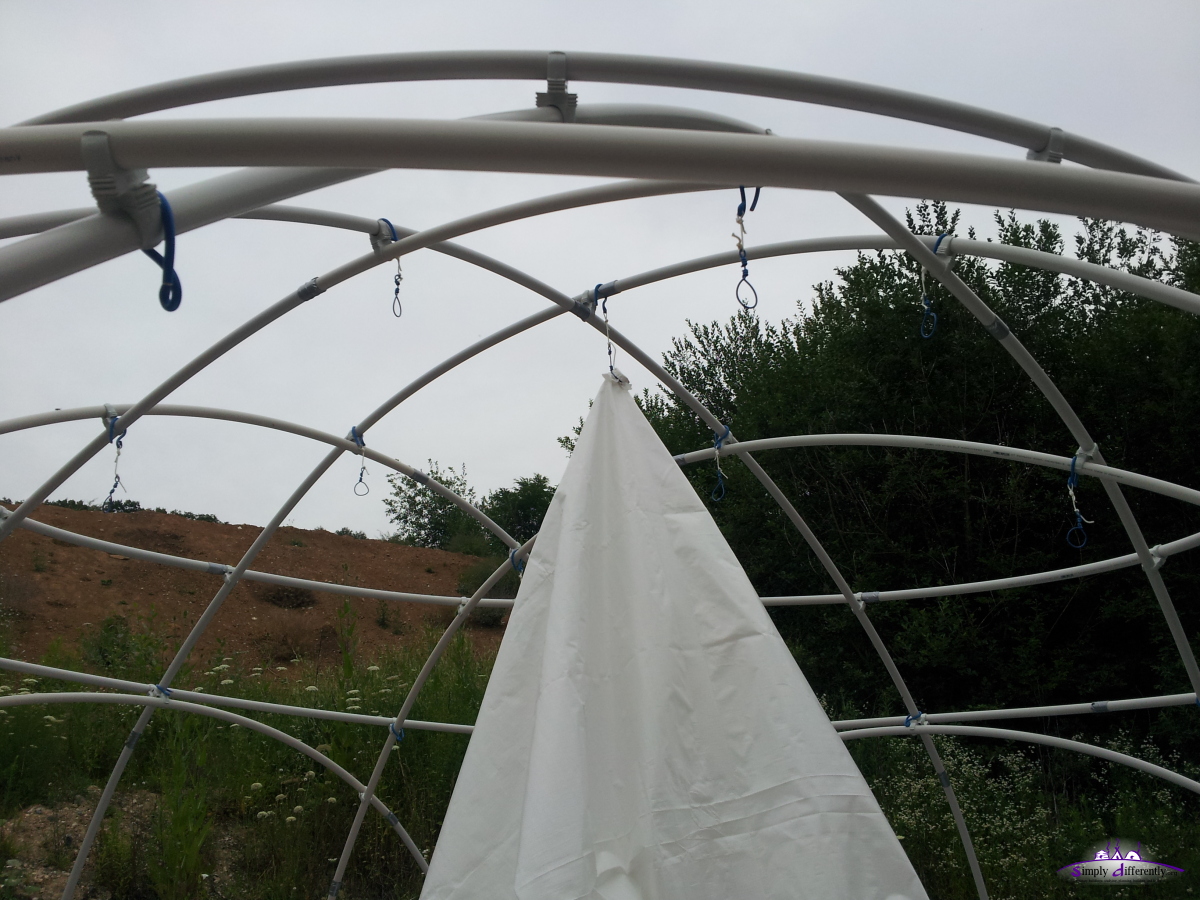 Hanging up the top & center hook 2014/07/04 14:45 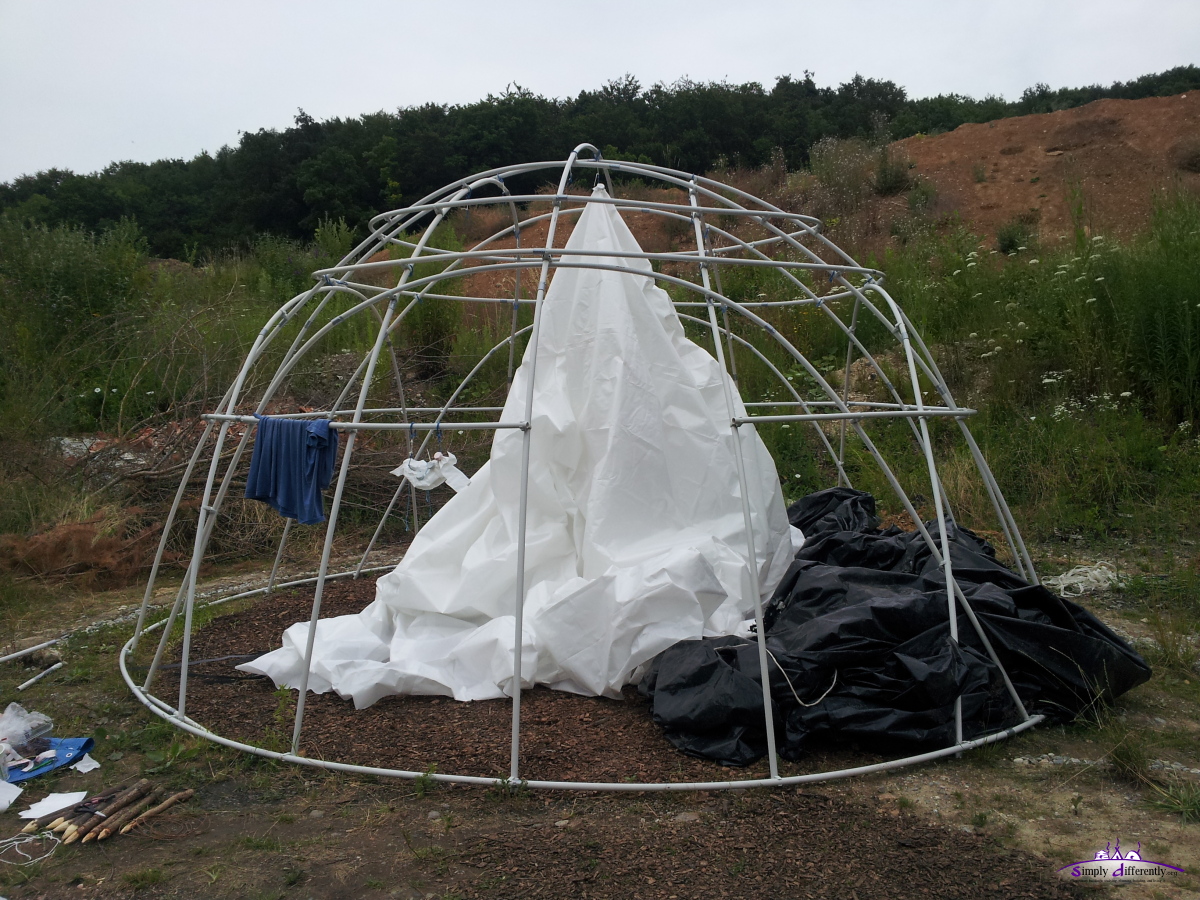 2014/07/04 14:45 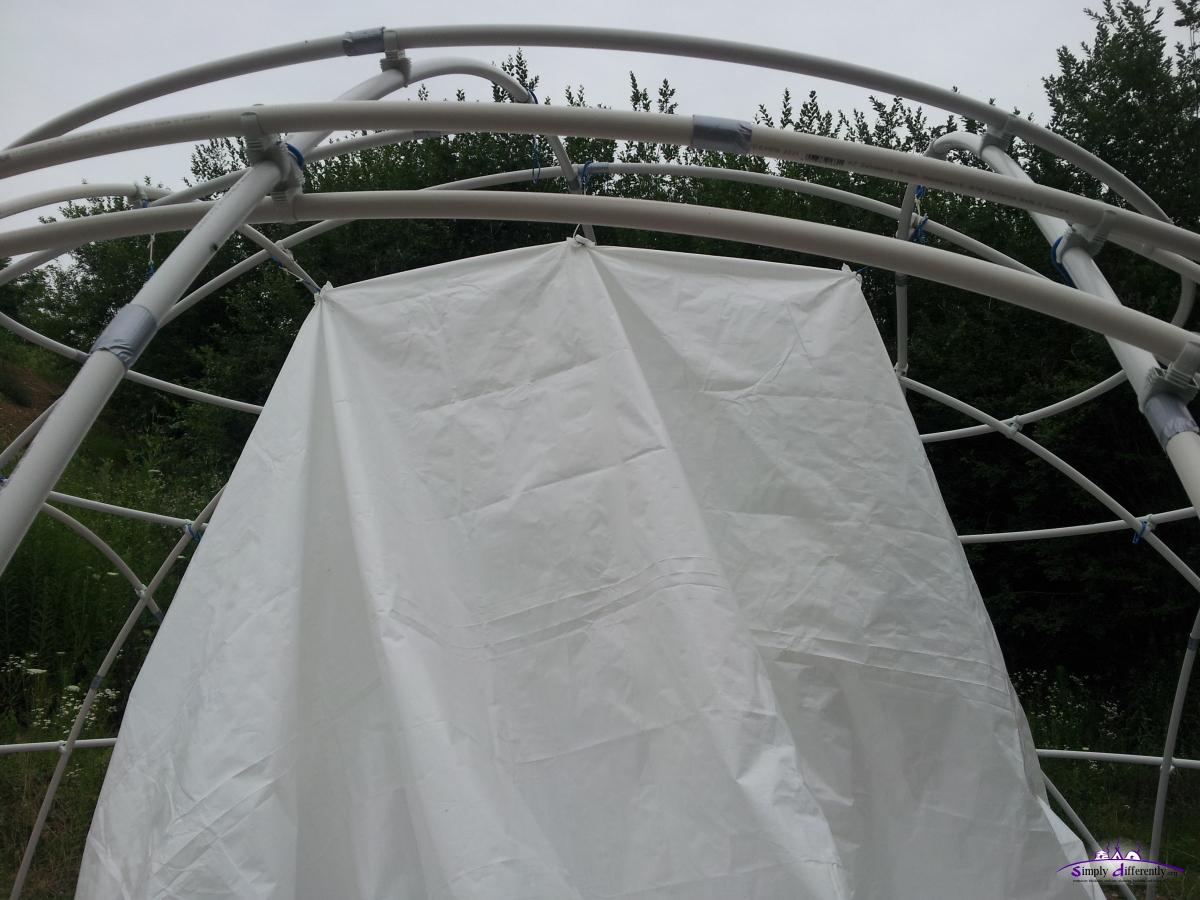 Continue with 4x surrounding hooks 2014/07/04 14:54 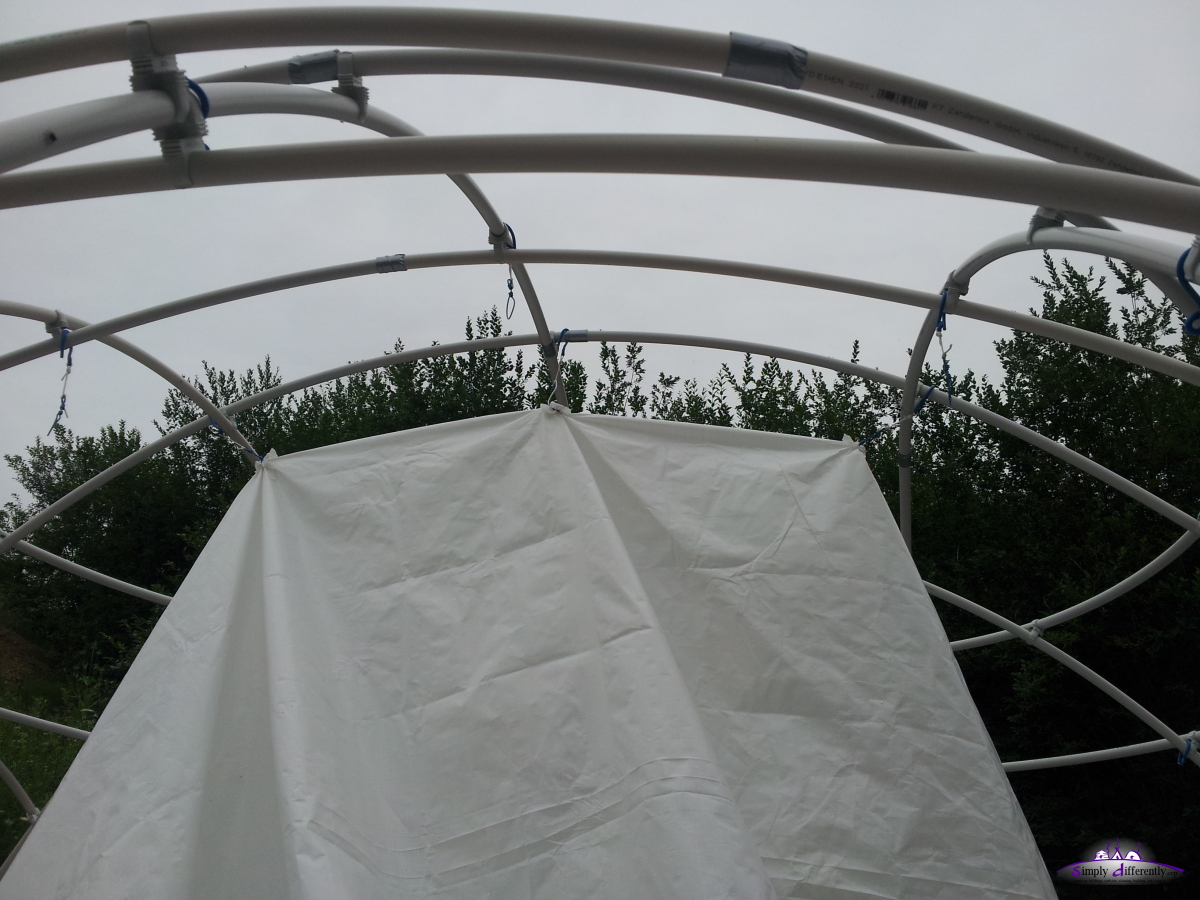 2014/07/04 14:54 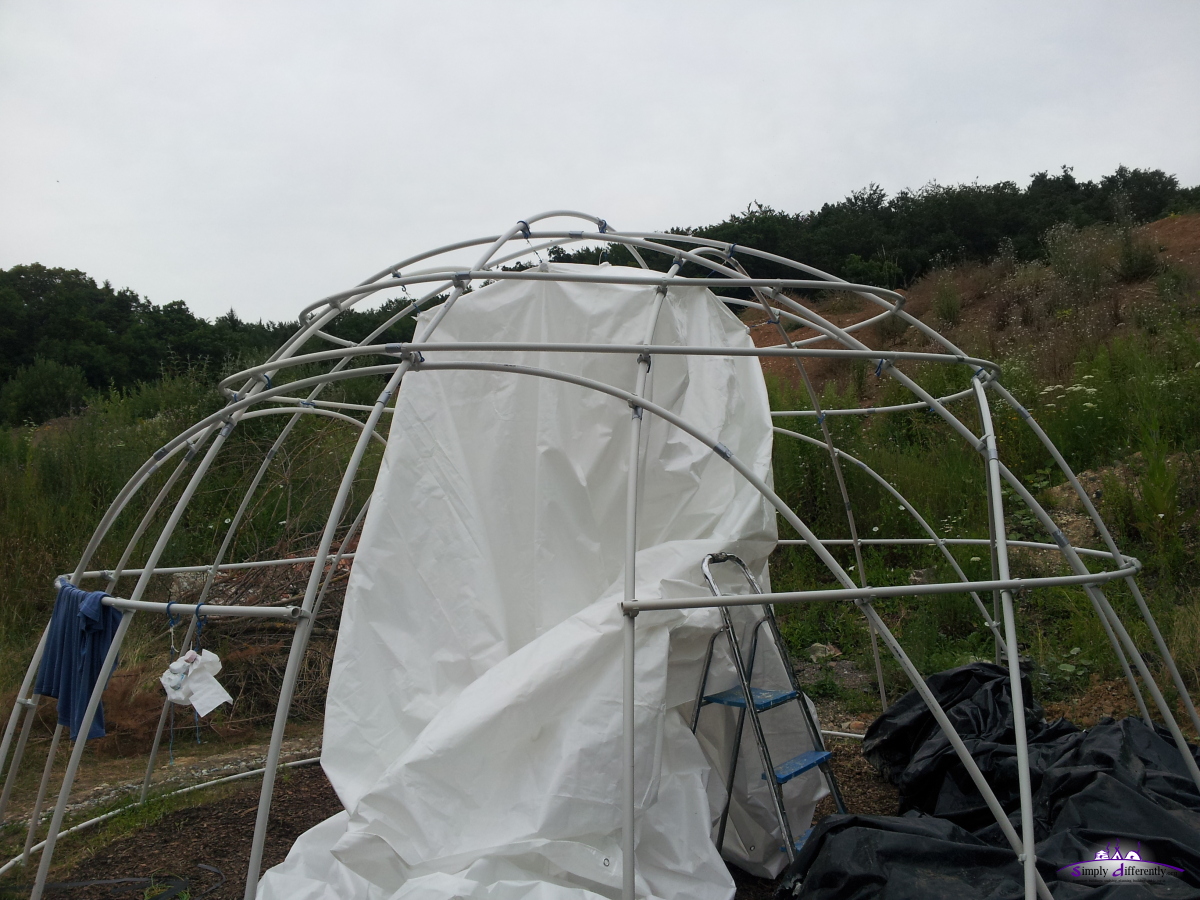 2014/07/04 15:11 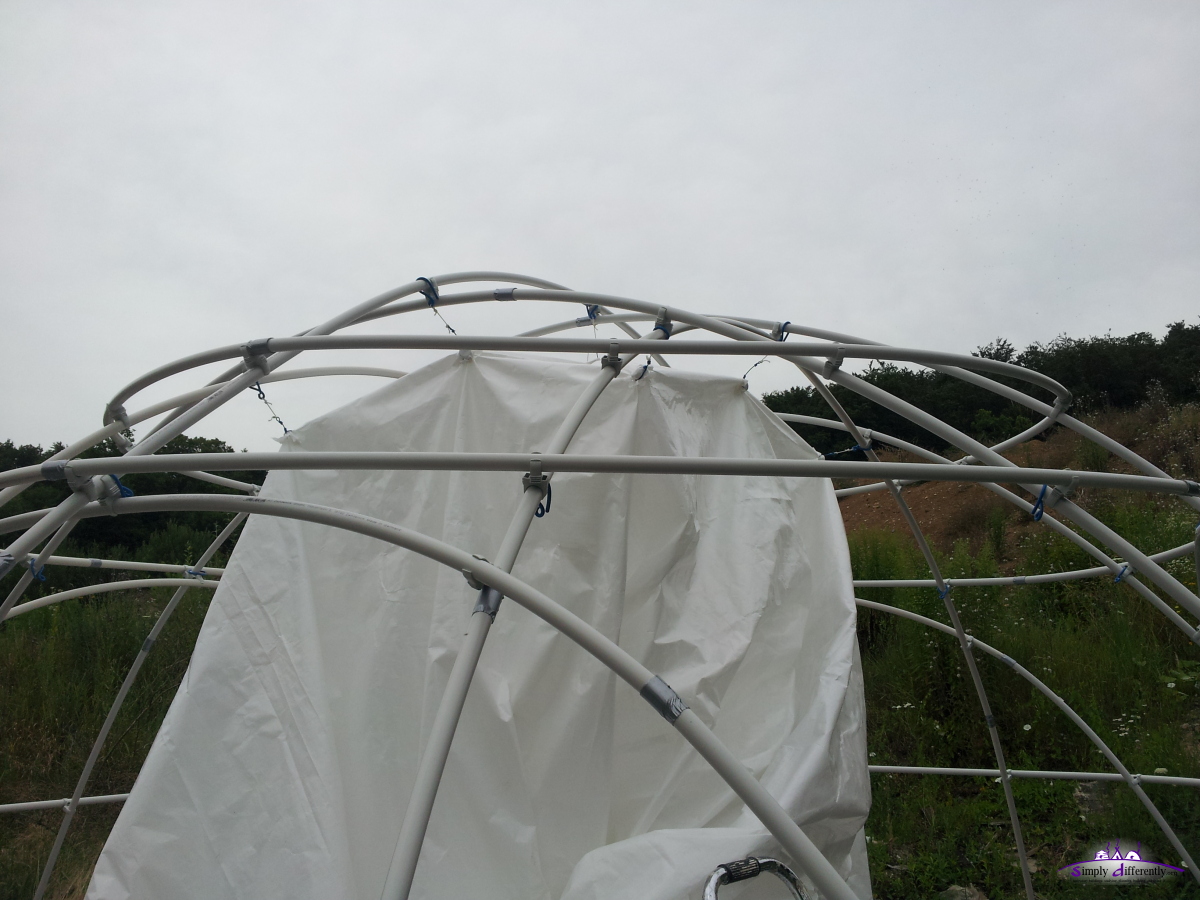 2014/07/04 15:11 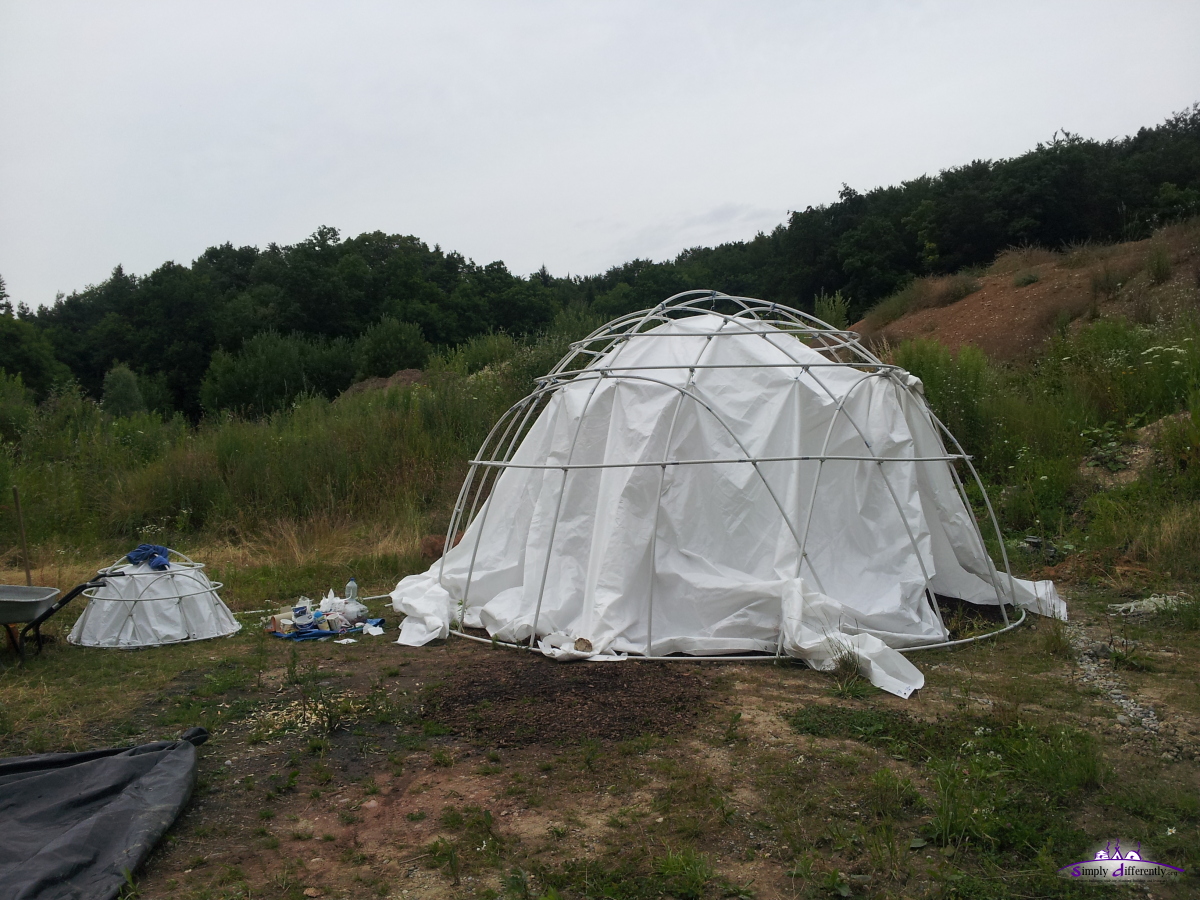 2014/07/04 16:35 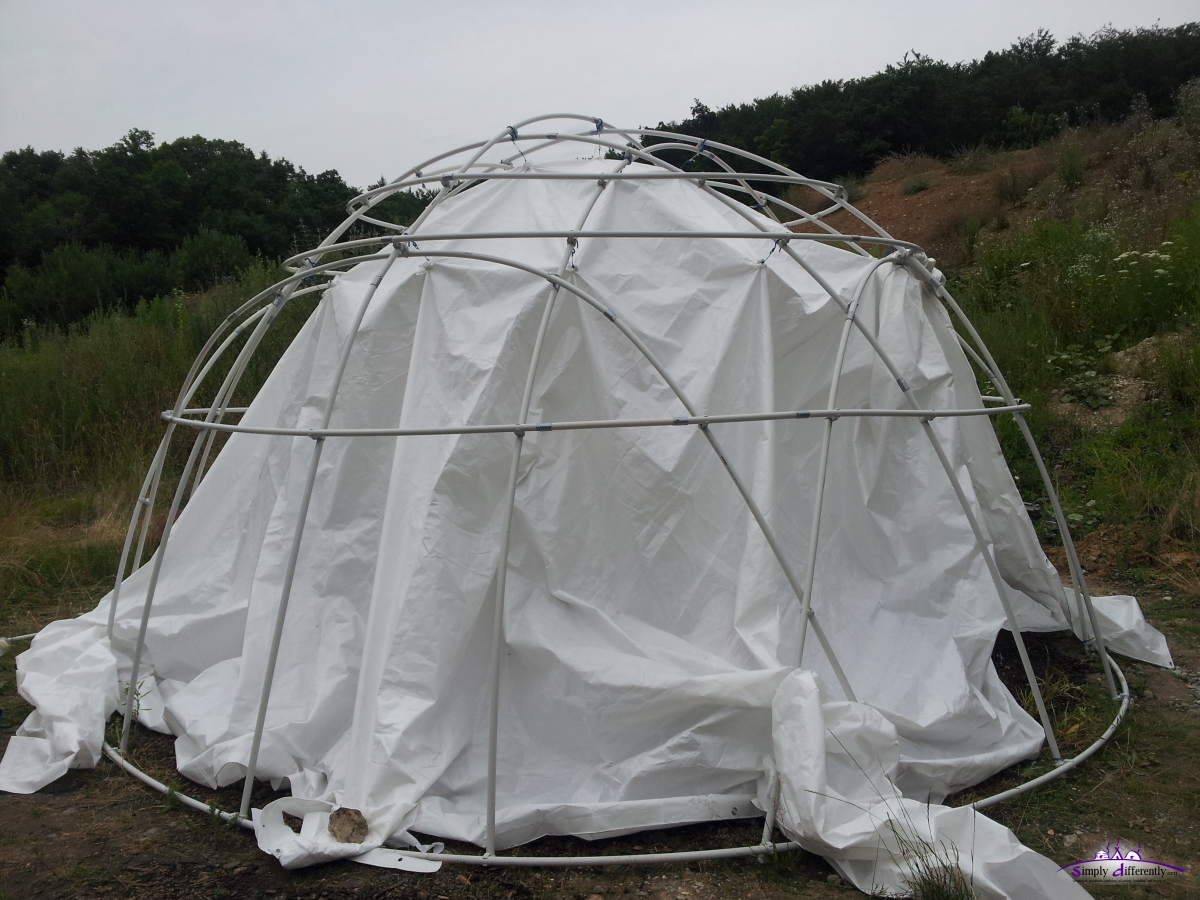 2014/07/04 16:36 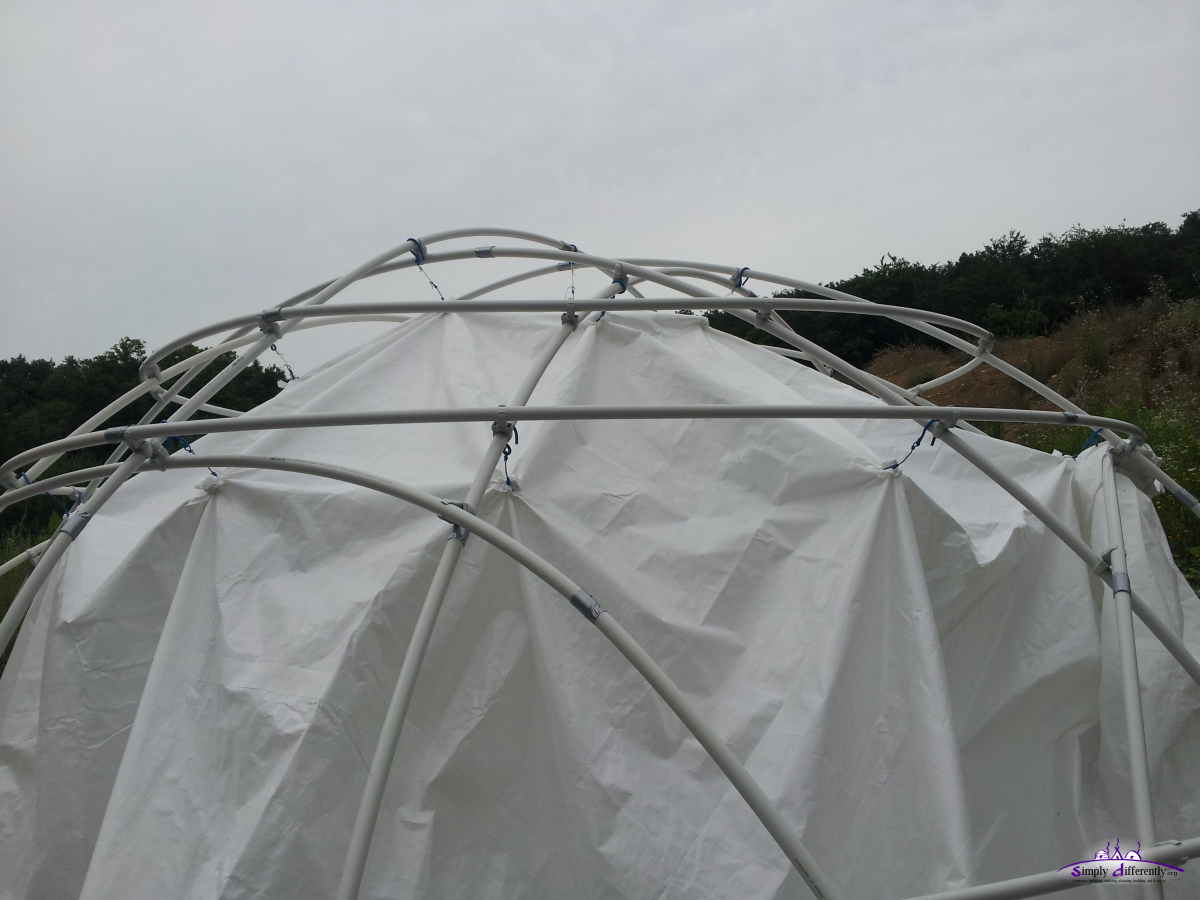 2014/07/04 16:36  Wire hooks without cord and with cord 2014/07/04 16:36 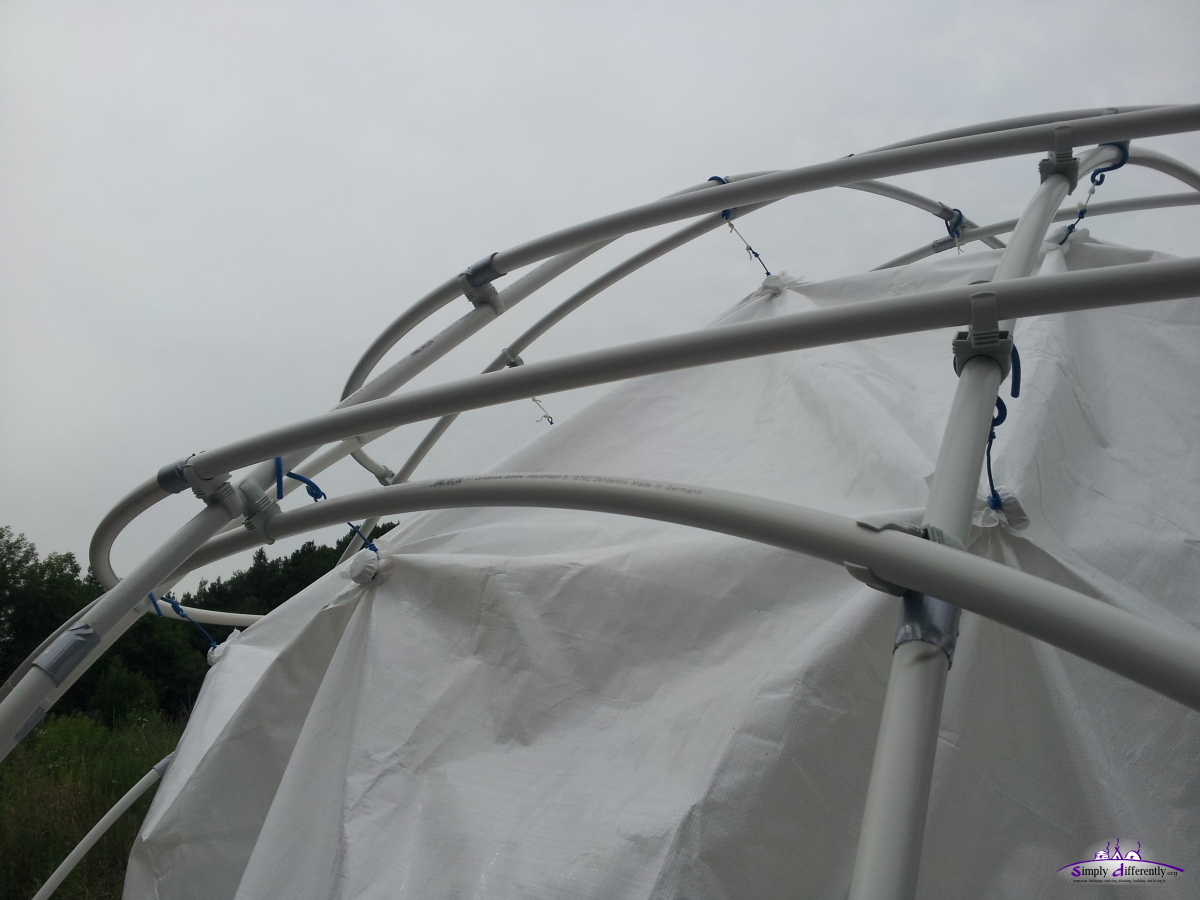 2014/07/04 16:36 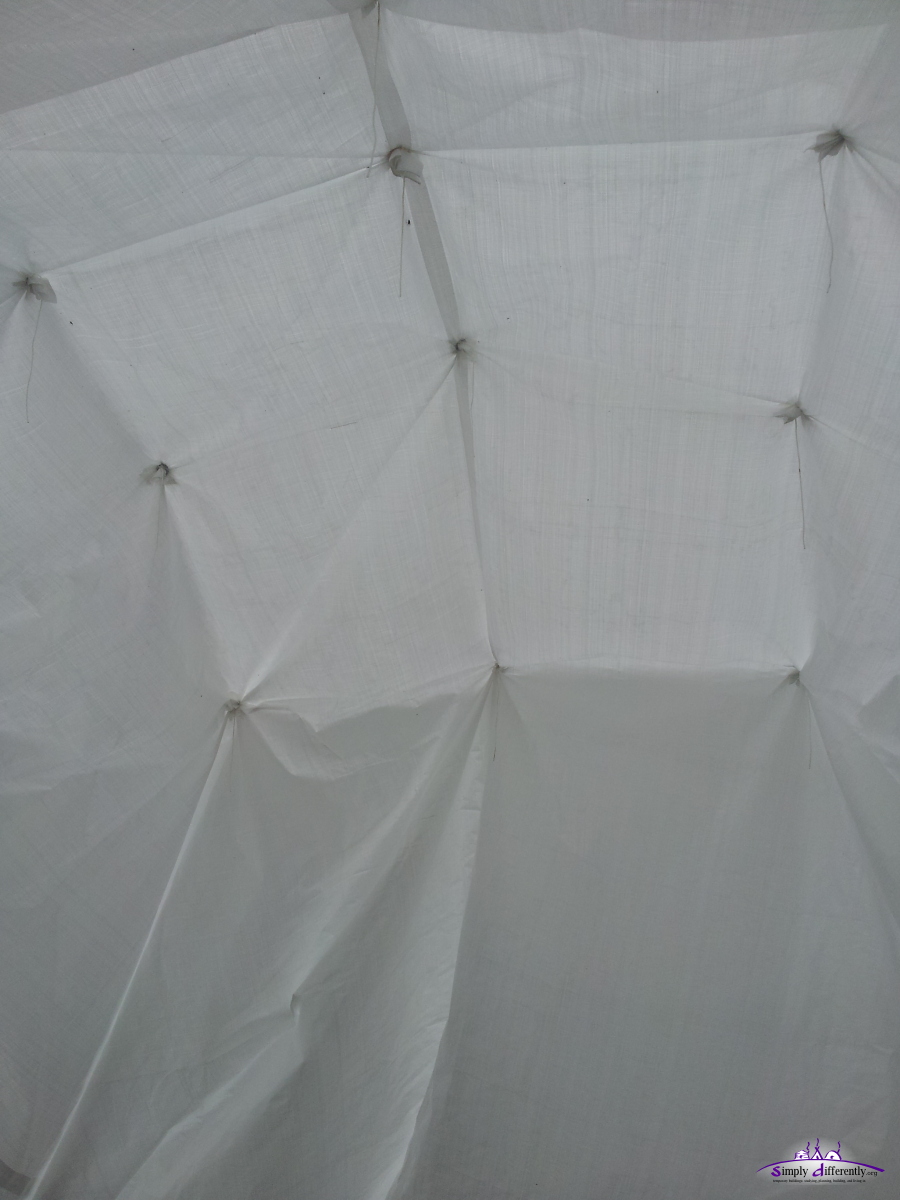 Inside, looking at the "ghostly captures" with their wires 2014/07/04 16:36 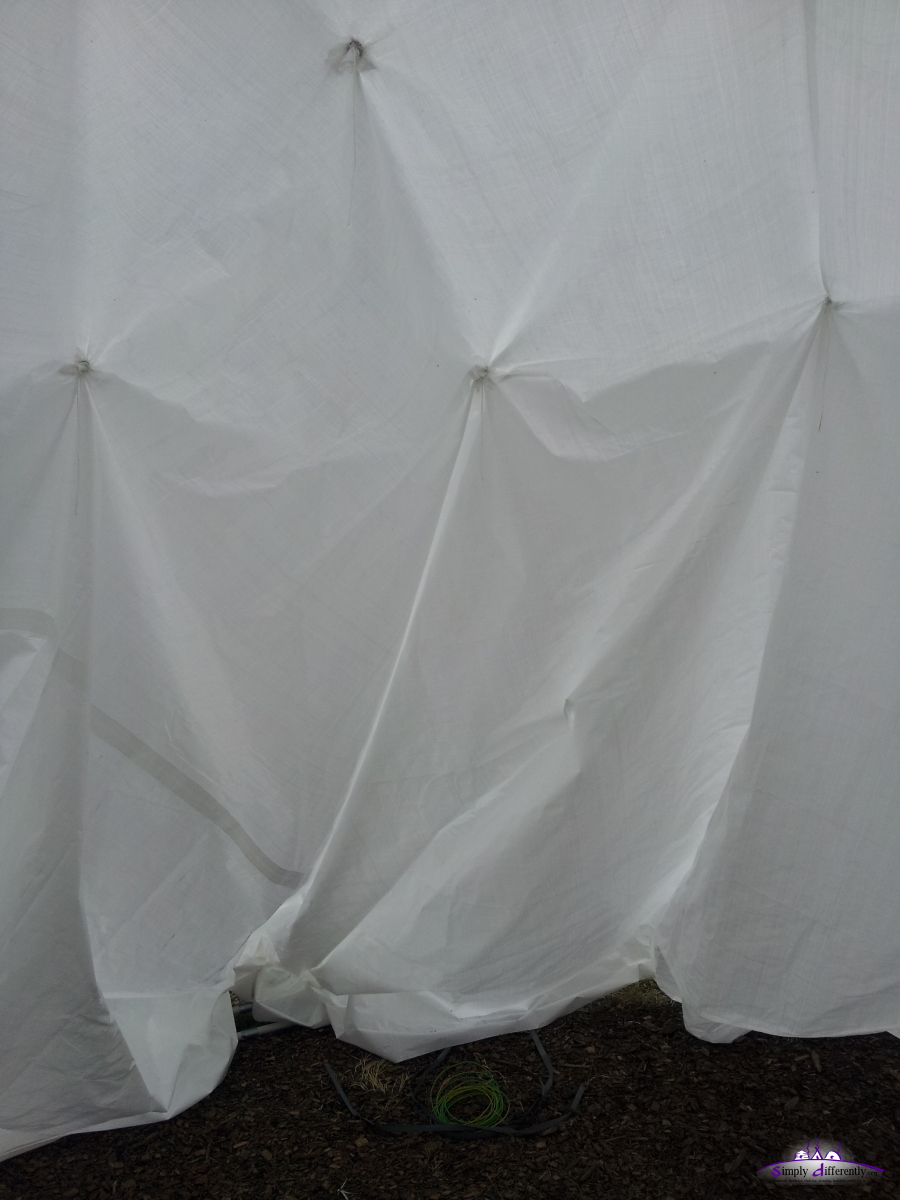 2014/07/04 16:36 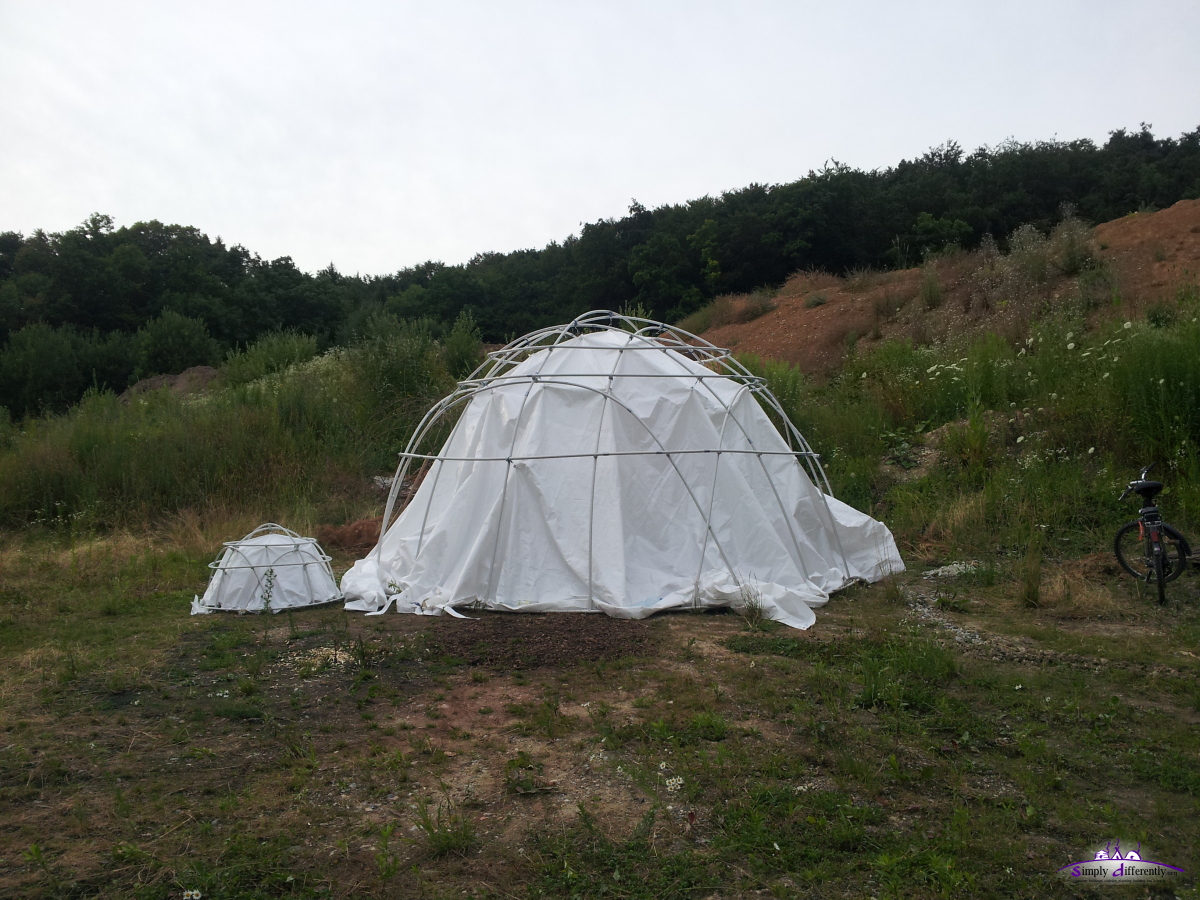 2/3 attached rain cover (lower 1/3 not fixated yet) 2014/07/04 19:30 and the expected thunderstorm at the evening did not arrive, instead it came at night.
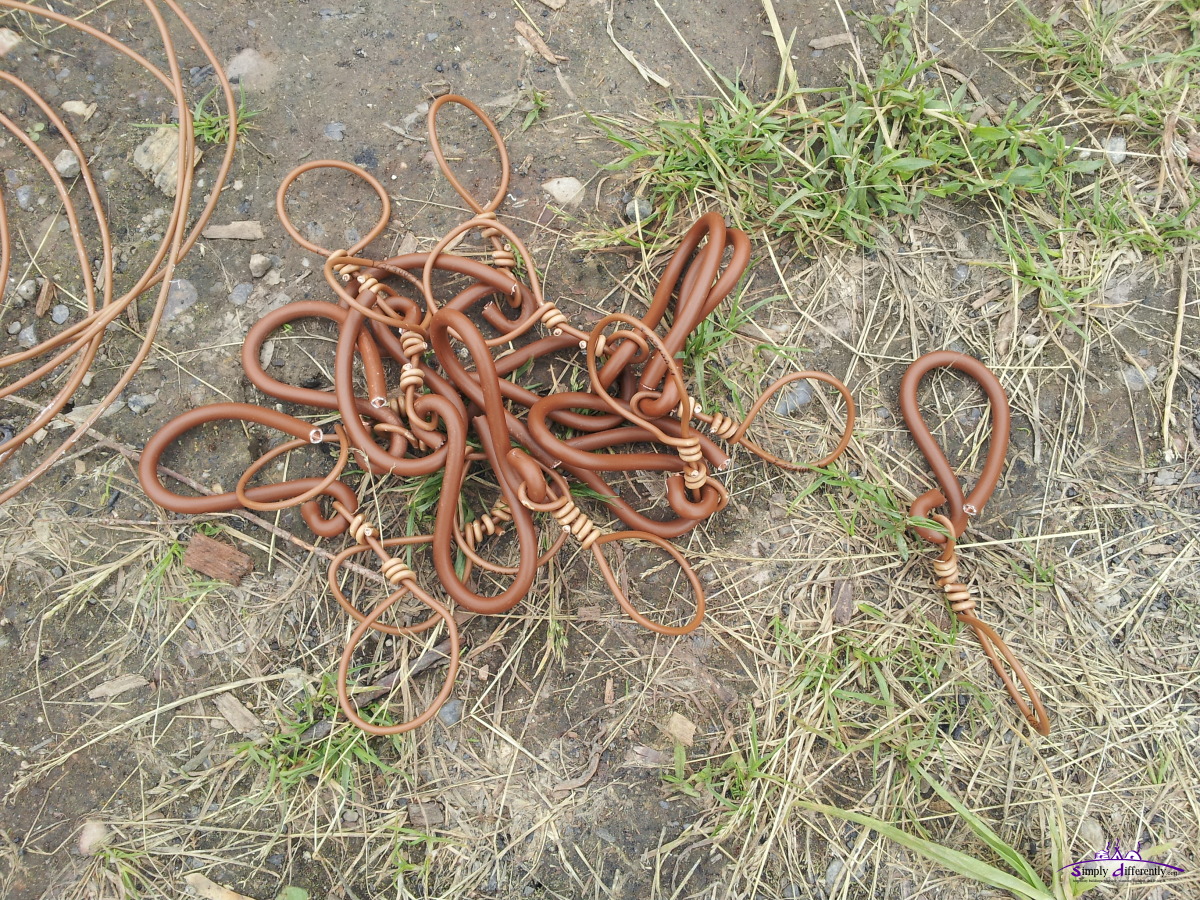
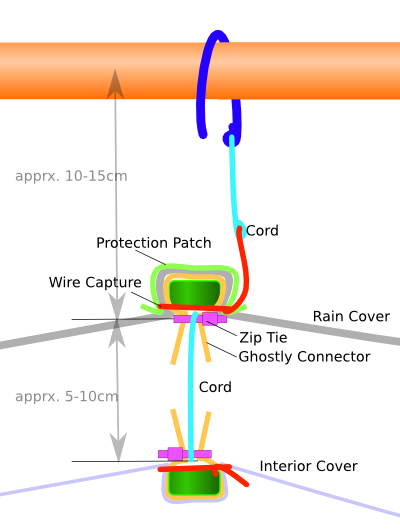
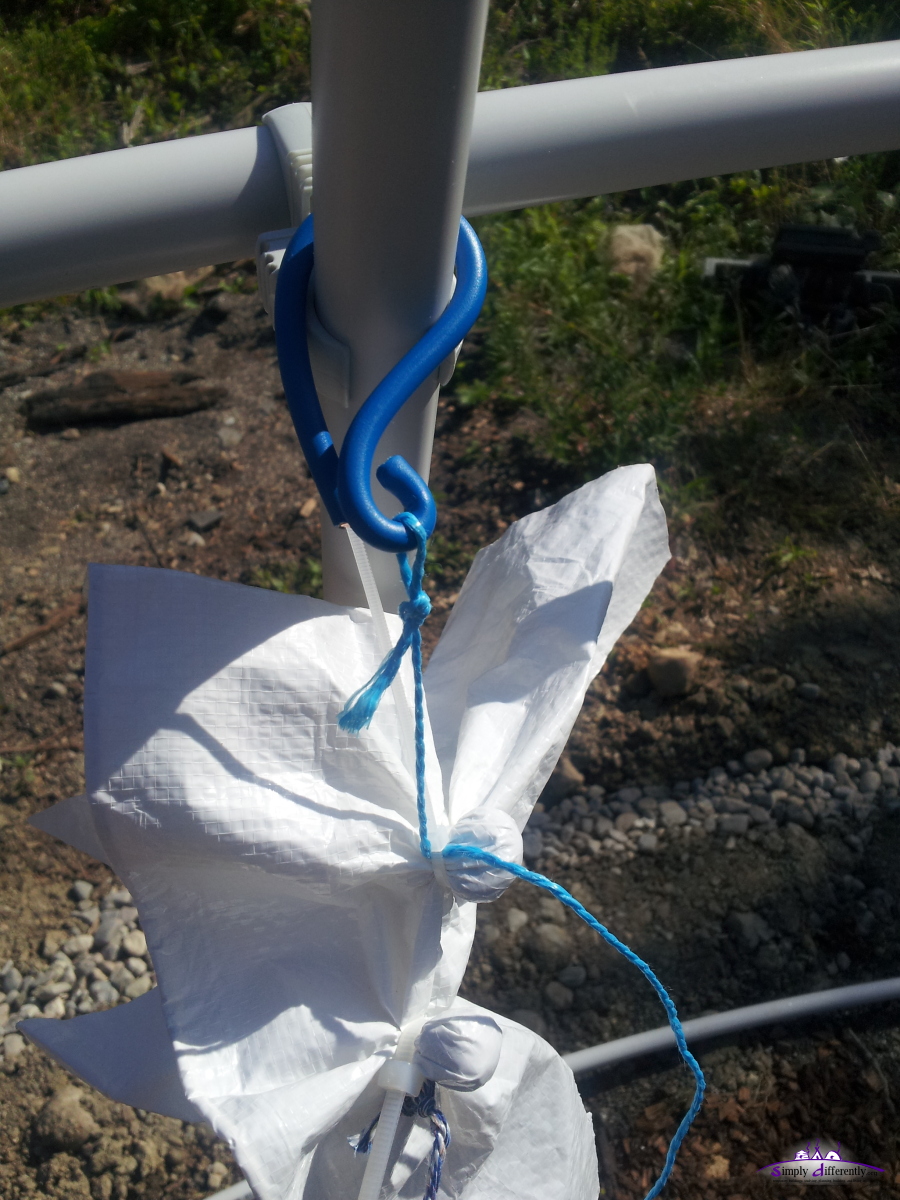
2014/07/03: Preparing Rain CoverGhostly Connector is composed by
The Protection Patch on top of the rain cover is about 8cm x 8cm PE patch, just covering the bottle cap.
For the 5 top connectors I used a cord in between, as the dome is 4.95m in diameter, and 2.65m high, slightly elliptic or egg like - which means, I like to compensate a bit and make the top connectors longer for the rain cover, hence the cords, but on the more vertical connectors I connect the Wire Capture directly on the Wire Hooks.
2014/07/02: Cover Setup
While testing I saw the PE rain cover brittles a bit already with multiple fixations and releases, therefore I thought to add a "Protection Patch" on top, apprx. 10cm x 10cm to wrap around the bottle cap.
The "Ghostly Connector", where I use a zip tie so I can use a cord to manage the distance from the capture to interior cover and also protect from possible sharp edge of the bottom of the bottle cap.
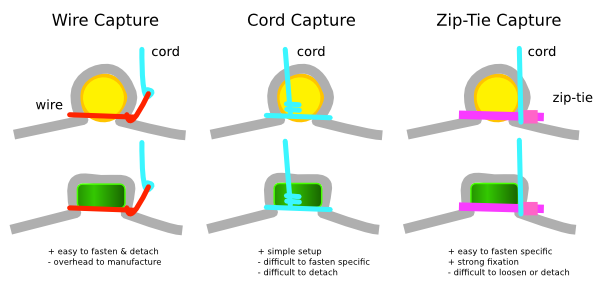
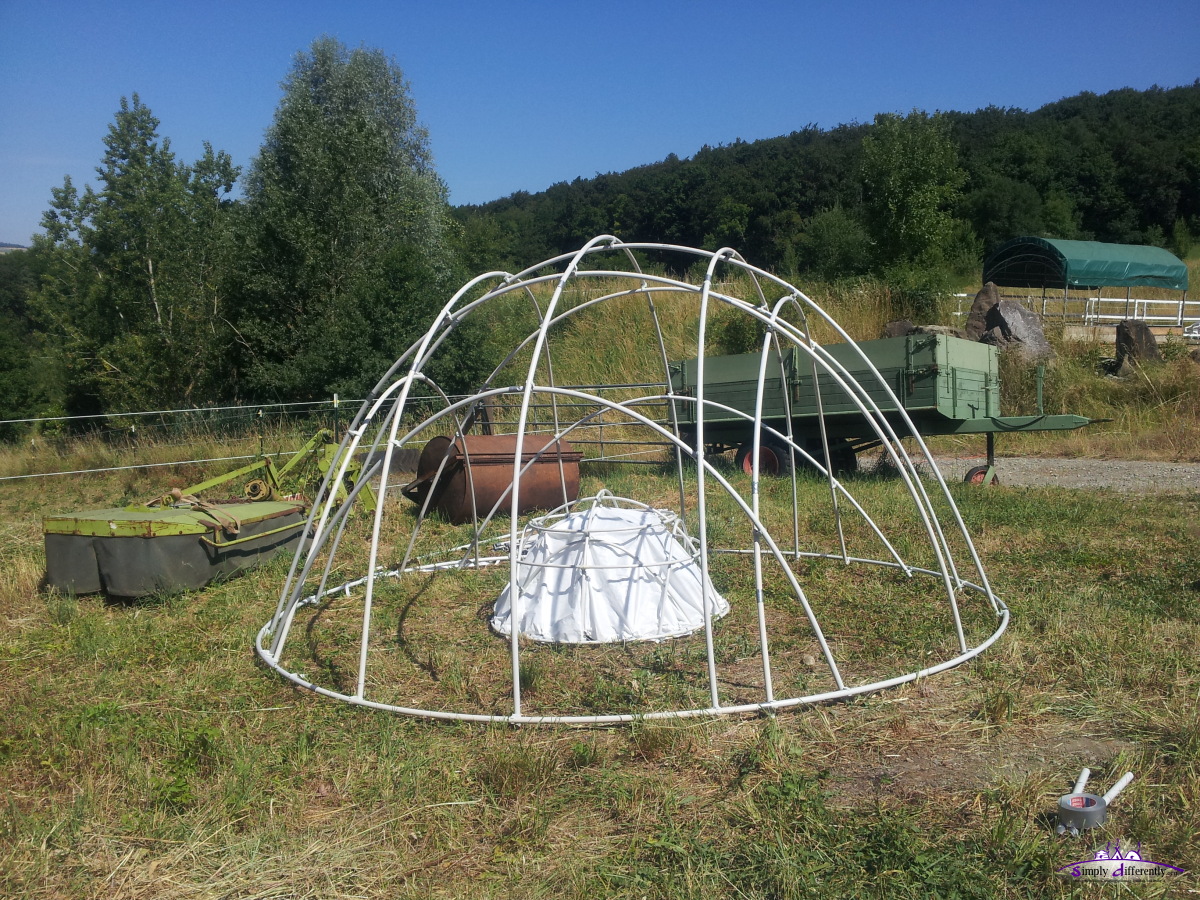
2014/07/01: CapturesSome considerations how to attach the rain cover, using a "capture" to hold on it:
Capture Options:
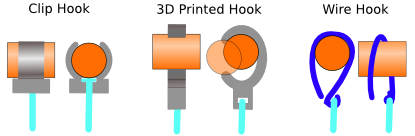
Close-ups: 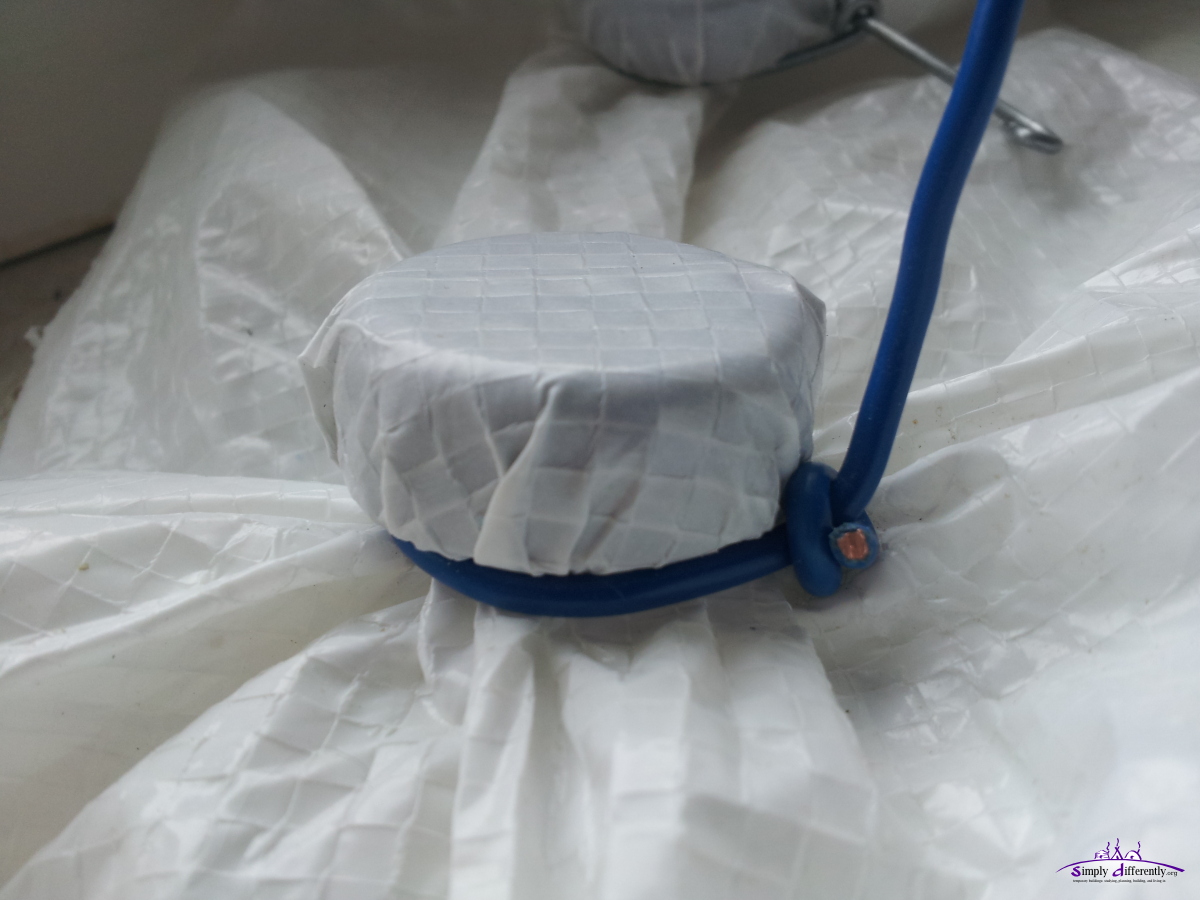 2014/07/02 14:42 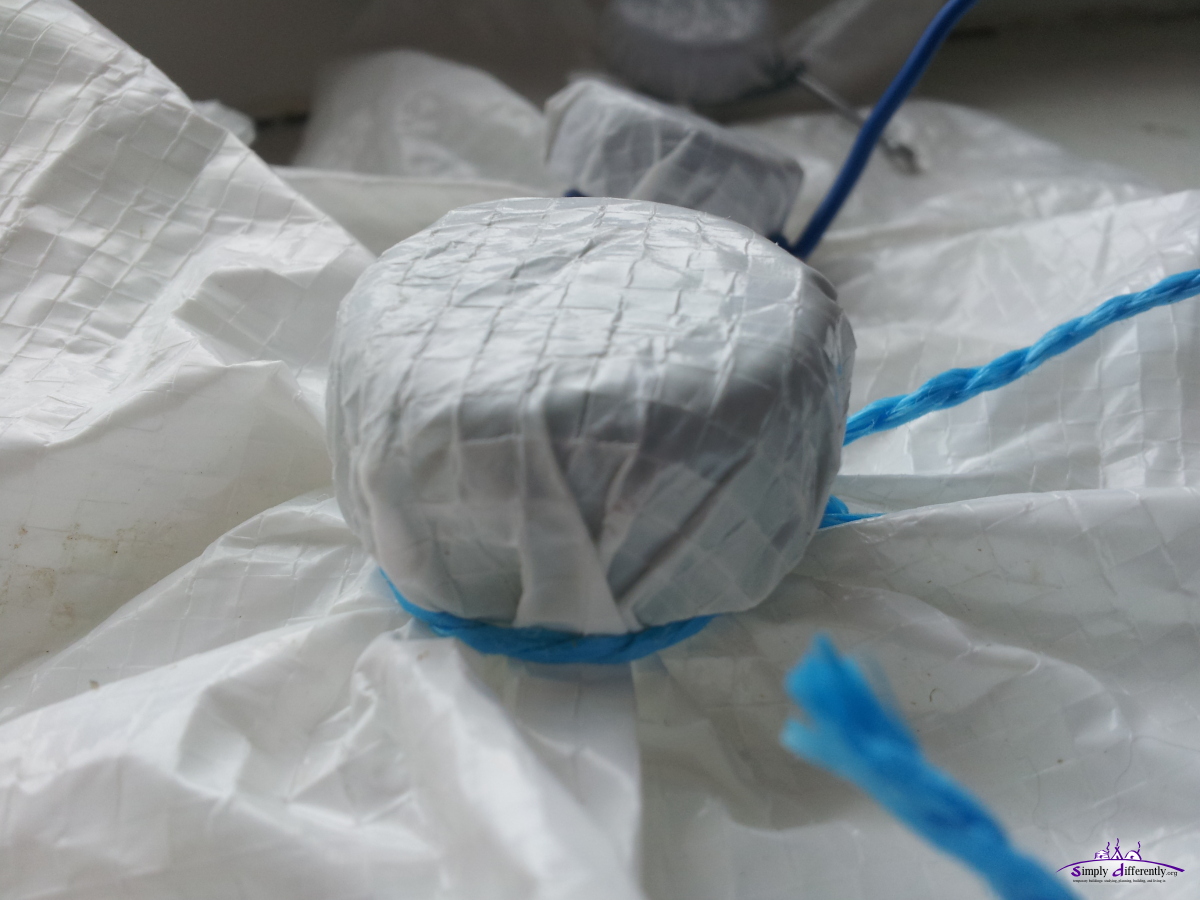 2014/07/02 14:42 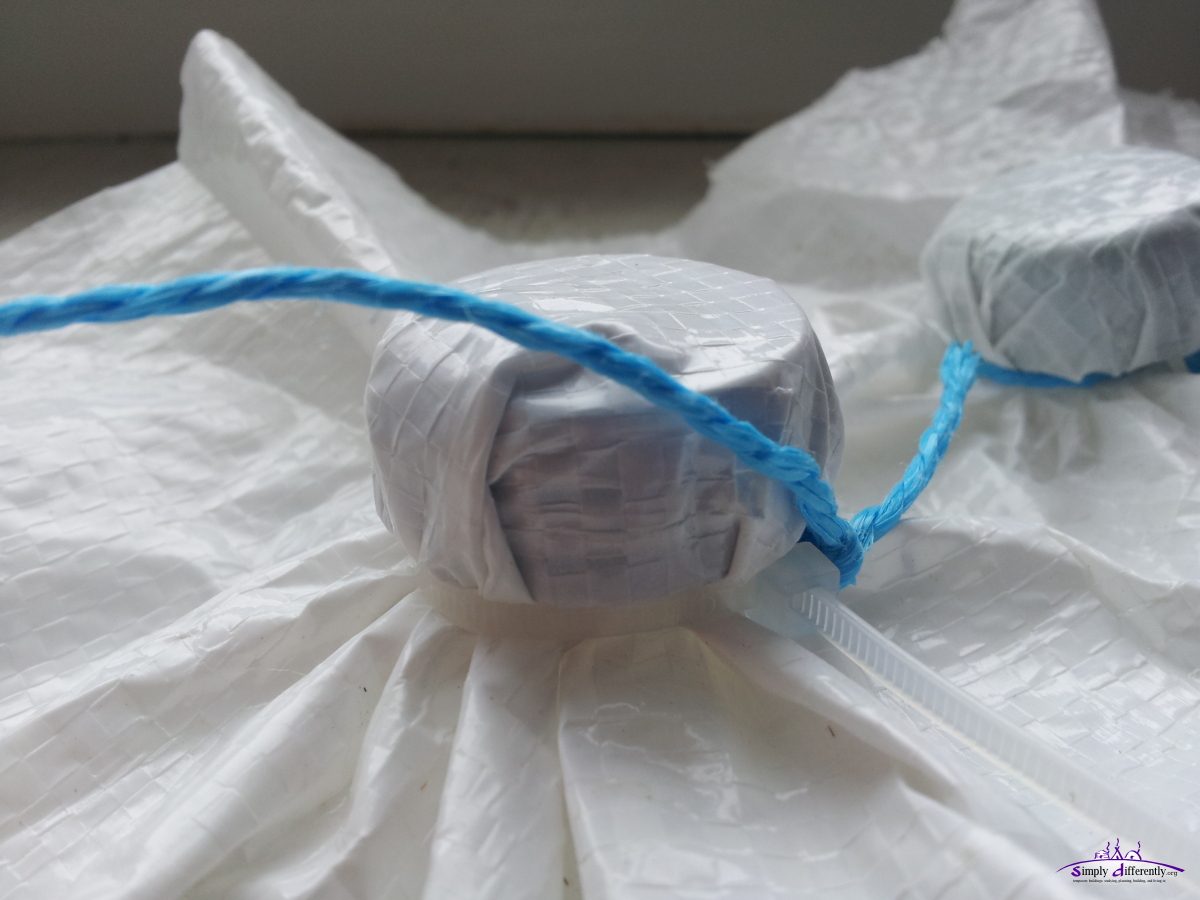 2014/07/02 14:42 2014/06/28: HooksHere the options I came up with in regards of hooks:
Currently using the "Wire Hook" variant for the 4:x:3 5.1m Dome with 2m x 25mm tubes. 2014/06/27: Fine Tuning, Door Opening
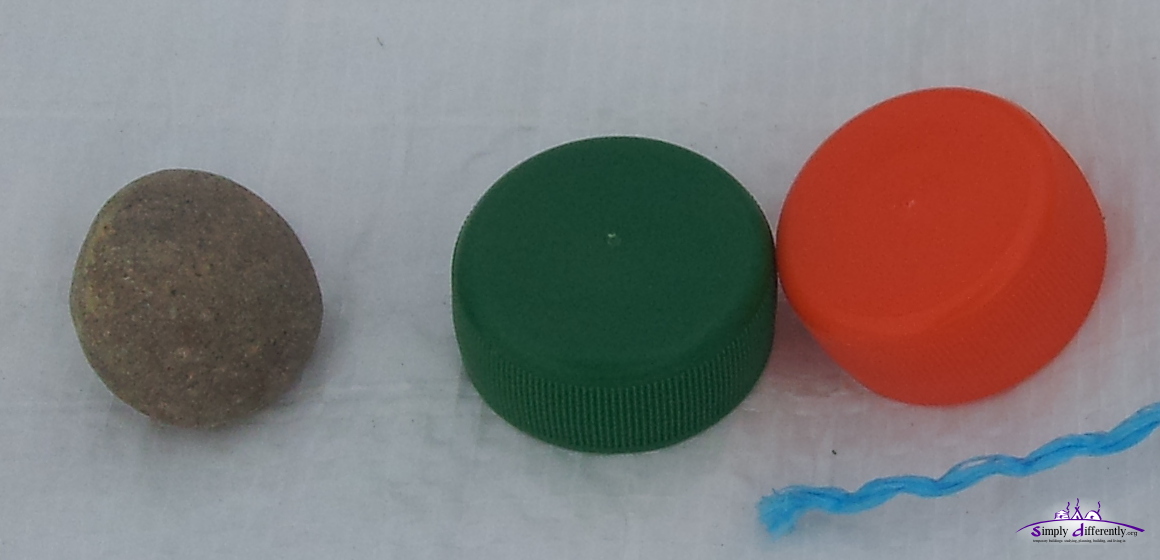
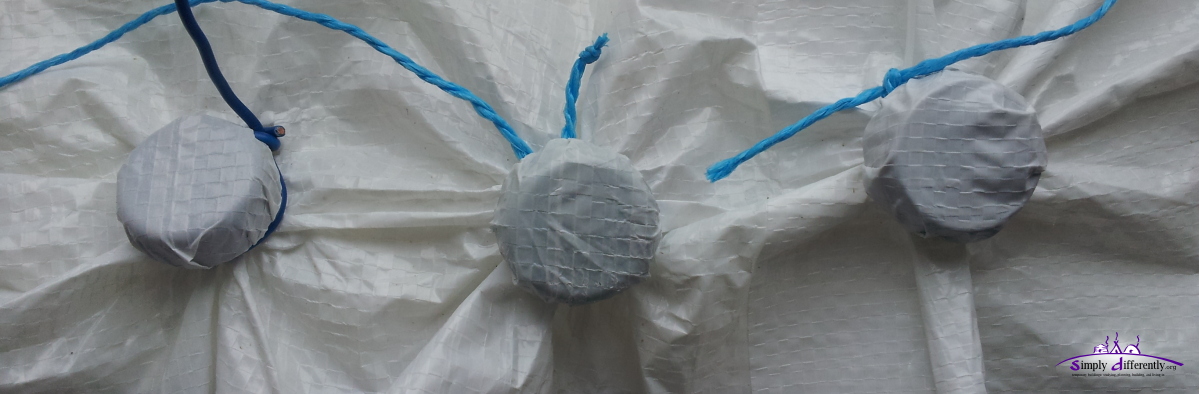
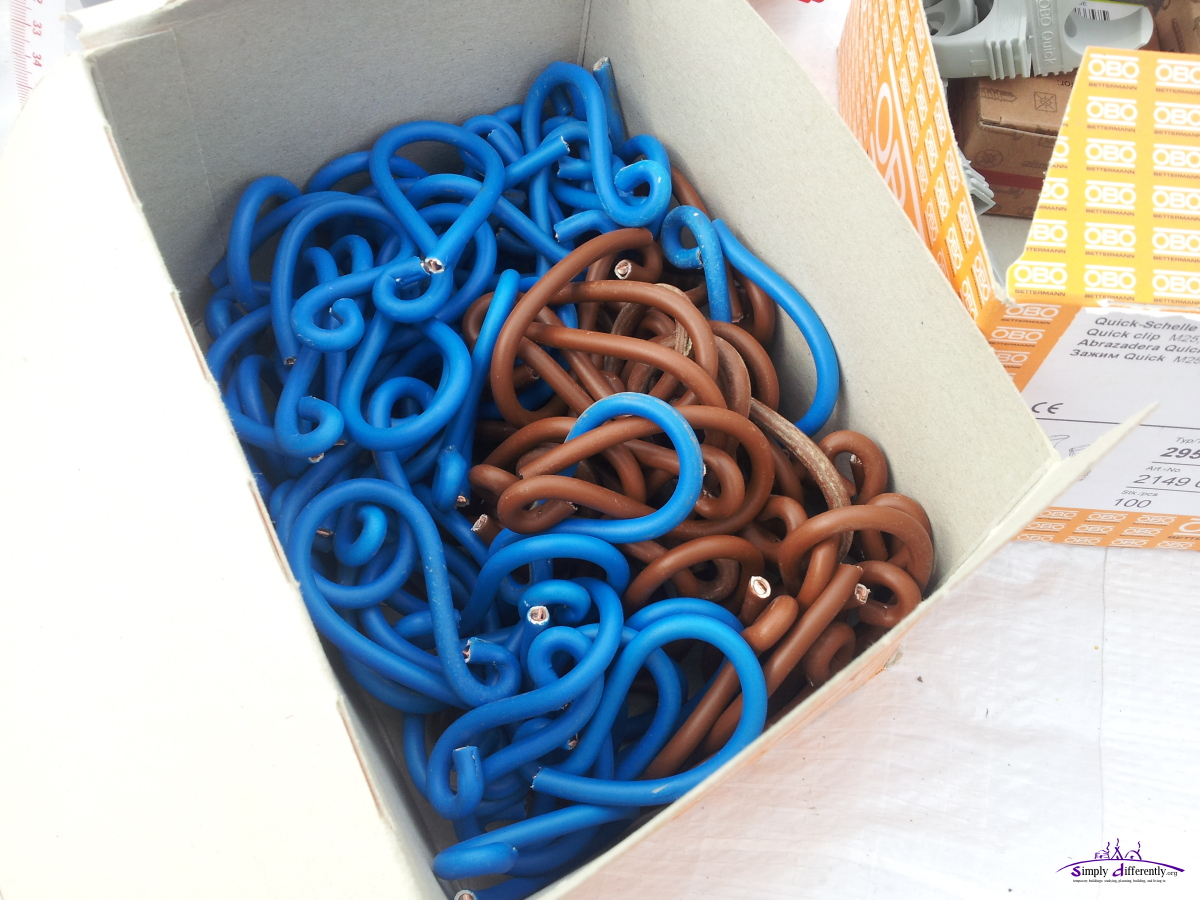
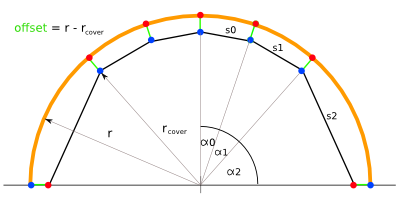
Additionally I worked with a strong insulated wire to form a hook to attach later the rain cover, easy to put on and also easy to take off again, yet, also being able to "break" there in case of heavy storm and rather not take down the entire dome, but just the rain cover disconnect. I also experimented on ways to attach the rain cover itself, and I tend to use a zip-tie, and some cord to attach the hook - not yet finalized. I play with the idea to use PET bottle closers, they kind of flexible and don't have sharp edges, and due their defined size, I can calculate the amount of cover wrapped up, whereas using random gravel vary with the size. This issue with loosing length of the cover became an issue, as PE cover sold says "8m x 10m", but essentially is 5% smaller, which makes 7.6m the shorter length. Now, going more into the details, the offset in which the rain cover hangs inside is determined by the size of item I wrap the cover around - and the more predictable the size of that item is, the better I can estimate it:
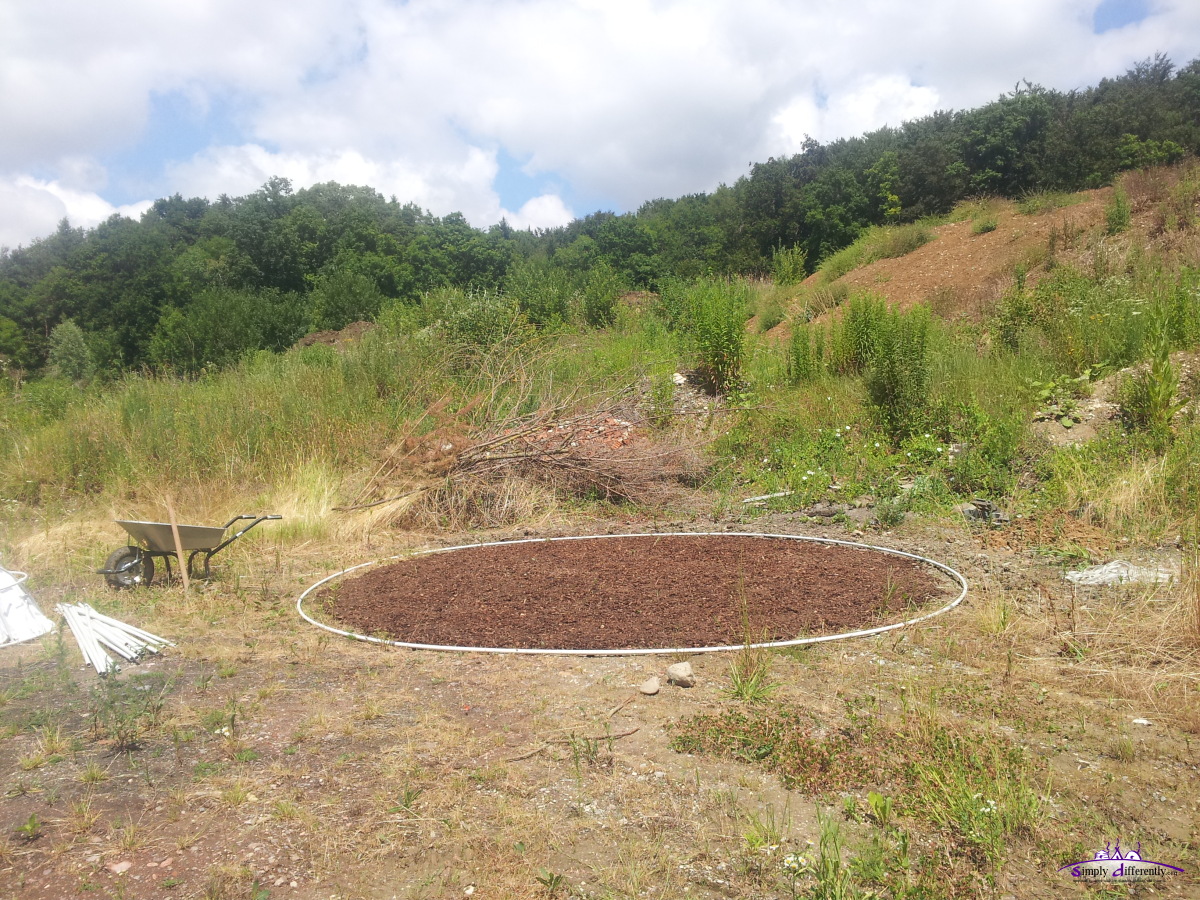
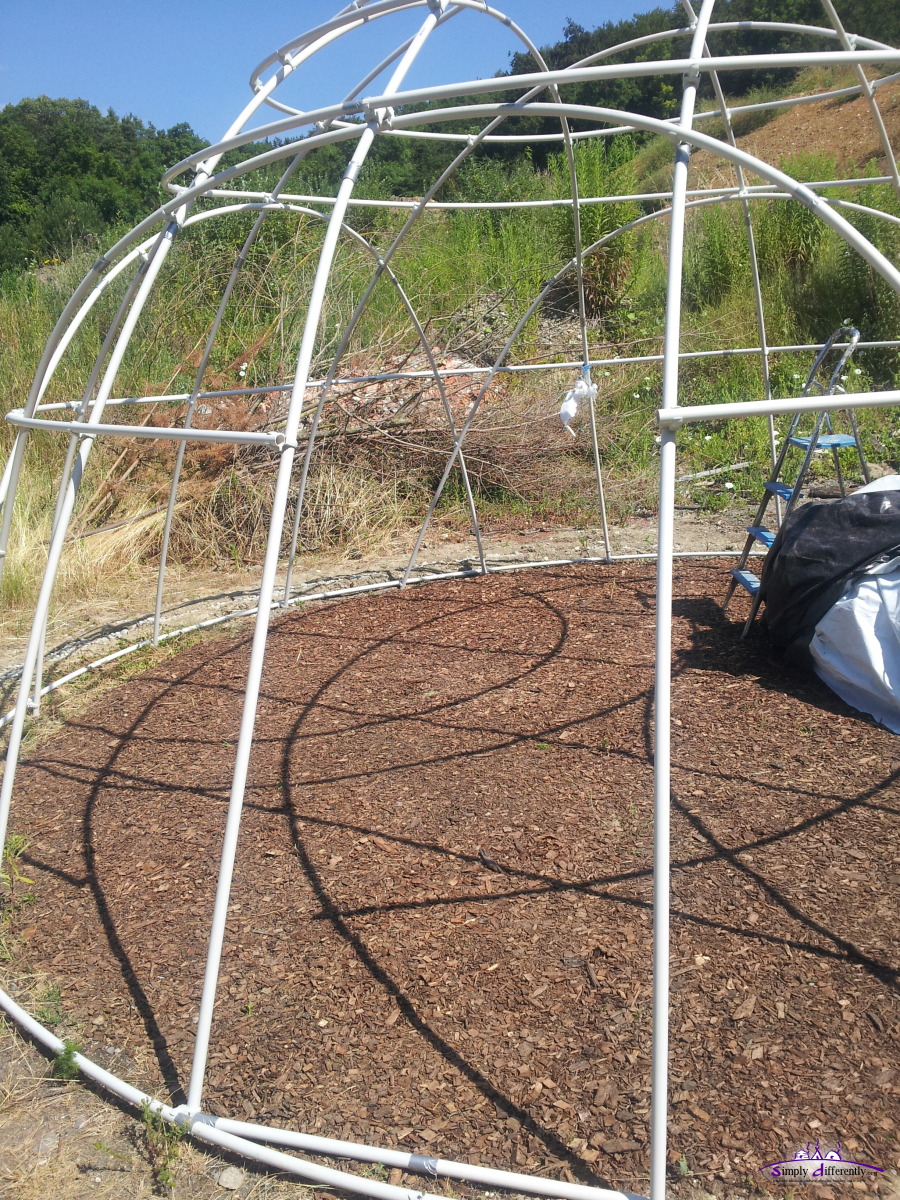
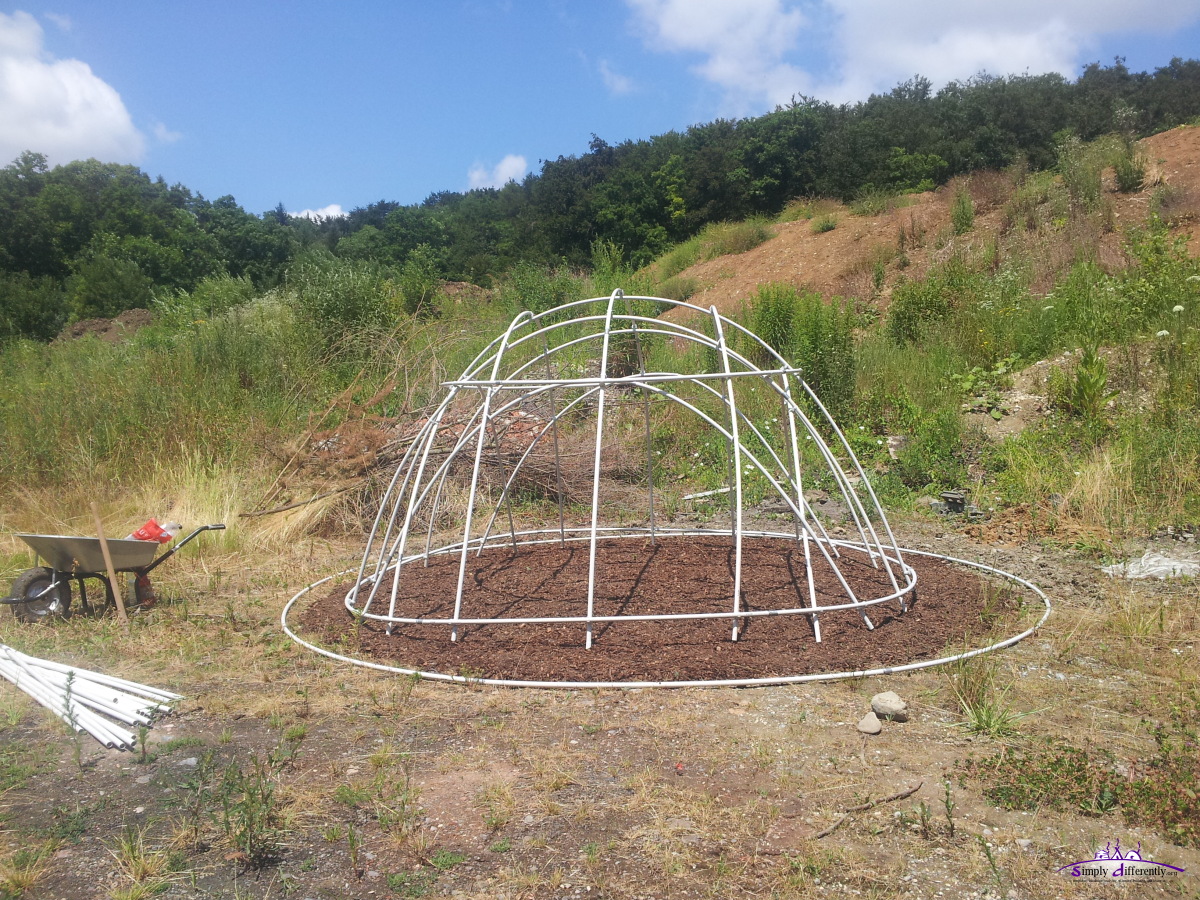
2014/06/24: Pitching again 4:x:3 5.1m Diameter DomeI prepared the base where the final dome will reside, a bit of sand and wood chips on top - around a small drainage to make way for water in case of heavy rain.
 2014/06/24 12:43 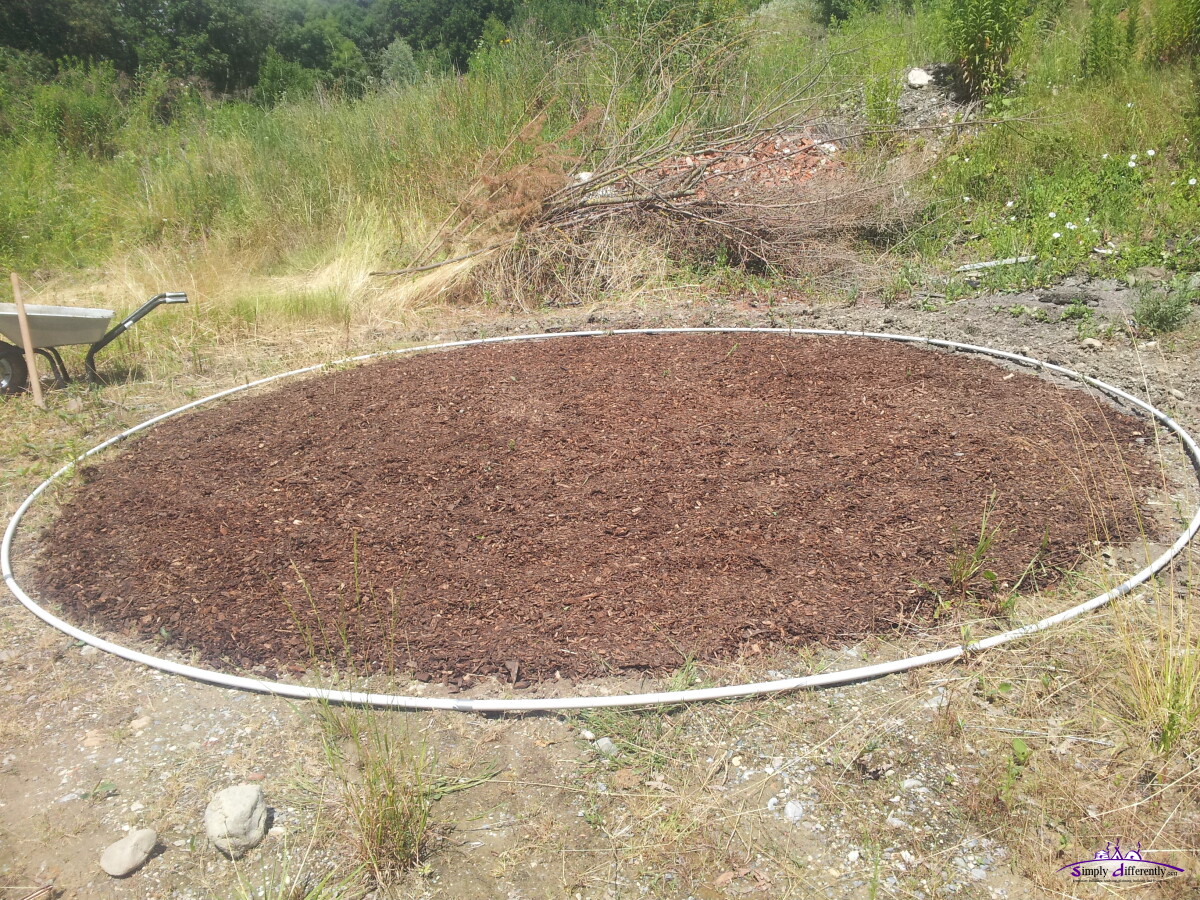 2014/06/24 12:43 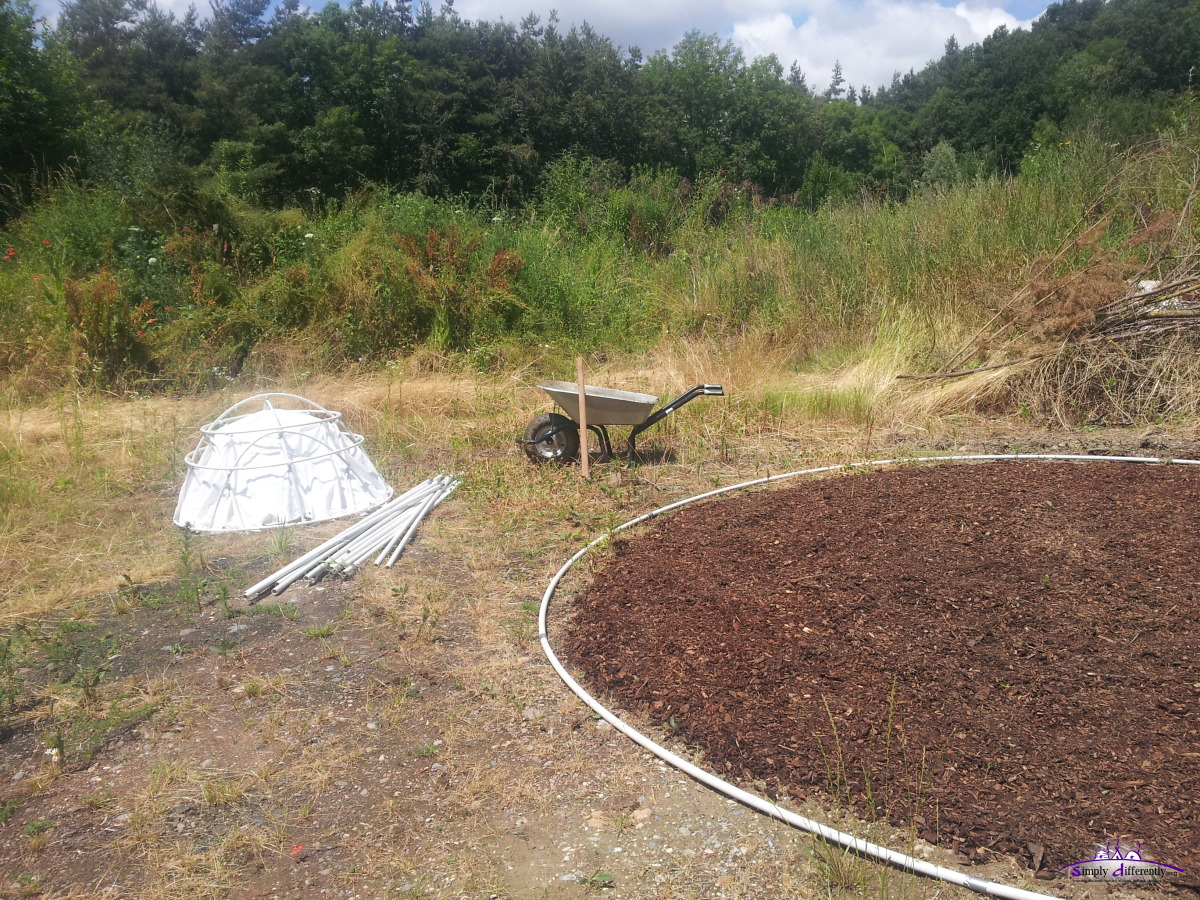 2014/06/24 12:43 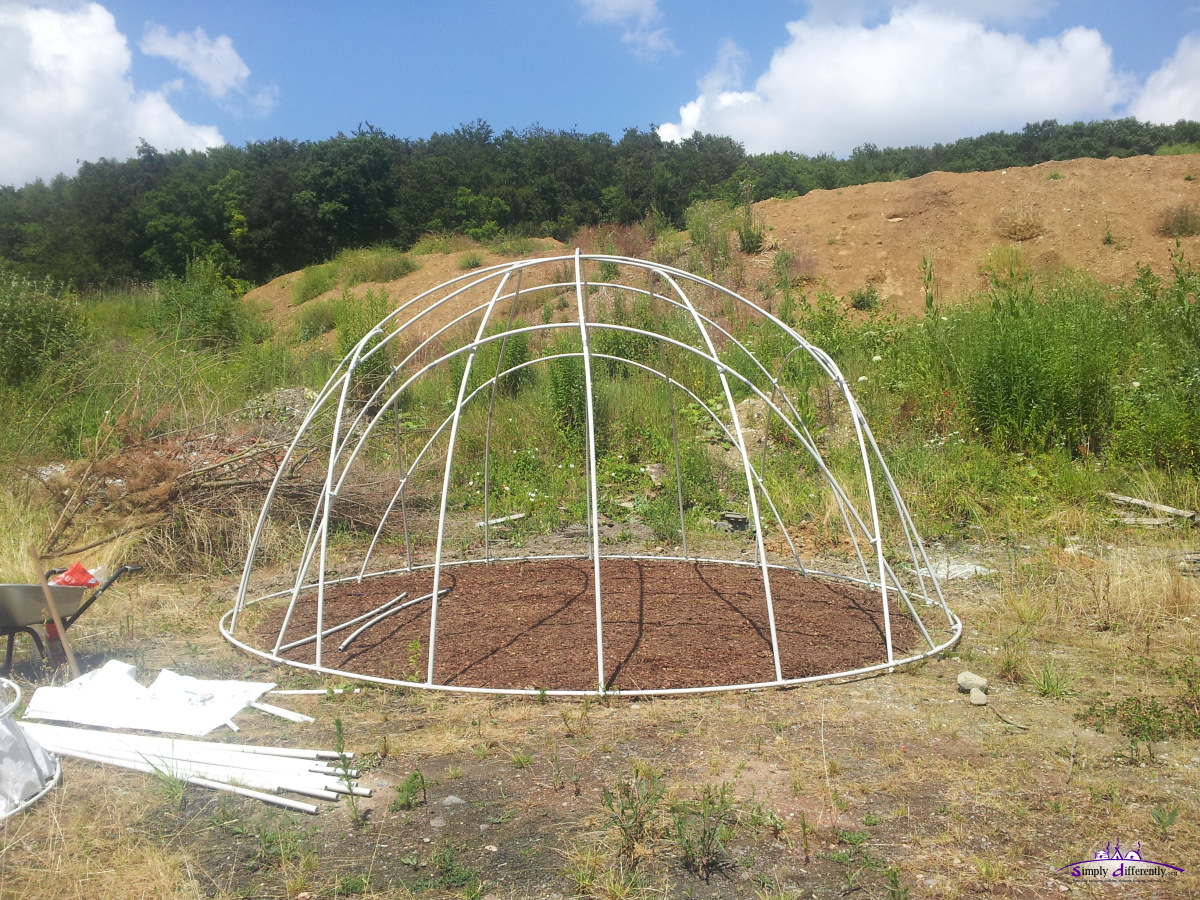 2014/06/24 14:39 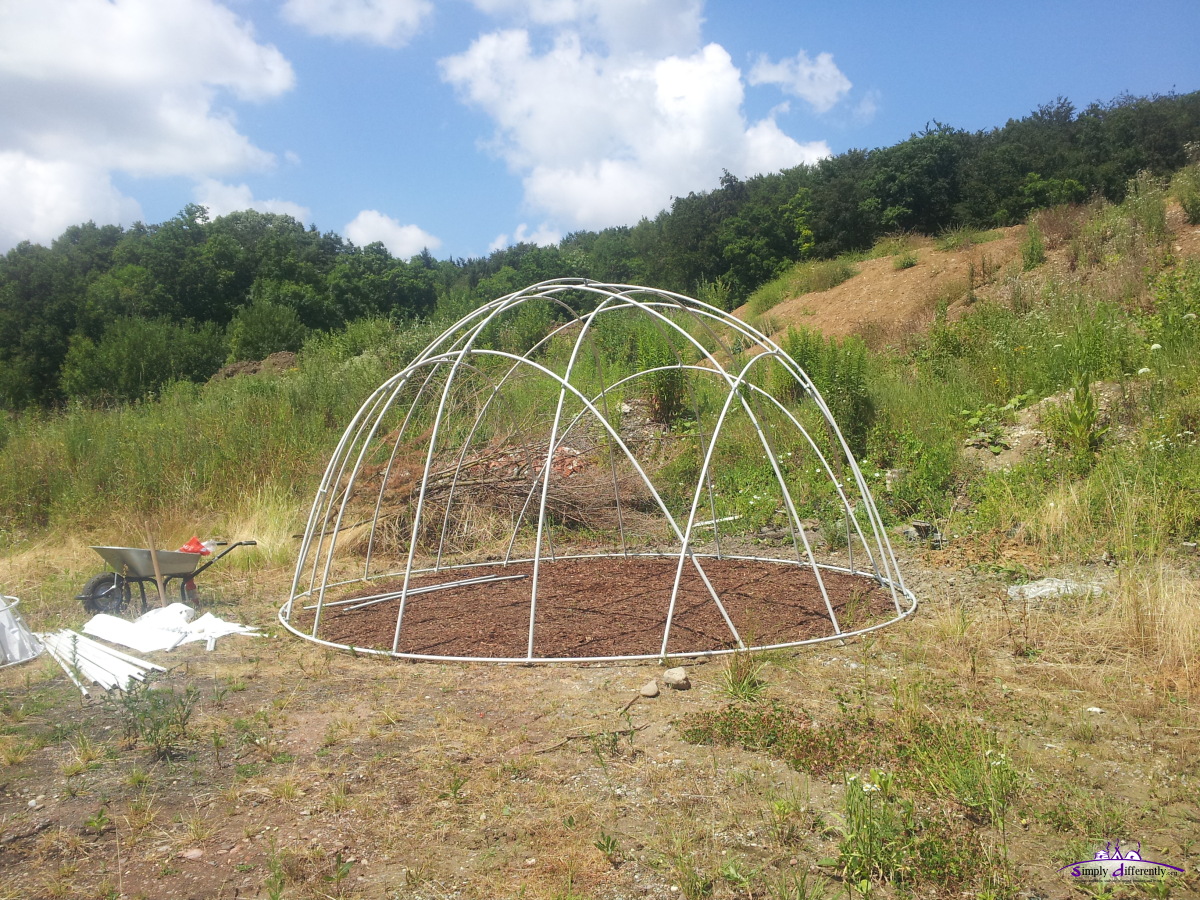 2014/06/24 14:39 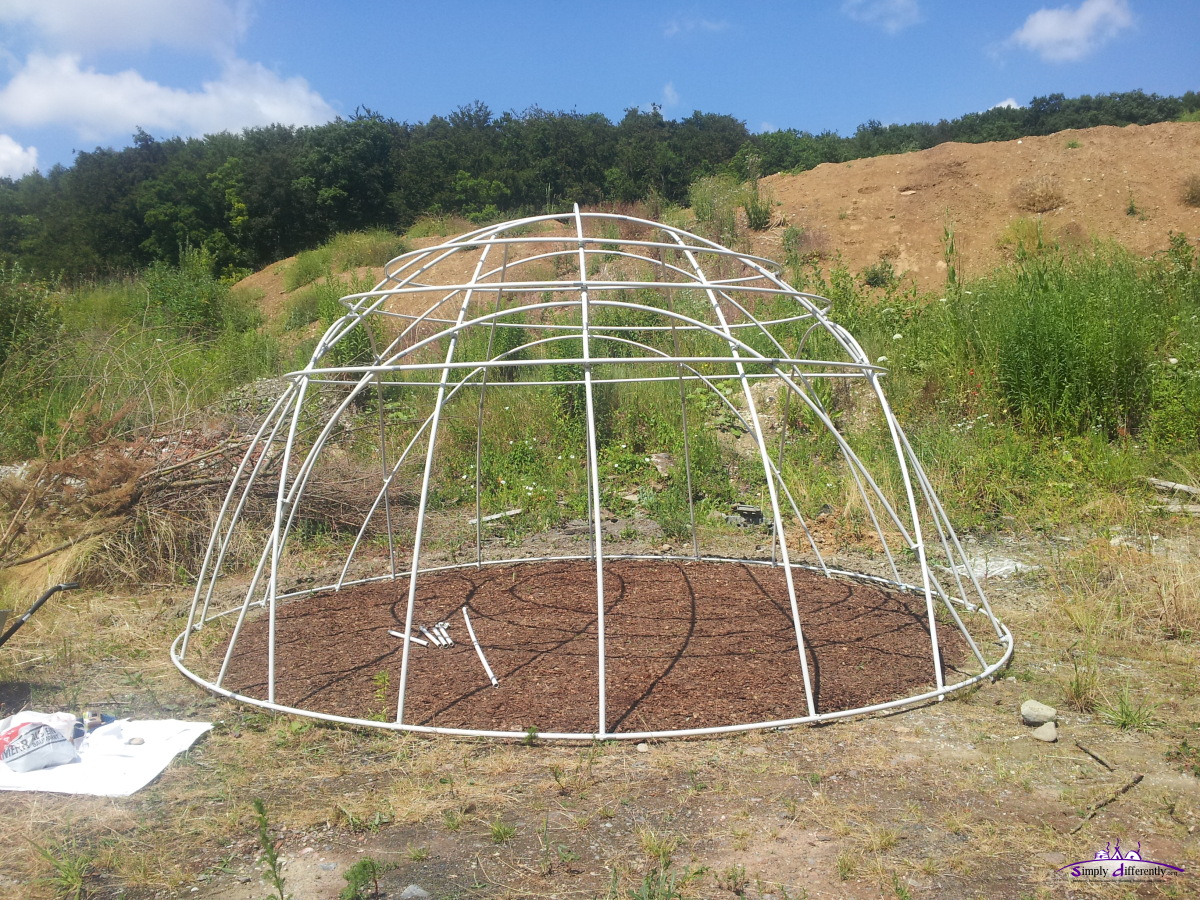 2014/06/24 15:02 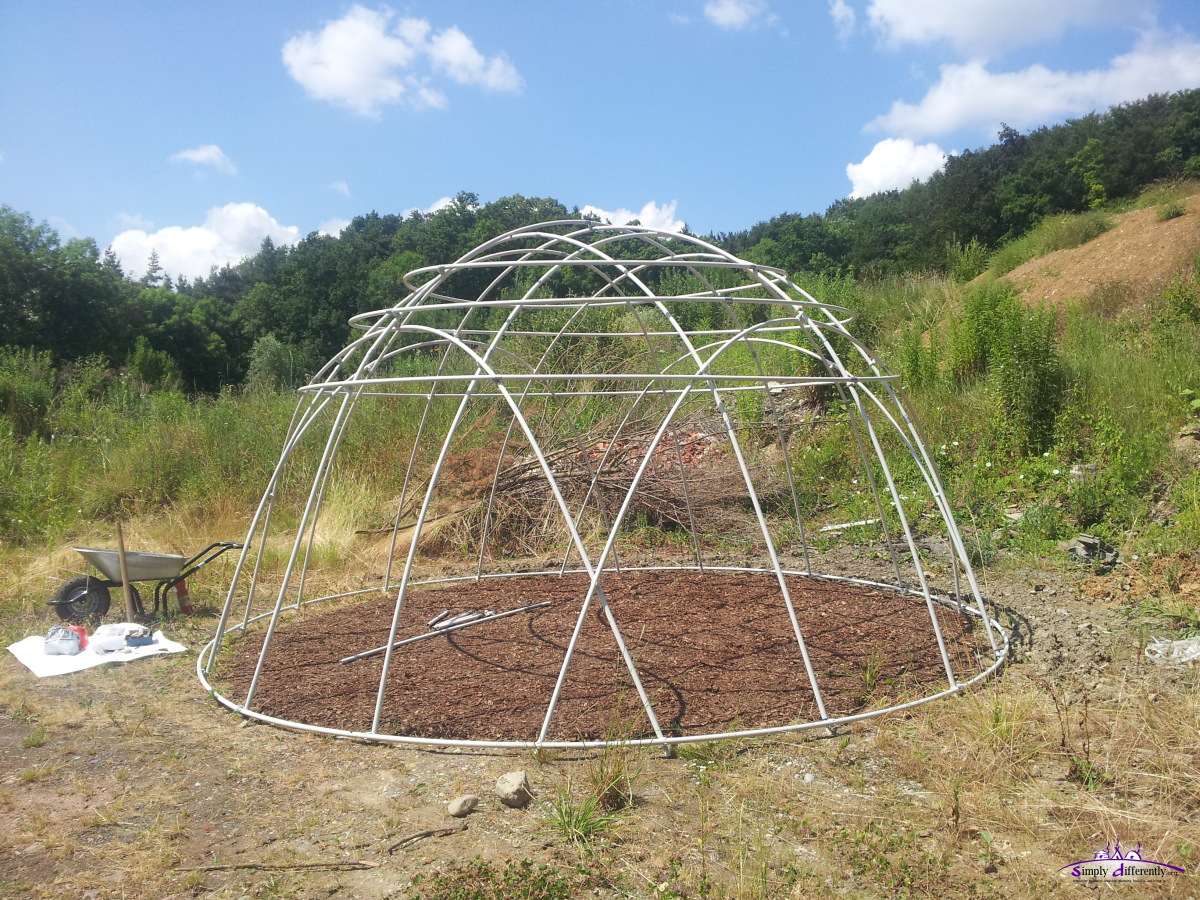 2014/06/24 15:02 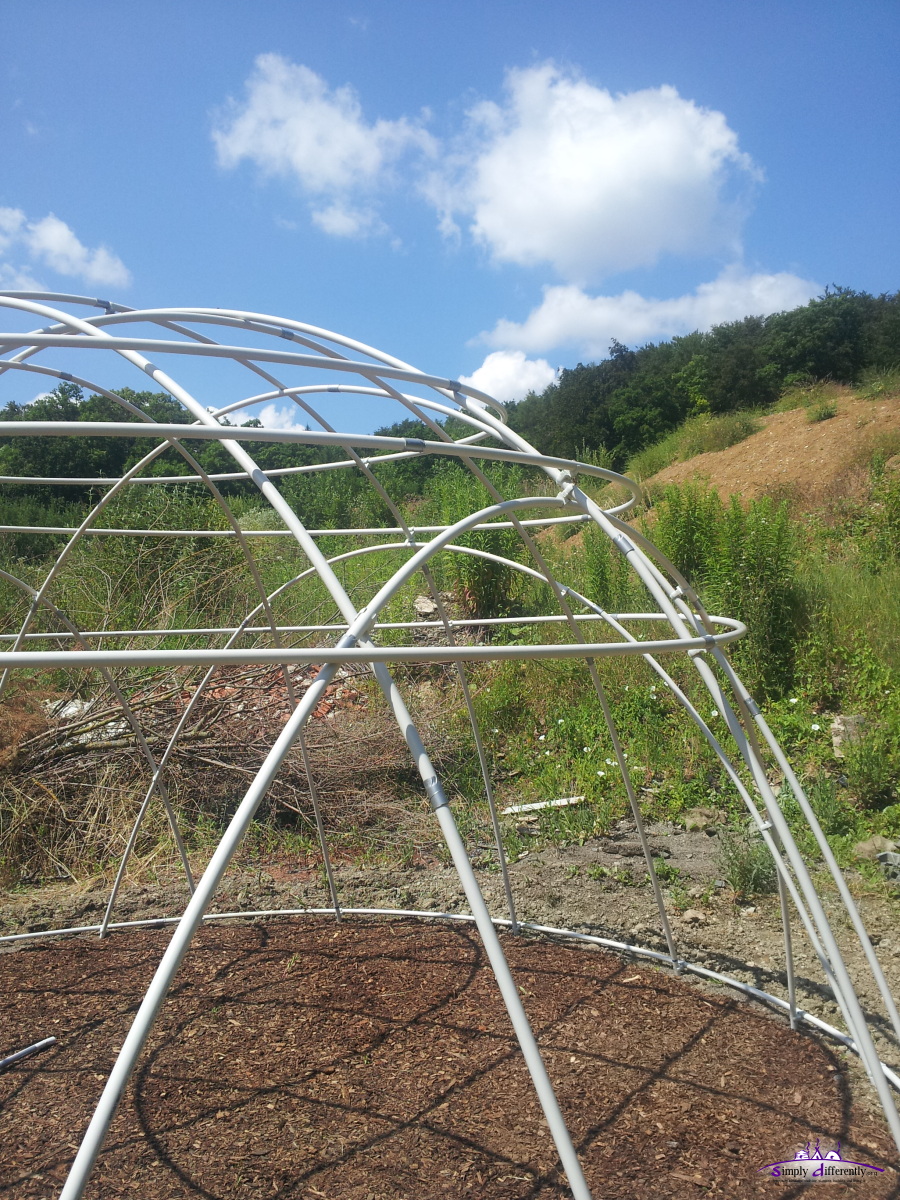 2014/06/24 15:02 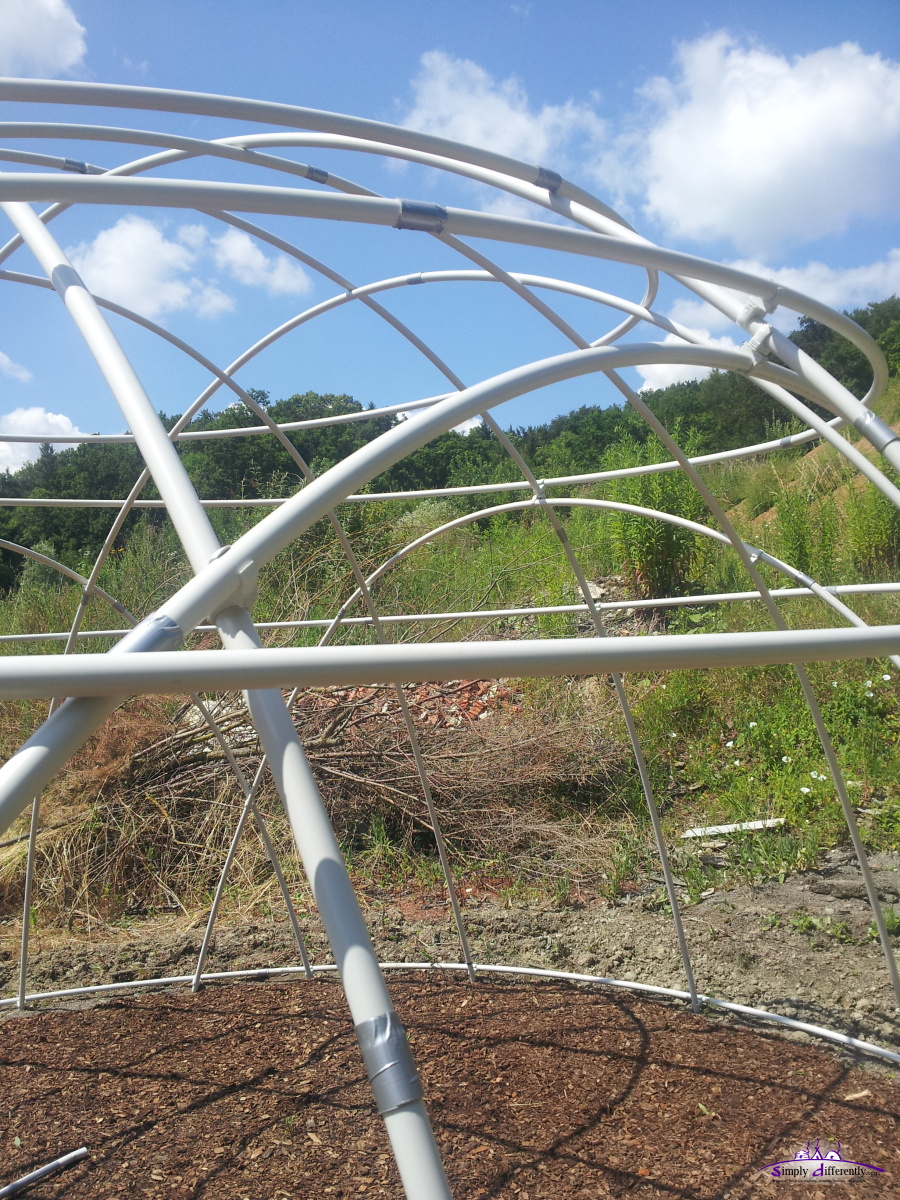 2014/06/24 15:02 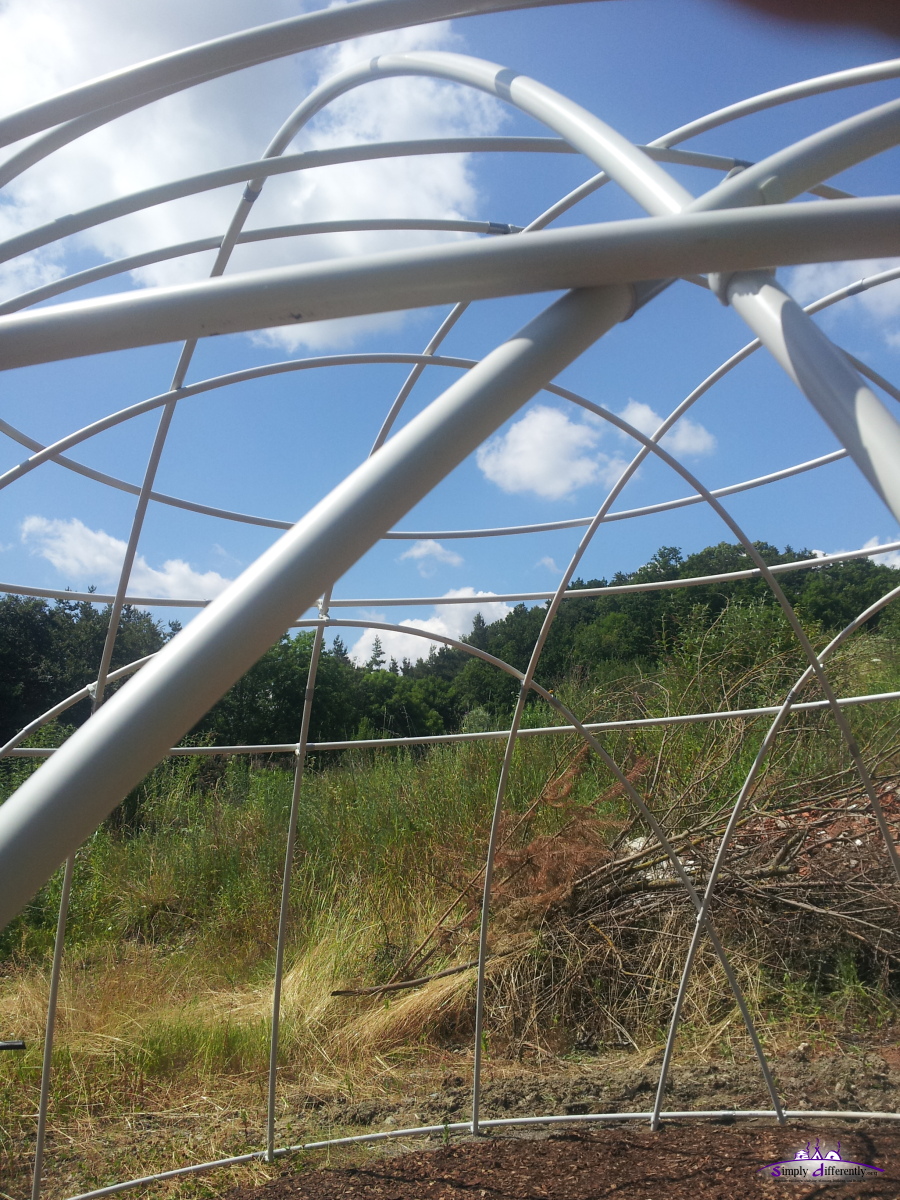 2014/06/24 15:02 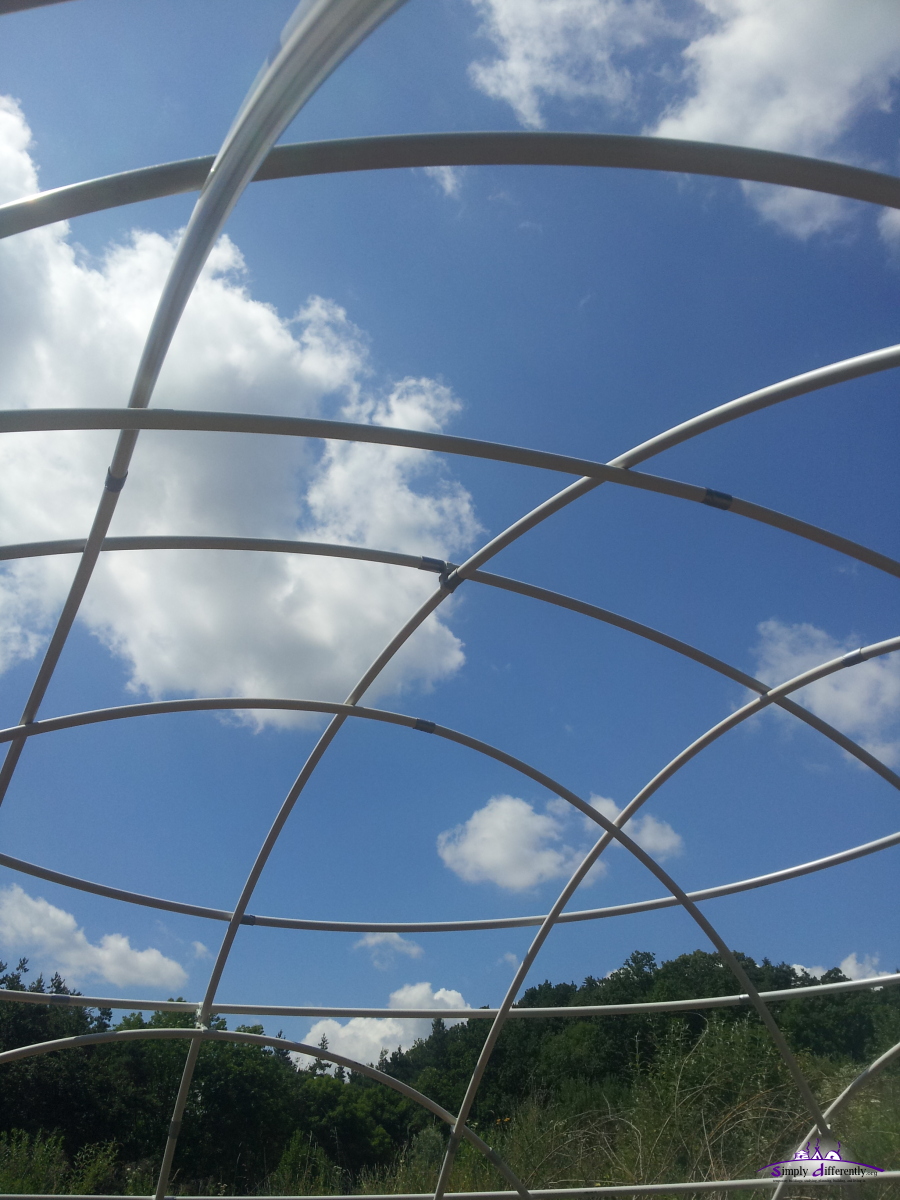 2014/06/24 15:02 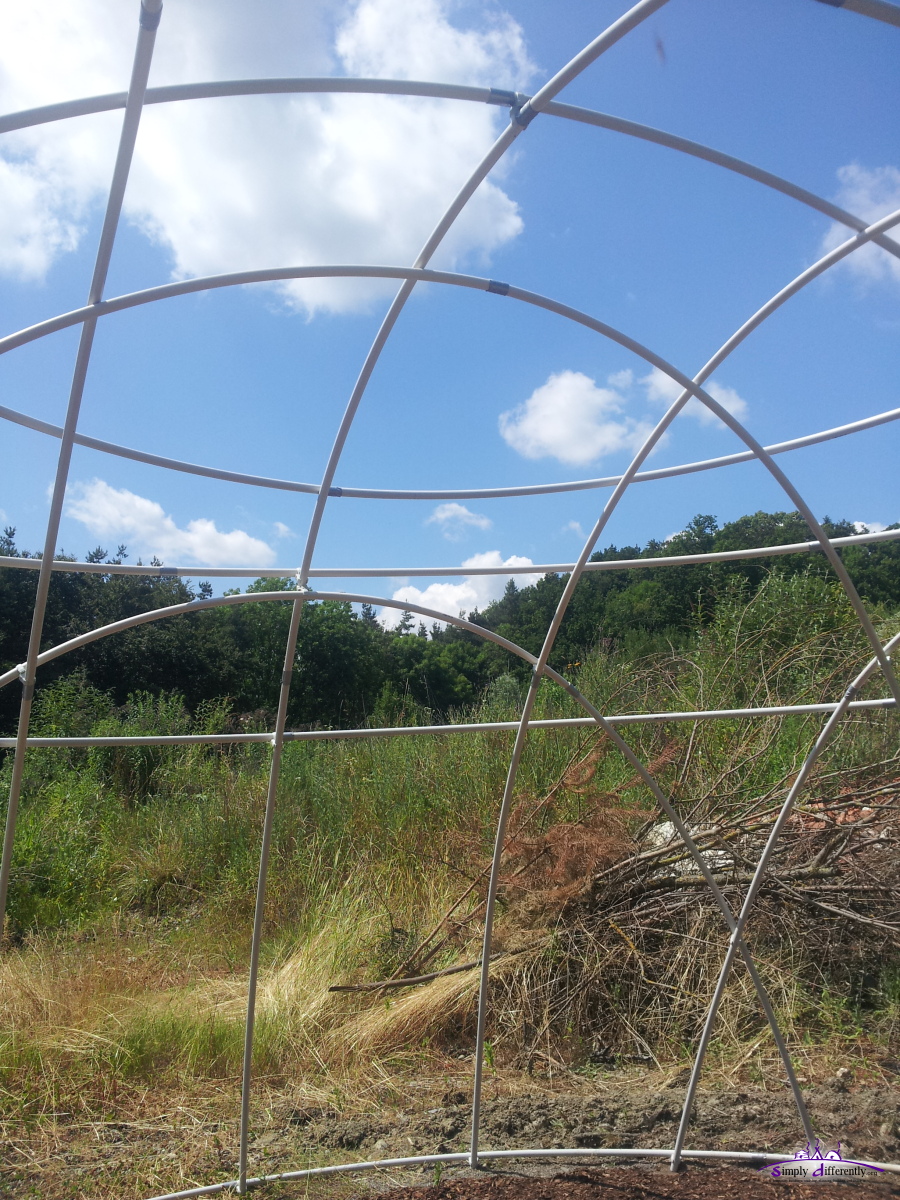 2014/06/24 15:02 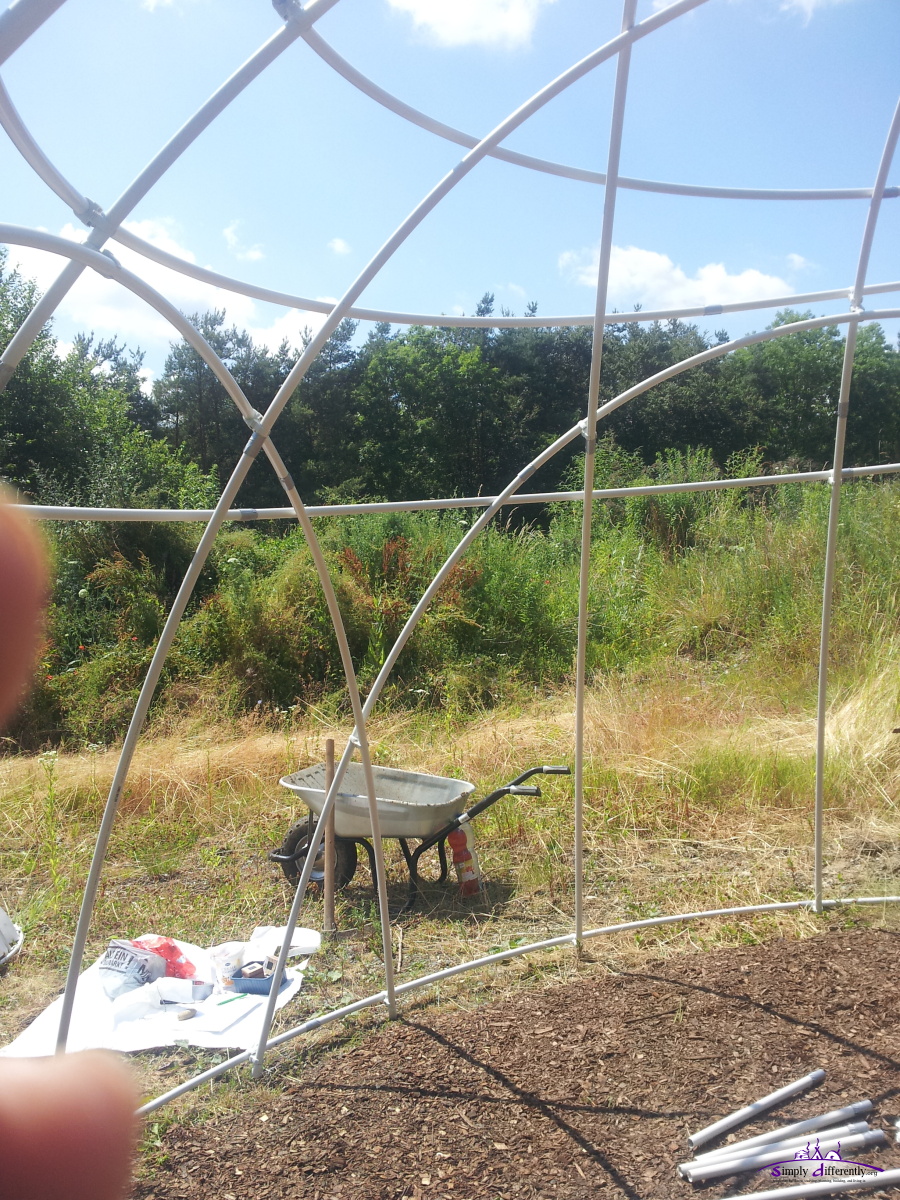 2014/06/24 15:02 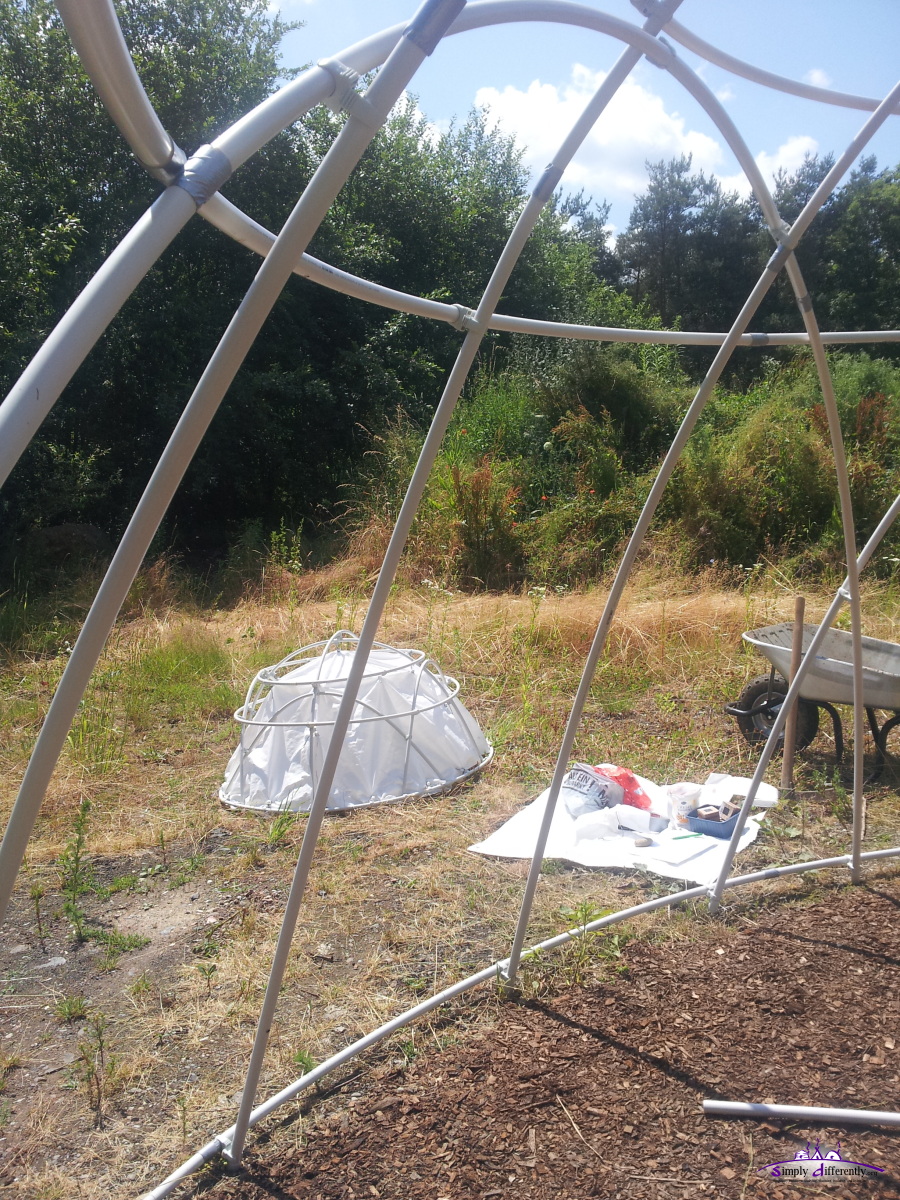 2014/06/24 15:03 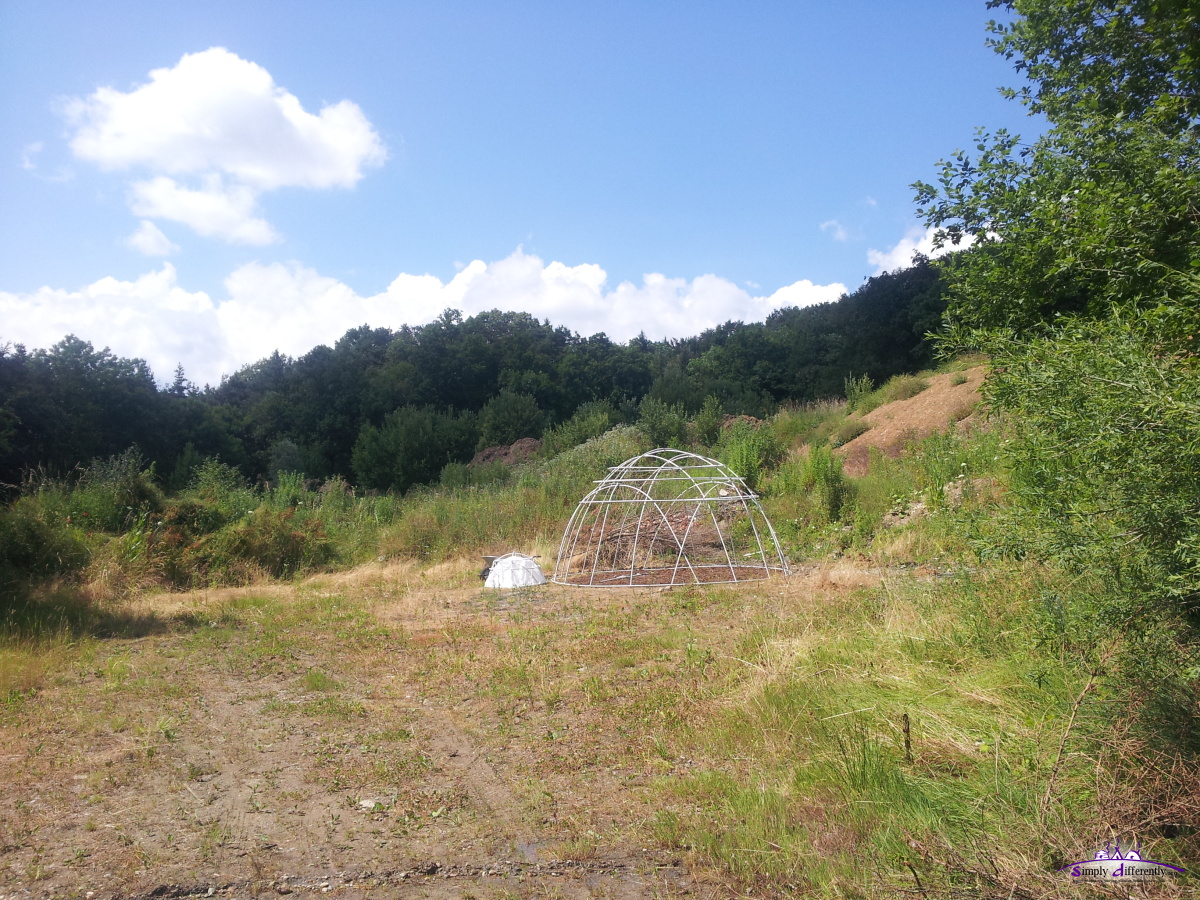 2014/06/24 15:19 This time it worked better, likely because the ground wasn't that tilted as the first time I pitched the 4:x:3 dome. Conclusions:
Comparison 3.8m vs 5.1m
2014/06/22: Pitching 3:x:2 3.82m Diameter DomeToday I used the existing 2m tubes to do the 3:x:2:Numbers
Materials
PitchingThe Ax I could do with the cut a tubes for the 4:x:3 - so the nice thing is, since I looked for as little cuts as possible, I was able to put together 3:x:2 (3.8m diameter) from the 4:x:3 parts (5.1m diameter), plus 4a ring on the top. 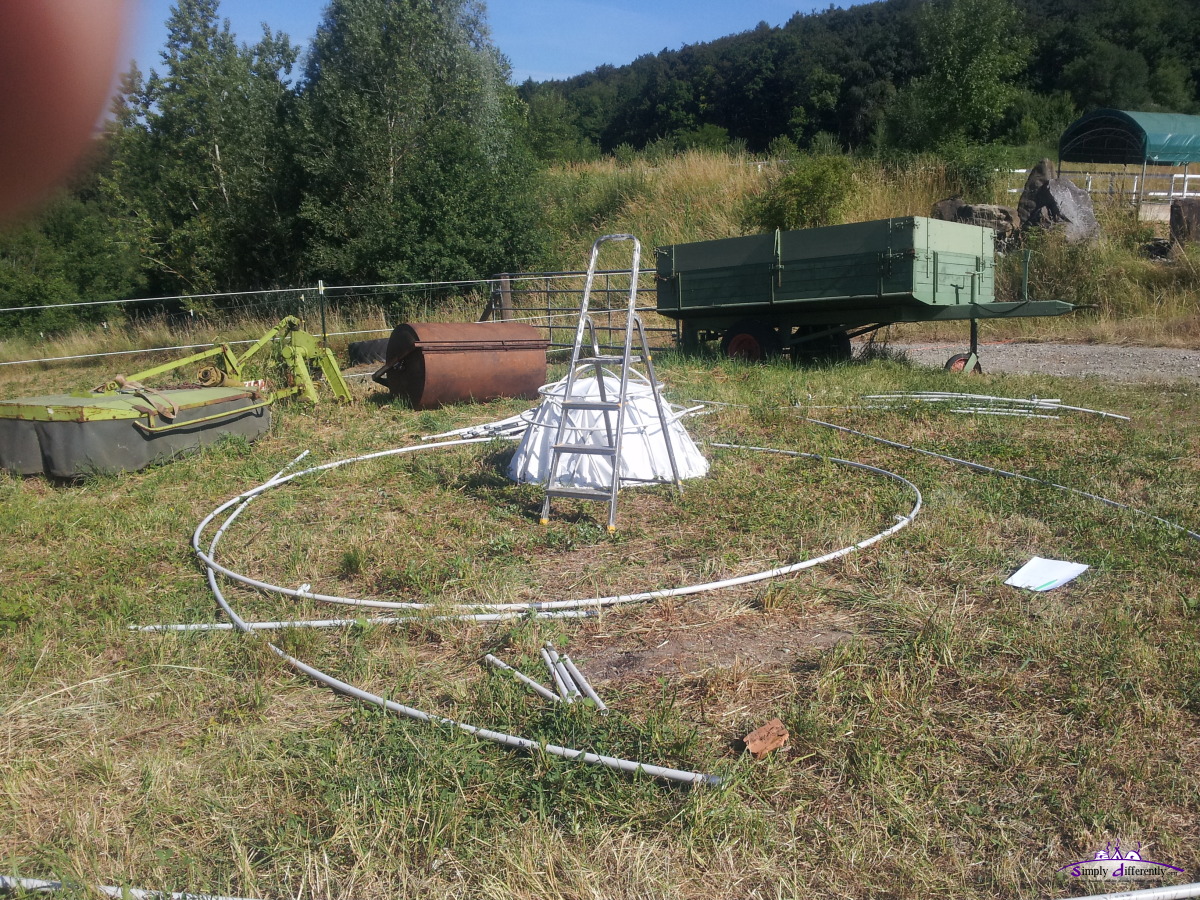 2014/06/22 09:55 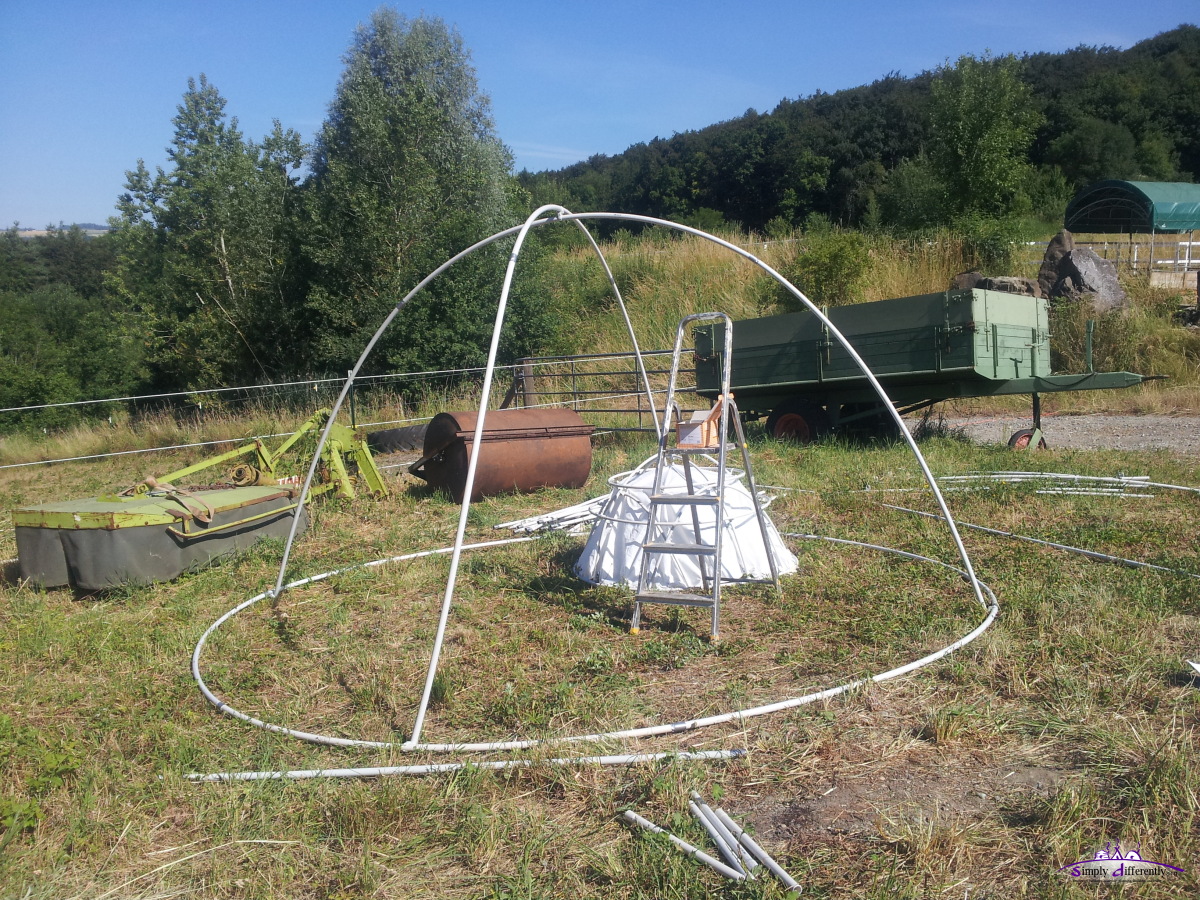 2014/06/22 10:02  2014/06/22 10:25 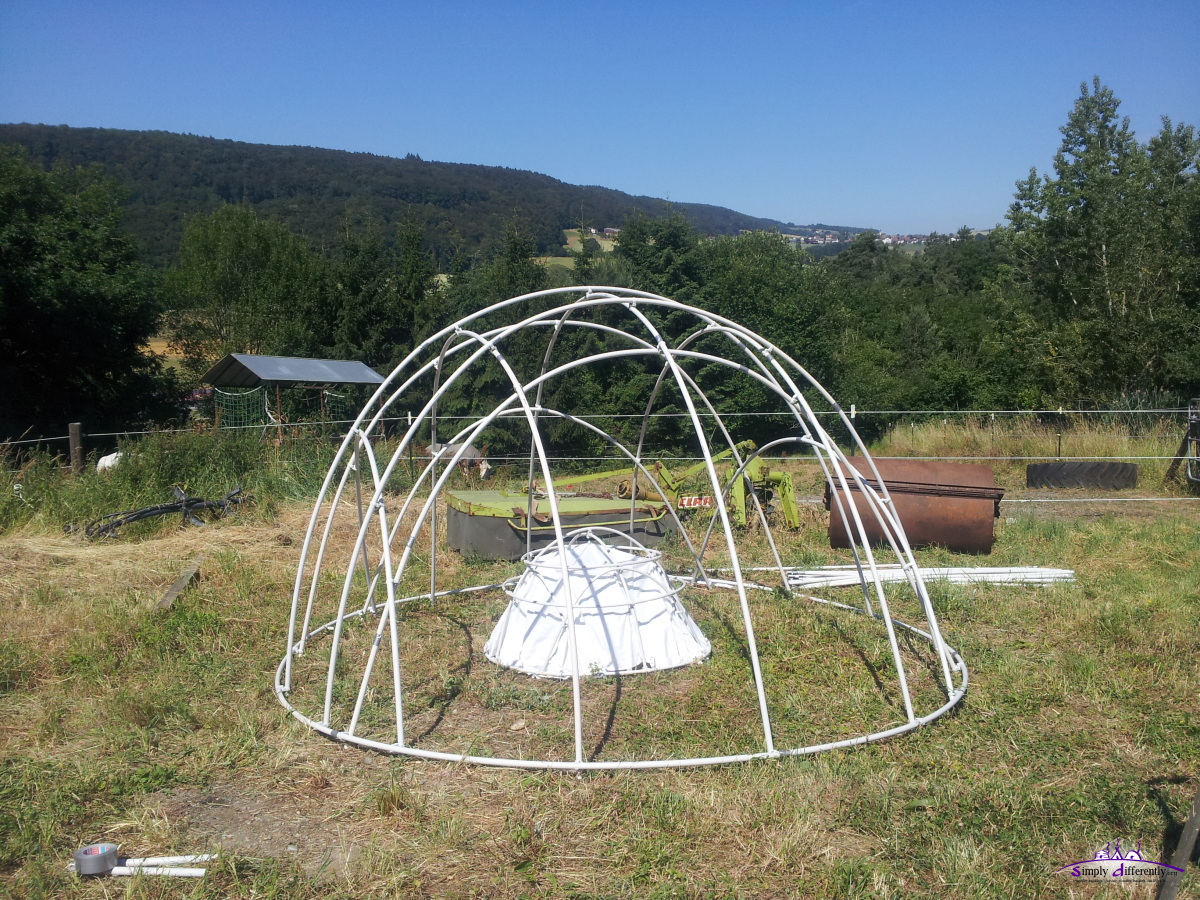 2014/06/22 10:56 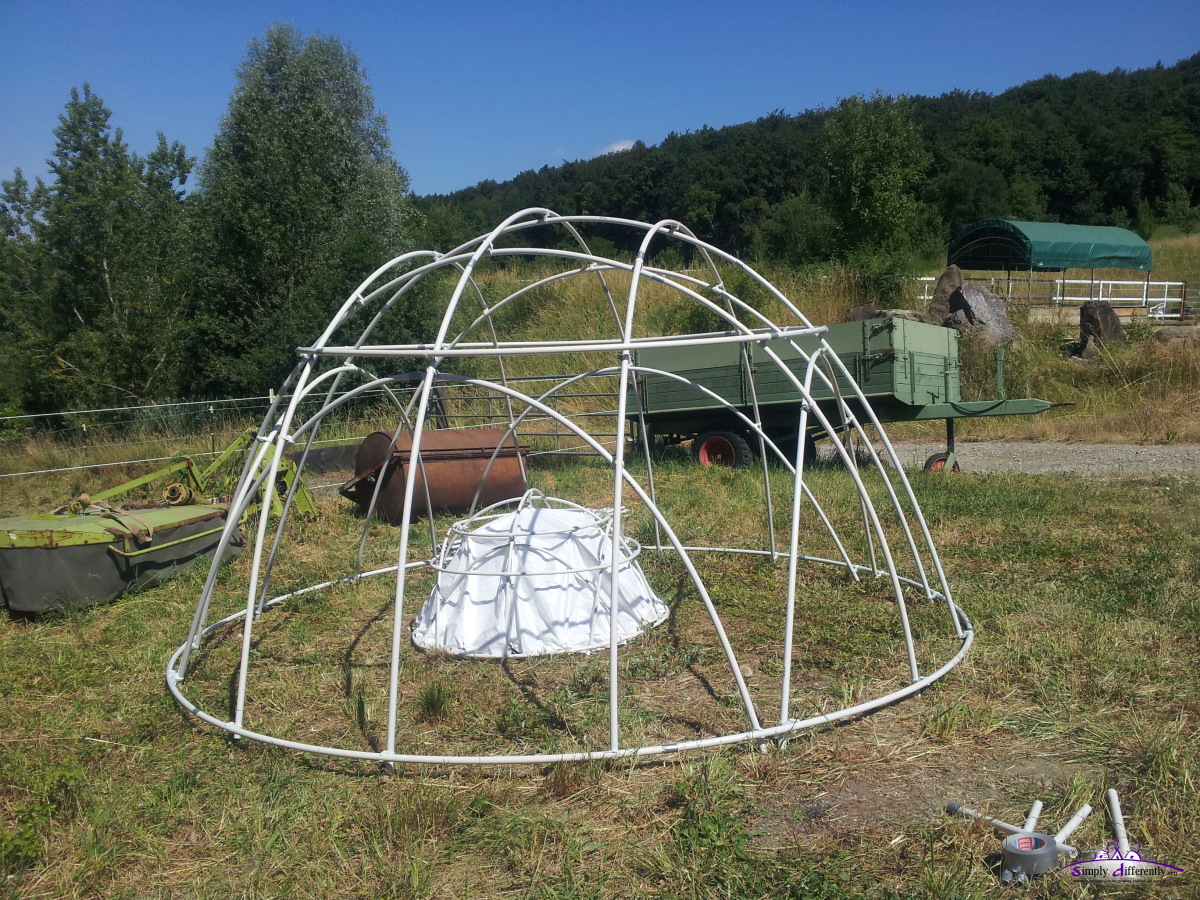 2014/06/22 11:19 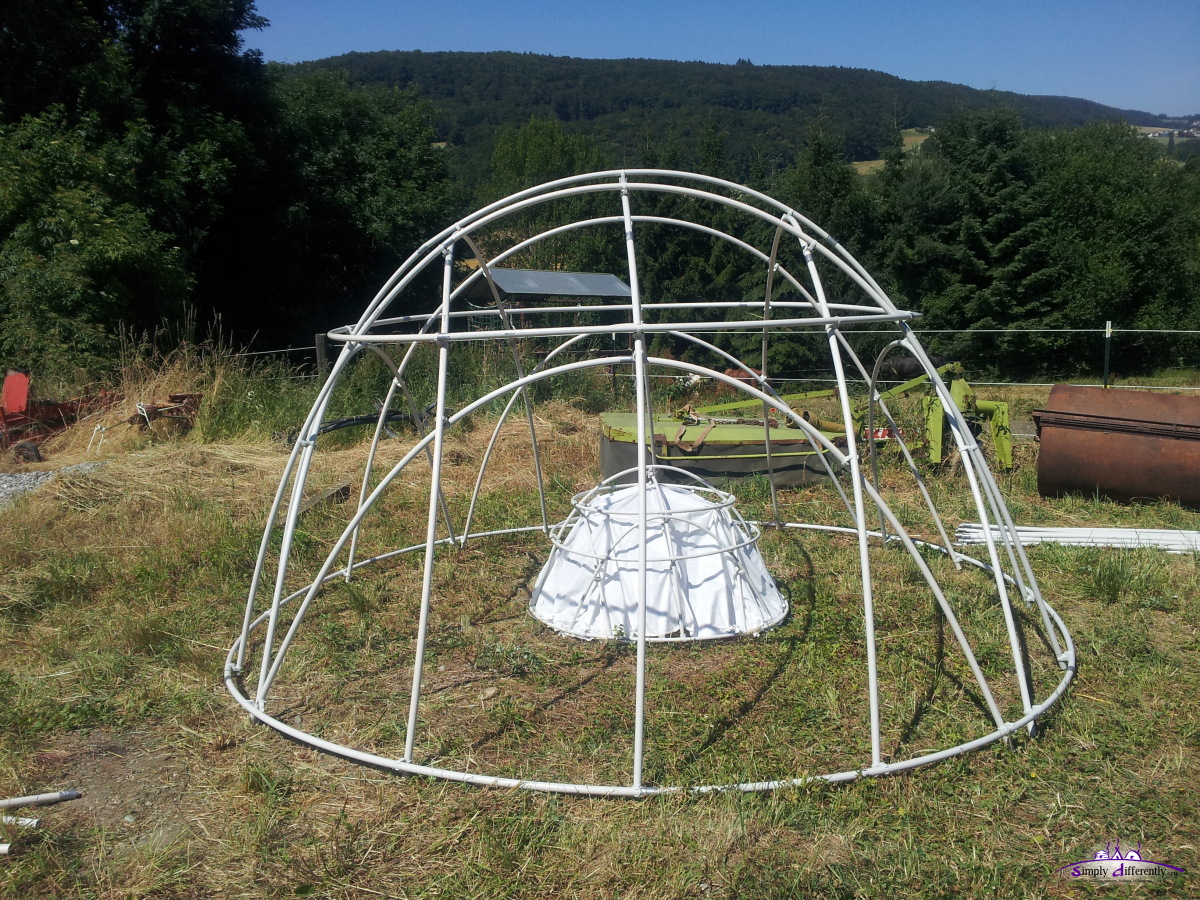 2014/06/22 11:20 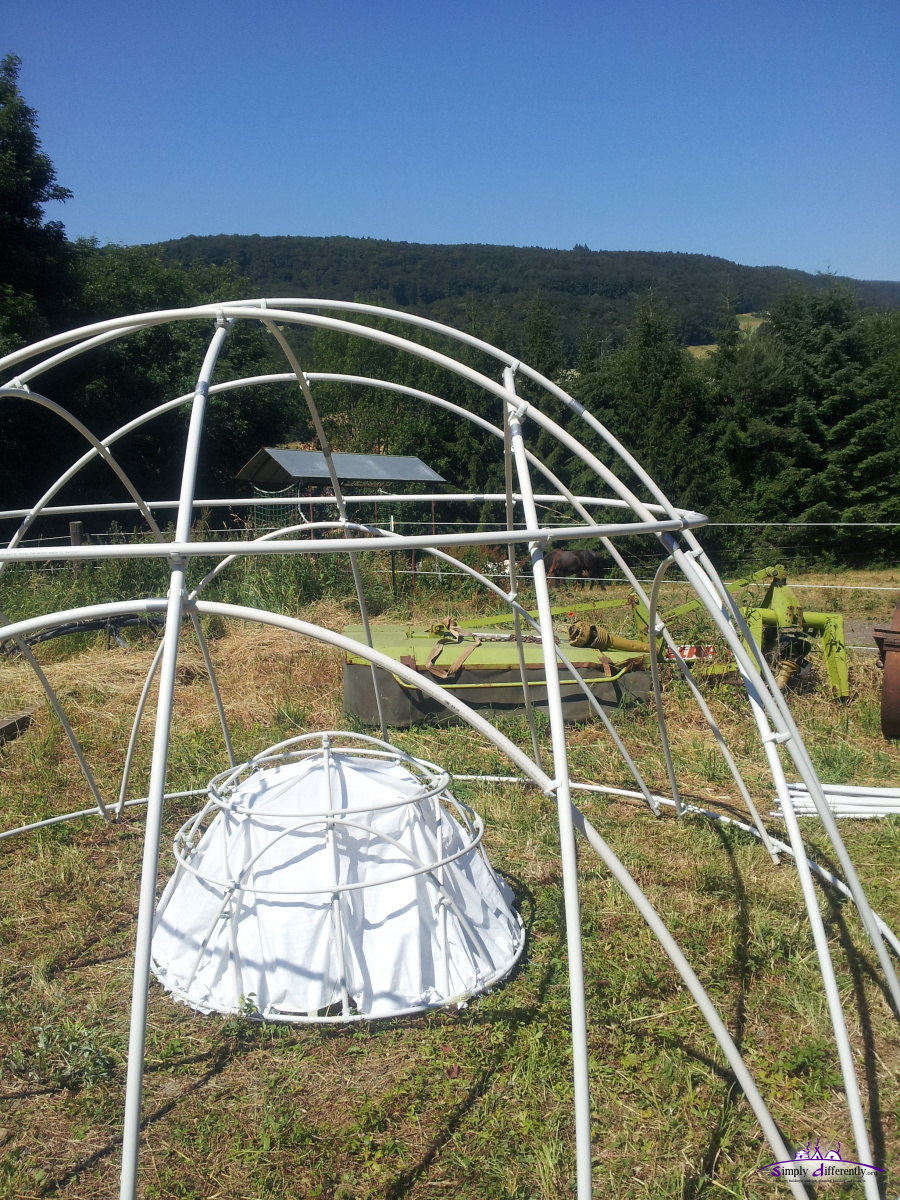 2014/06/22 11:20 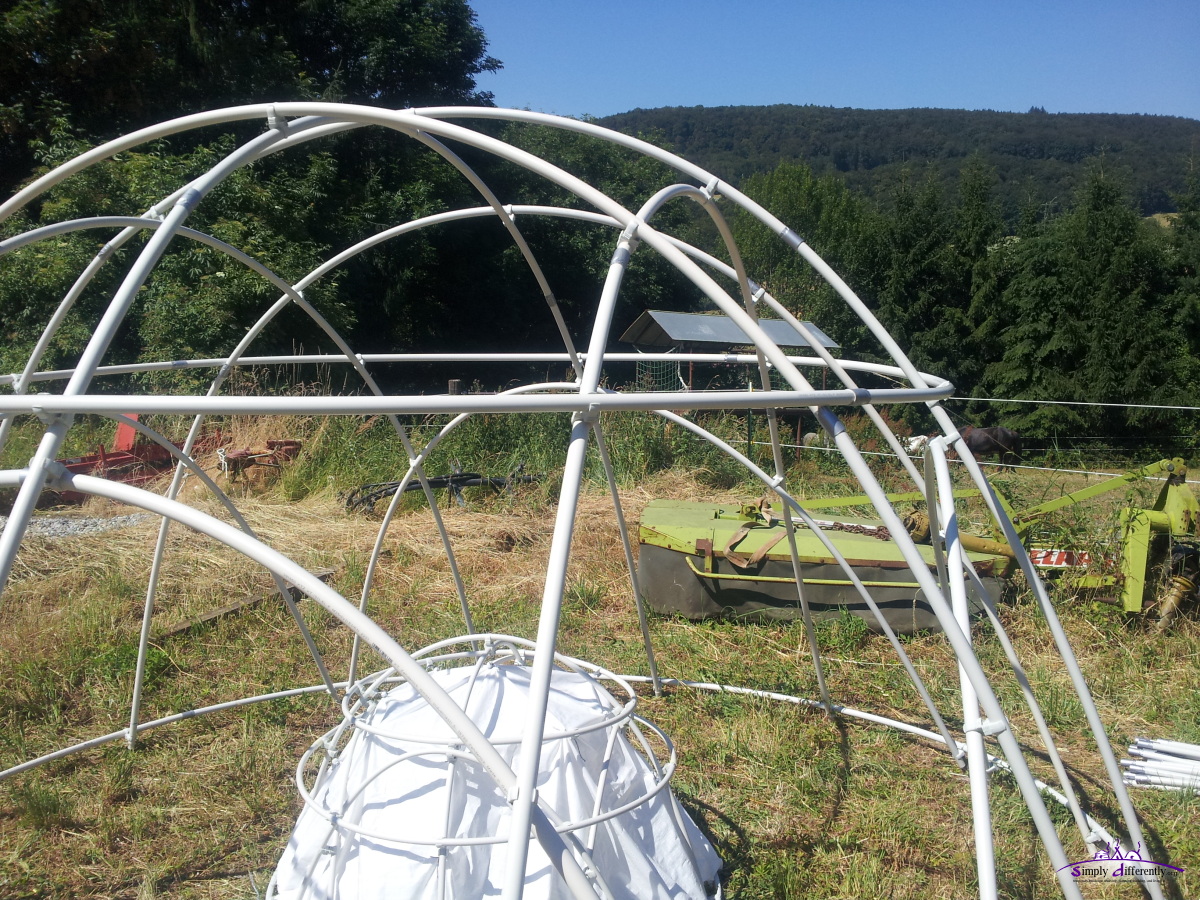 2014/06/22 11:20 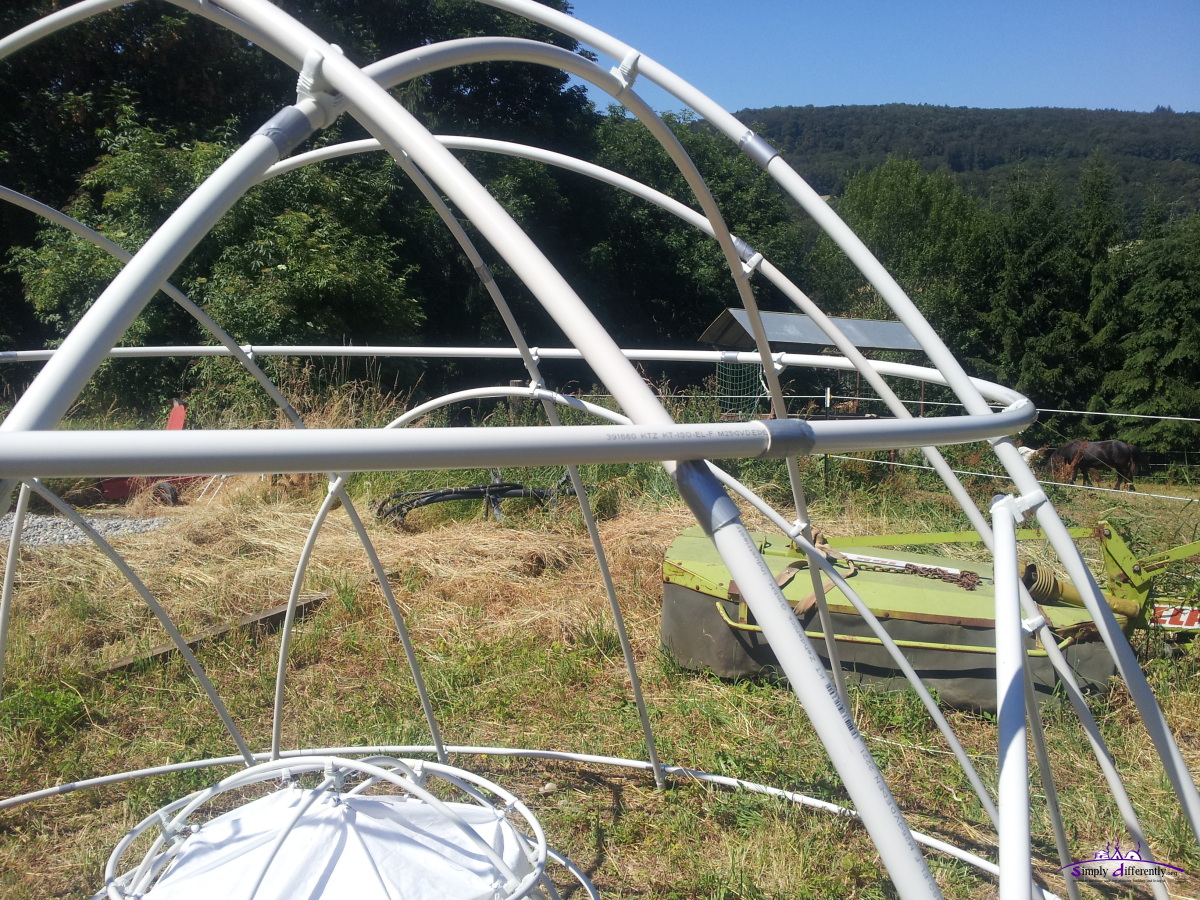 2014/06/22 11:20 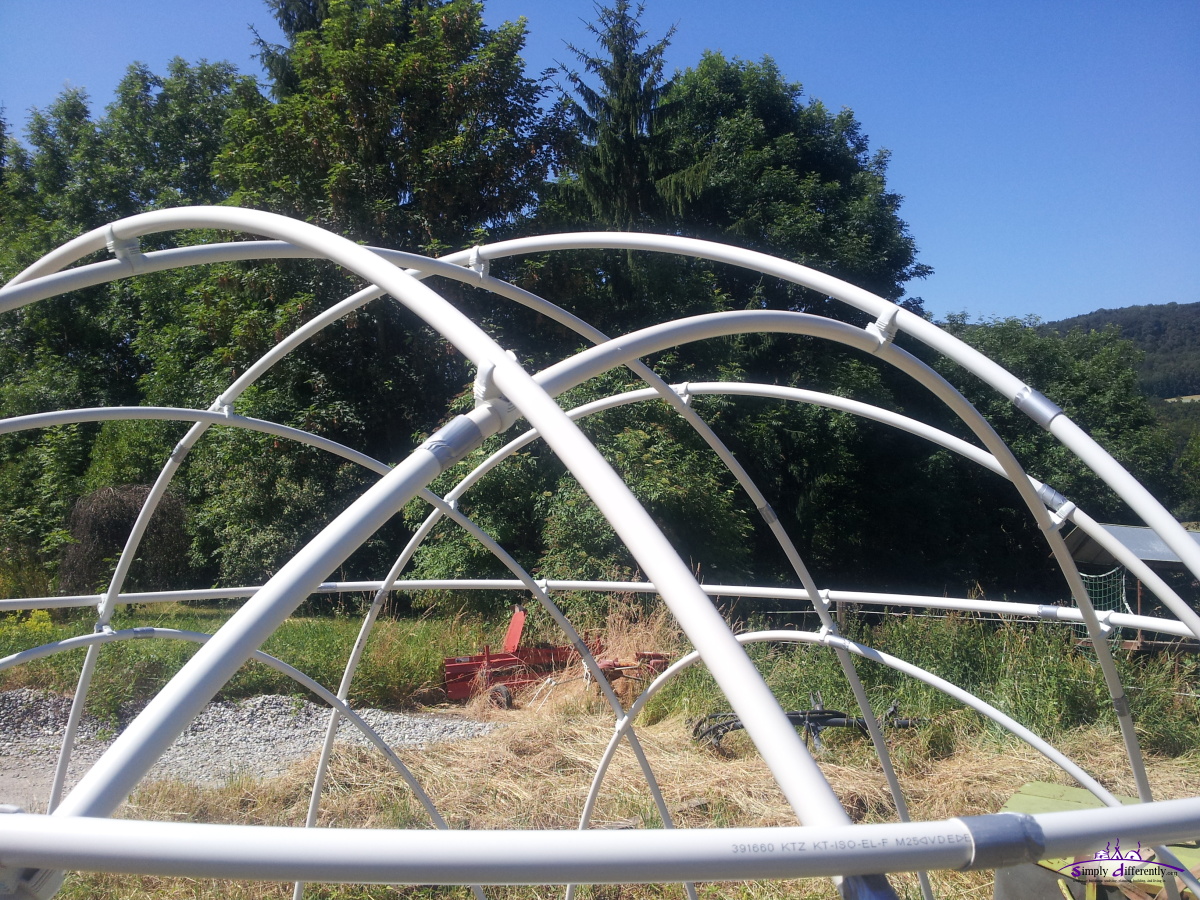 2014/06/22 11:20 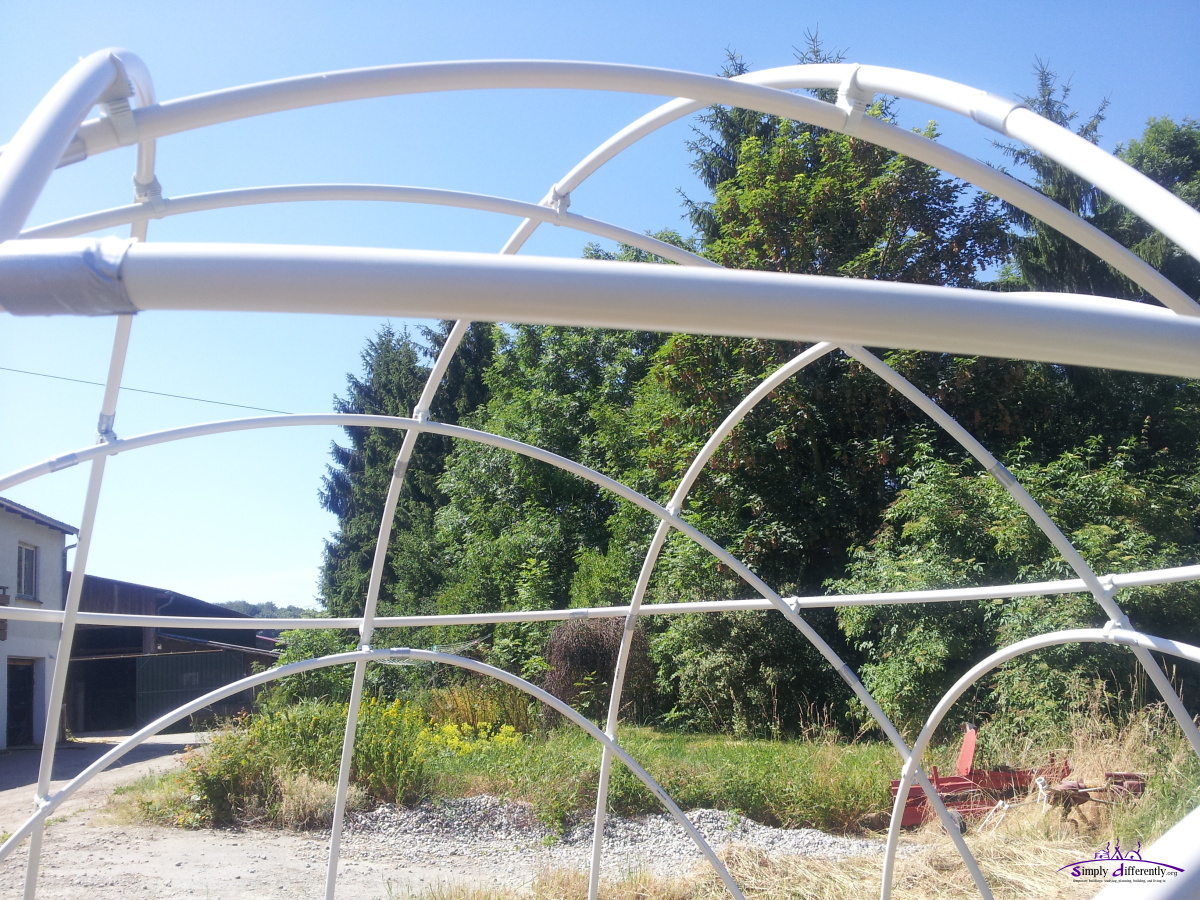 2014/06/22 11:20 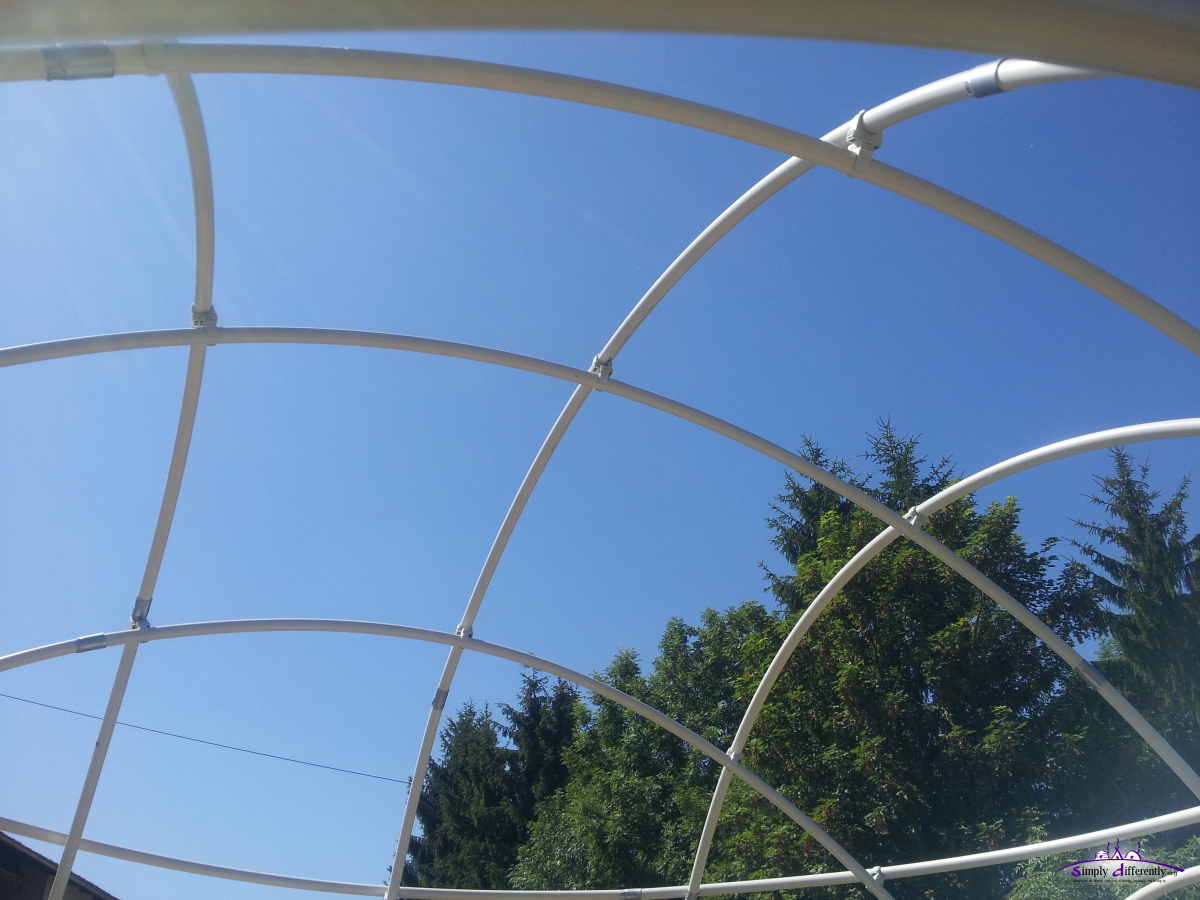 2014/06/22 11:20 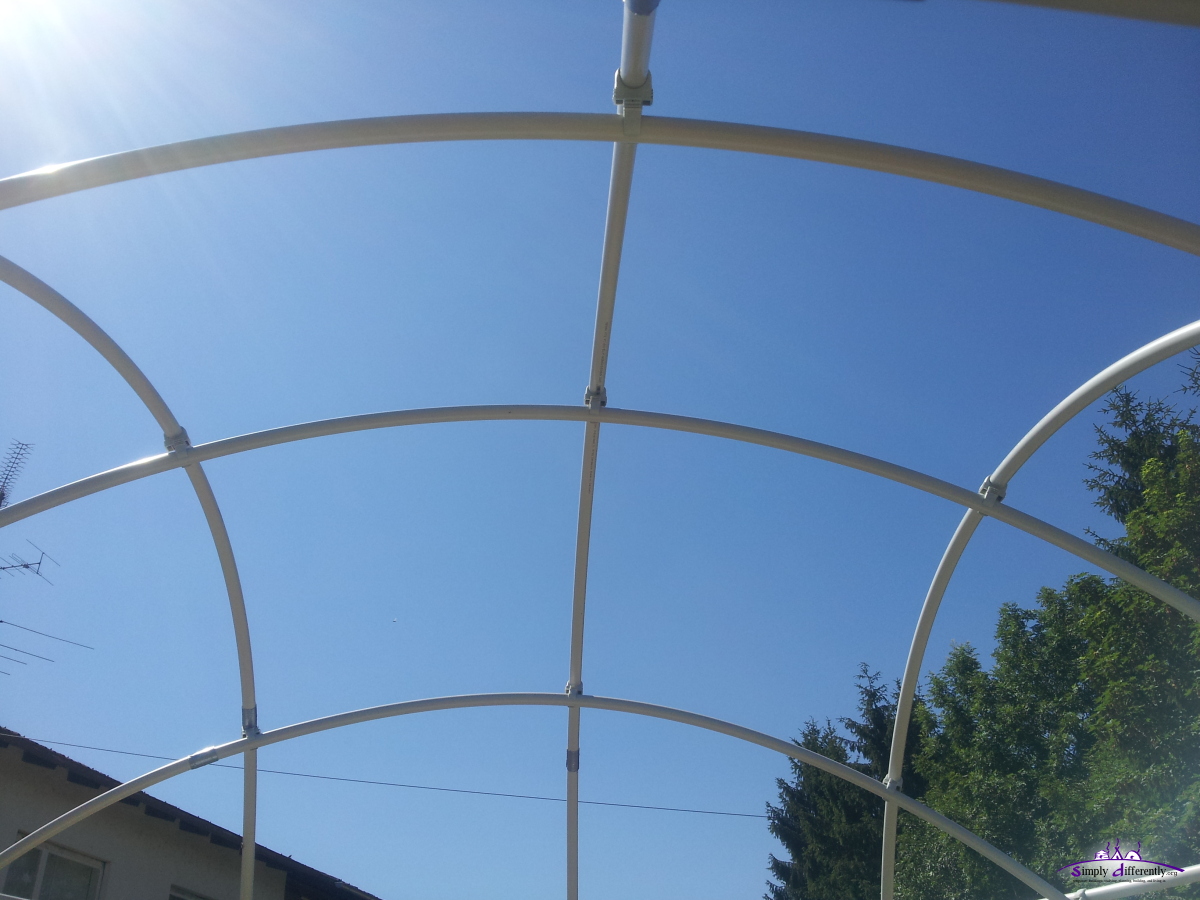 2014/06/22 11:20 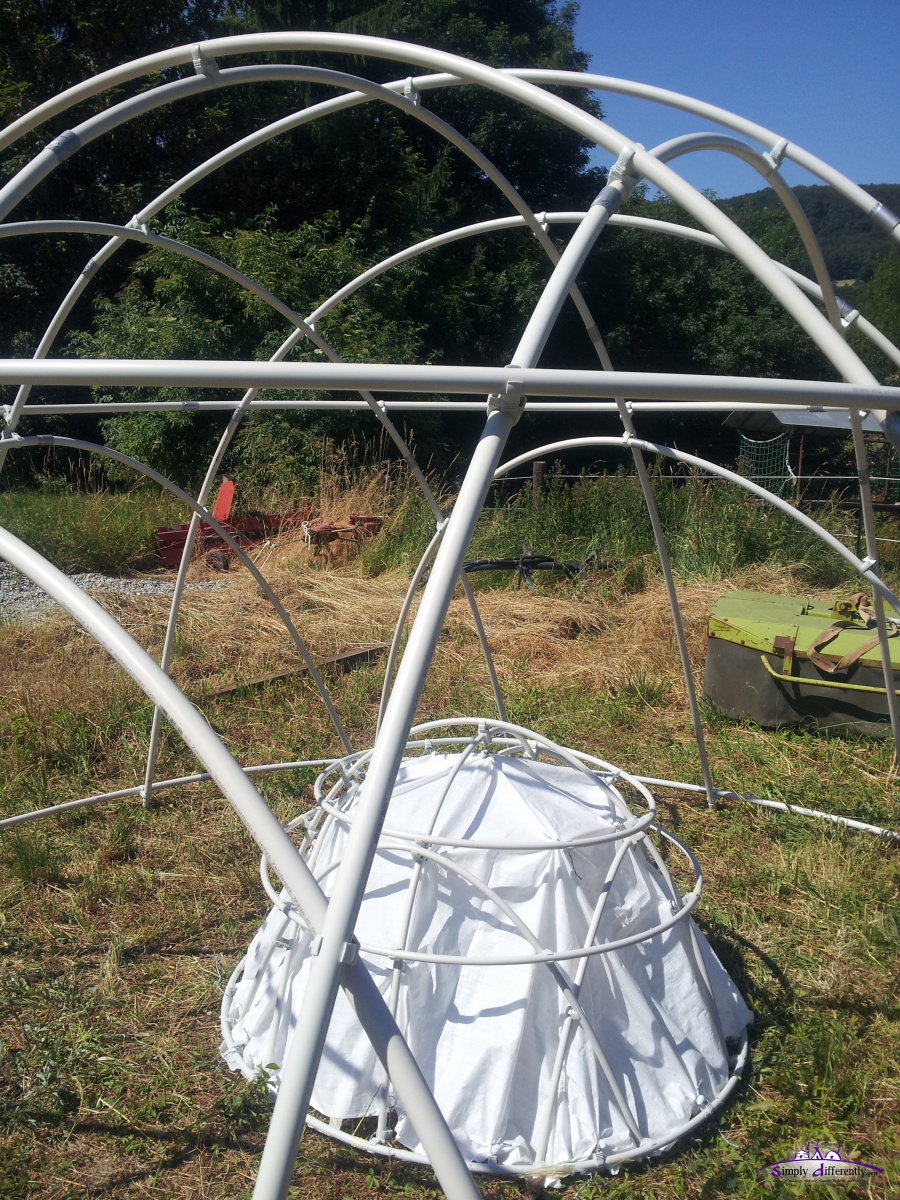 2014/06/22 11:21 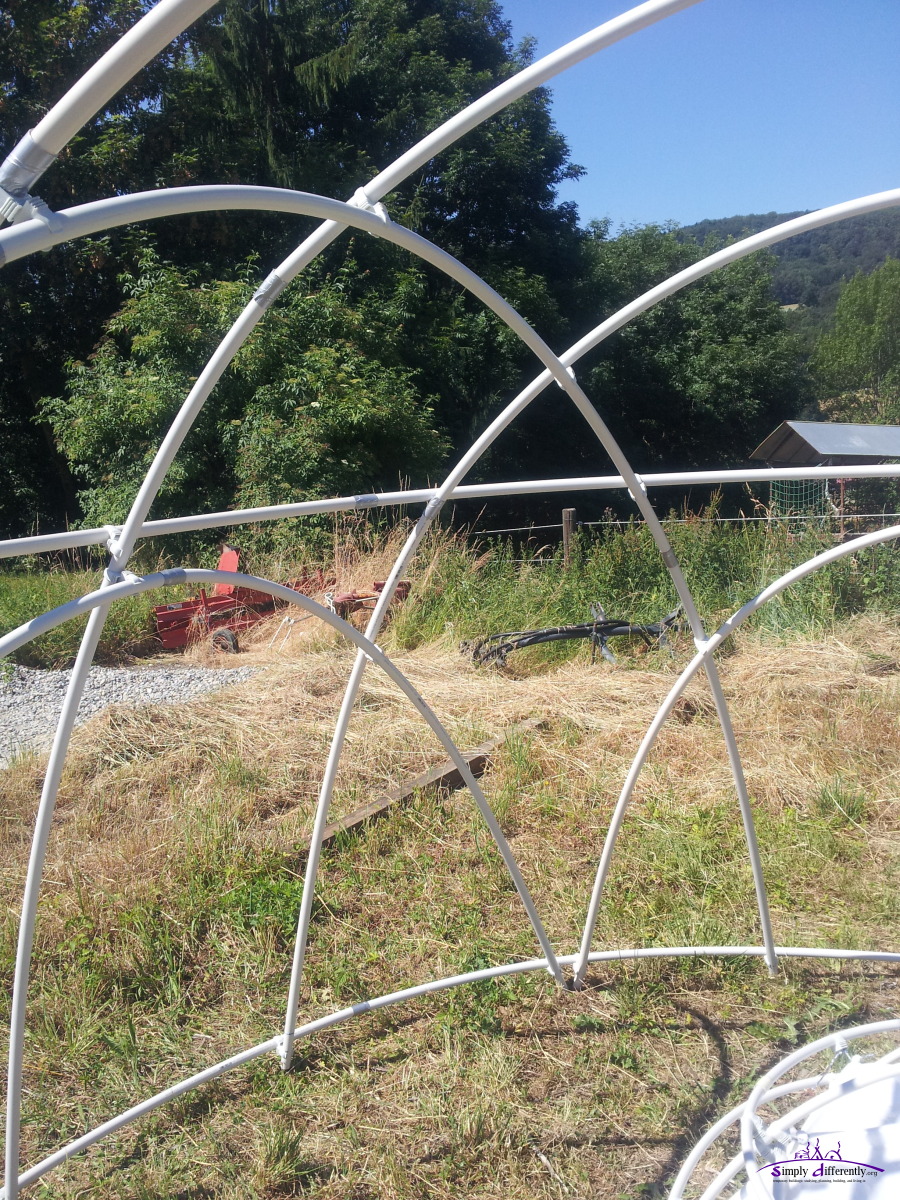 2014/06/22 11:21 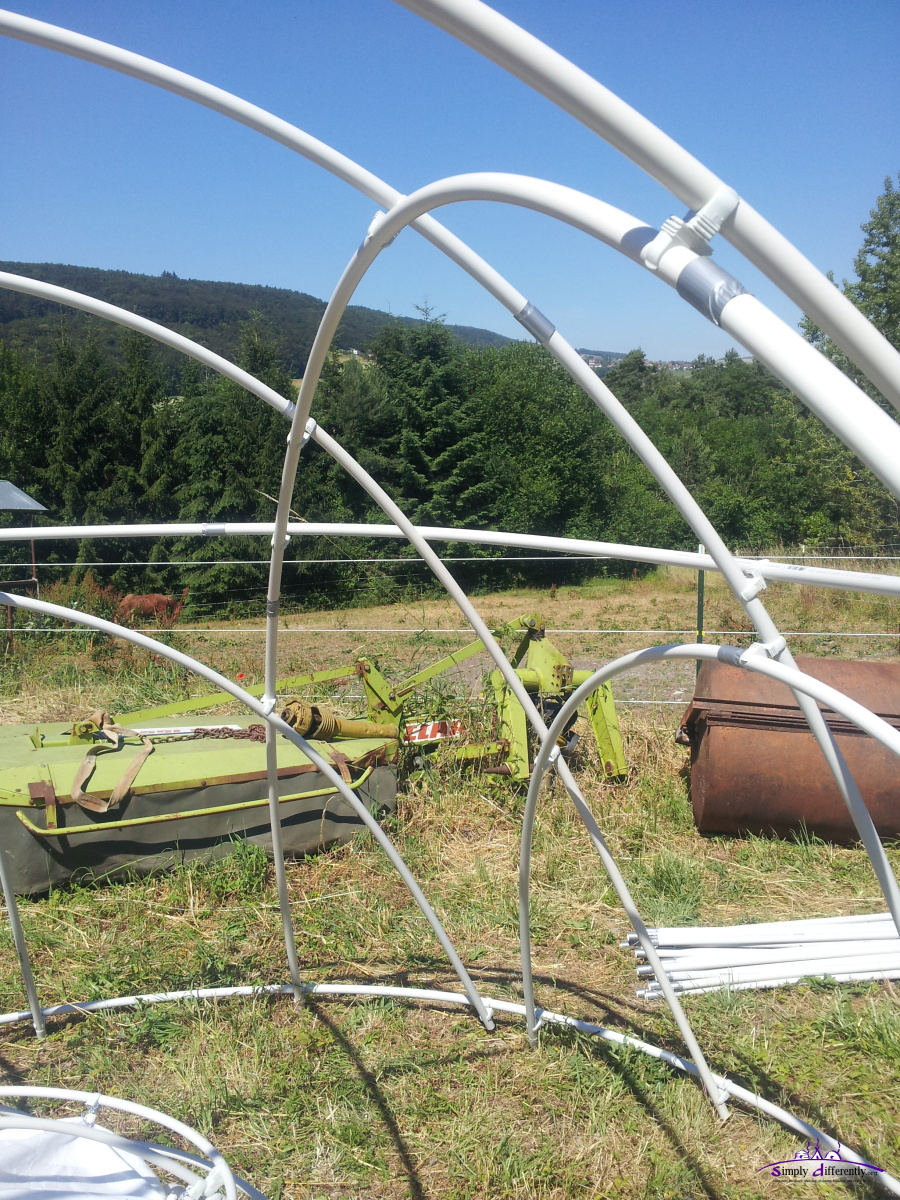 2014/06/22 11:21
As you can see there is quite some tension of the B bow (2a = 4m with 25mm is quite stiff), so I extended the B (2a => 2a + 50cm): 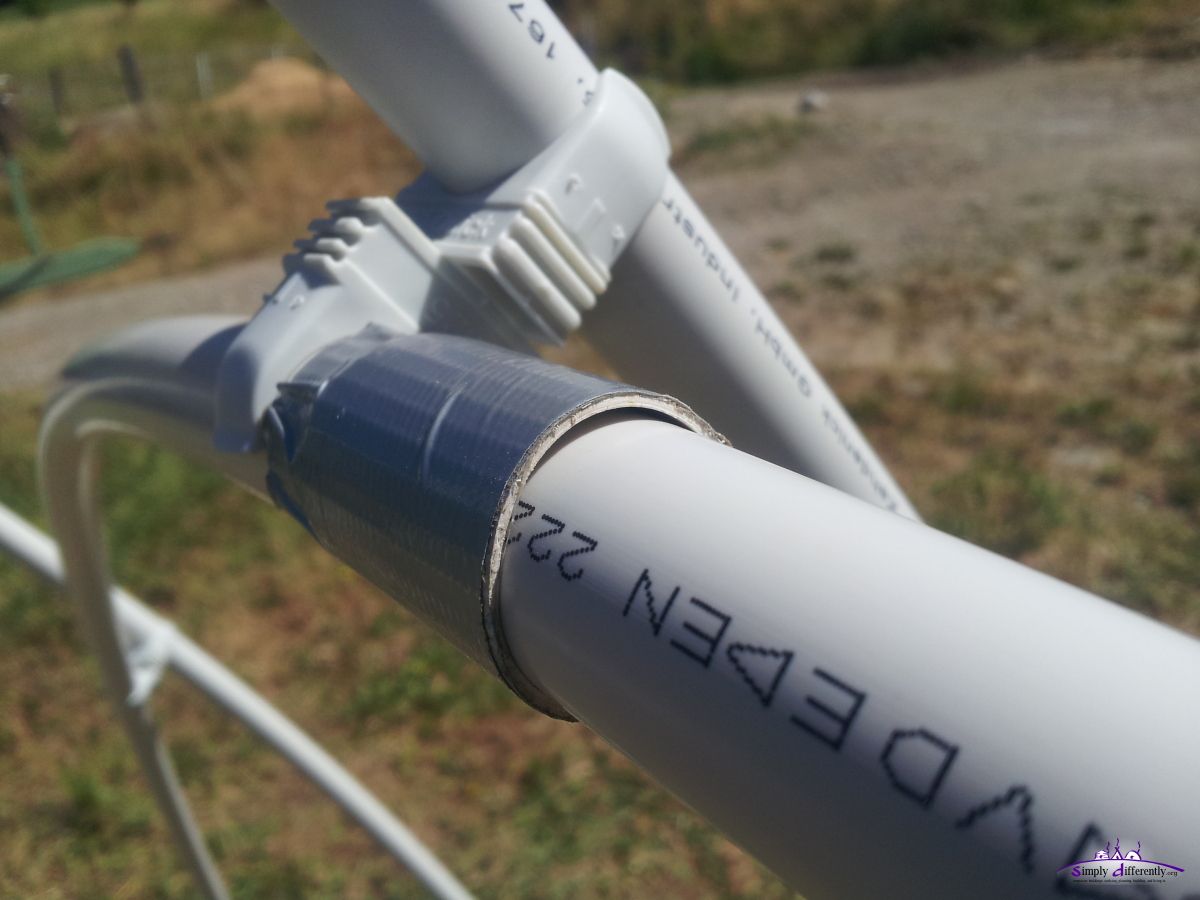 2014/06/22 11:26 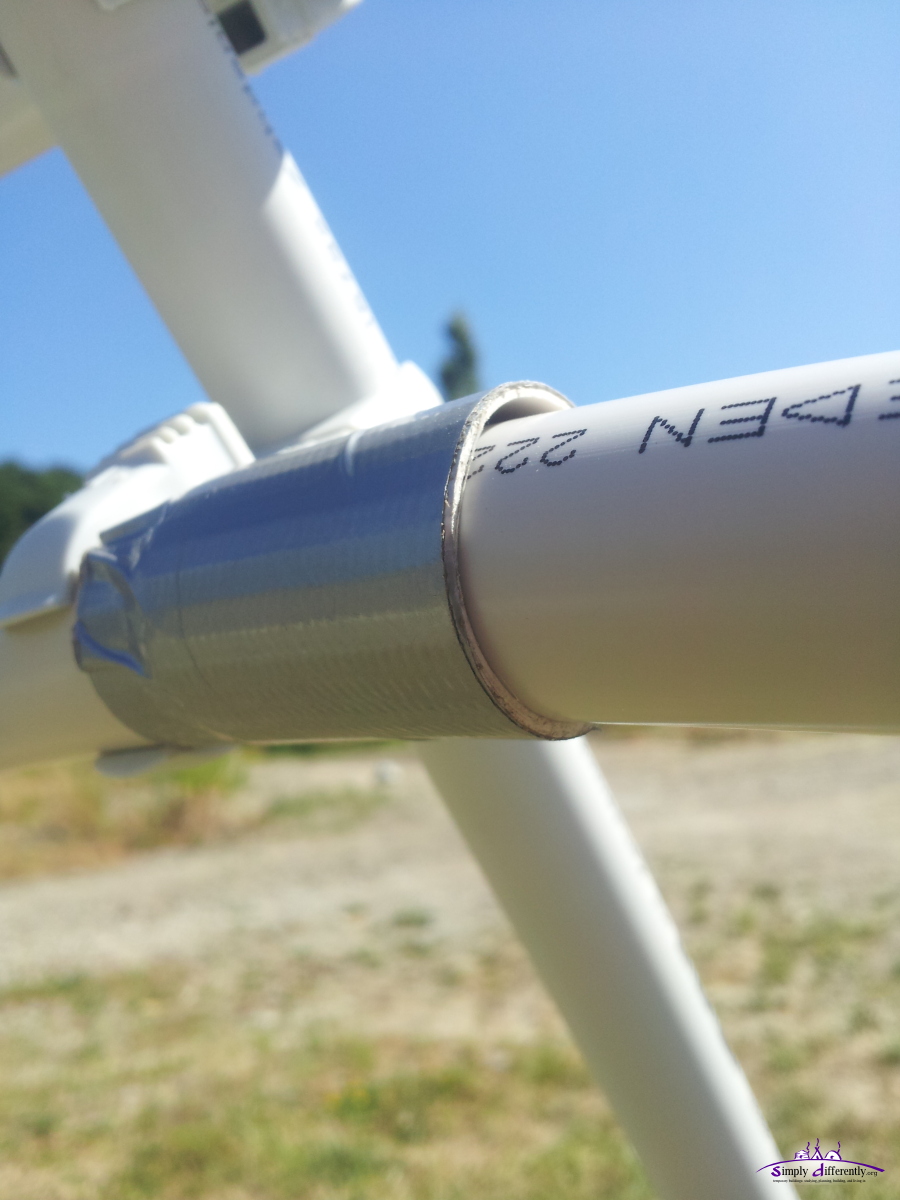 2014/06/22 11:26 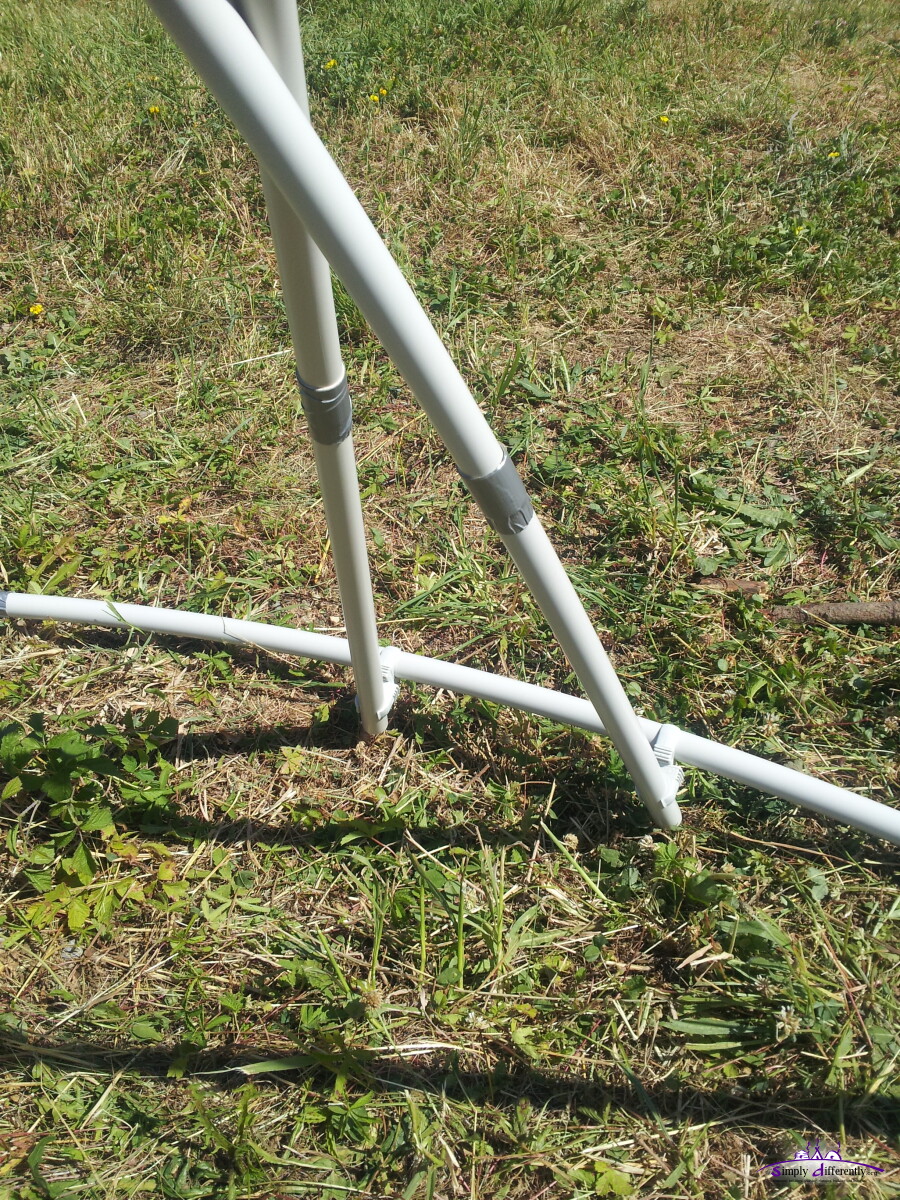 2014/06/22 11:38 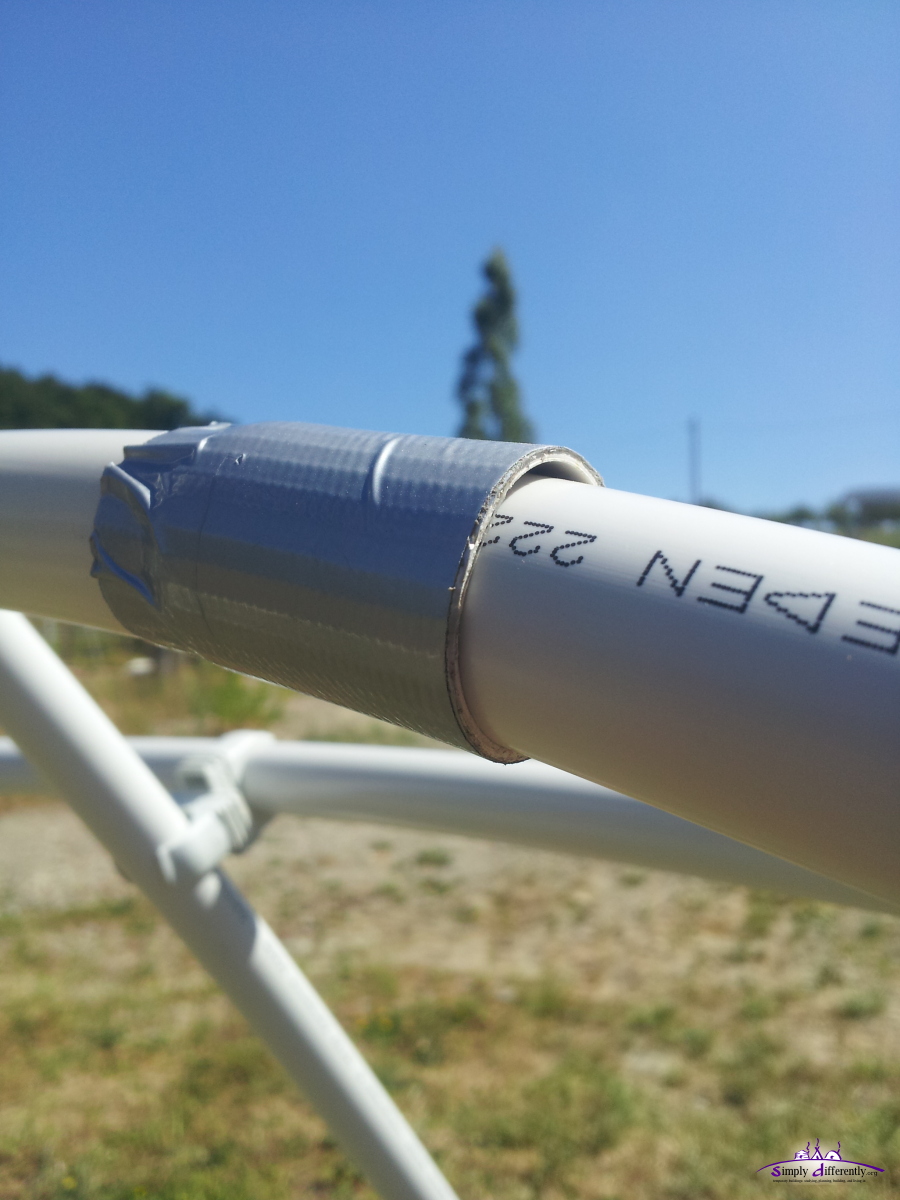 2014/06/22 11:38 Conclusion:
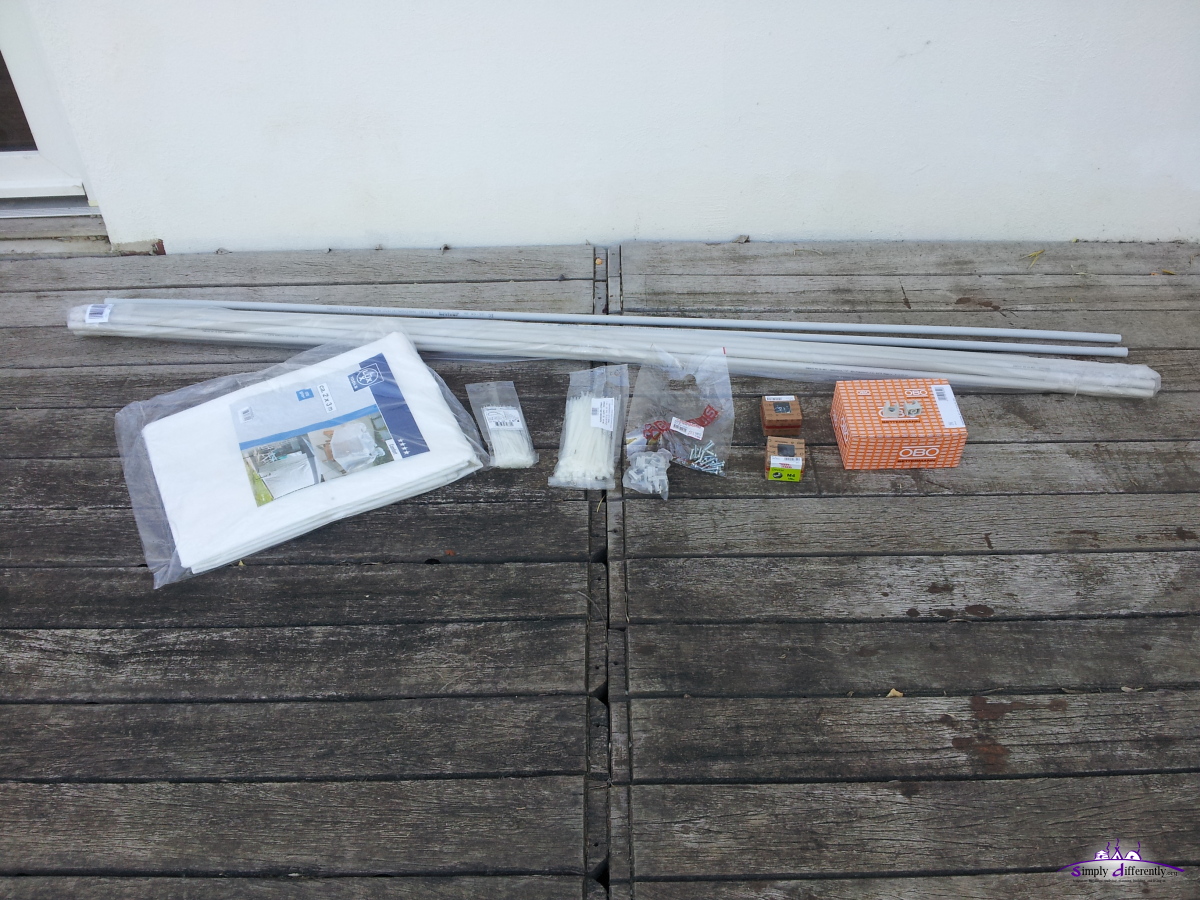
2014/06/21: Pitching the Skeleton of 4:x:3 5.1m Diameter DomeYesterday purchased 60 x EN25 (2m x 25mm PVC tubes) at EUR 1.30 / pc at OBI.de , but used the M25 "OBO Quick" clips at Bauhaus.info , 100 pc EUR 15.60. , but used the M25 "OBO Quick" clips at Bauhaus.info , 100 pc EUR 15.60.
Here the numbers for this dome: Numbers
Materials
total cost apprx. 200 EUR (interior cover not yet included) And this morning began to assembly the skeleton:
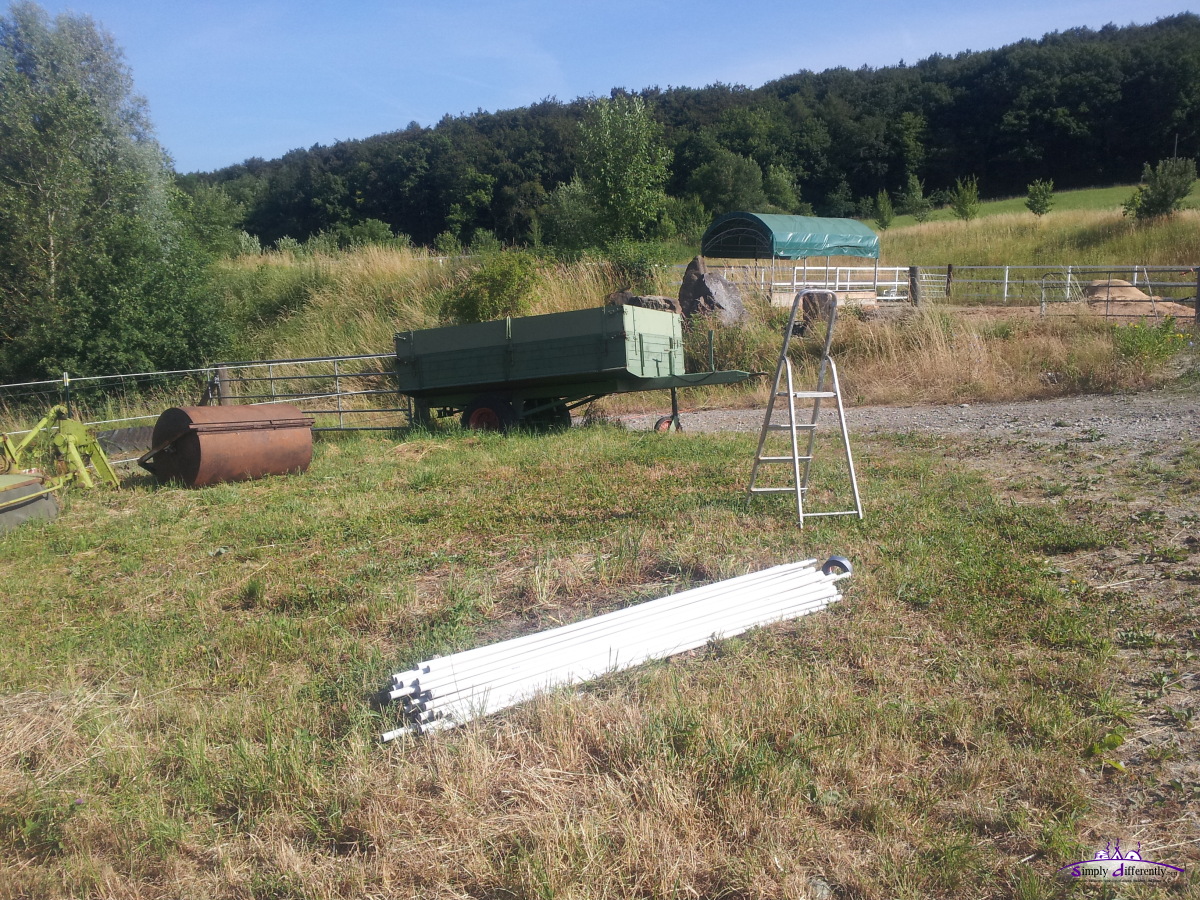 60 x 2m x 25mm PVC tubes 2014/06/21 09:28 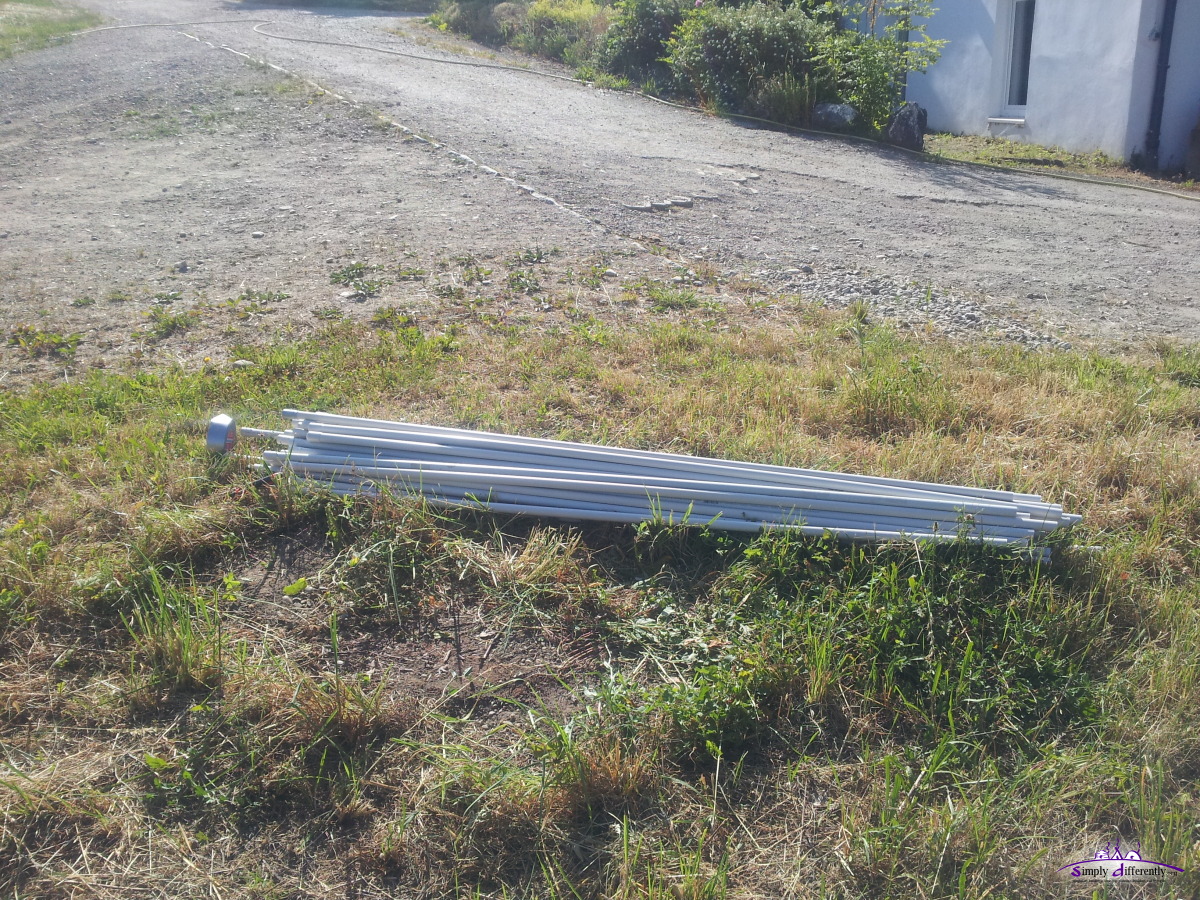 2014/06/21 09:28 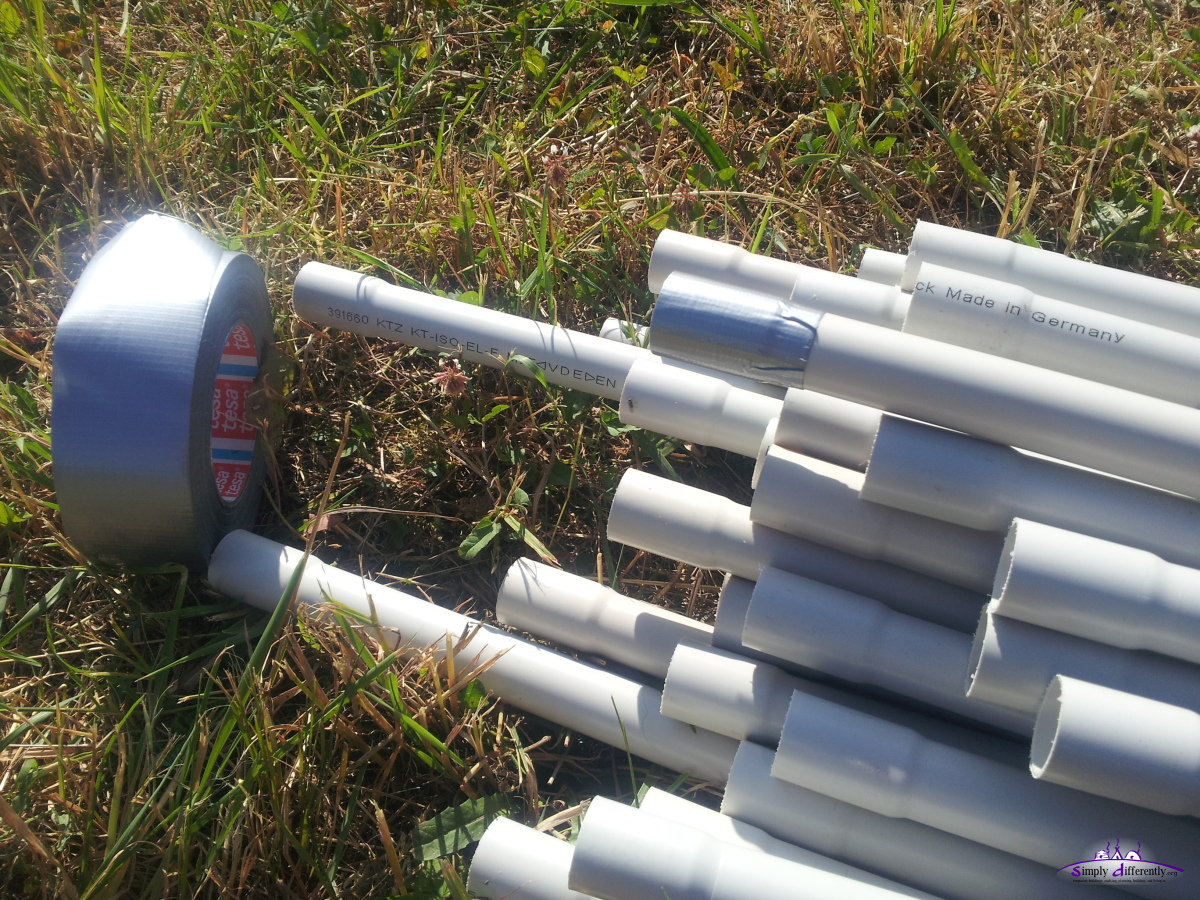 Taping the fittings to prevent tears 2014/06/21 09:28 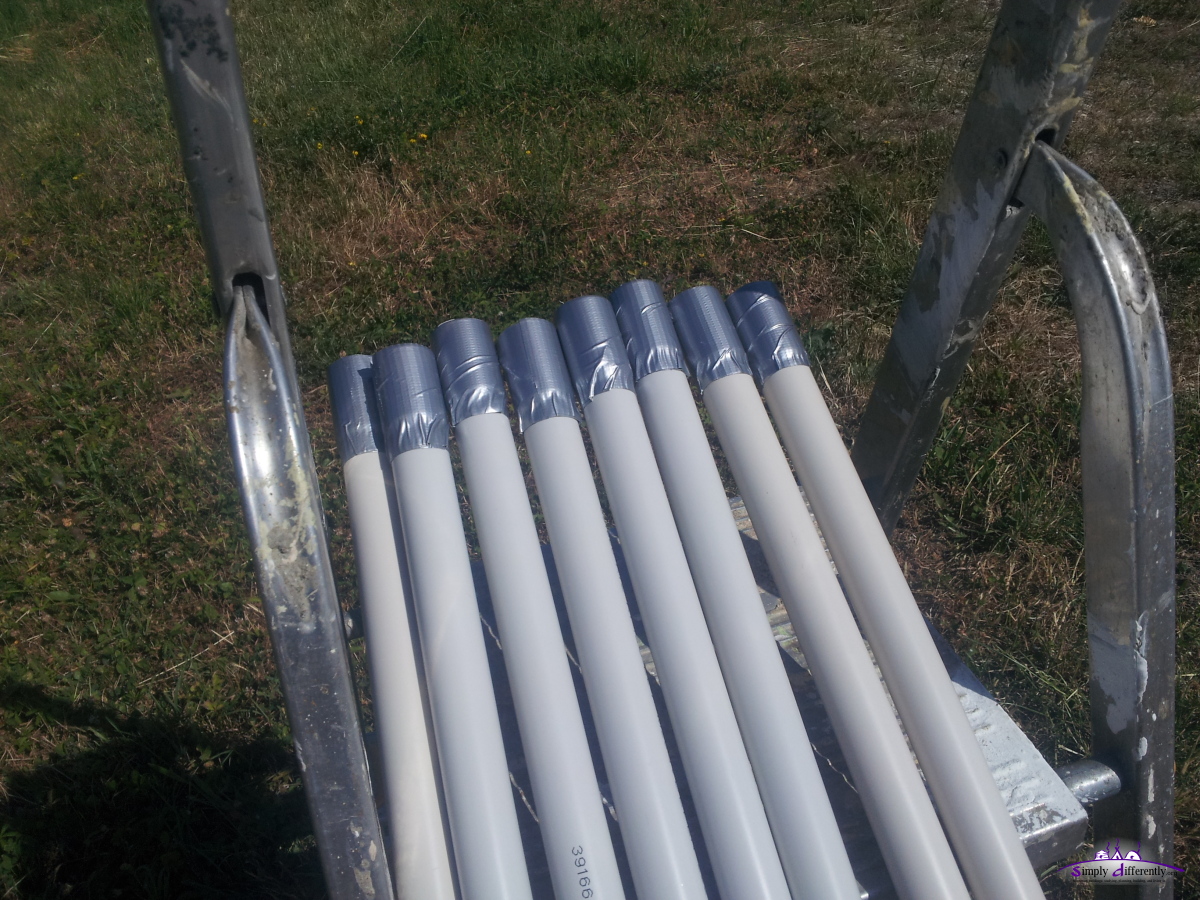 2014/06/21 10:27 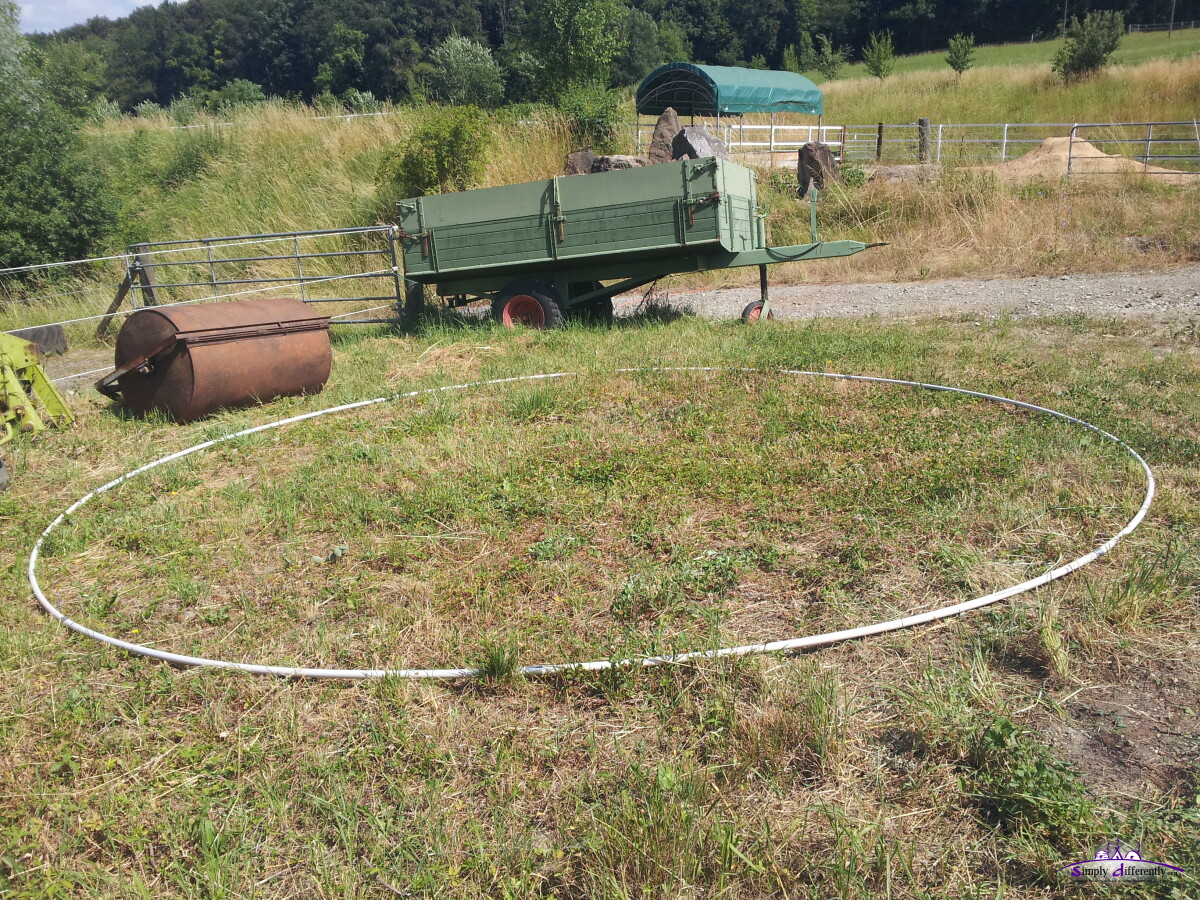 Ground circle layed out 2014/06/21 10:56 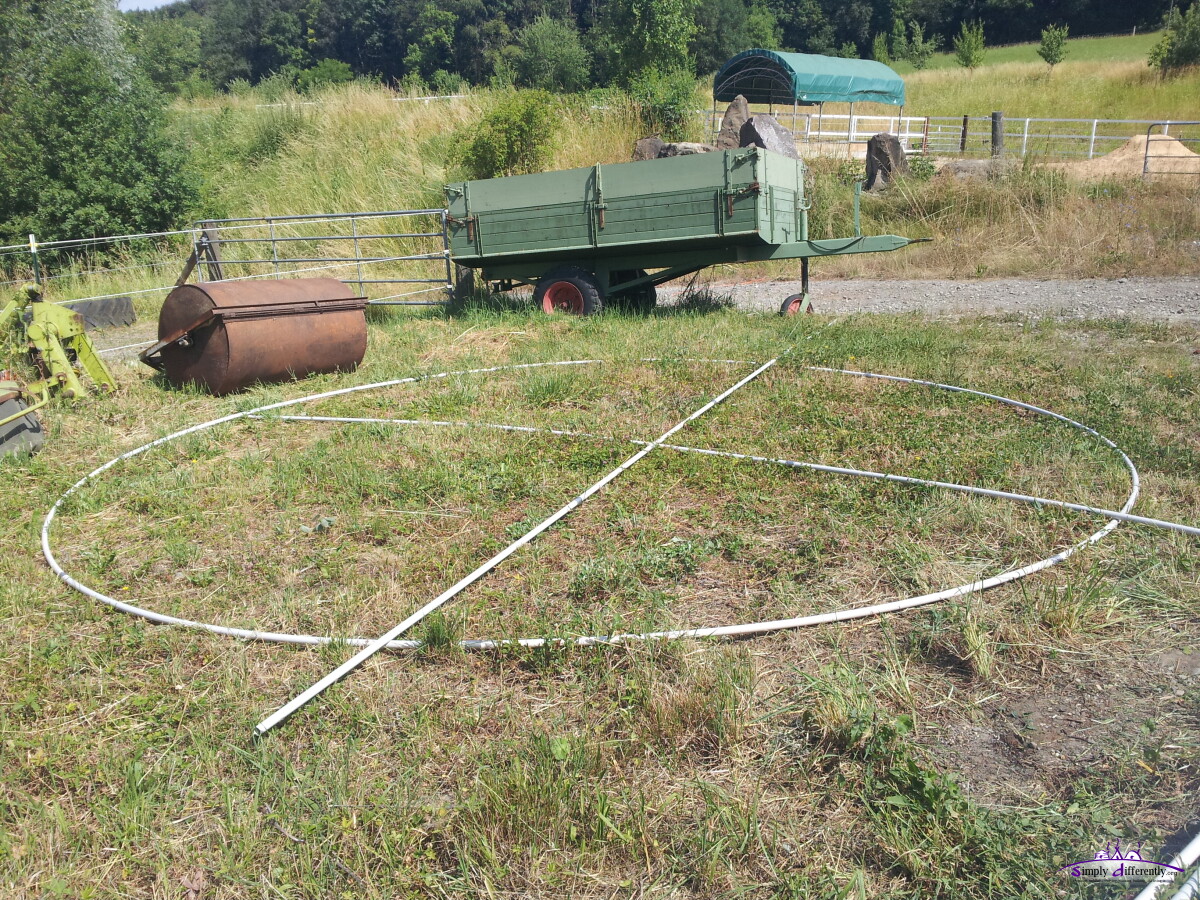 2014/06/21 11:06 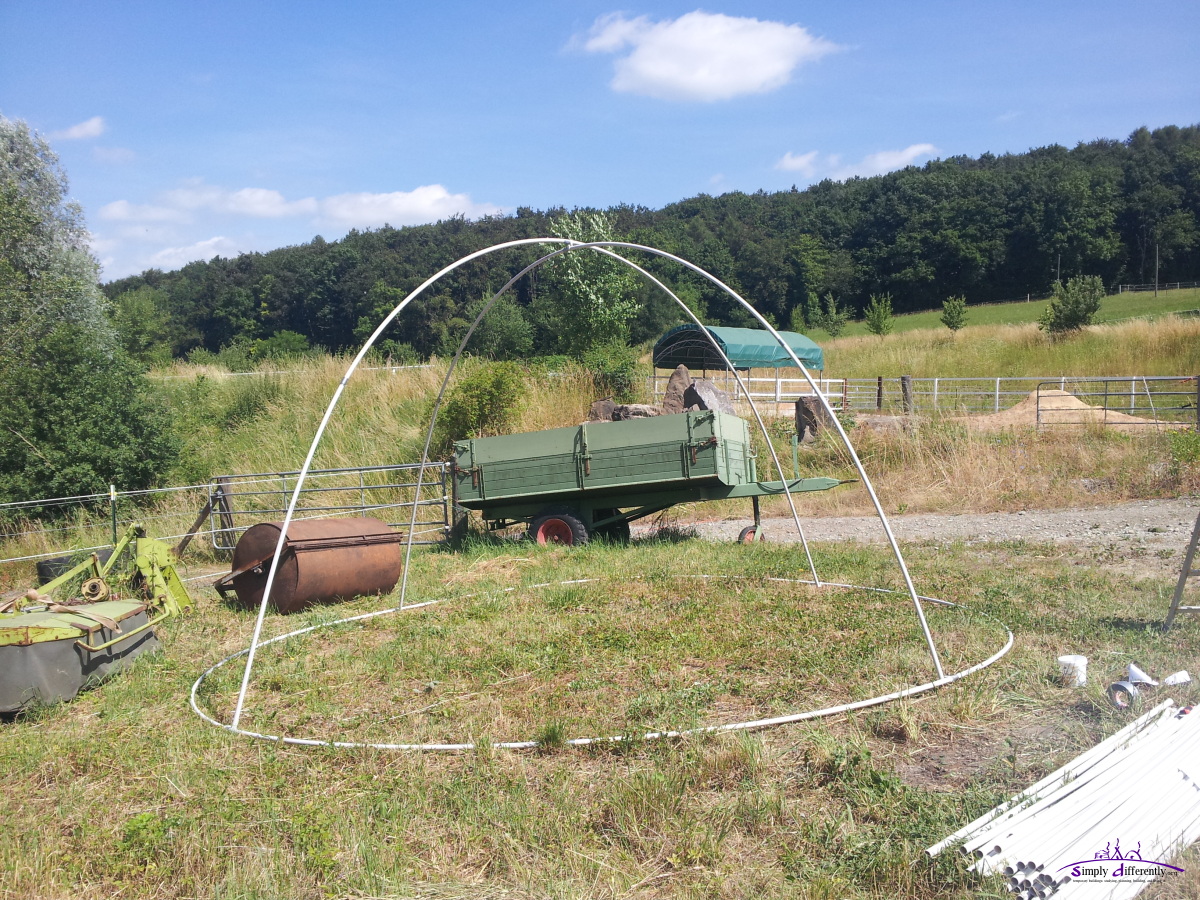 Main intersection put up (one person sufficient) 2014/06/21 11:10 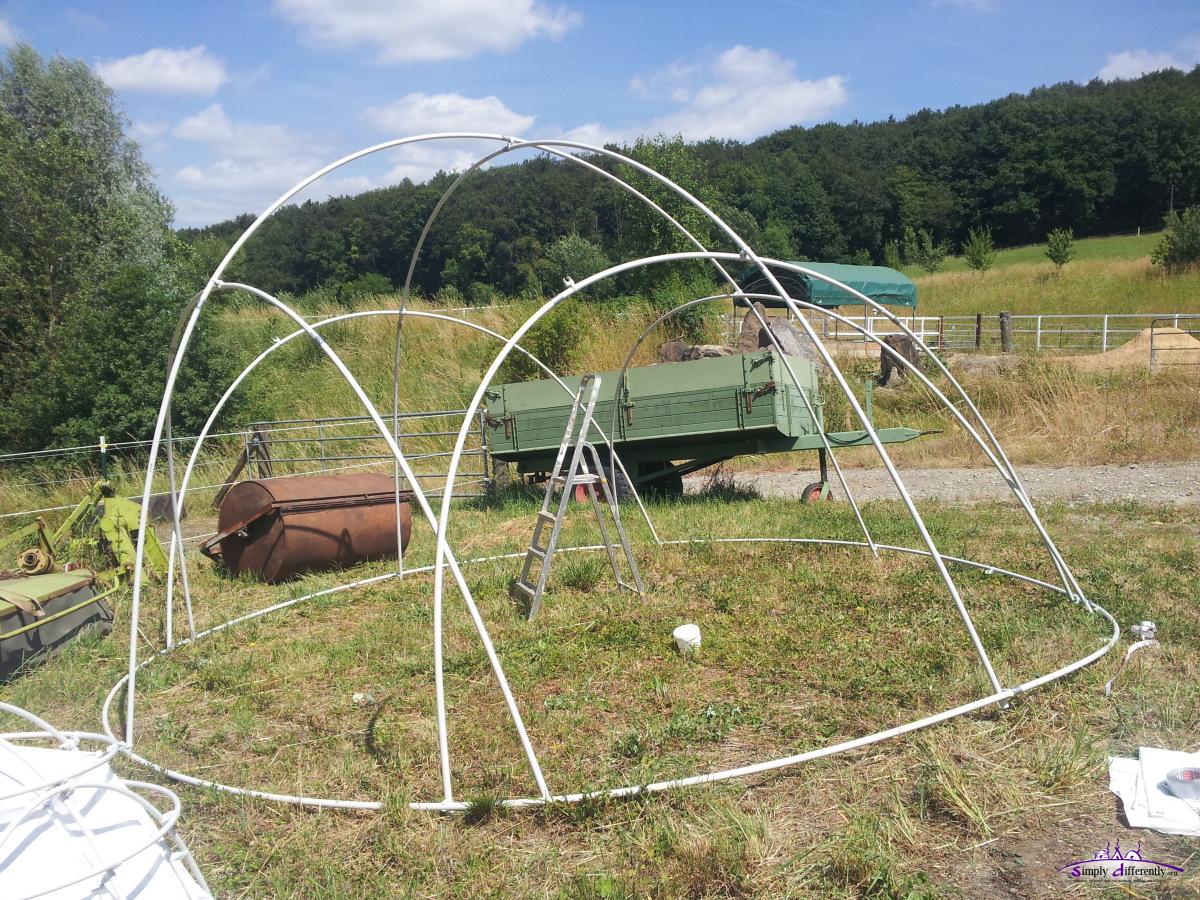 2014/06/21 11:43 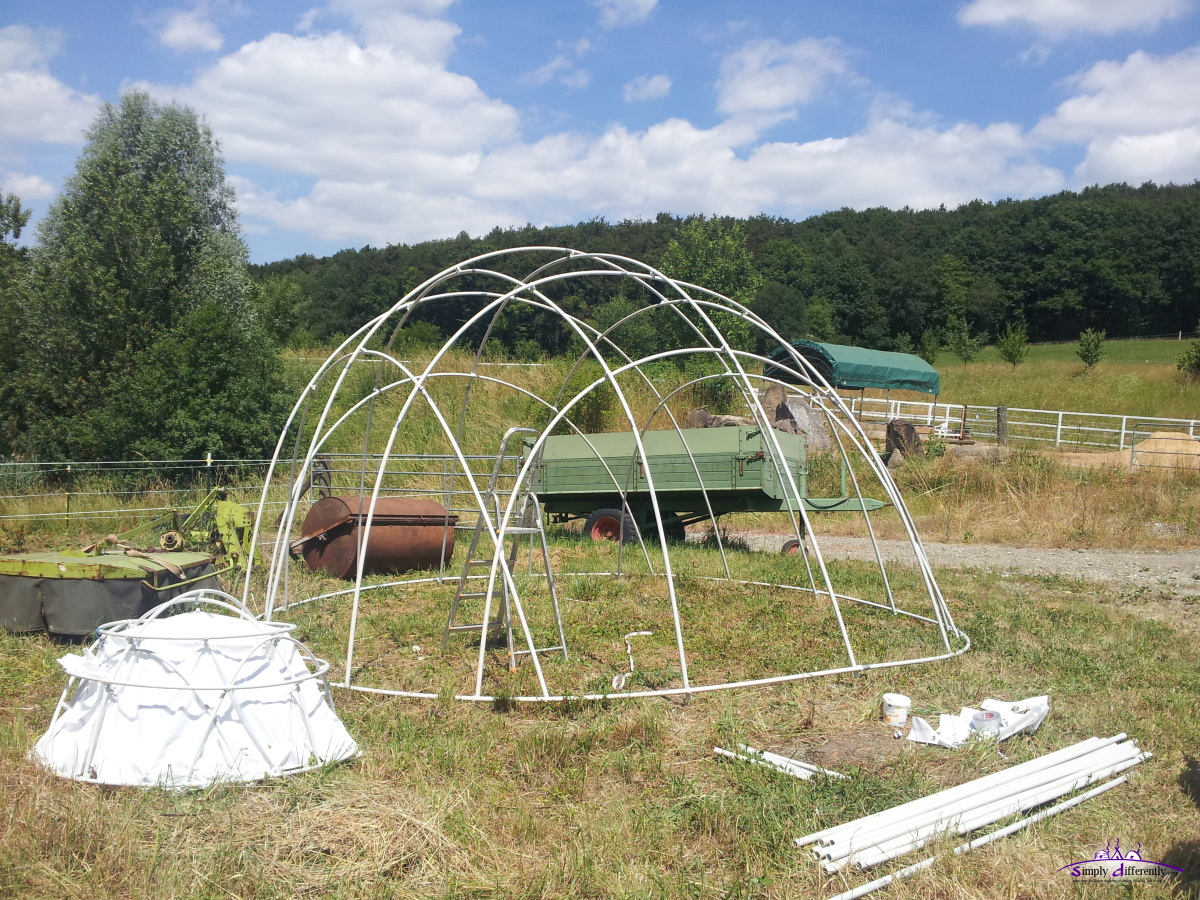 2014/06/21 12:44 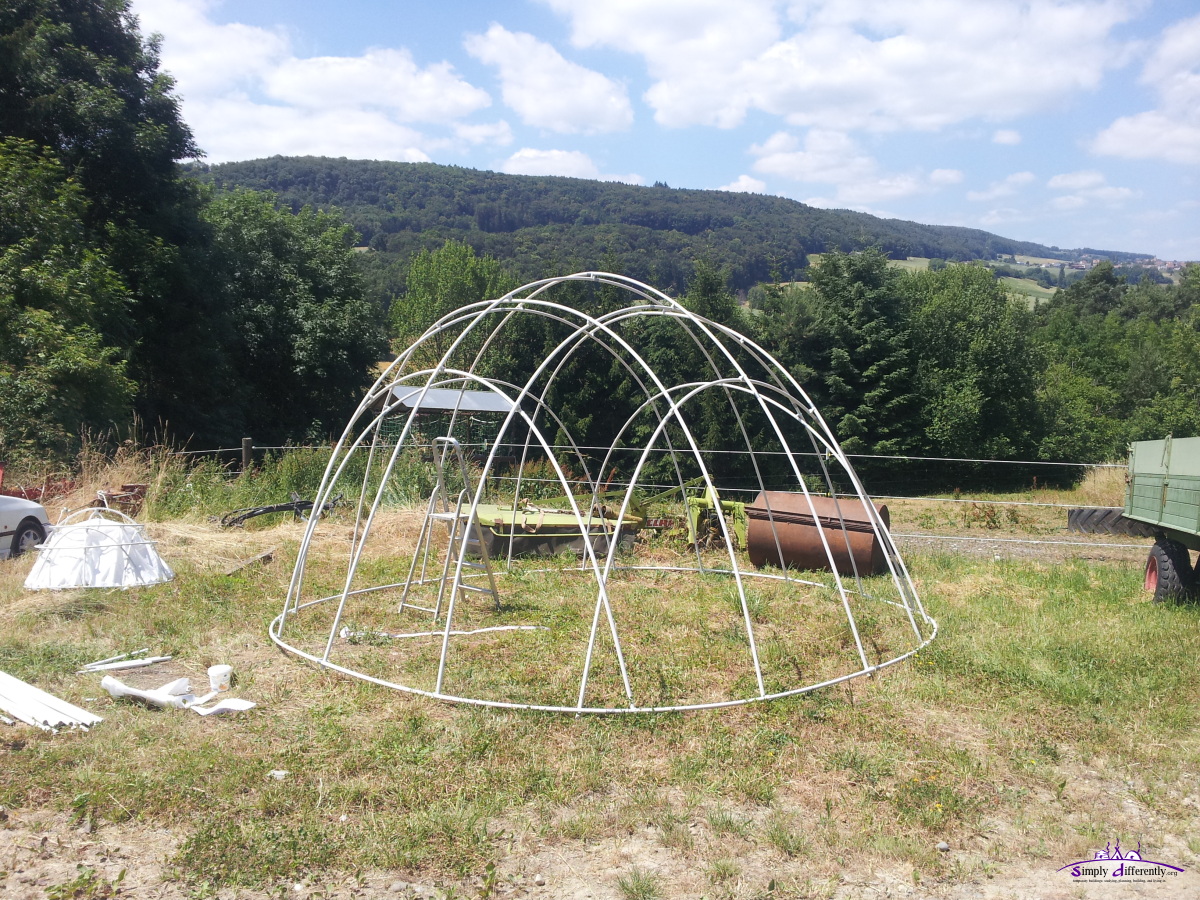 2014/06/21 12:56 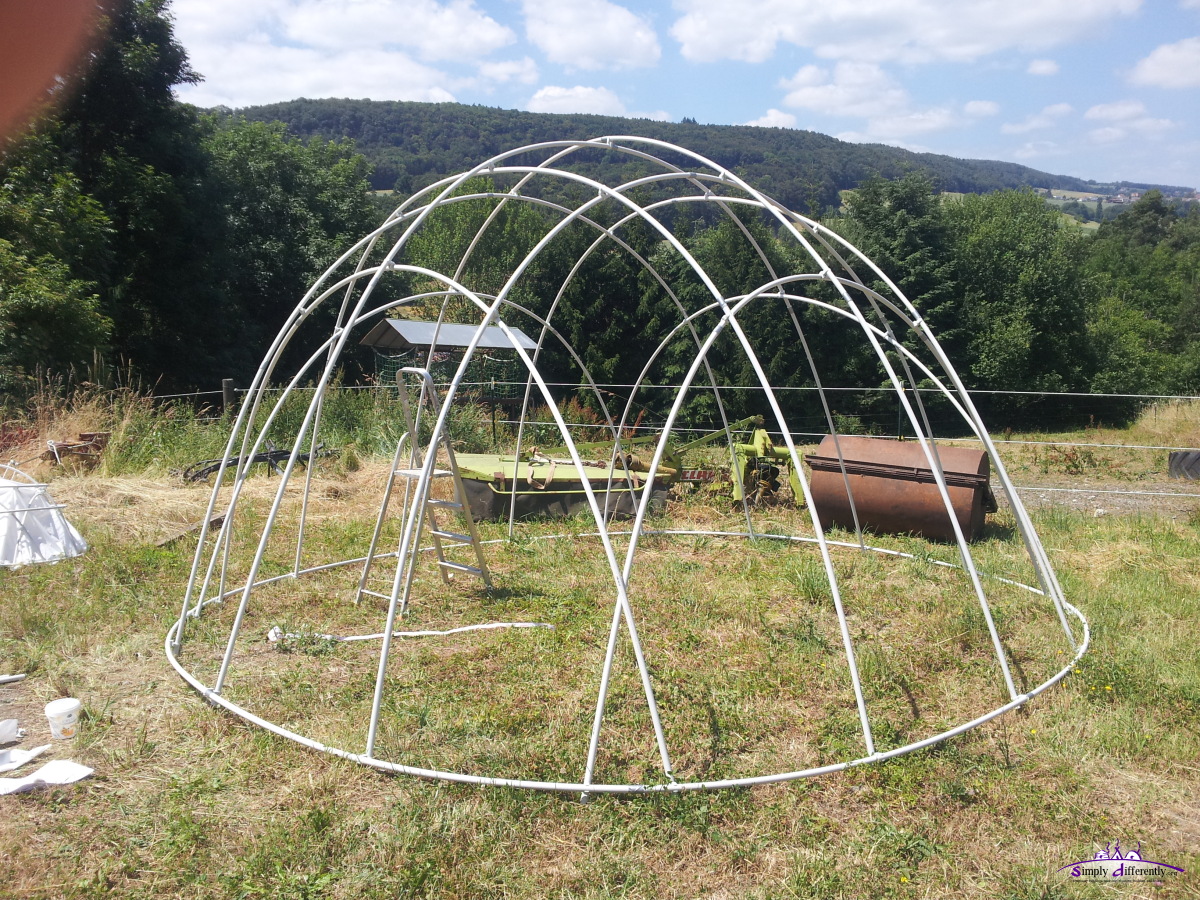 2014/06/21 12:56 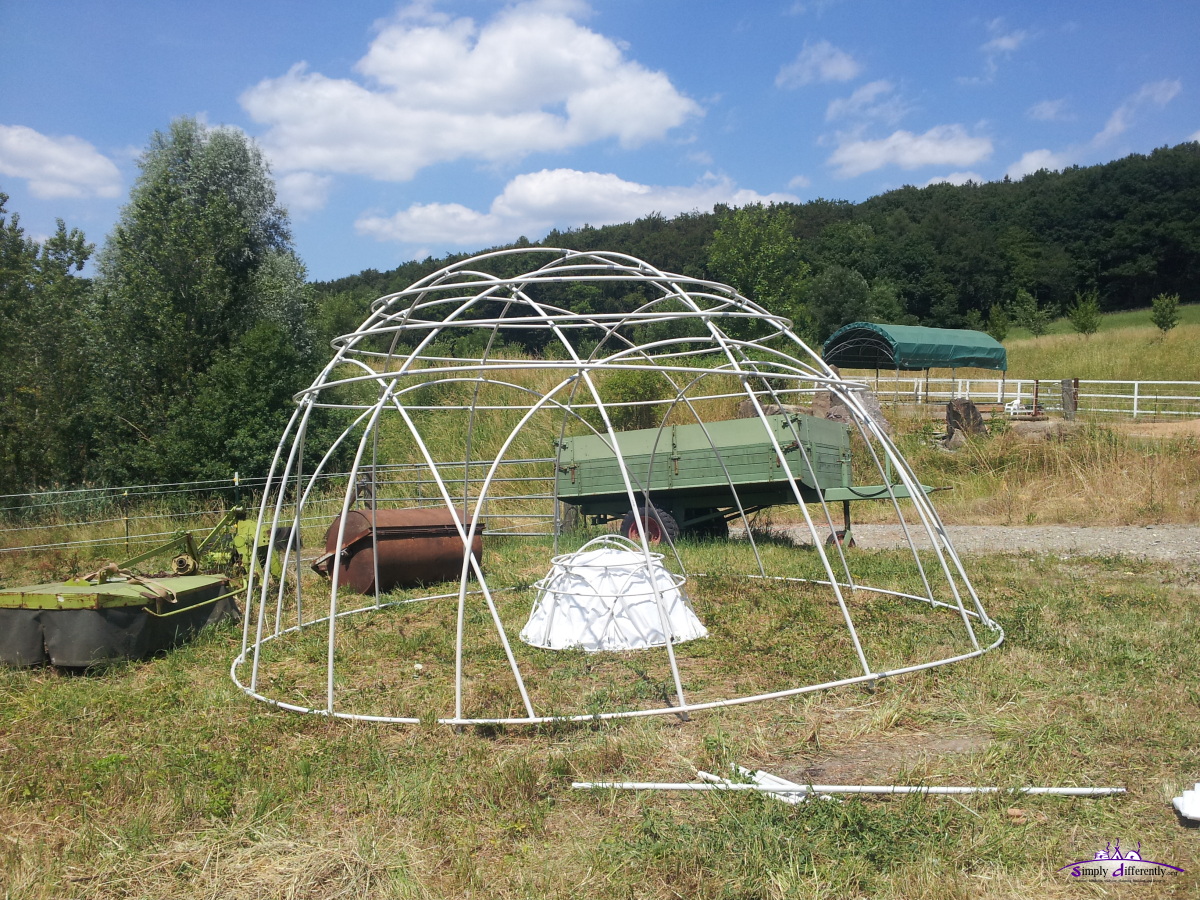 2014/06/21 13:29 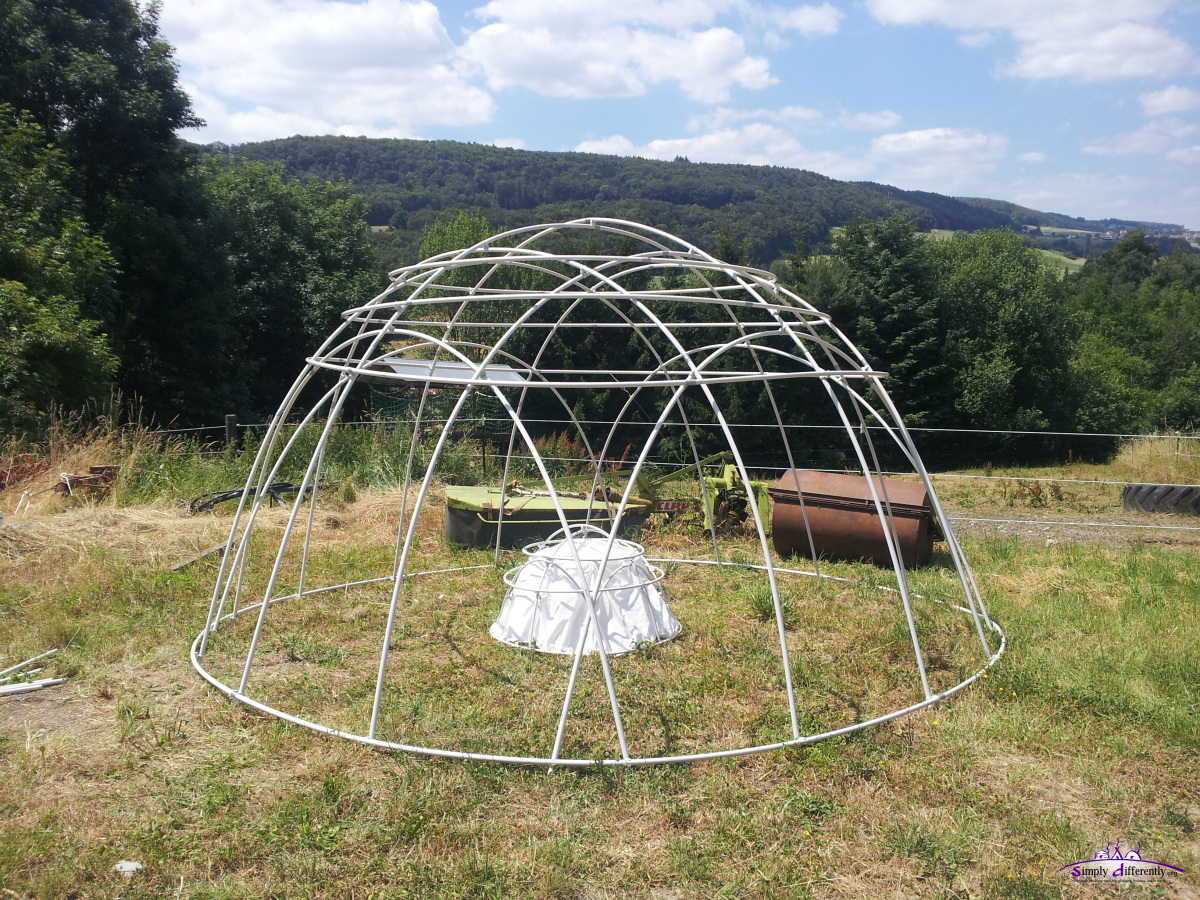 2014/06/21 13:29 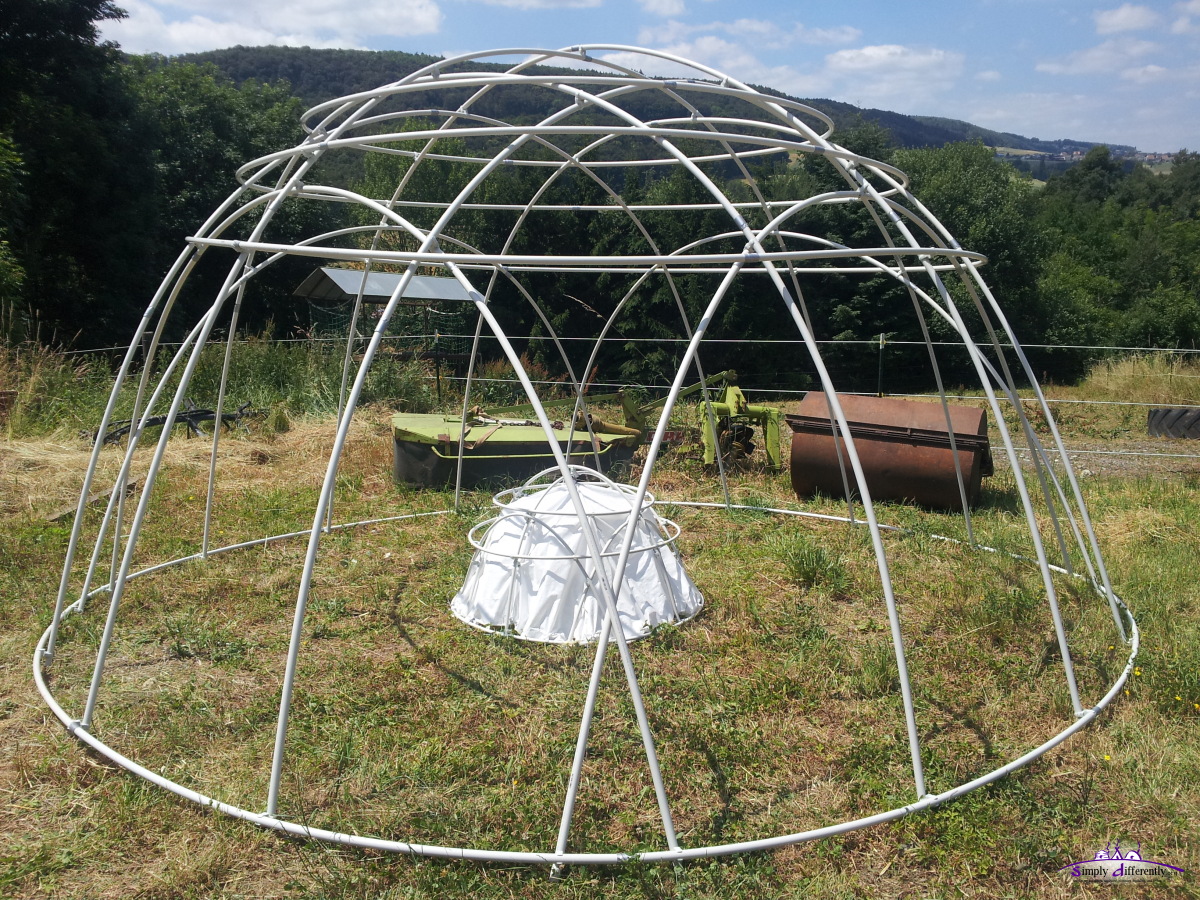 2014/06/21 13:29 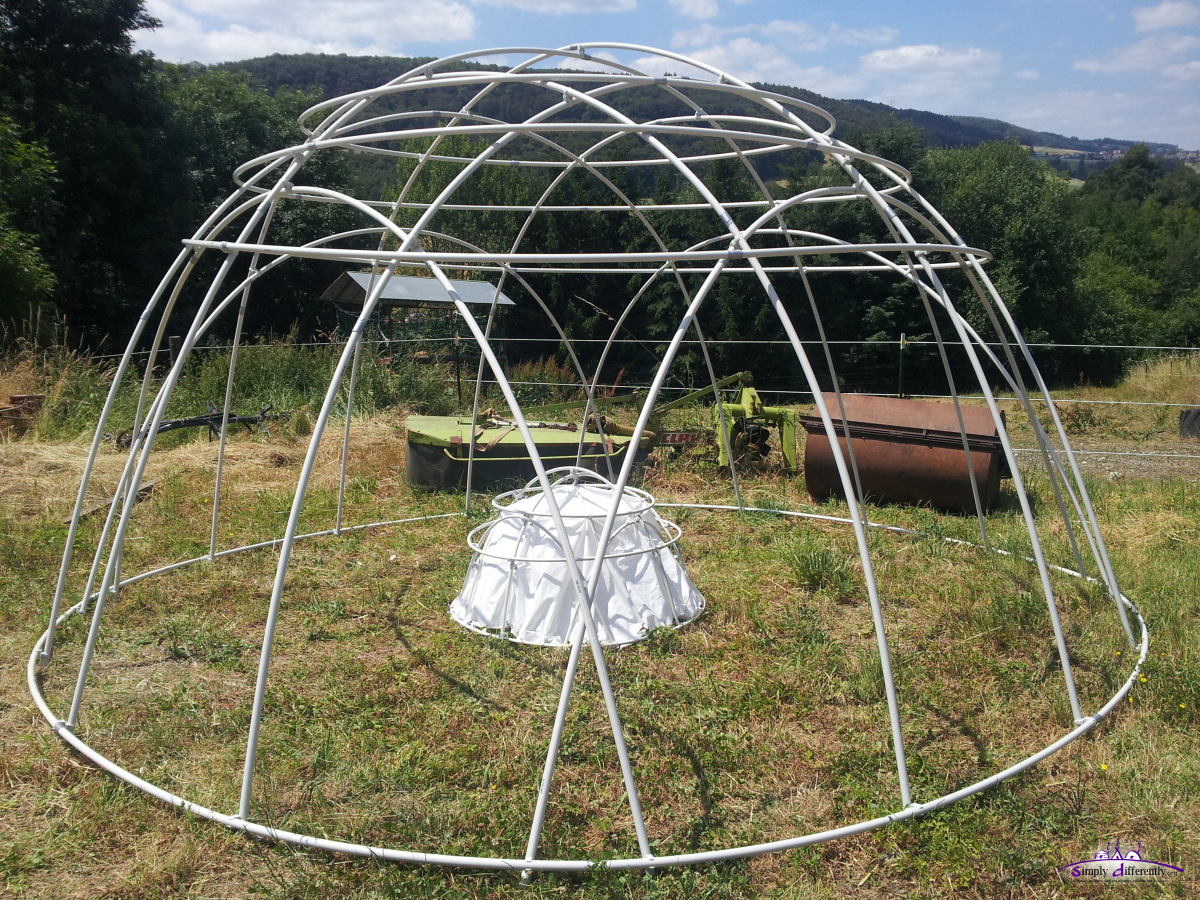 2014/06/21 13:29 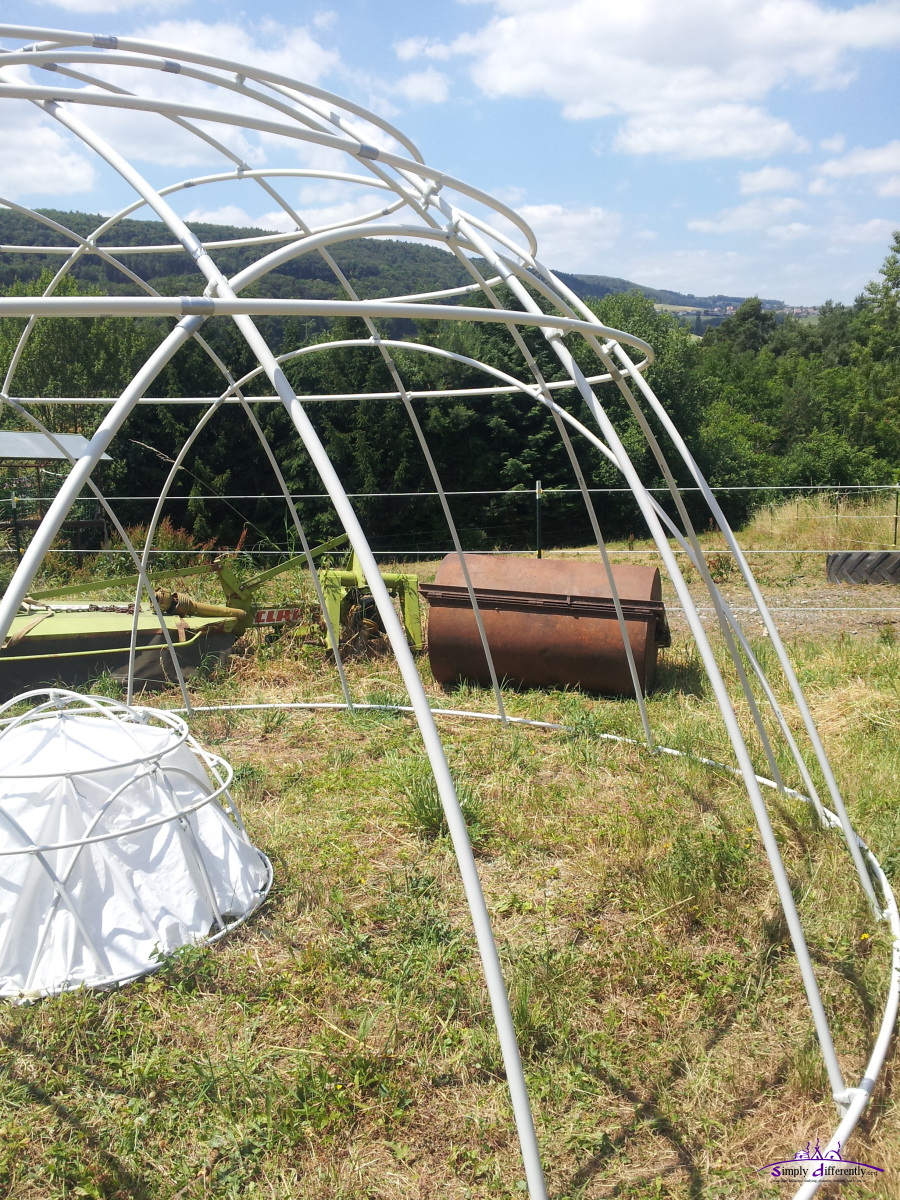 2014/06/21 13:29 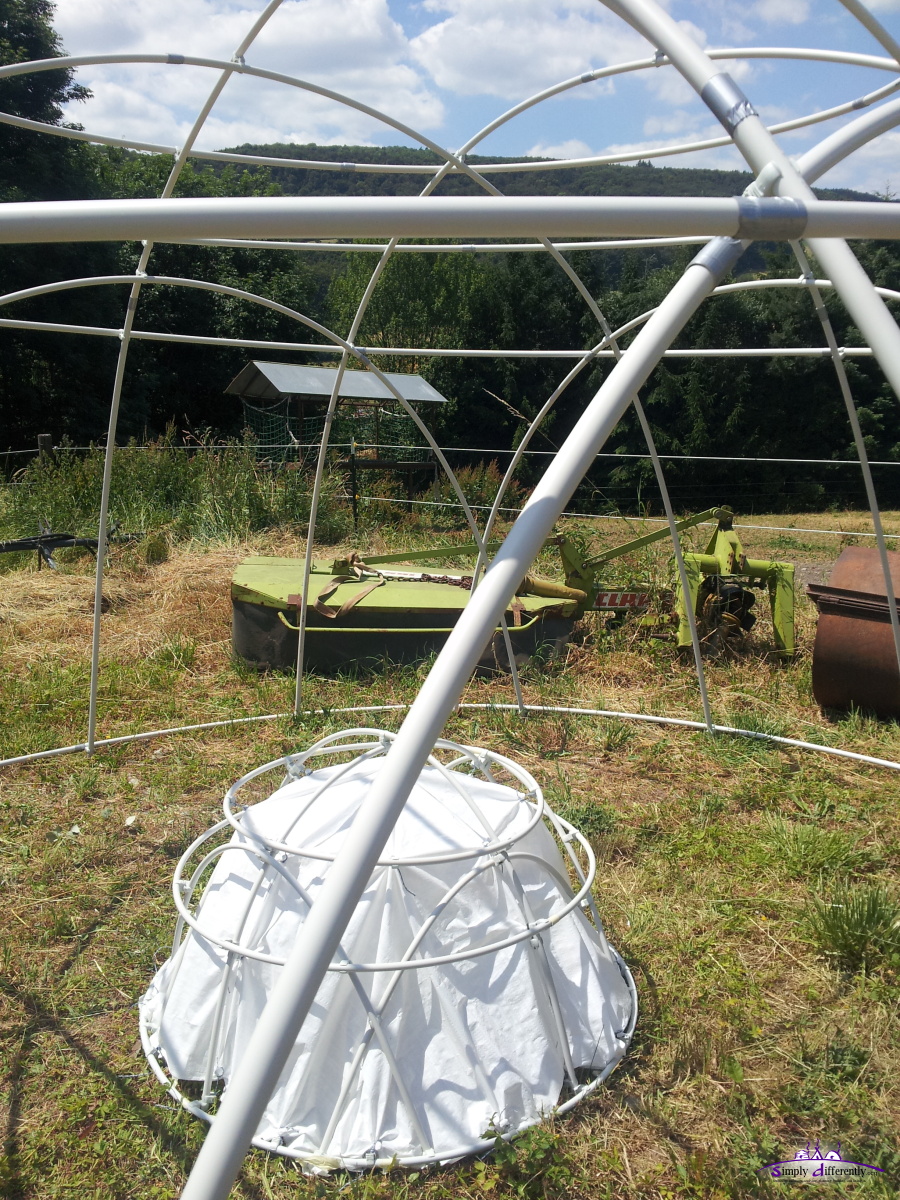 2014/06/21 13:30 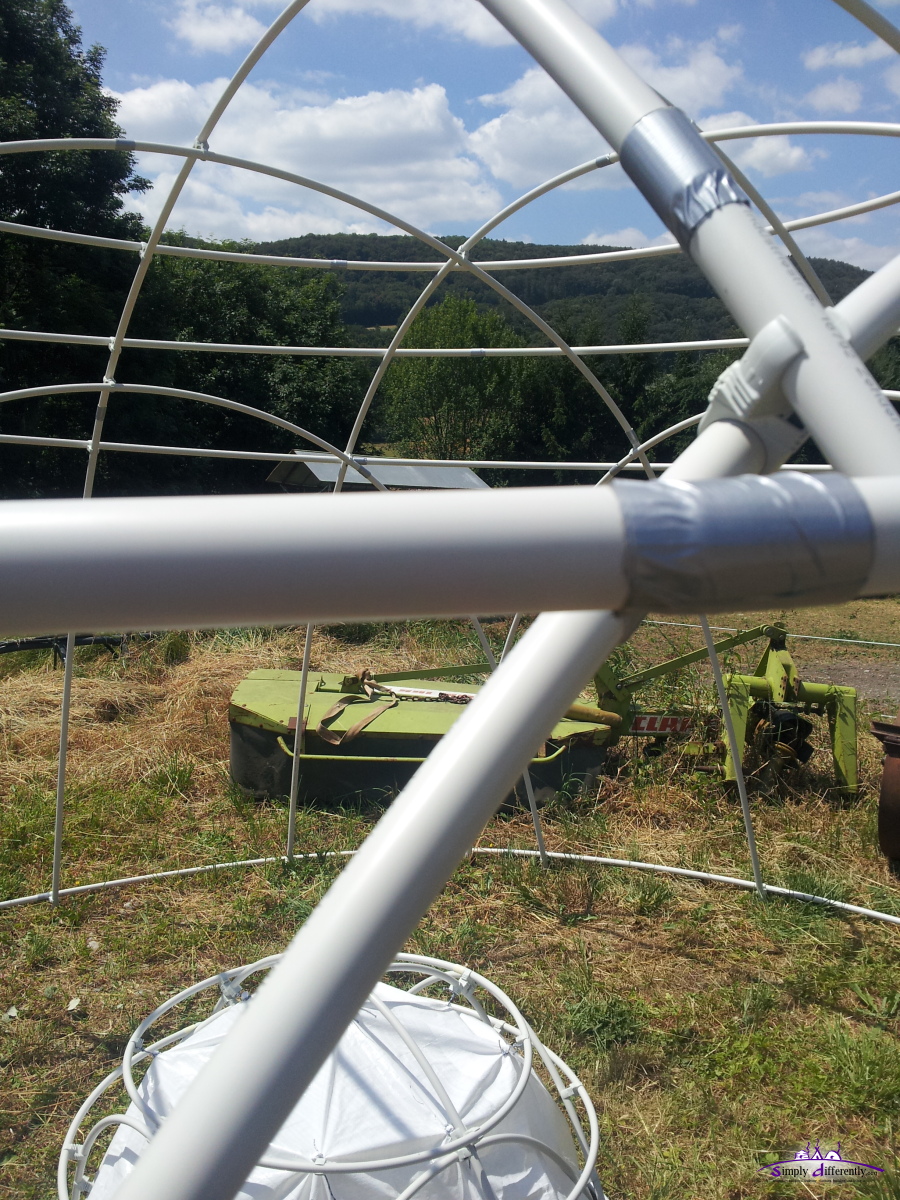 2014/06/21 13:30 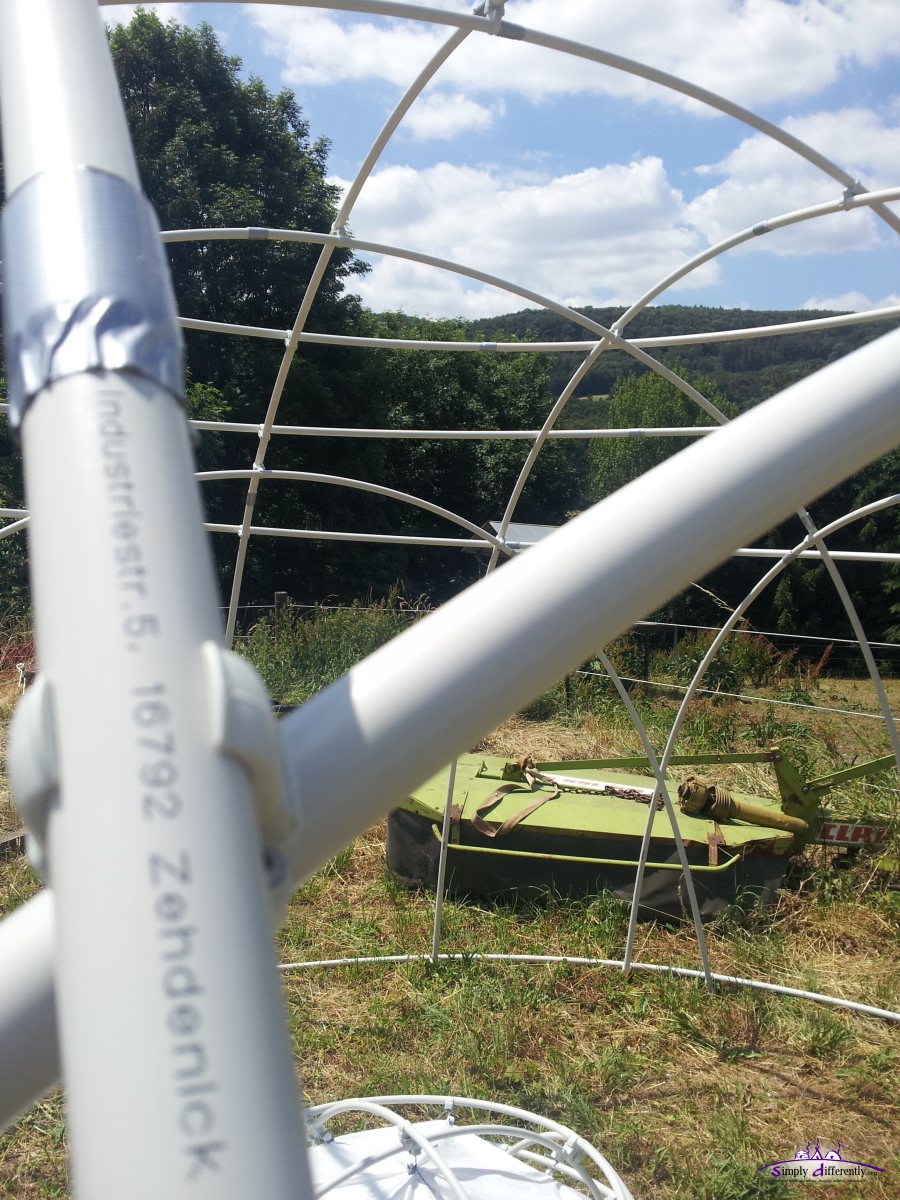 2014/06/21 13:30 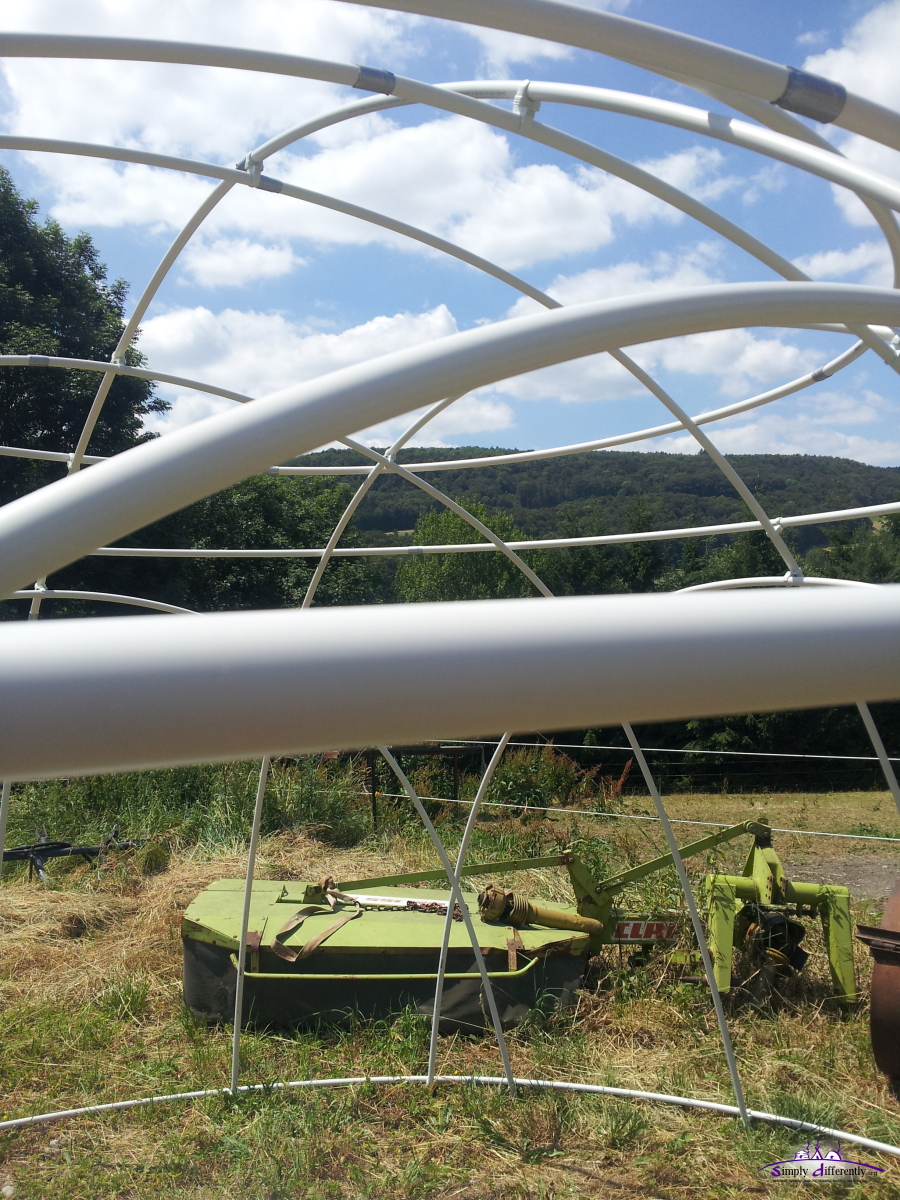 2014/06/21 13:30 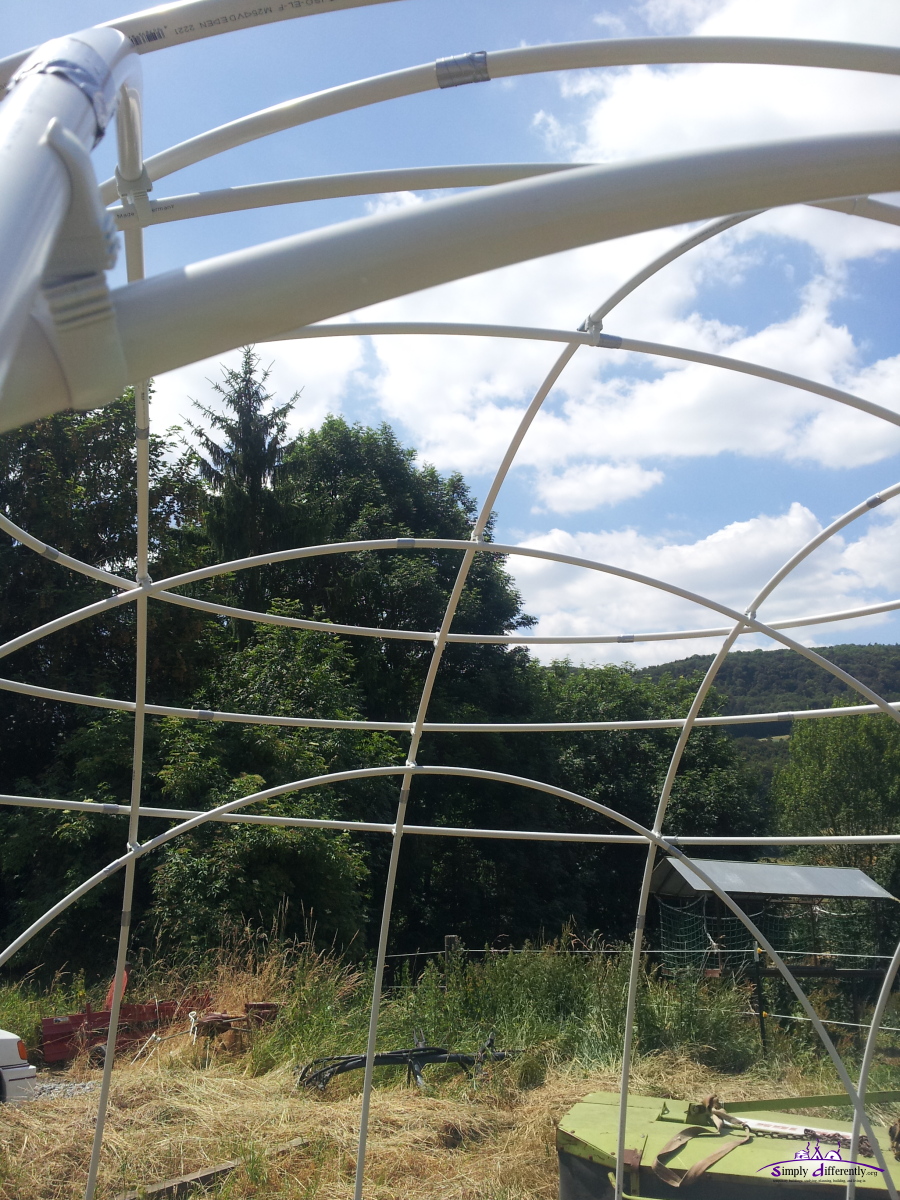 2014/06/21 13:30 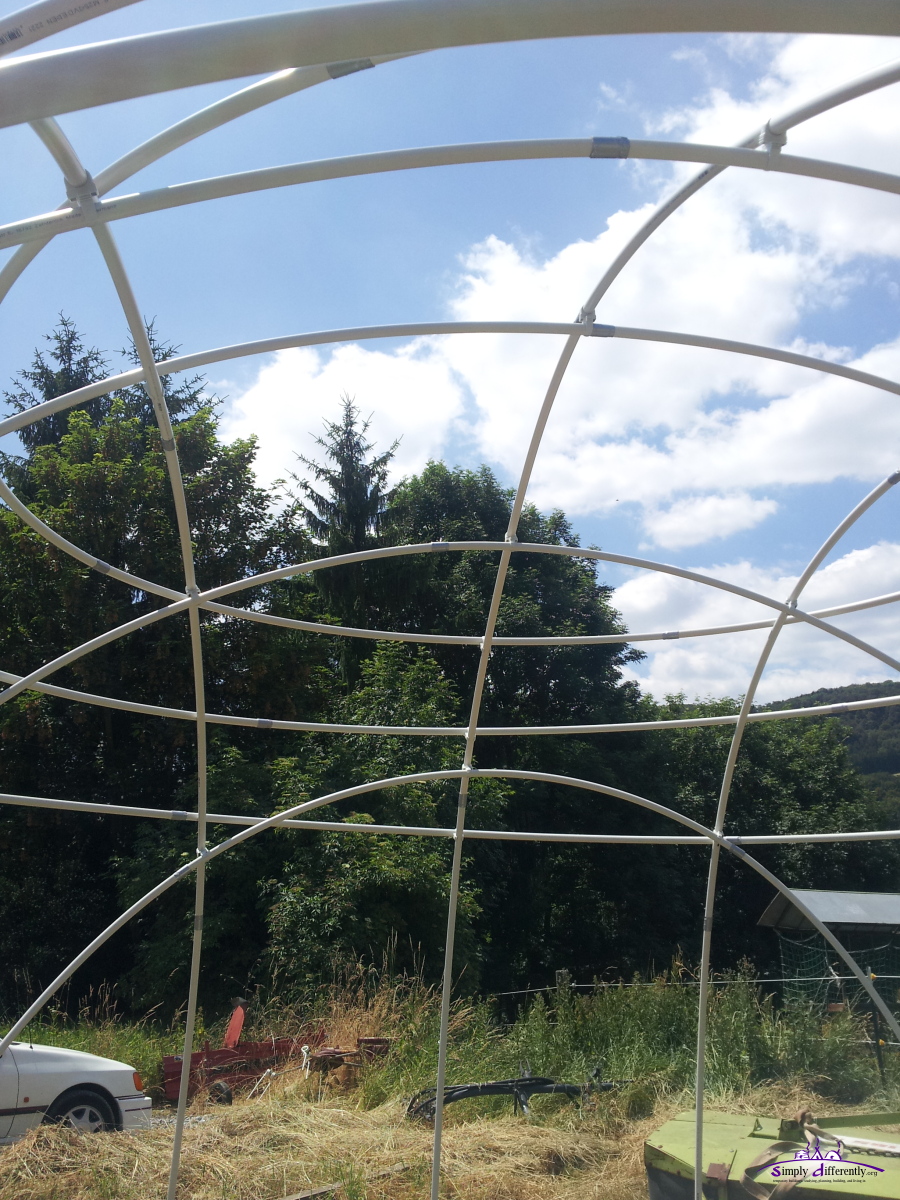 2014/06/21 13:30 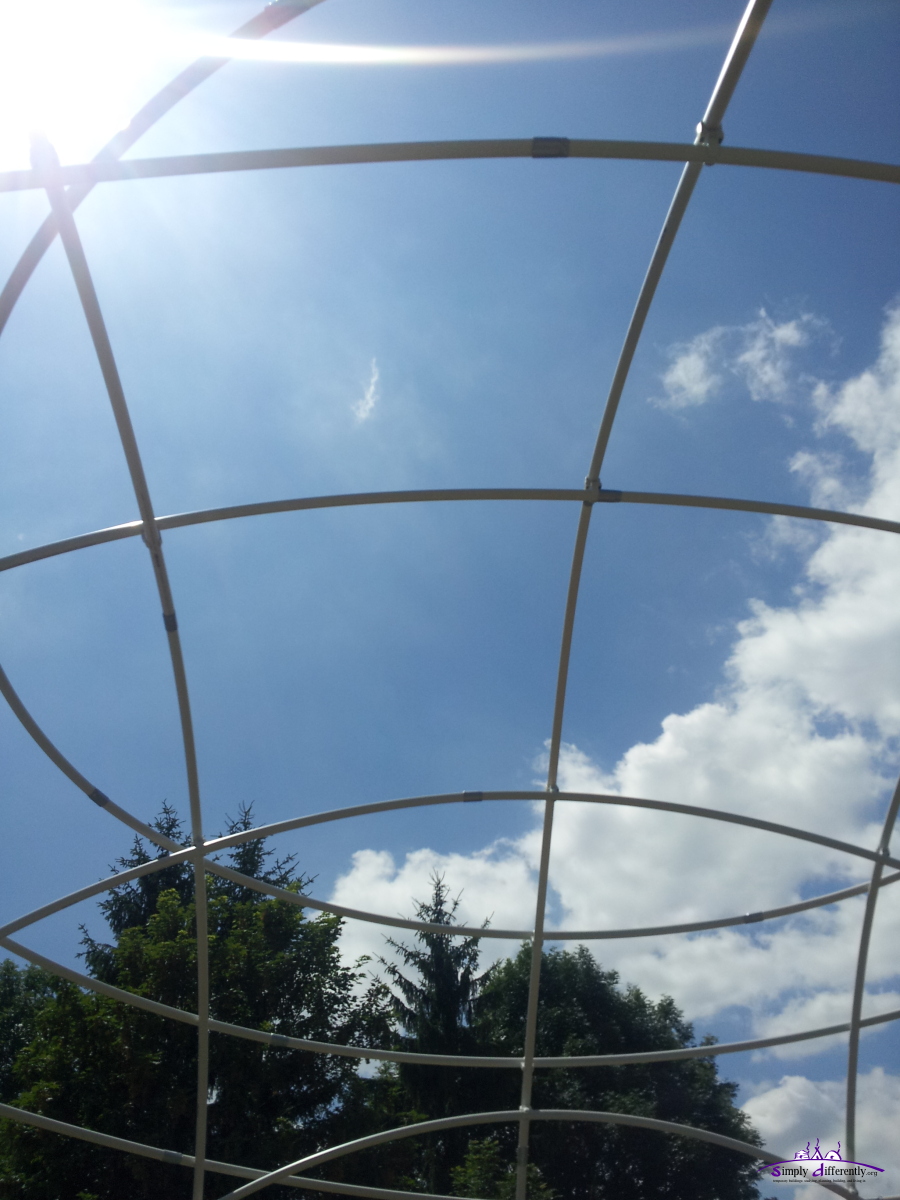 2014/06/21 13:30 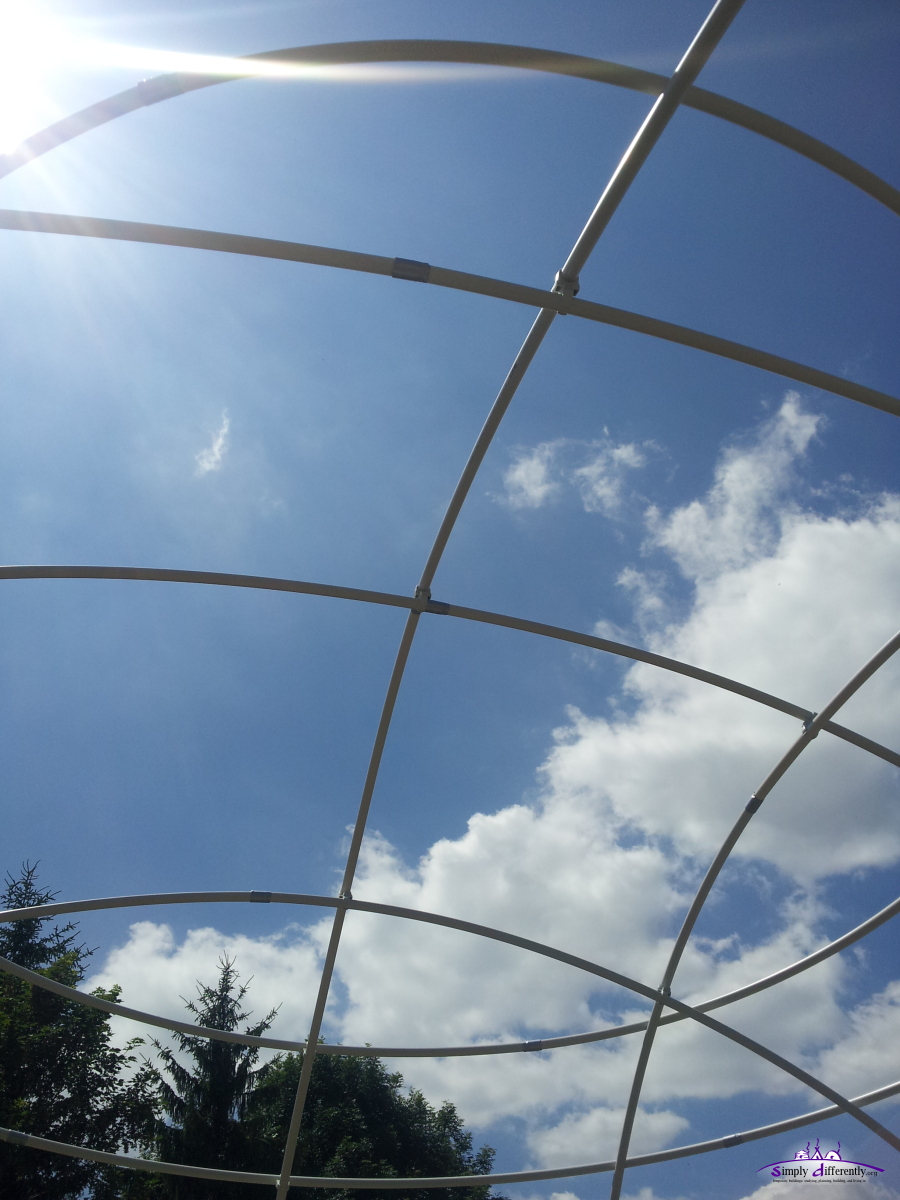 2014/06/21 13:31 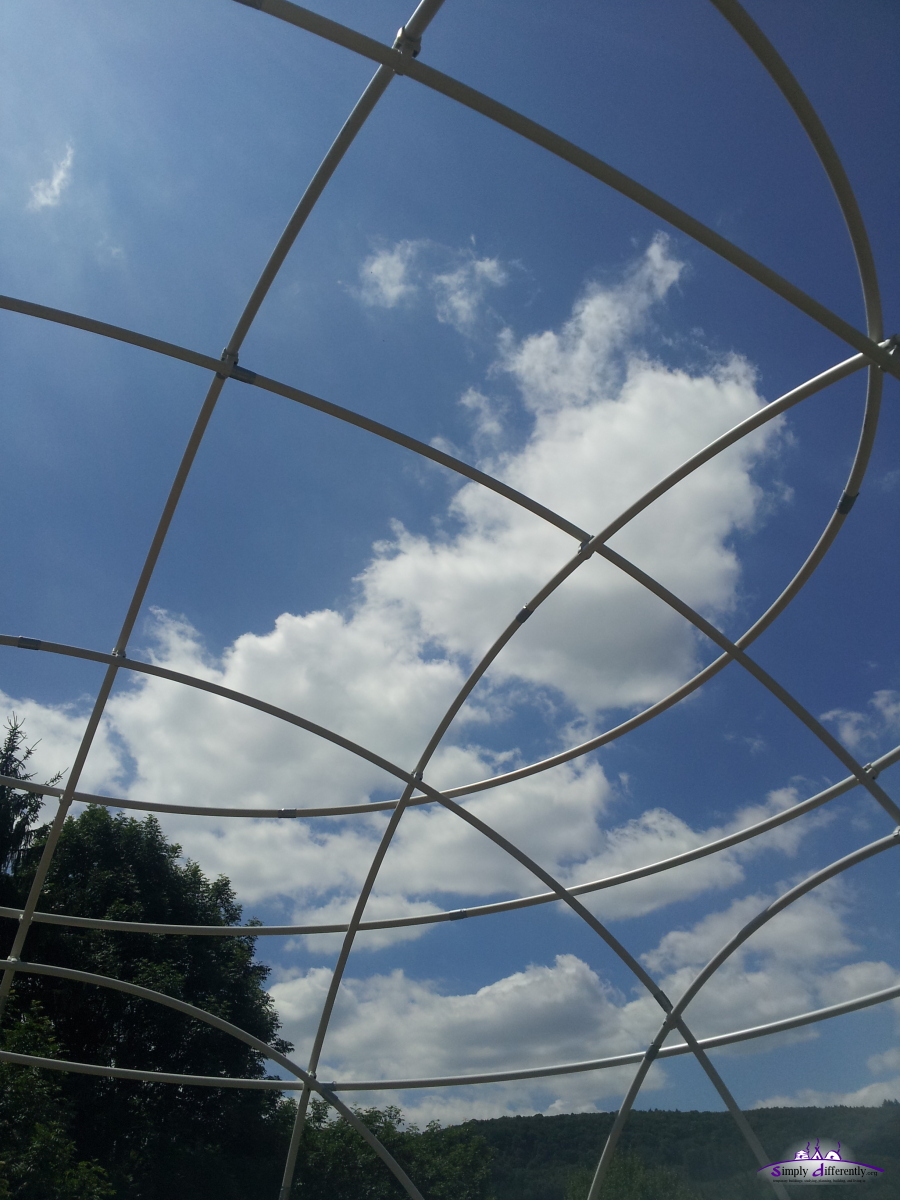 2014/06/21 13:31 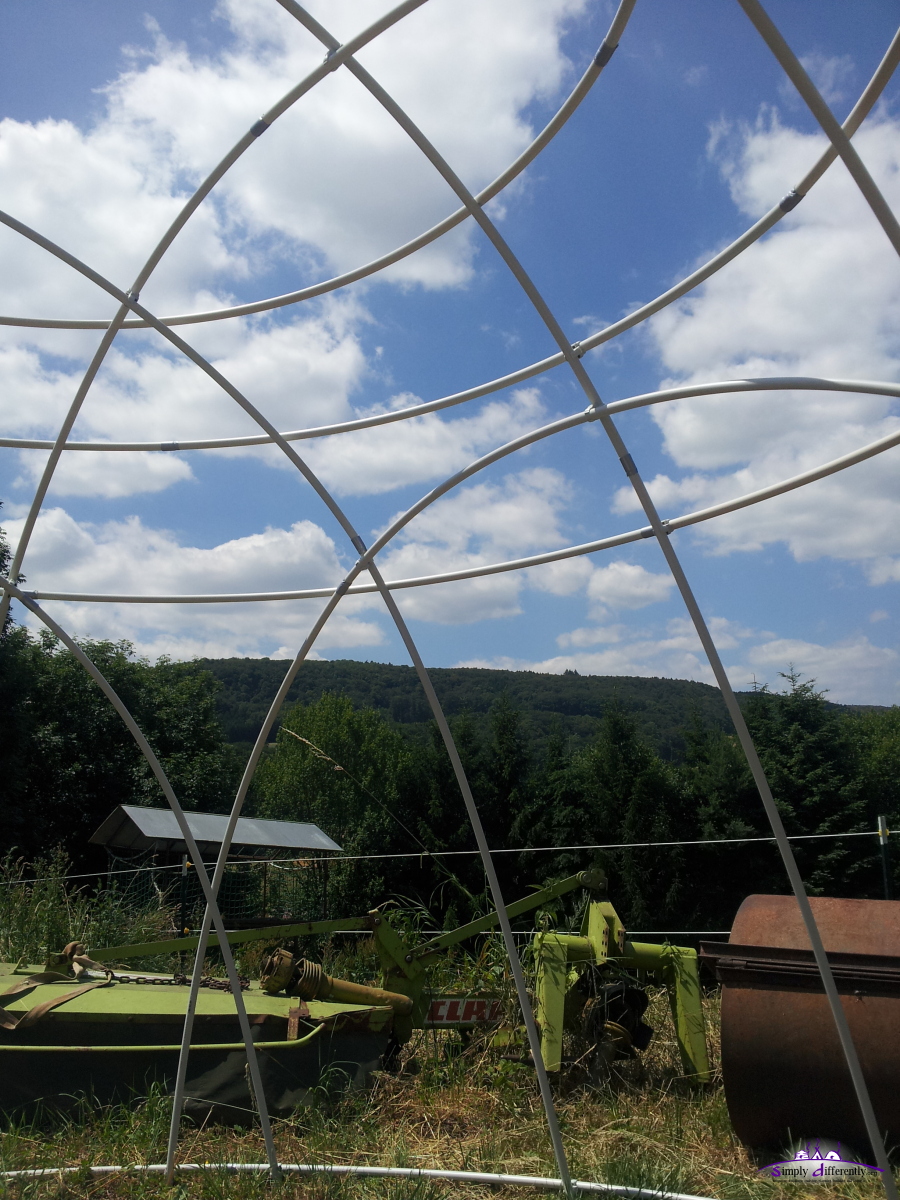 2014/06/21 13:31 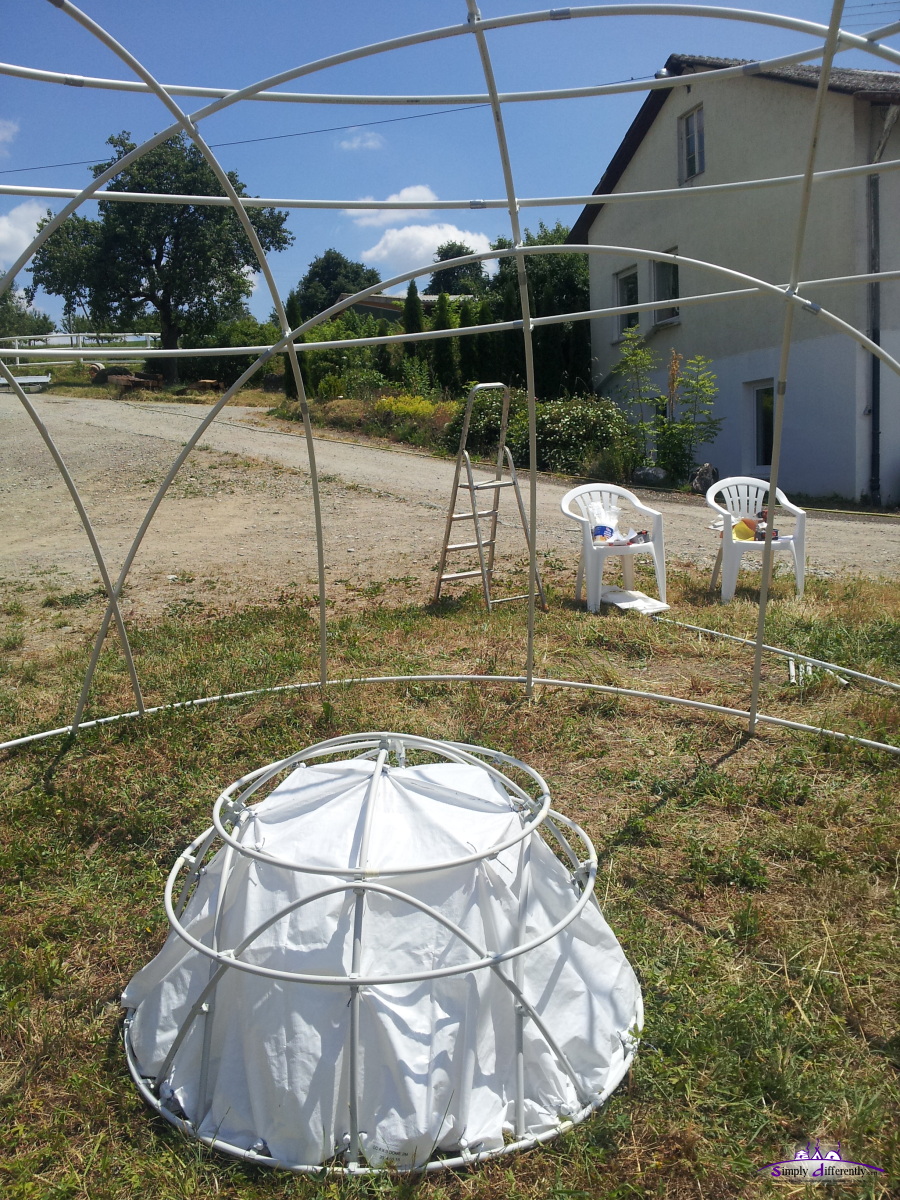 2014/06/21 13:31 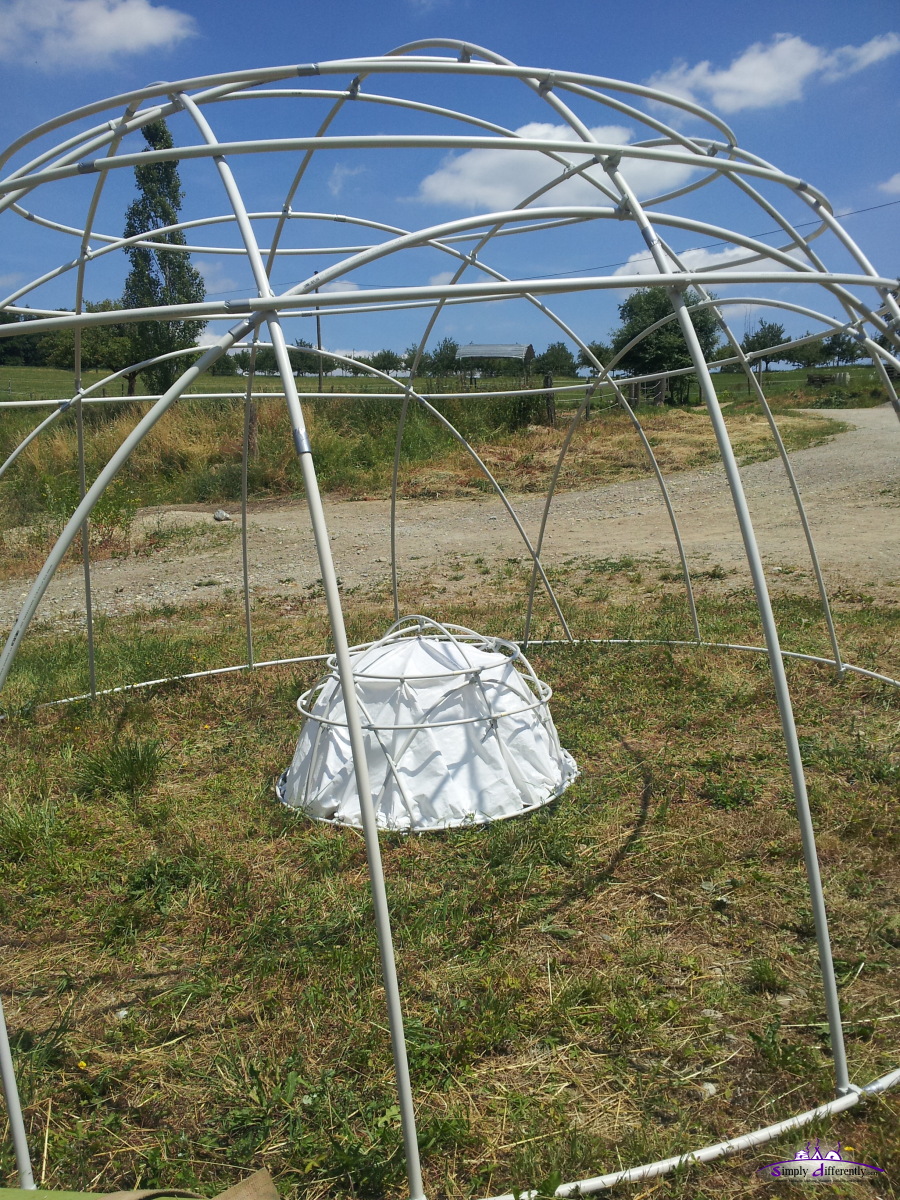 2014/06/21 13:32 Conclusions:
2014/06/17: Model LC Dome 4:x:3 1.27m DiameterTime to photograph the final result of the model: 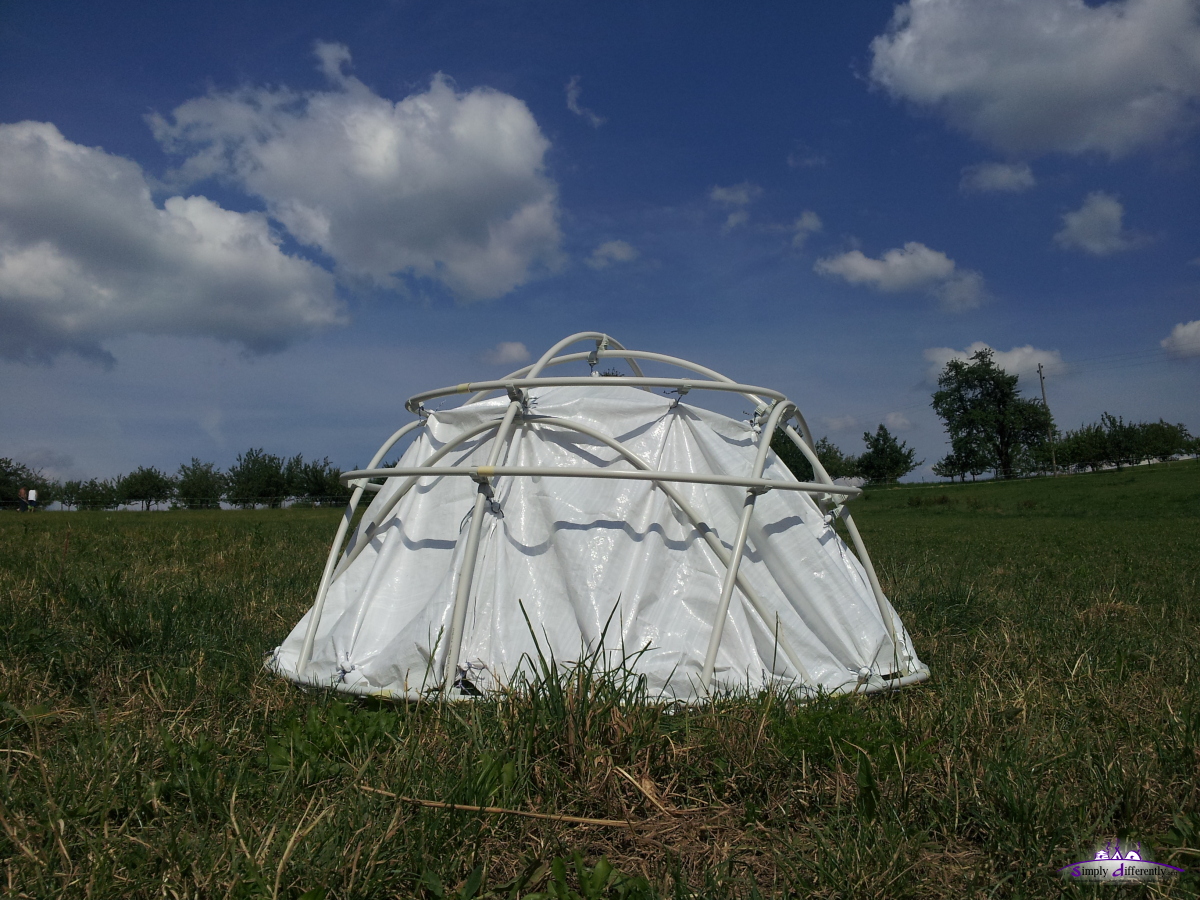 2014/06/17 16:49  2014/06/17 16:49 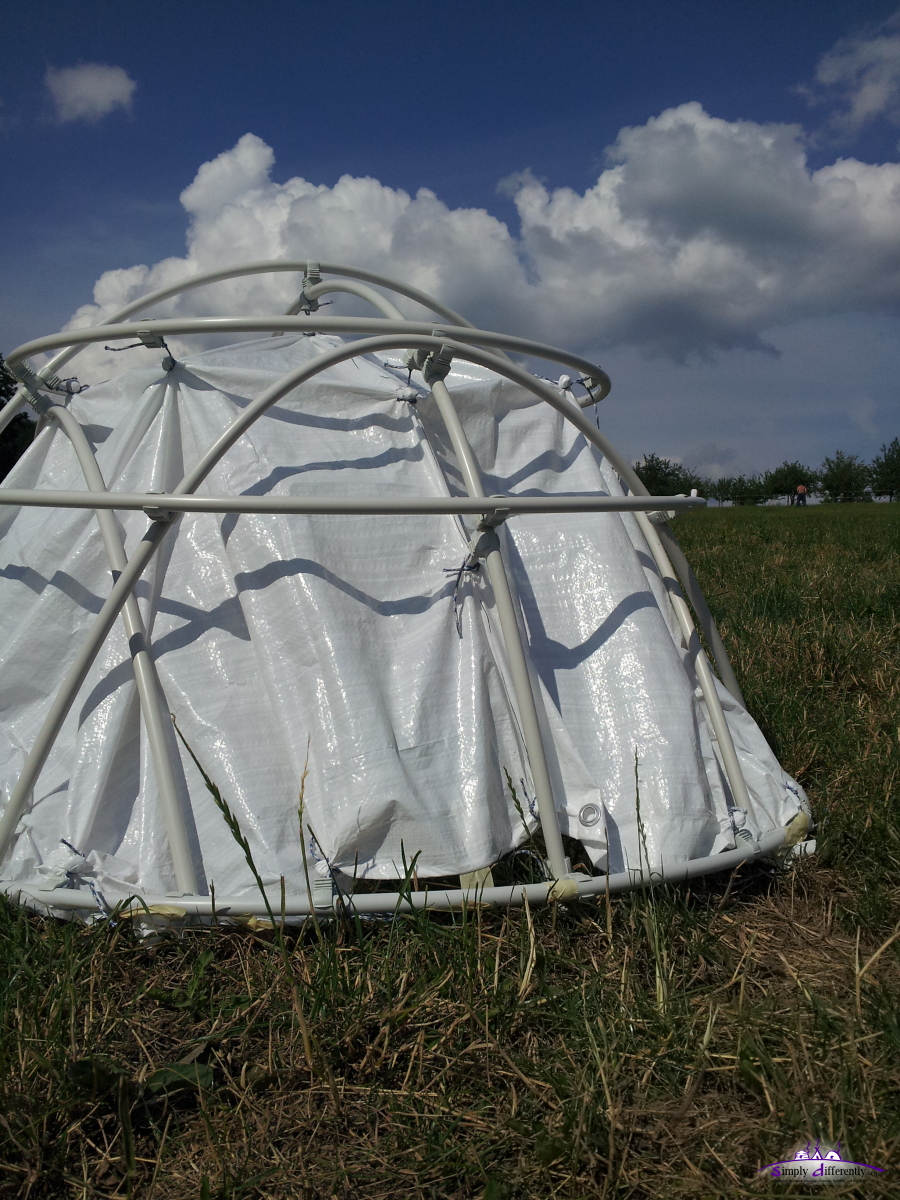 2014/06/17 16:49 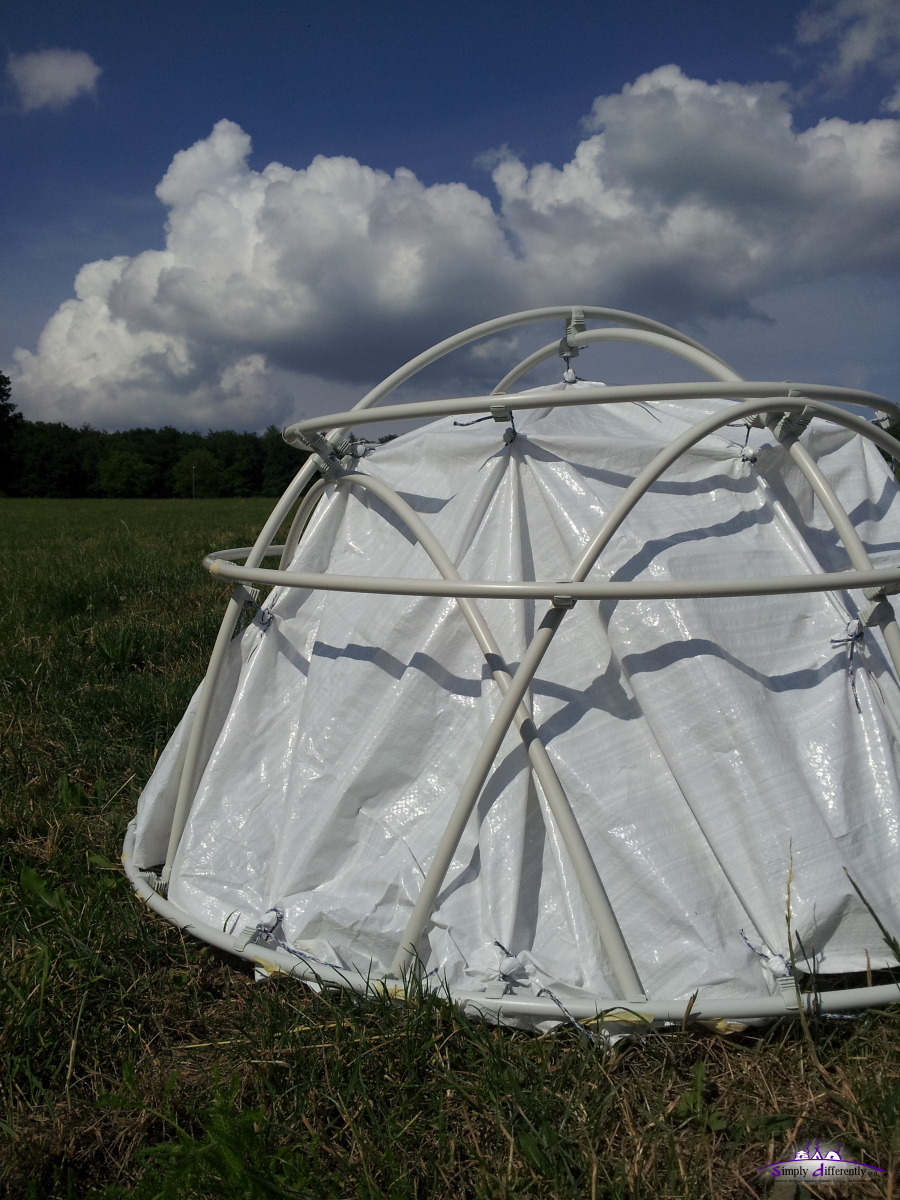 2014/06/17 16:49 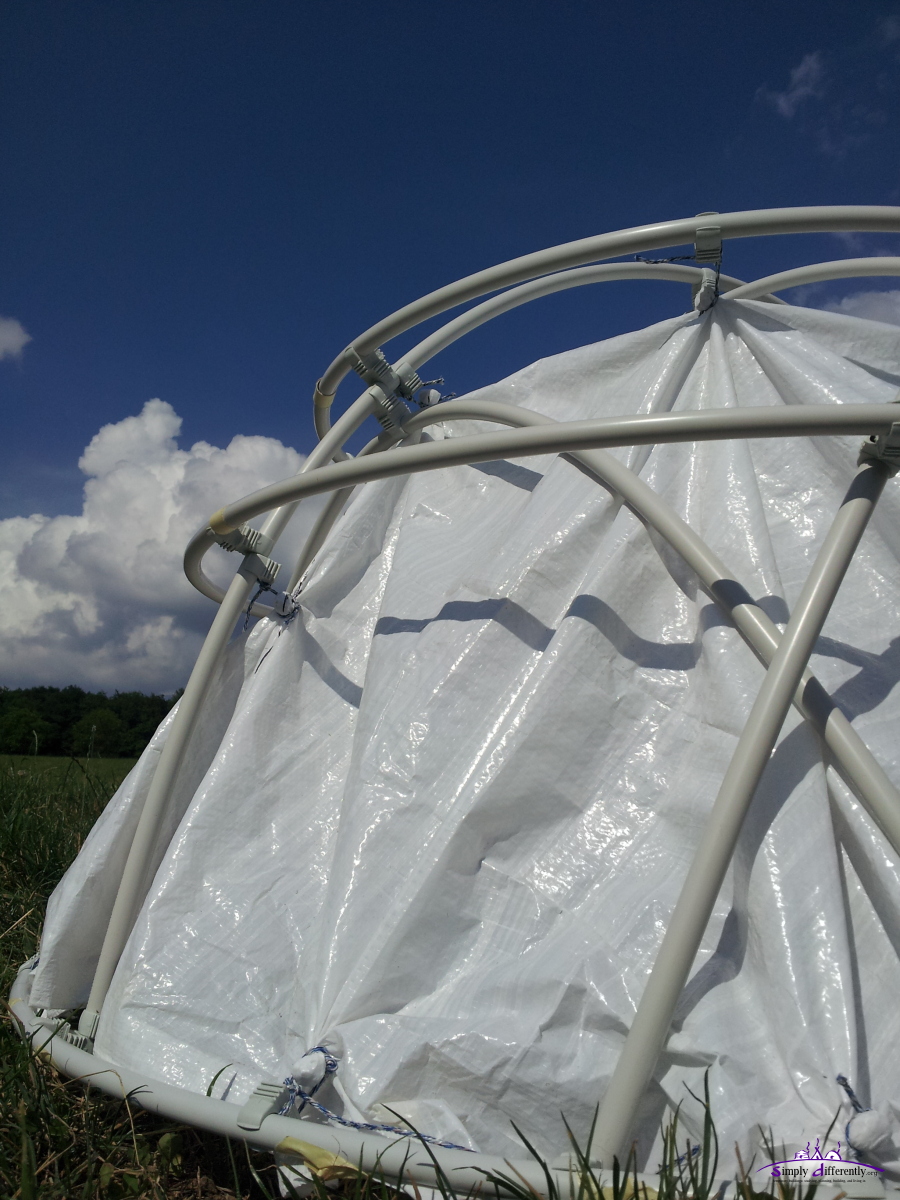 2014/06/17 16:50 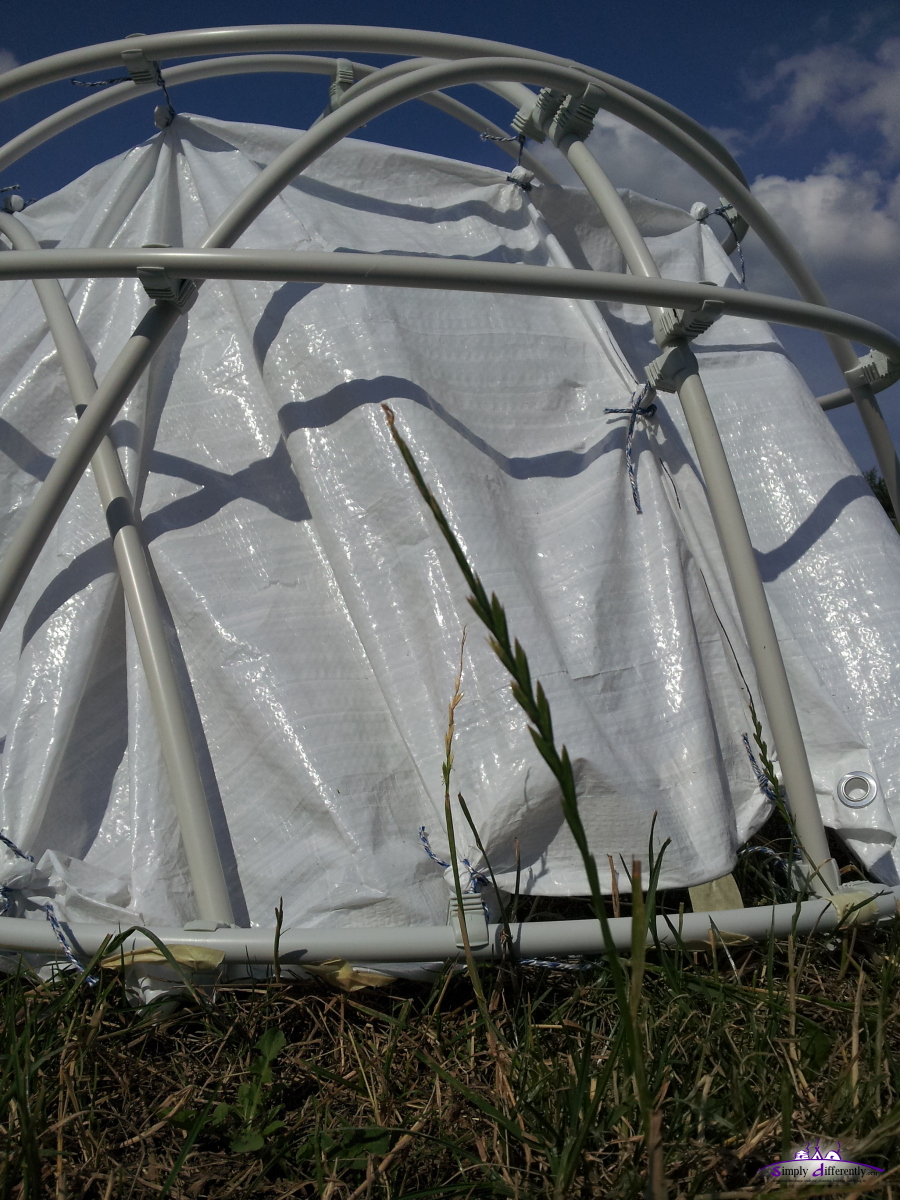 2014/06/17 16:50 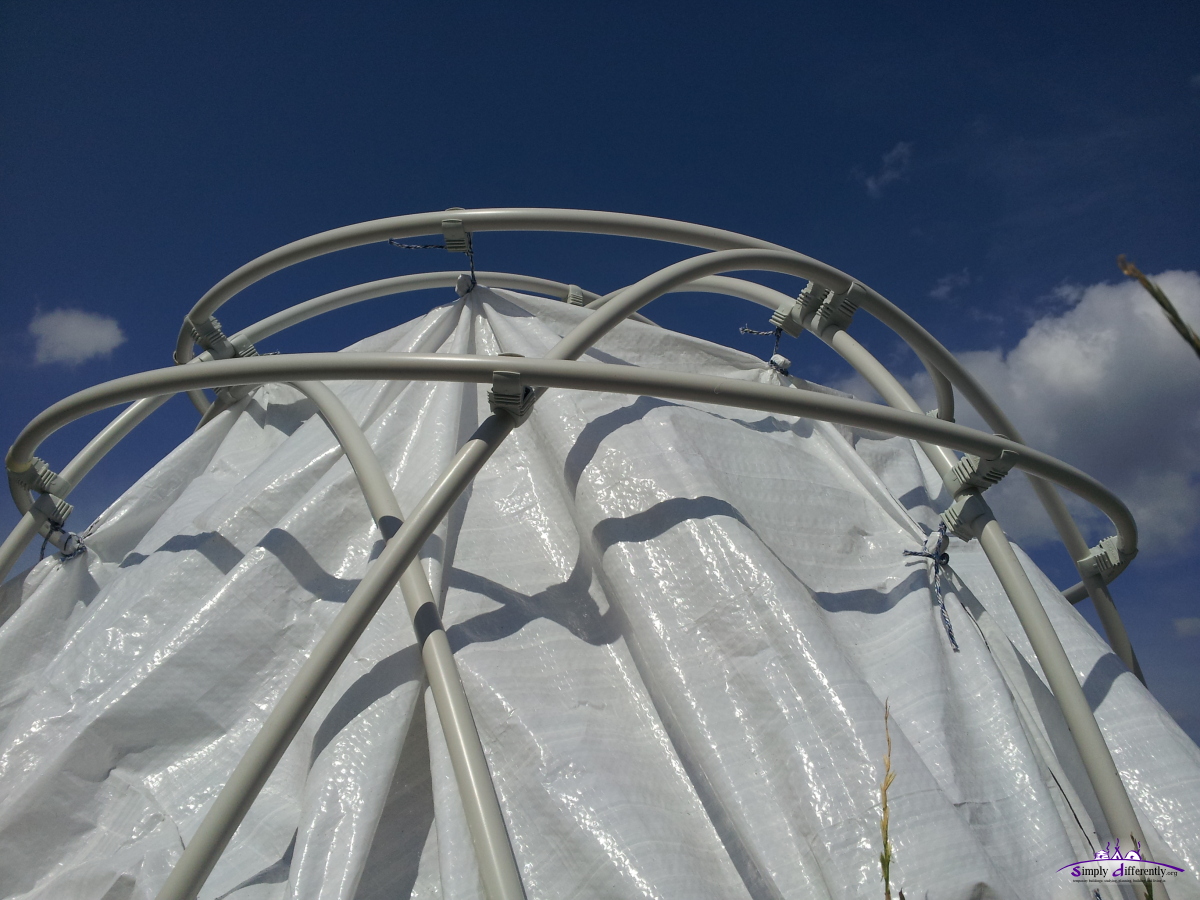 2014/06/17 16:50 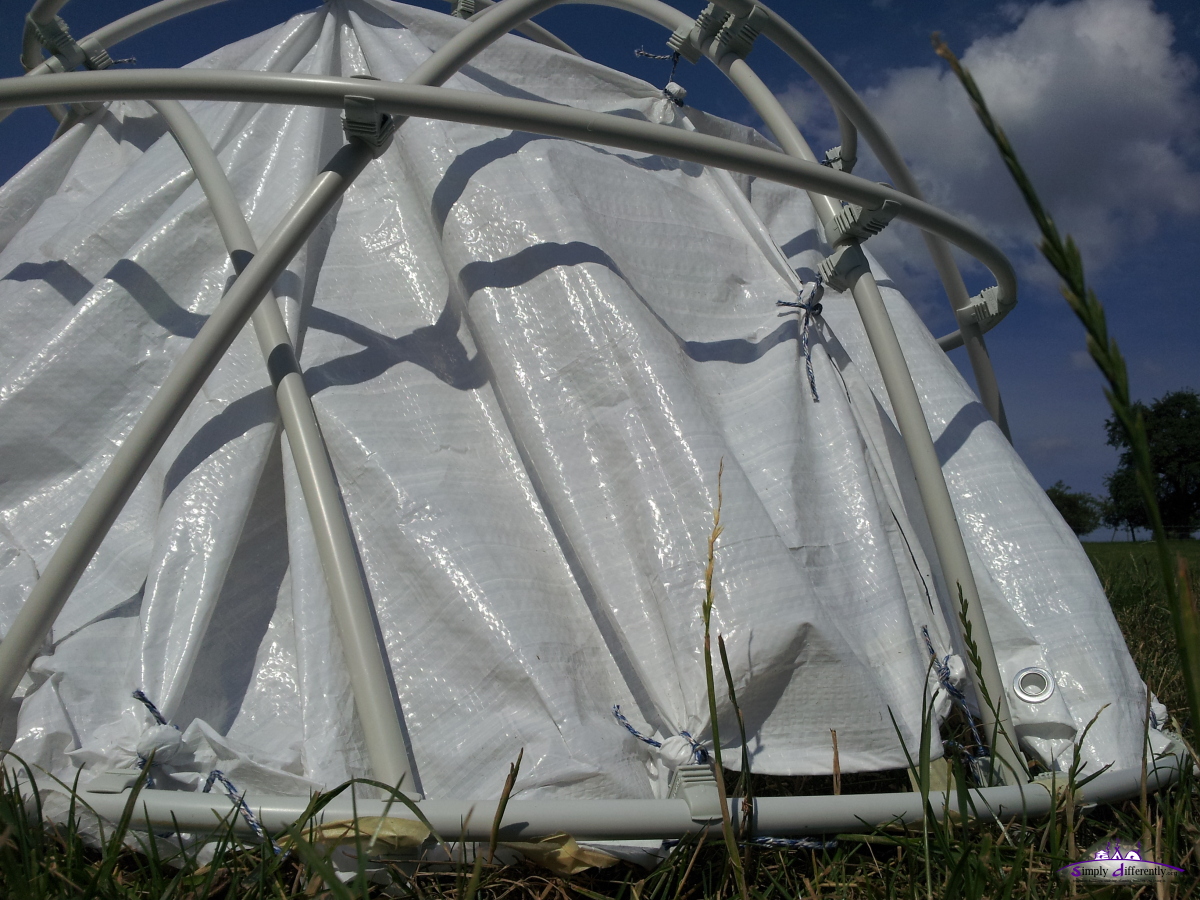 2014/06/17 16:50 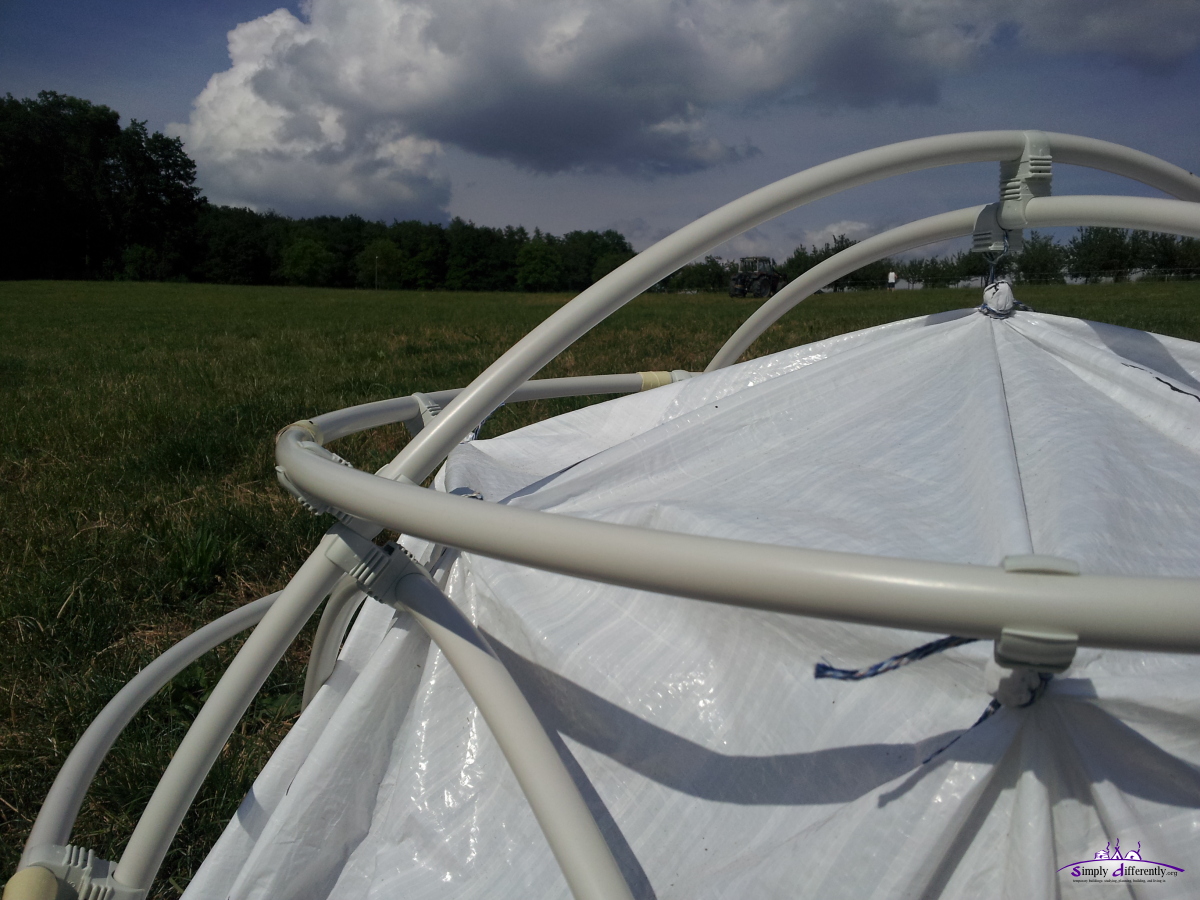 2014/06/17 16:50 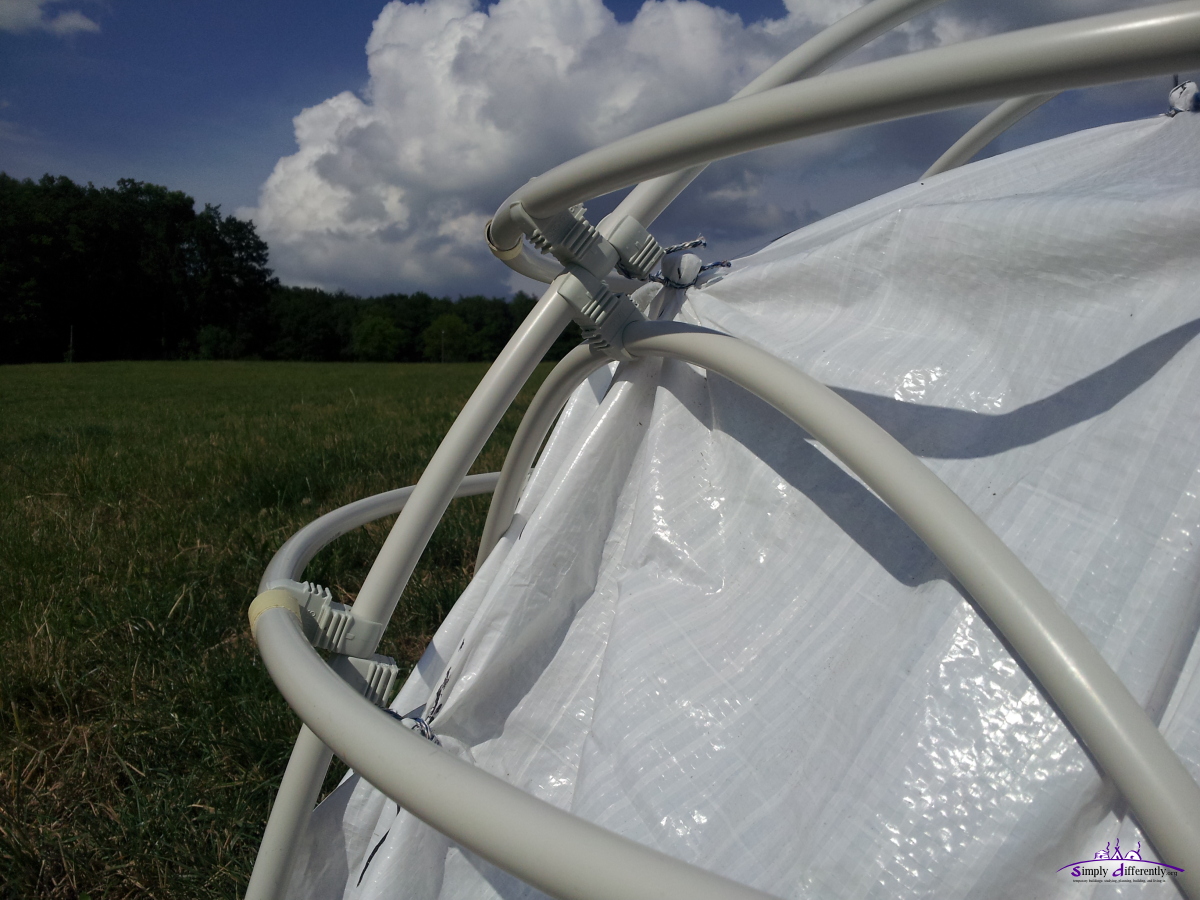 2014/06/17 16:50 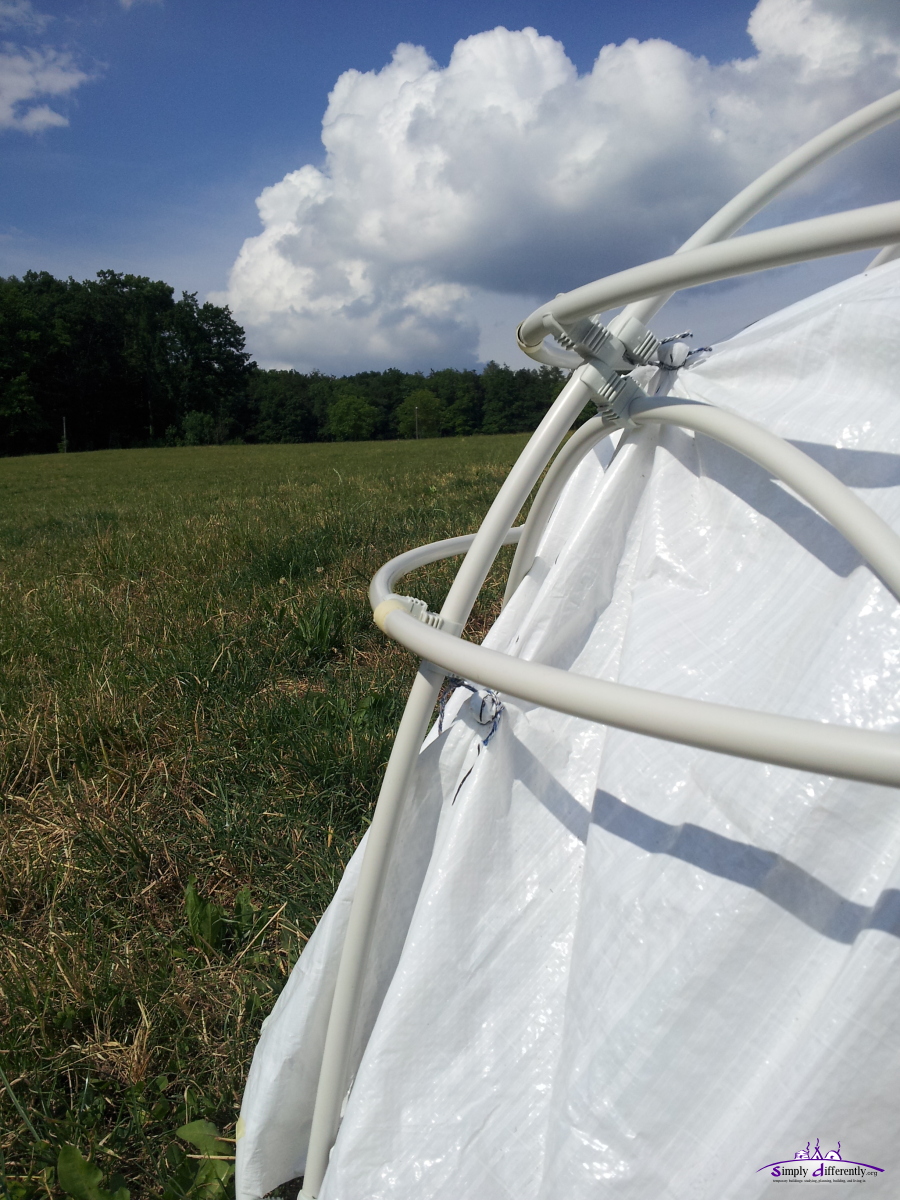 2014/06/17 16:51 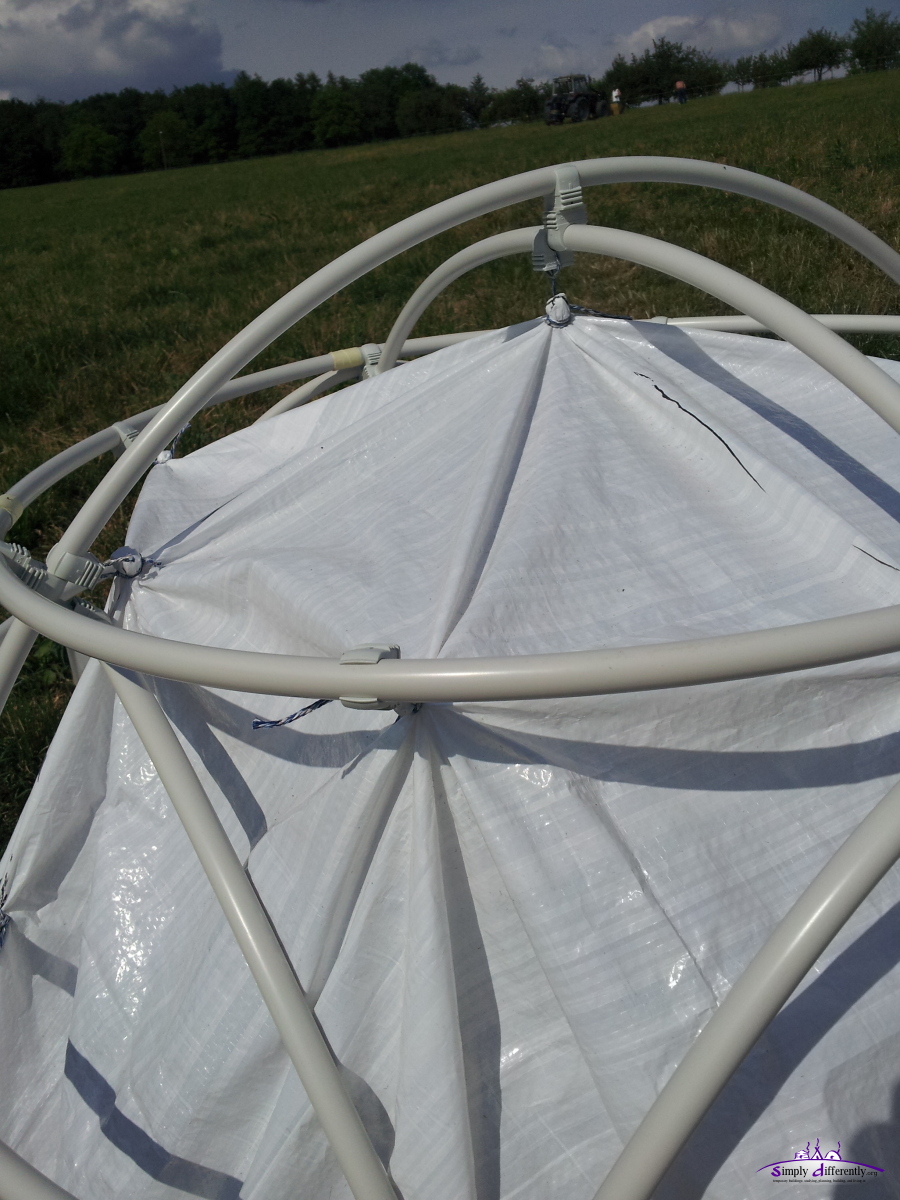 2014/06/17 16:51 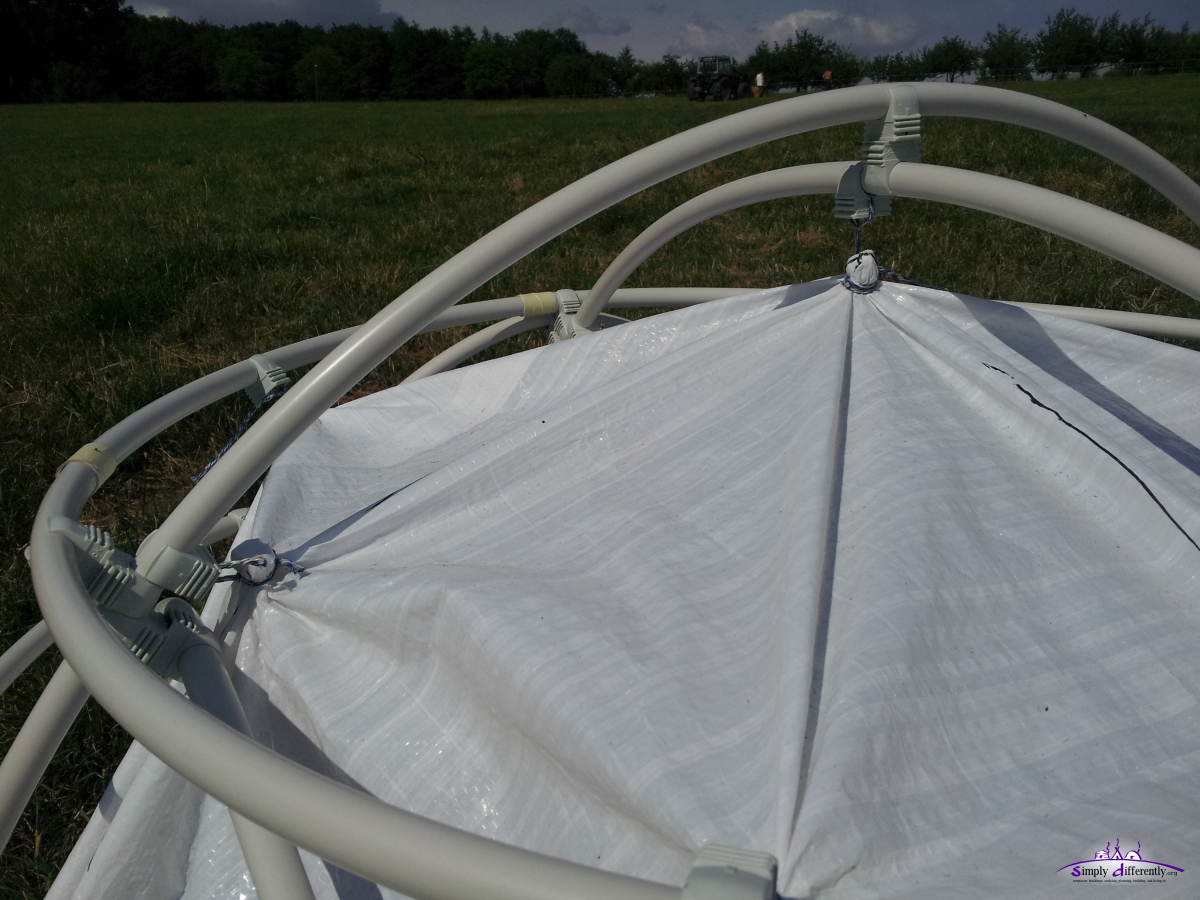 2014/06/17 16:51 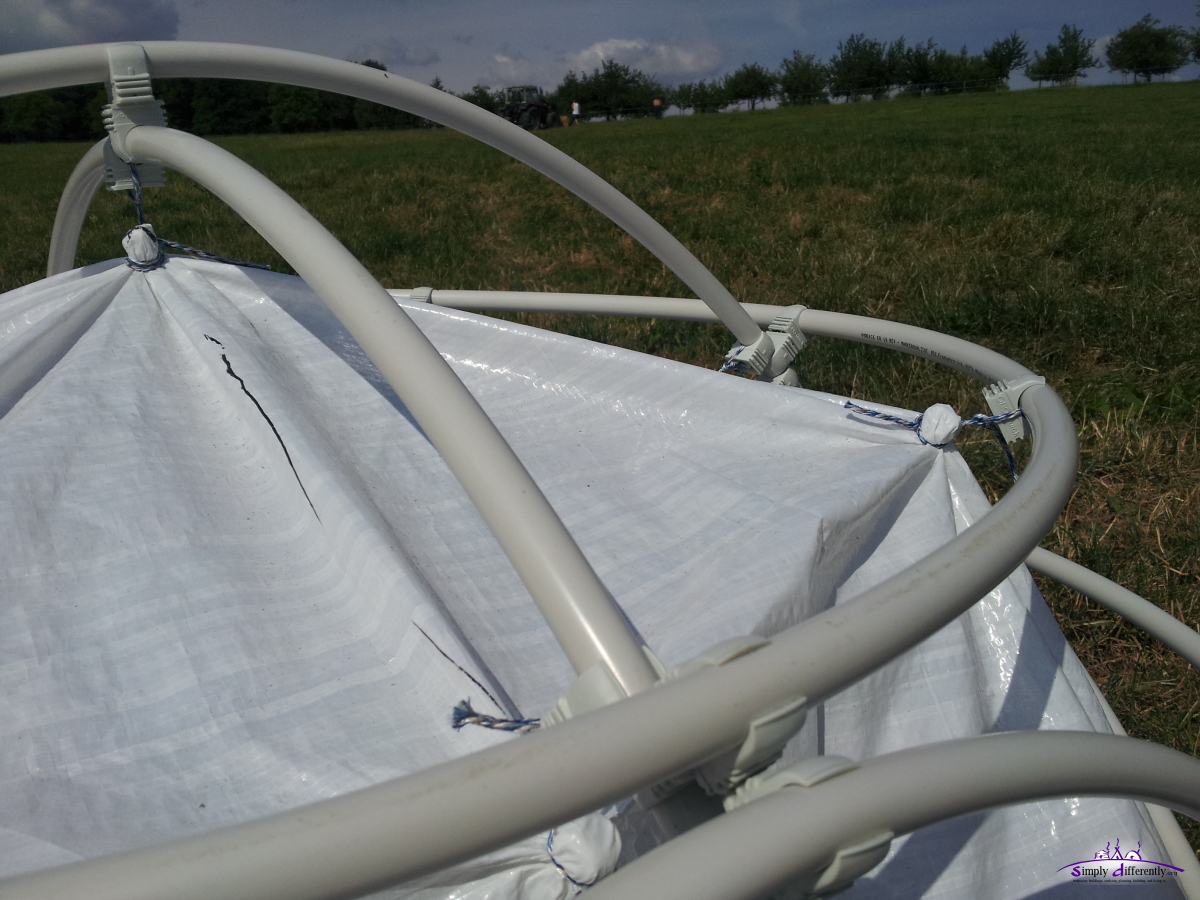 2014/06/17 16:51 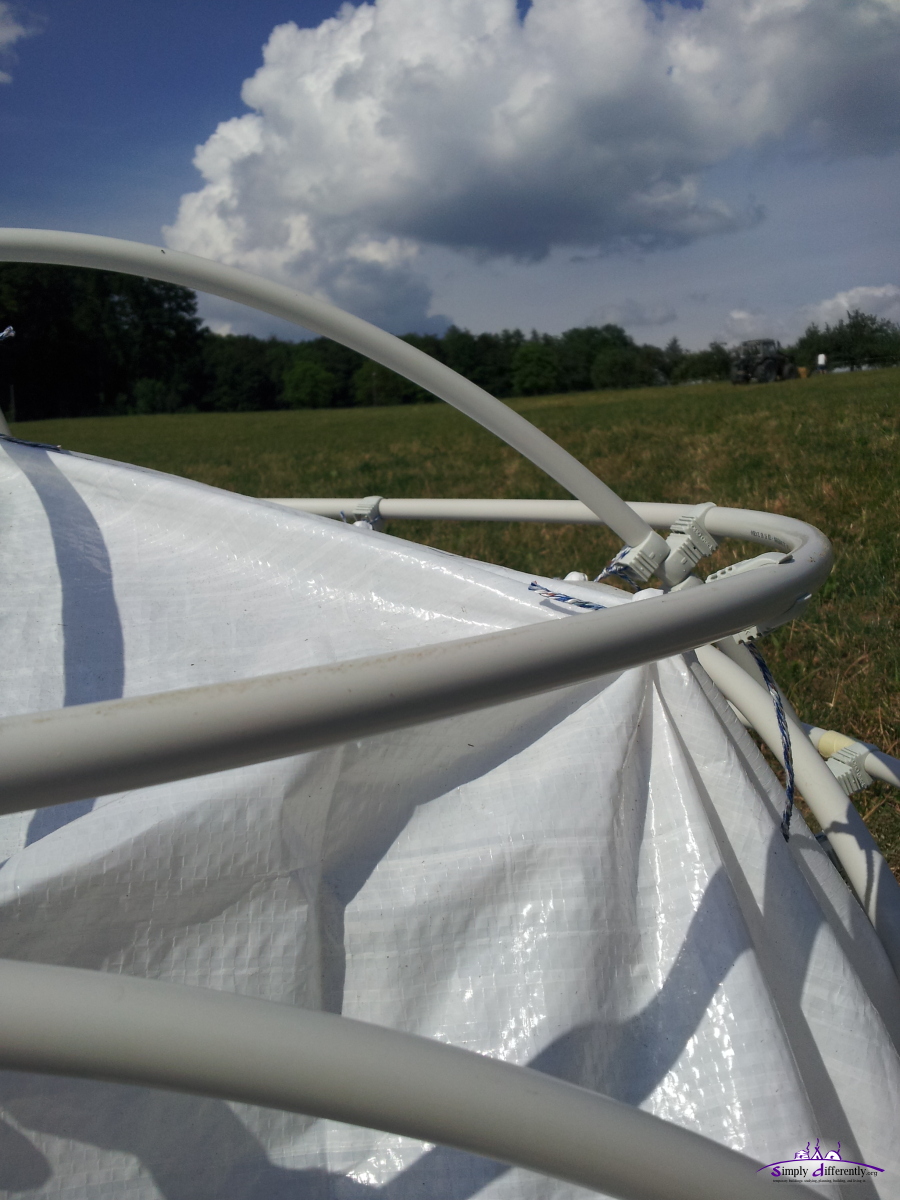 2014/06/17 16:51 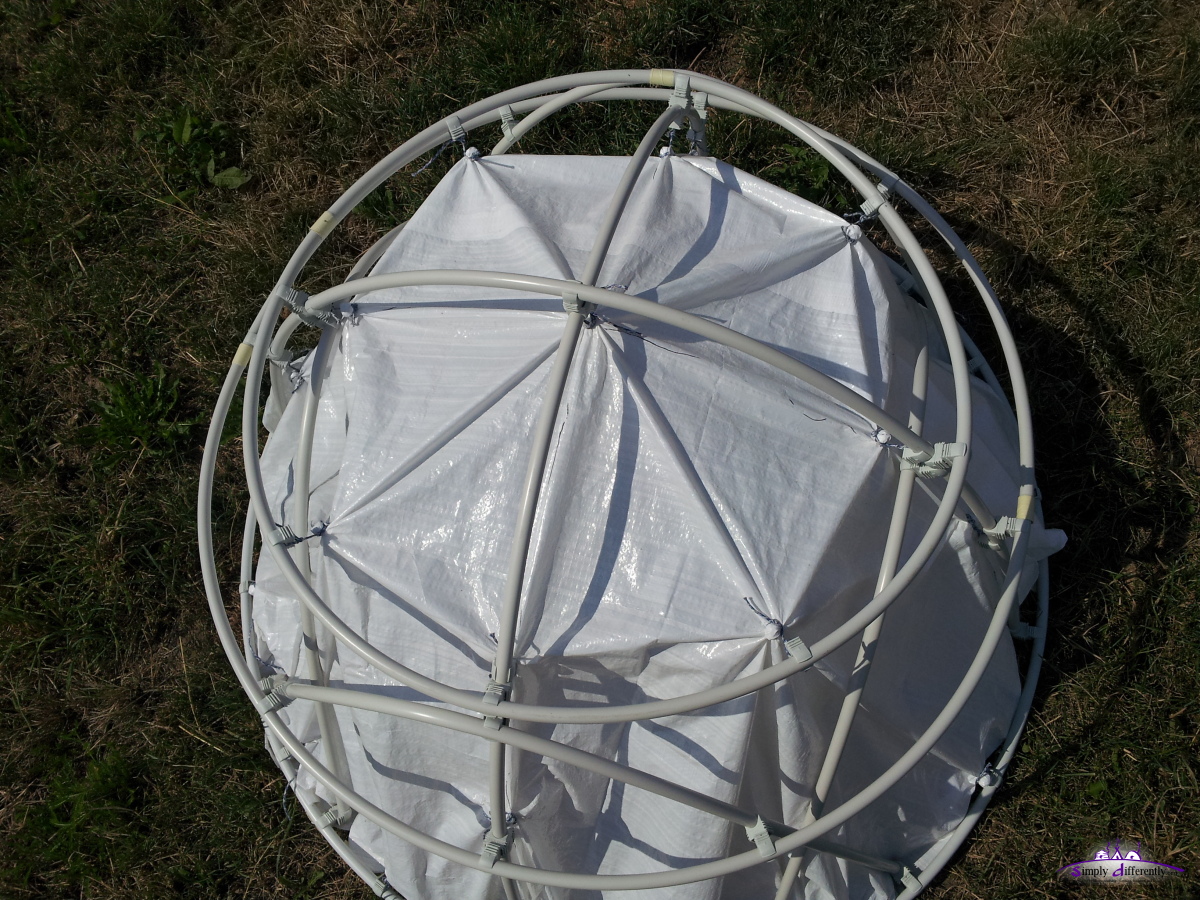 2014/06/17 16:51 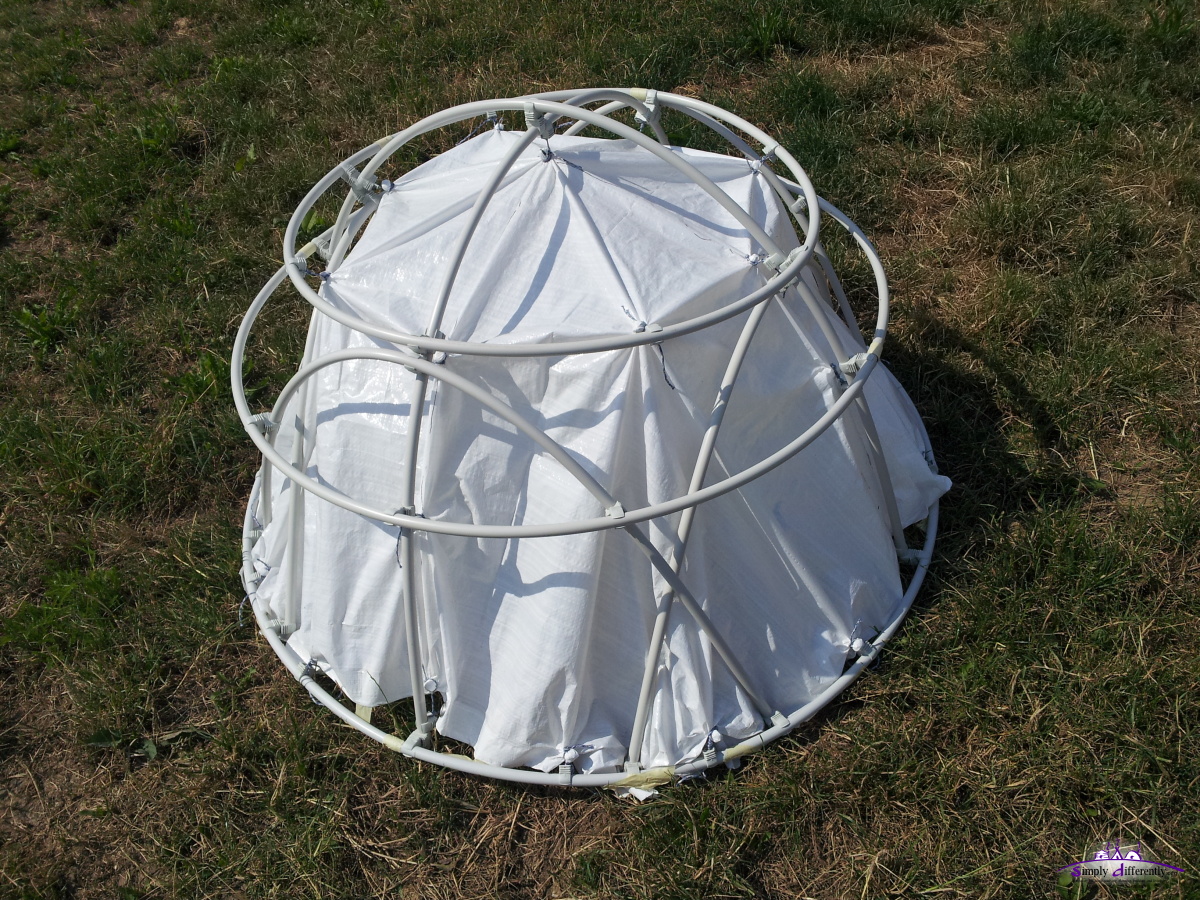 2014/06/17 16:52 2014/06/15: Making of LC Dome 4:x:3 1.27m Diameter ModelBefore doing a full size version of the dome, I thought to test my calculations and choice of material with a small scale 1.27m diameter dome. Measurements
Material
total cost apprx. 30 EUR
 Starting point 2014/06/15 09:48 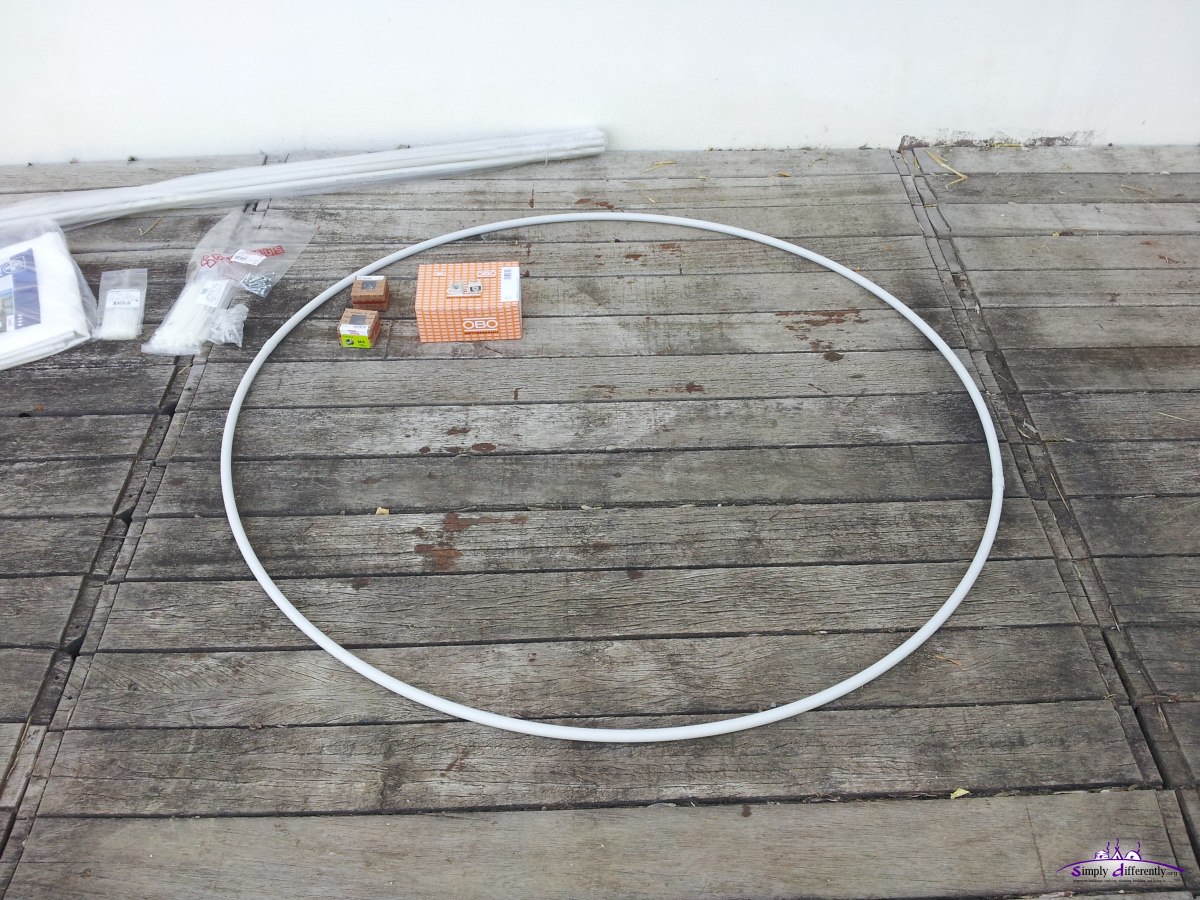 Base circle 2014/06/15 09:49 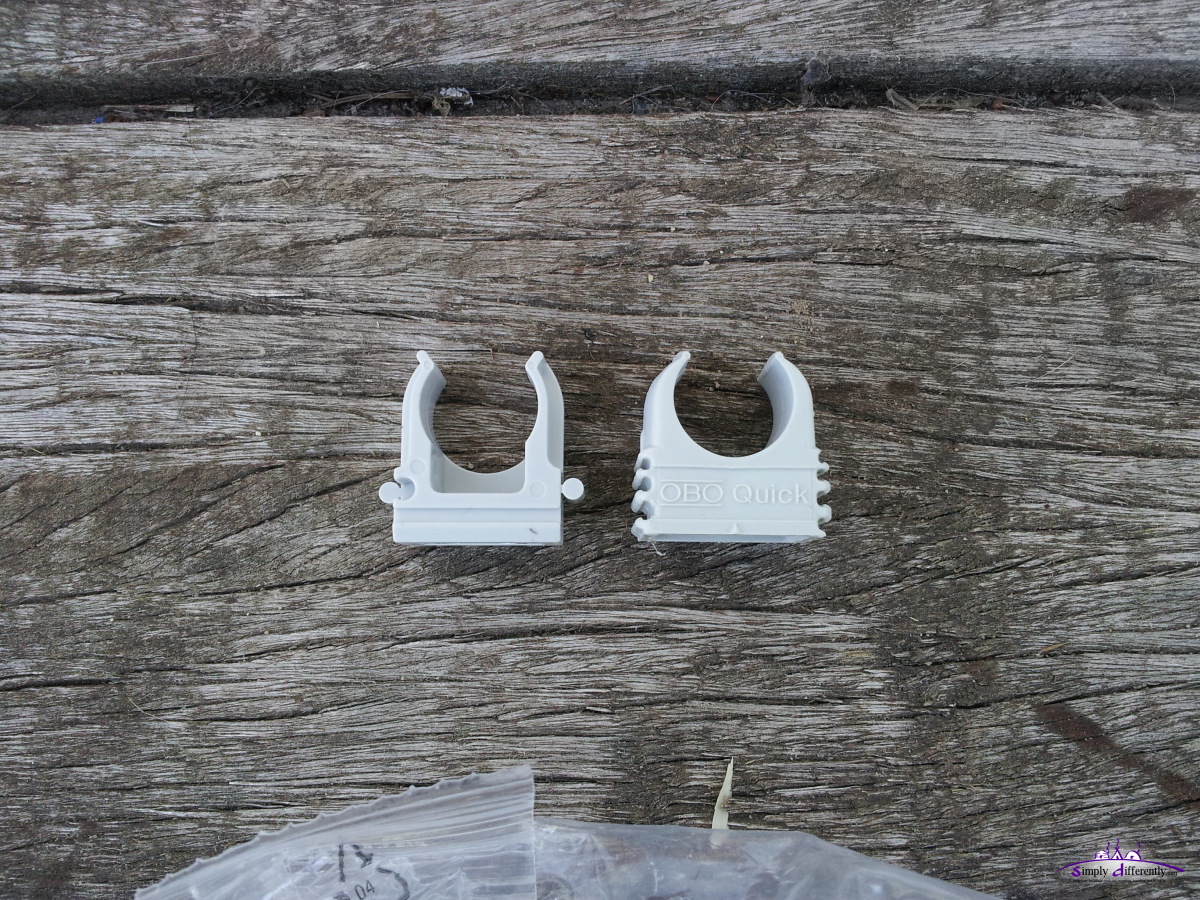 Clip connectors 2014/06/15 09:59 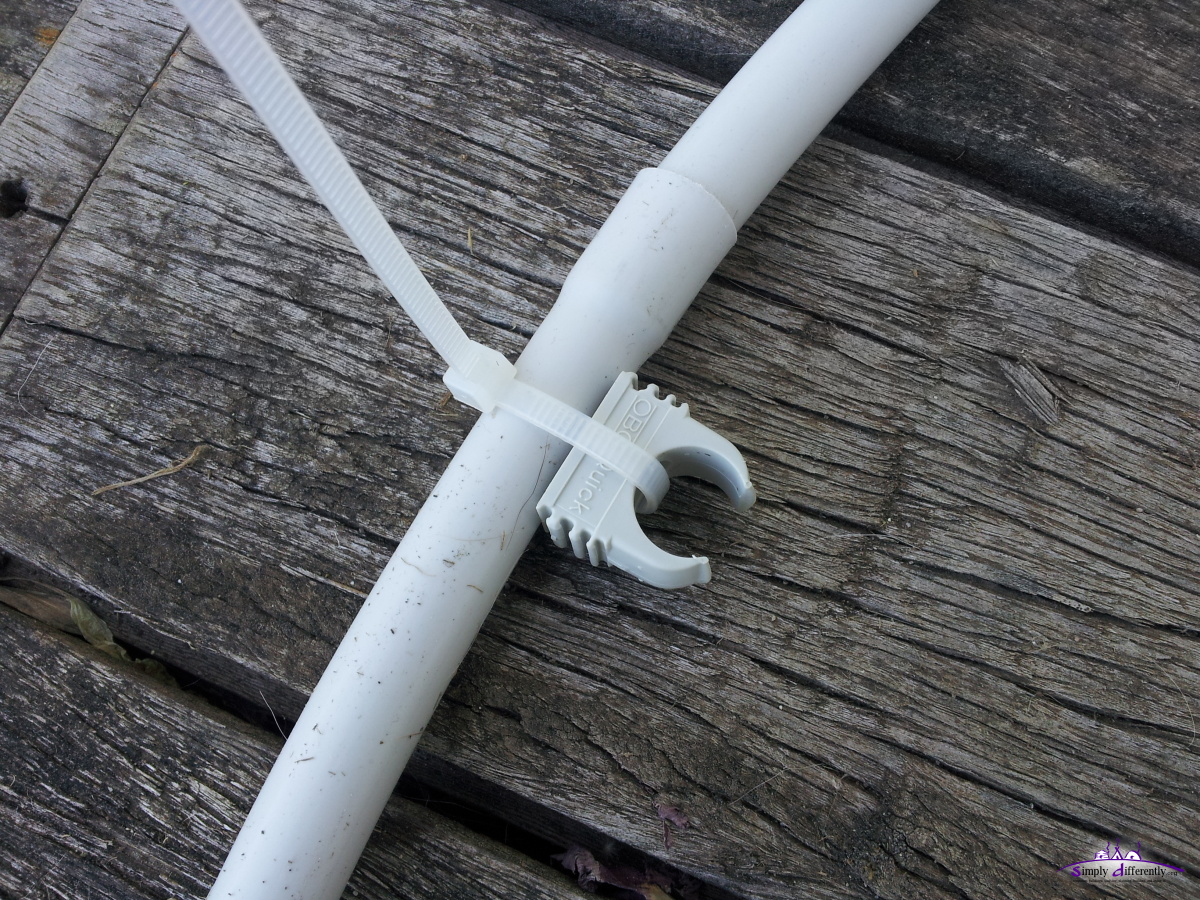 Preliminary connector for the ground 2014/06/15 10:02 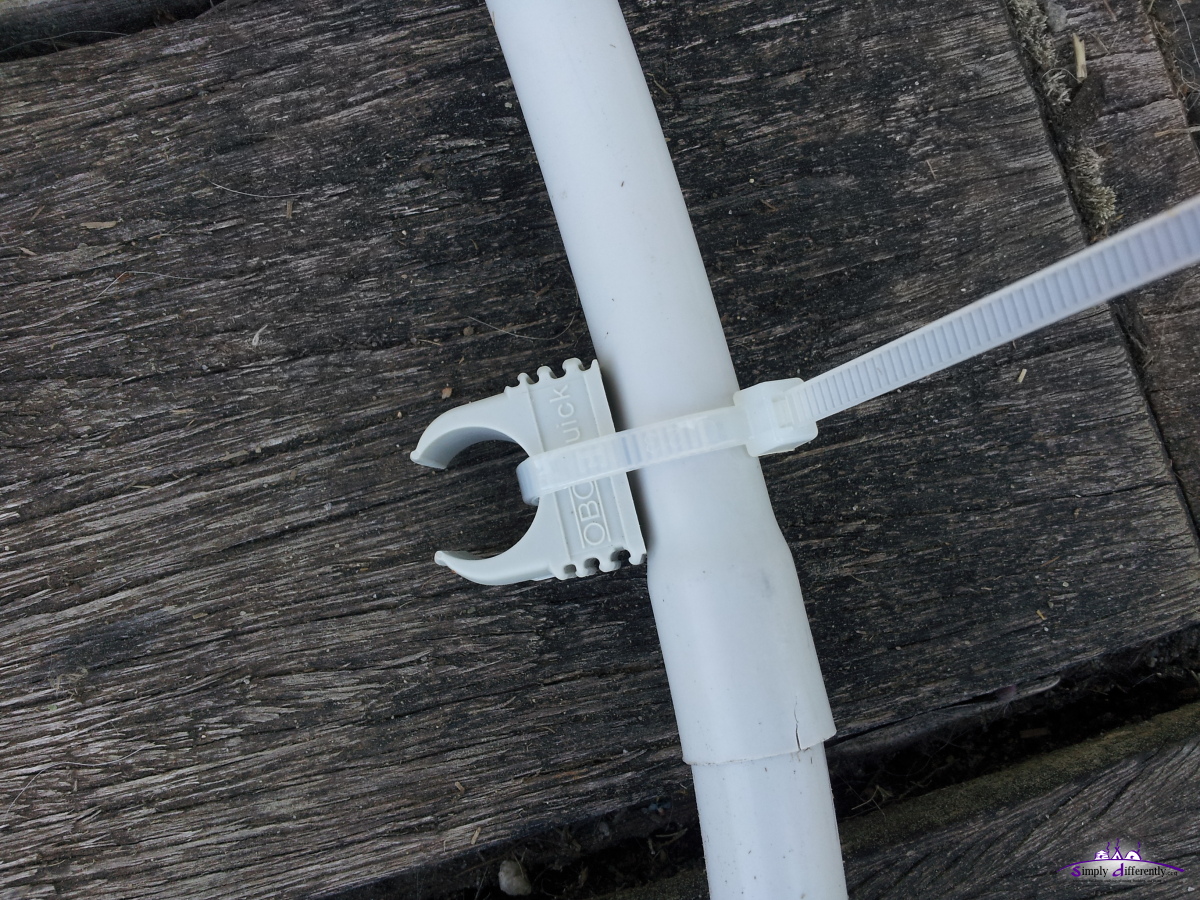 2014/06/15 10:03  Tear of the fitting from (over-)bending 2014/06/15 10:03 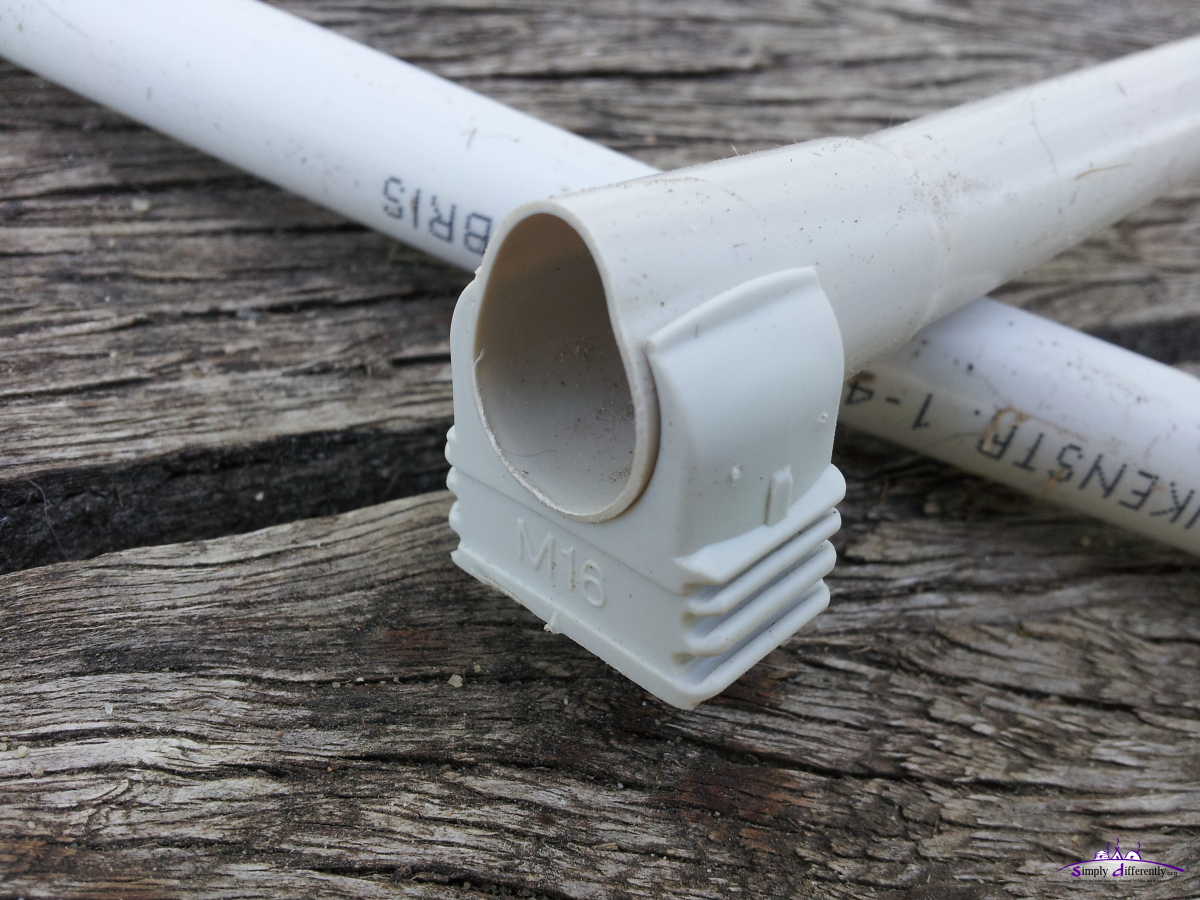 Fitting too fat for the clip 2014/06/15 10:06 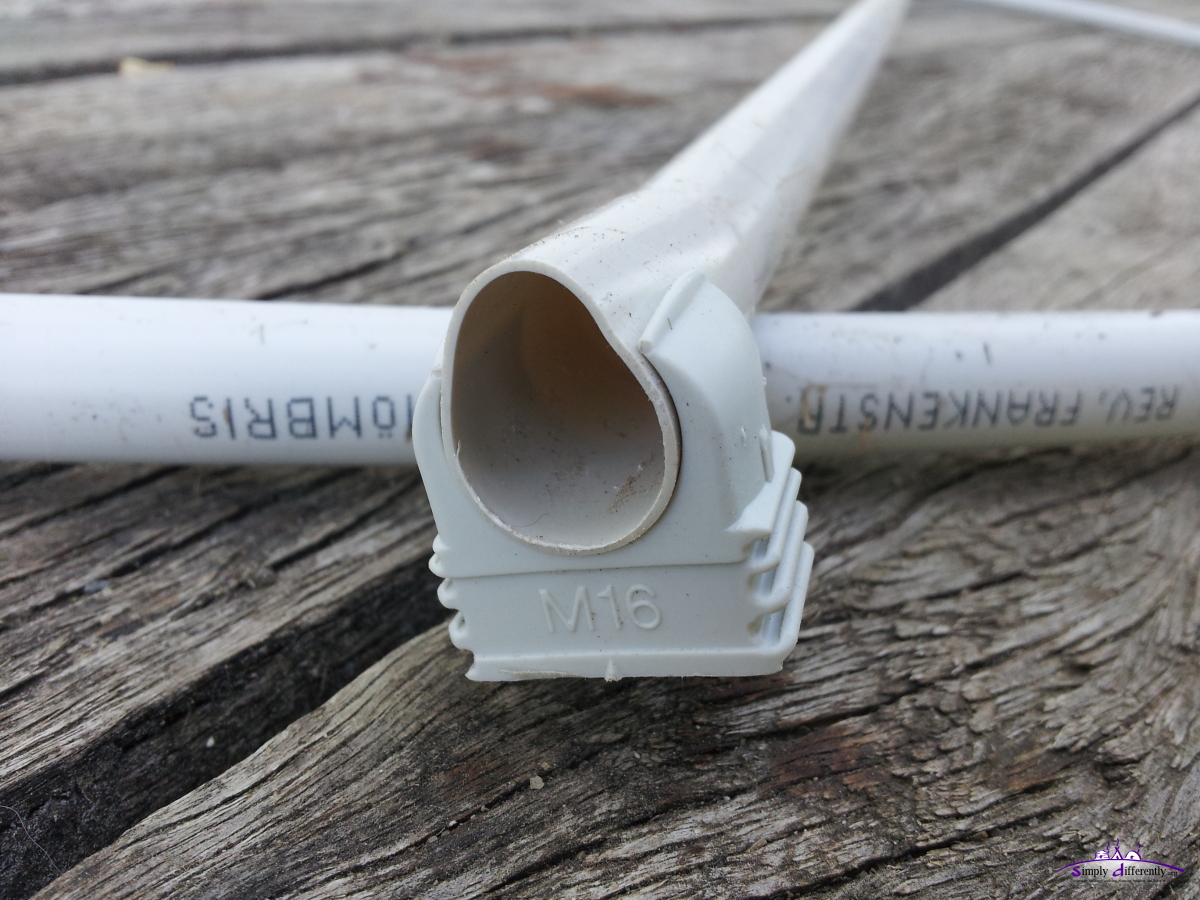 2014/06/15 10:06 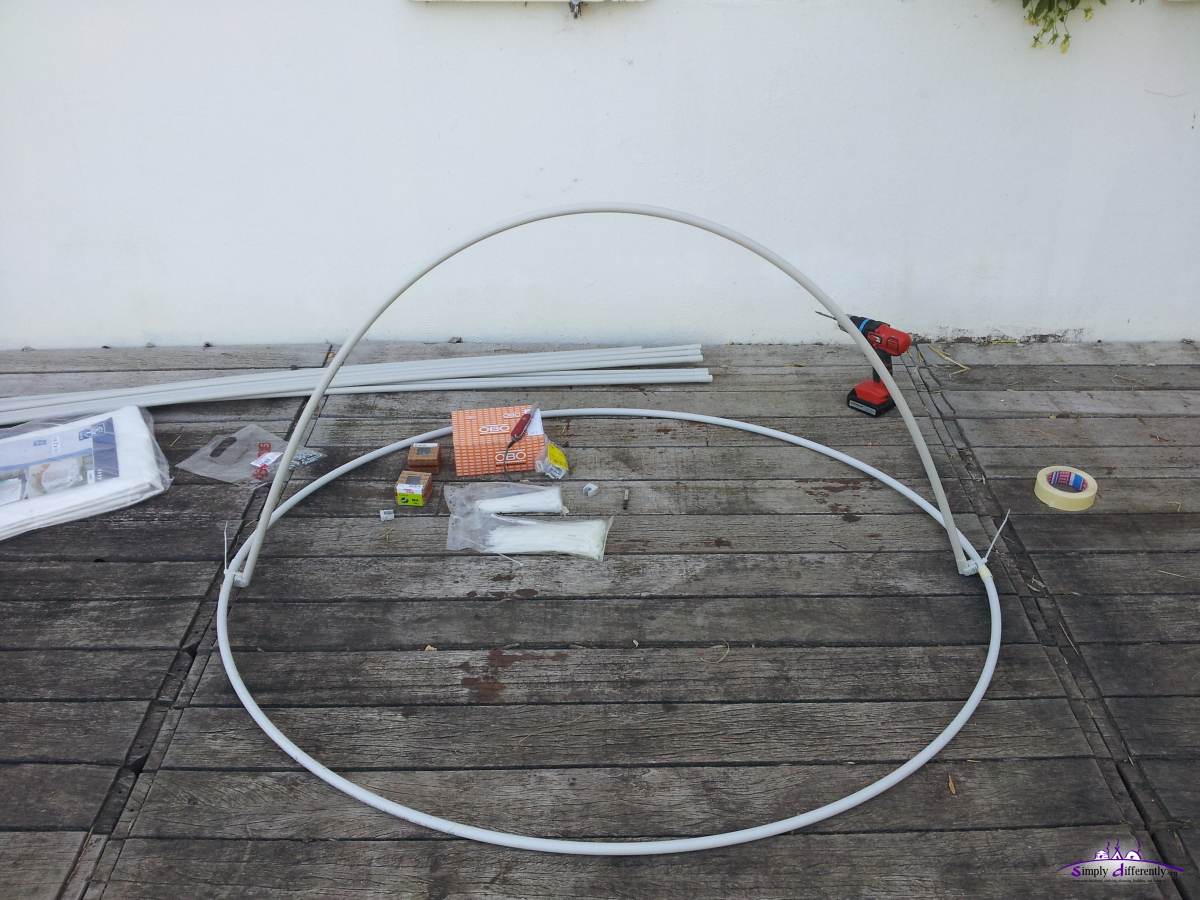 2014/06/15 10:07 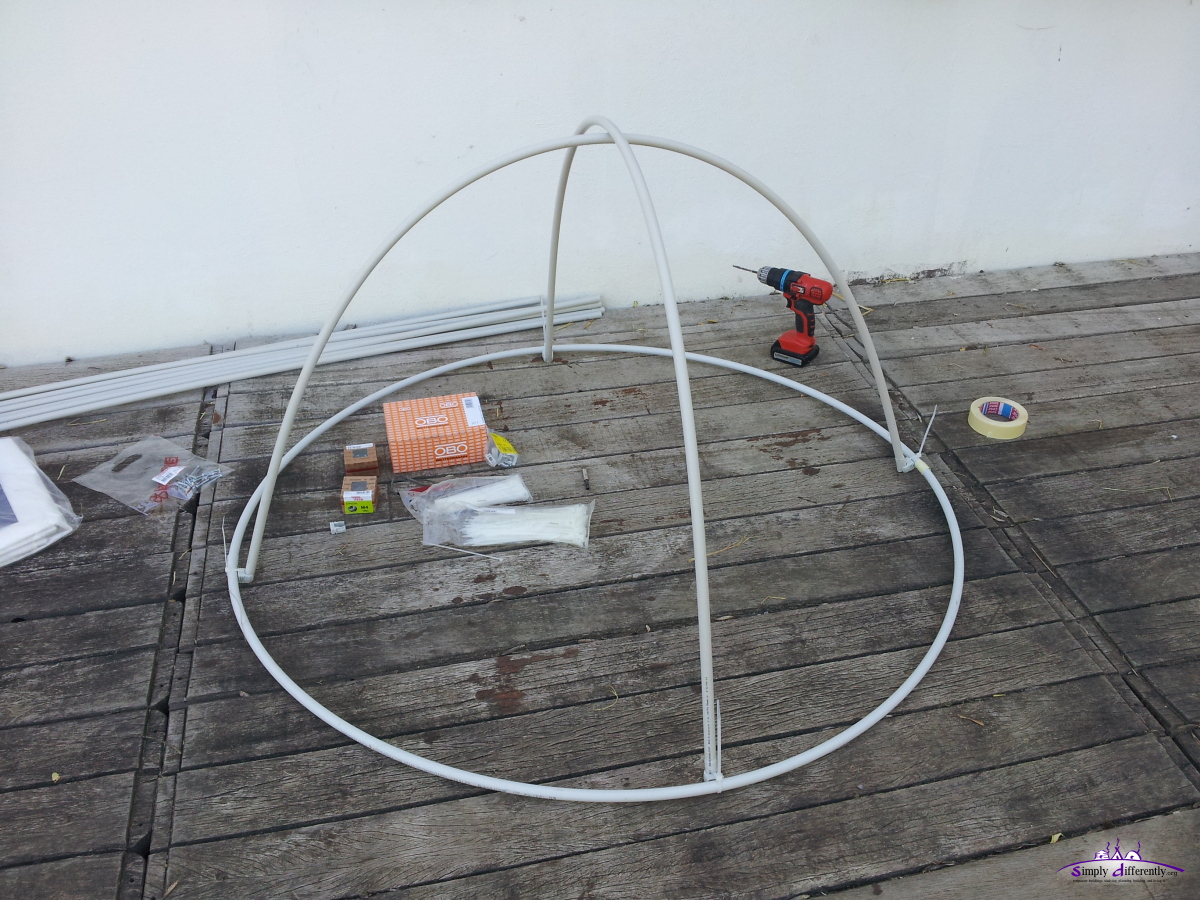 2014/06/15 10:09 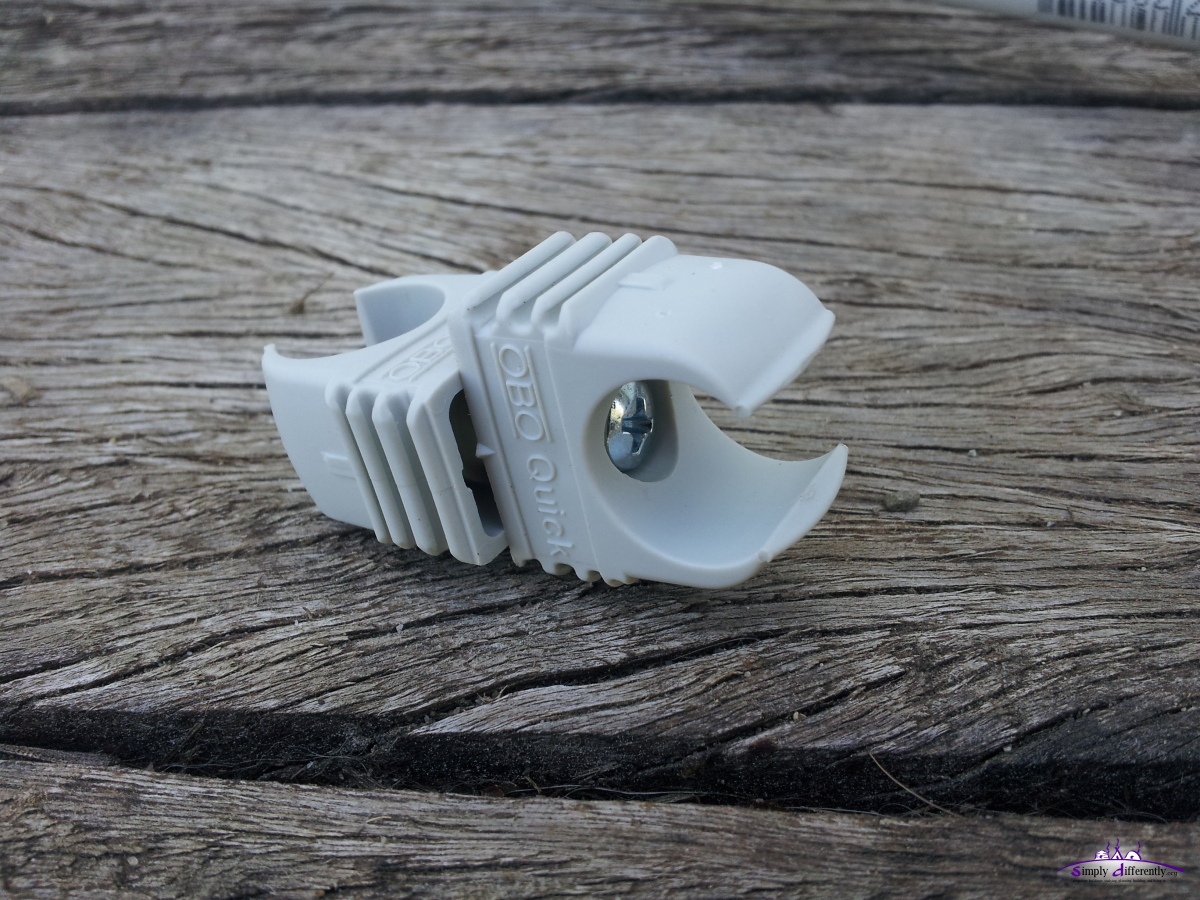 Combining two clip connectors with M4x16 2014/06/15 10:13 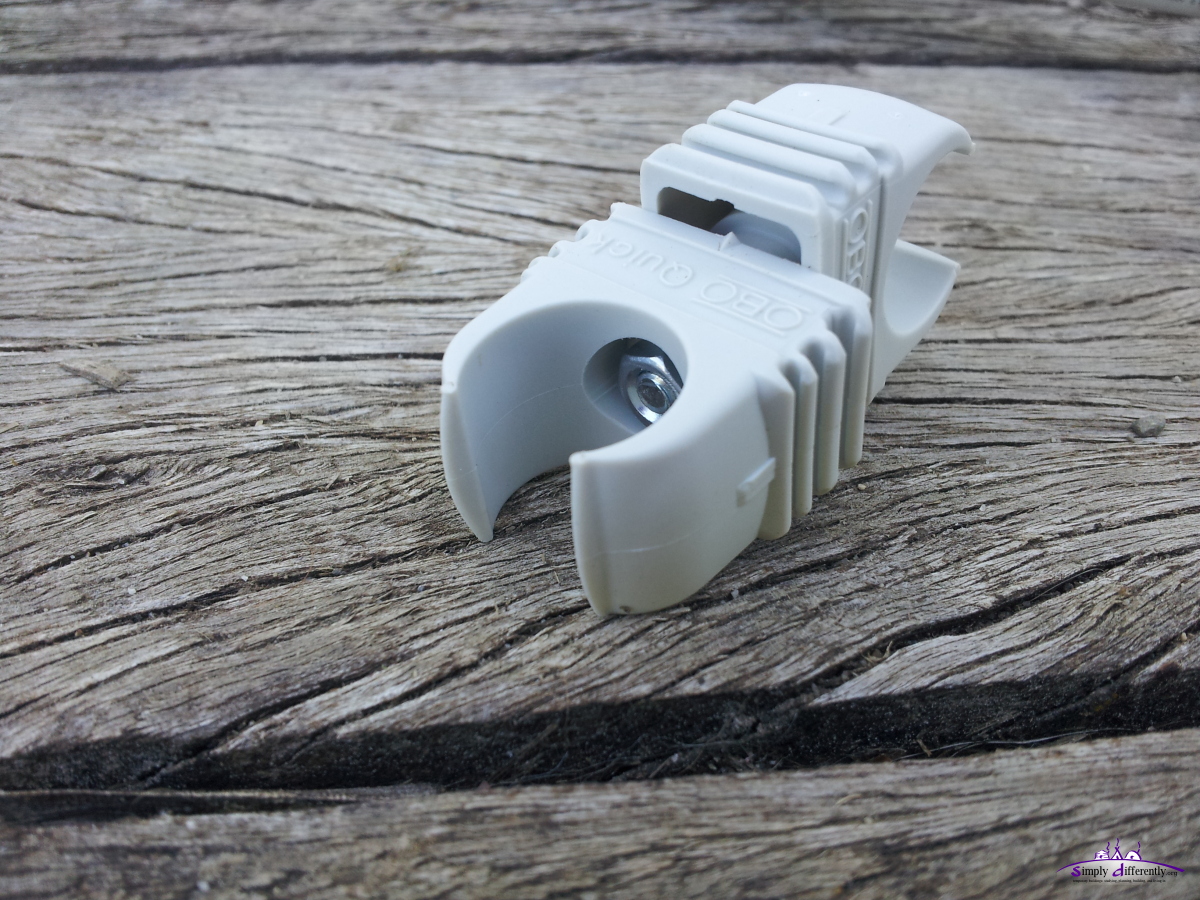 2014/06/15 10:13 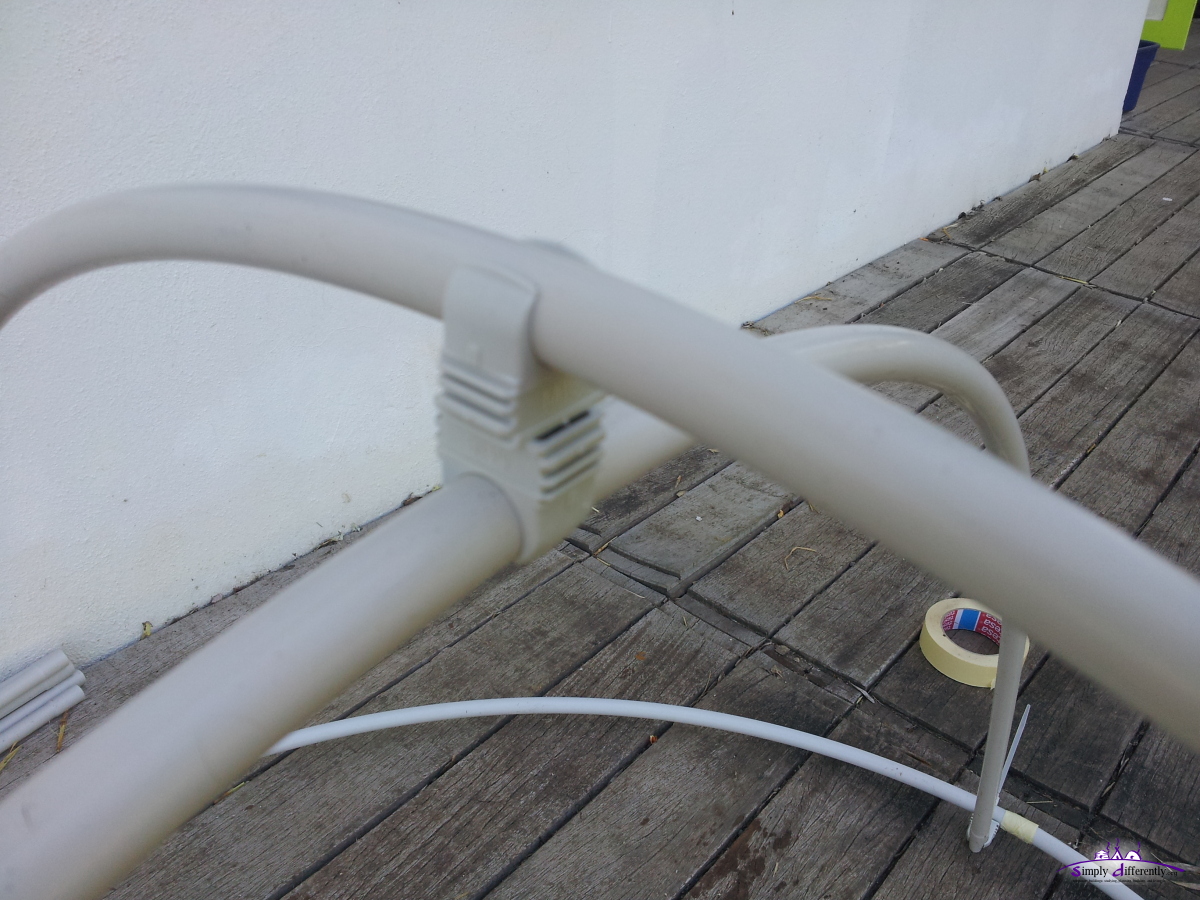 2014/06/15 10:13 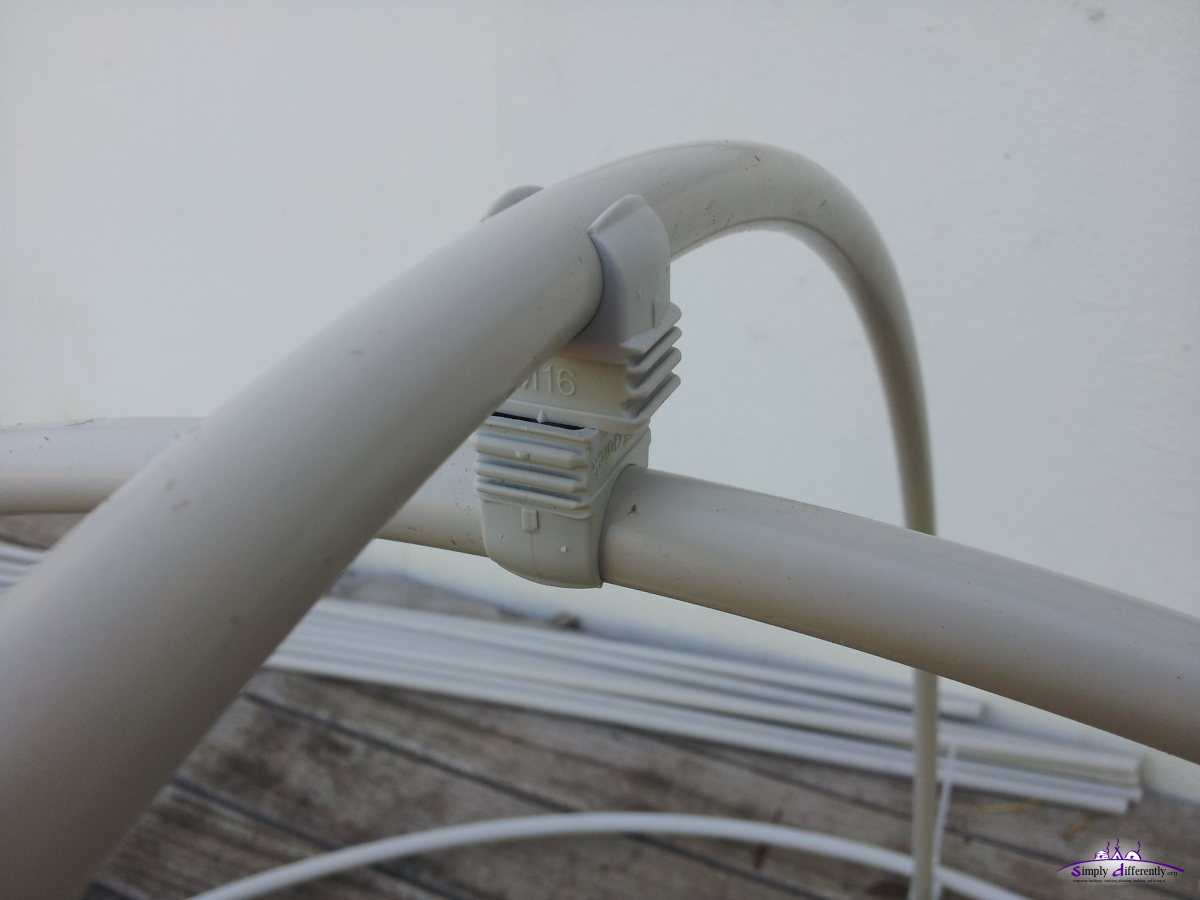 2014/06/15 10:14 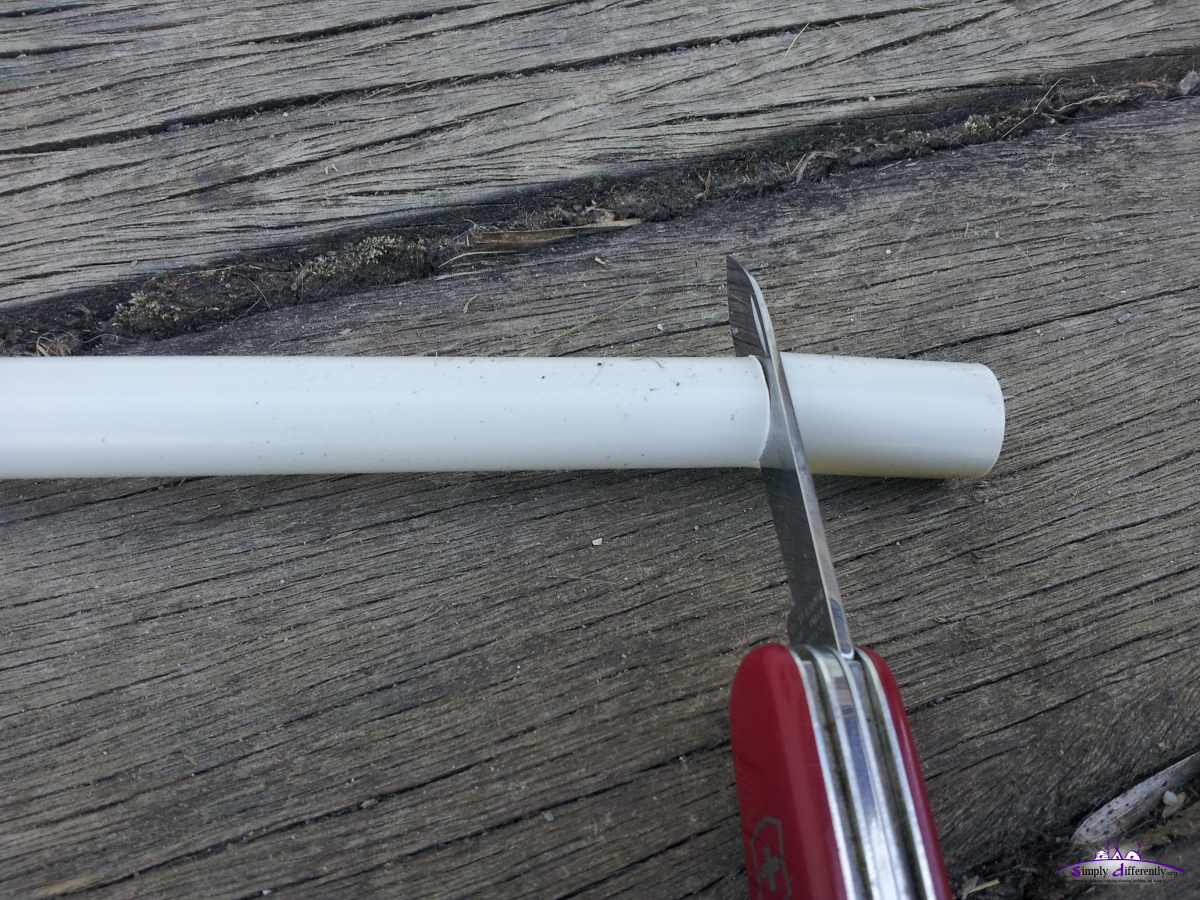 2014/06/15 10:15 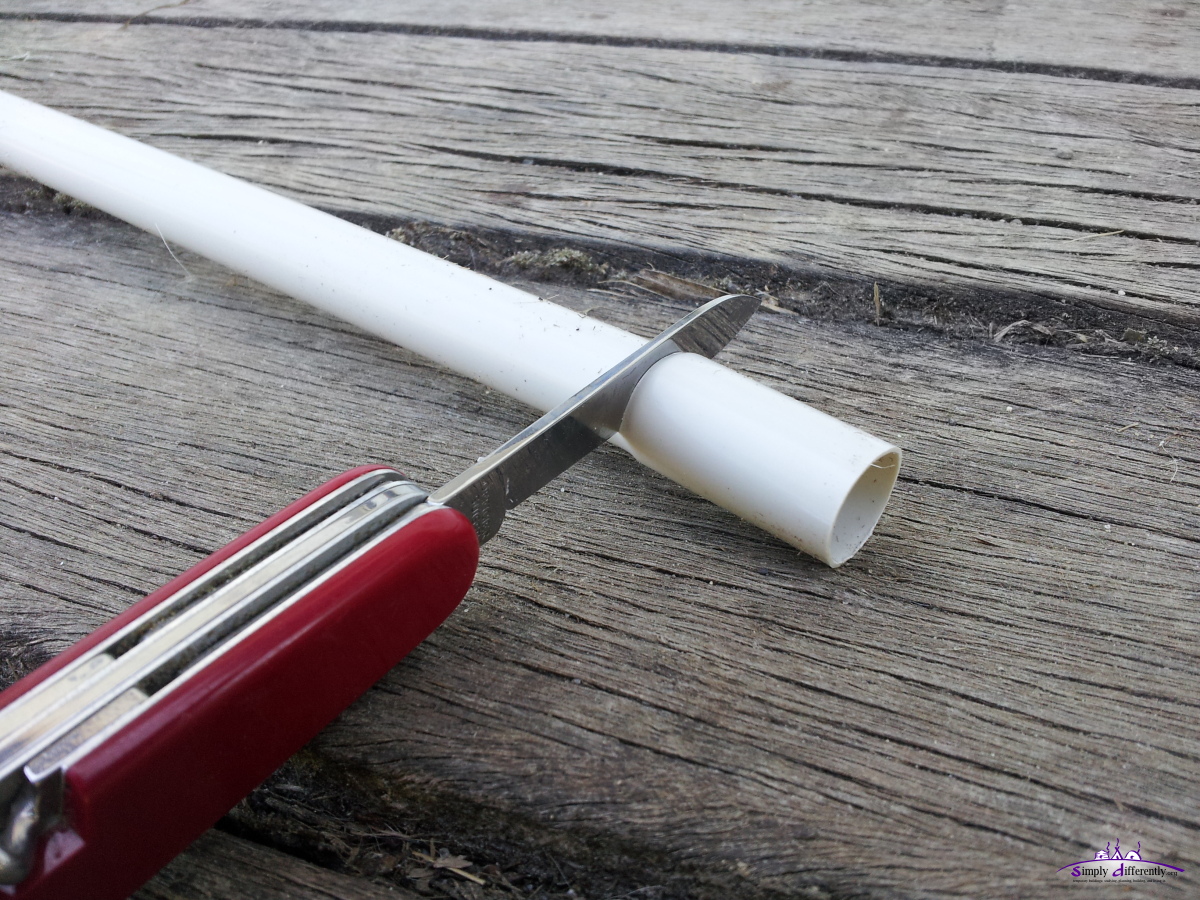 2014/06/15 10:15 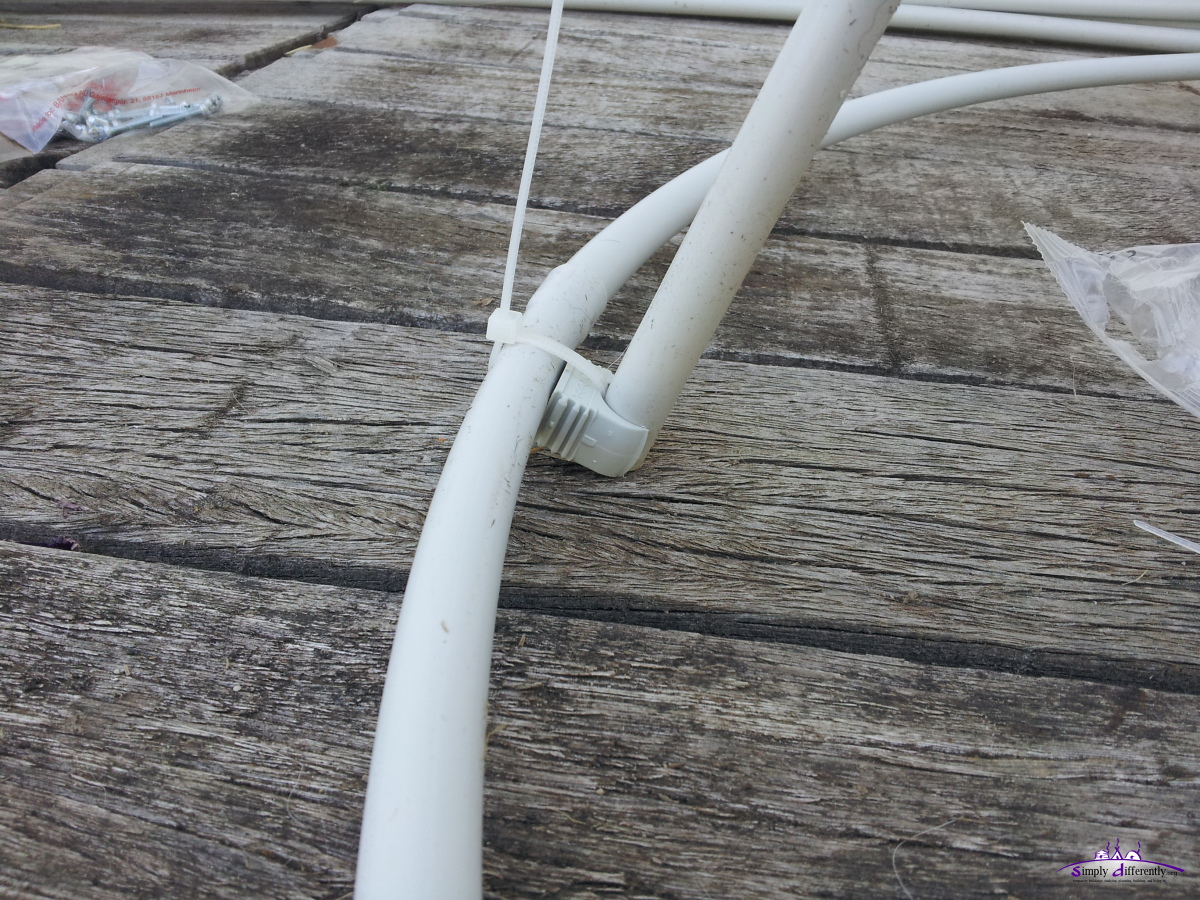 2014/06/15 10:17 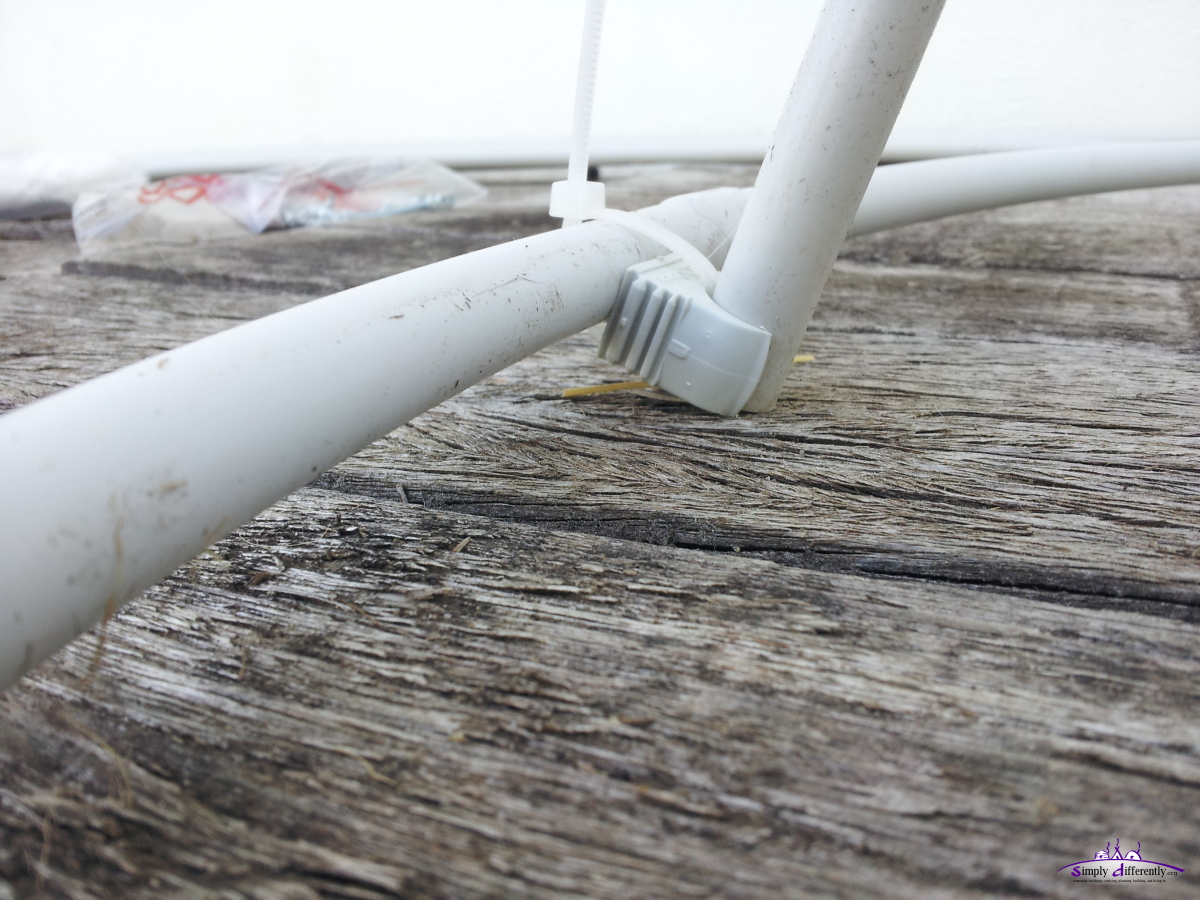 2014/06/15 10:17 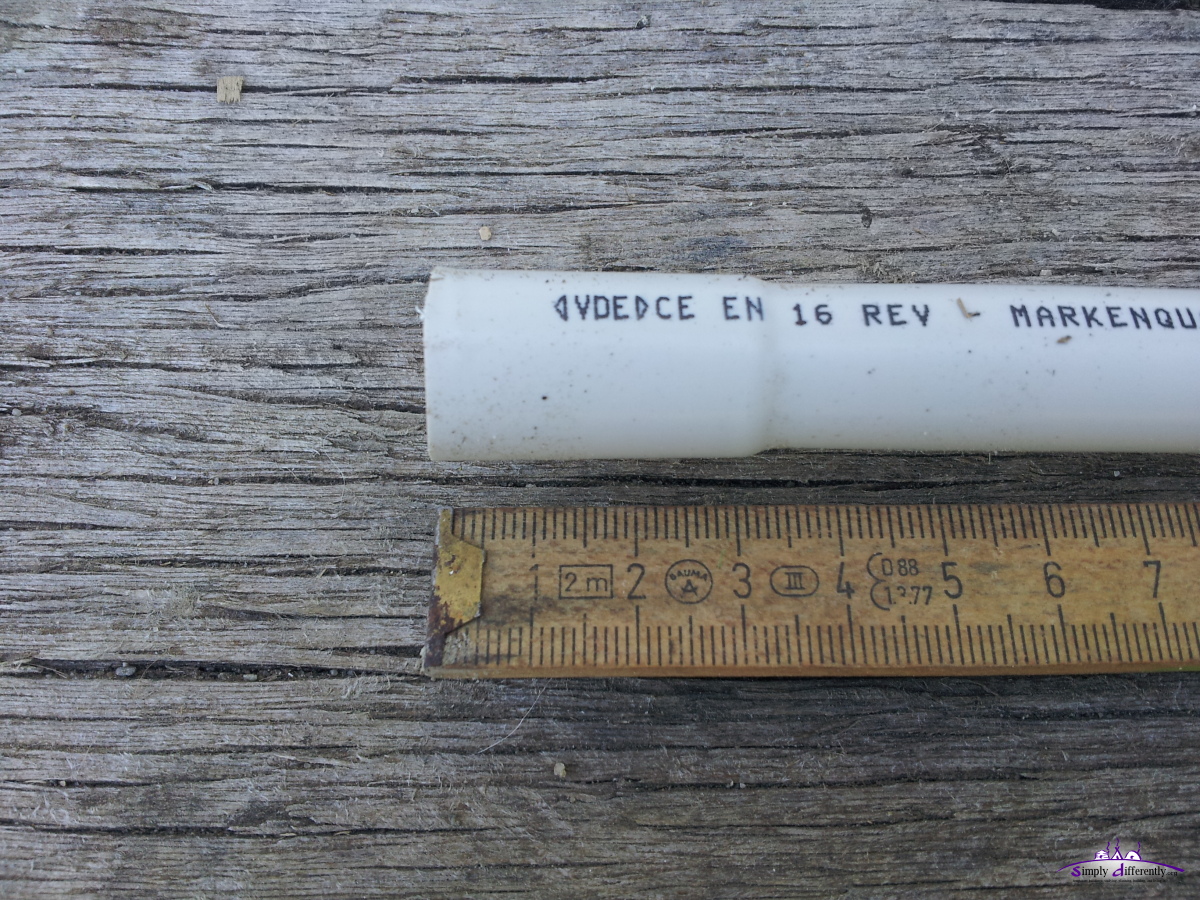 2014/06/15 10:21 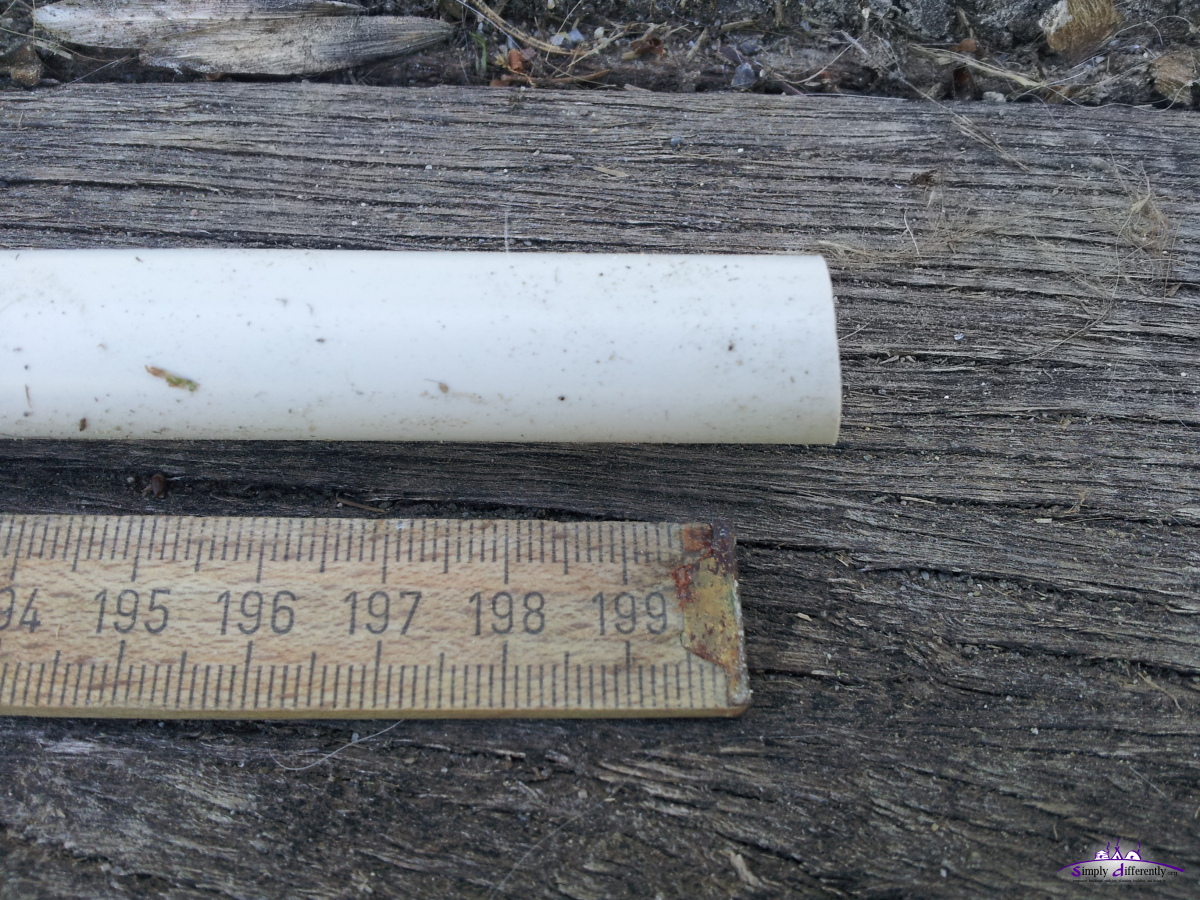 2014/06/15 10:21 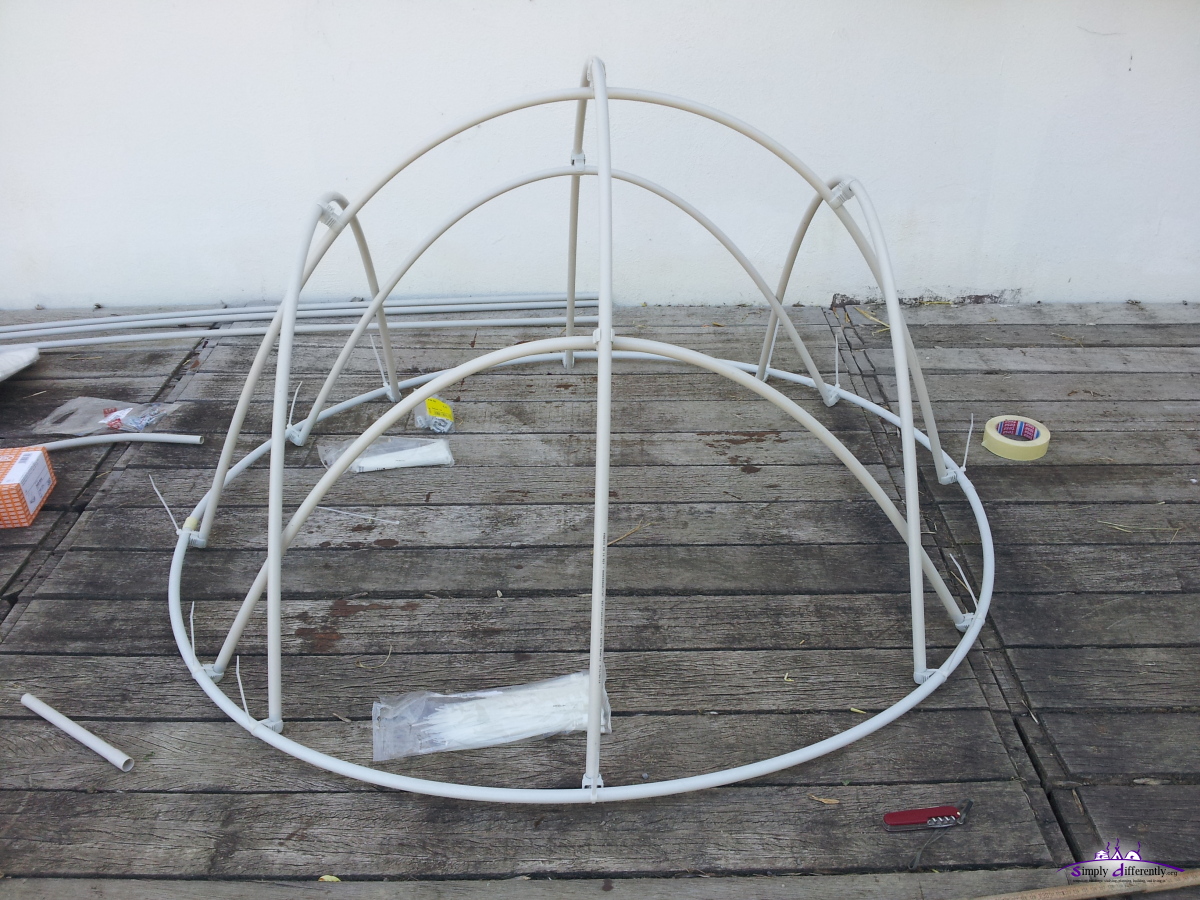 2014/06/15 11:26 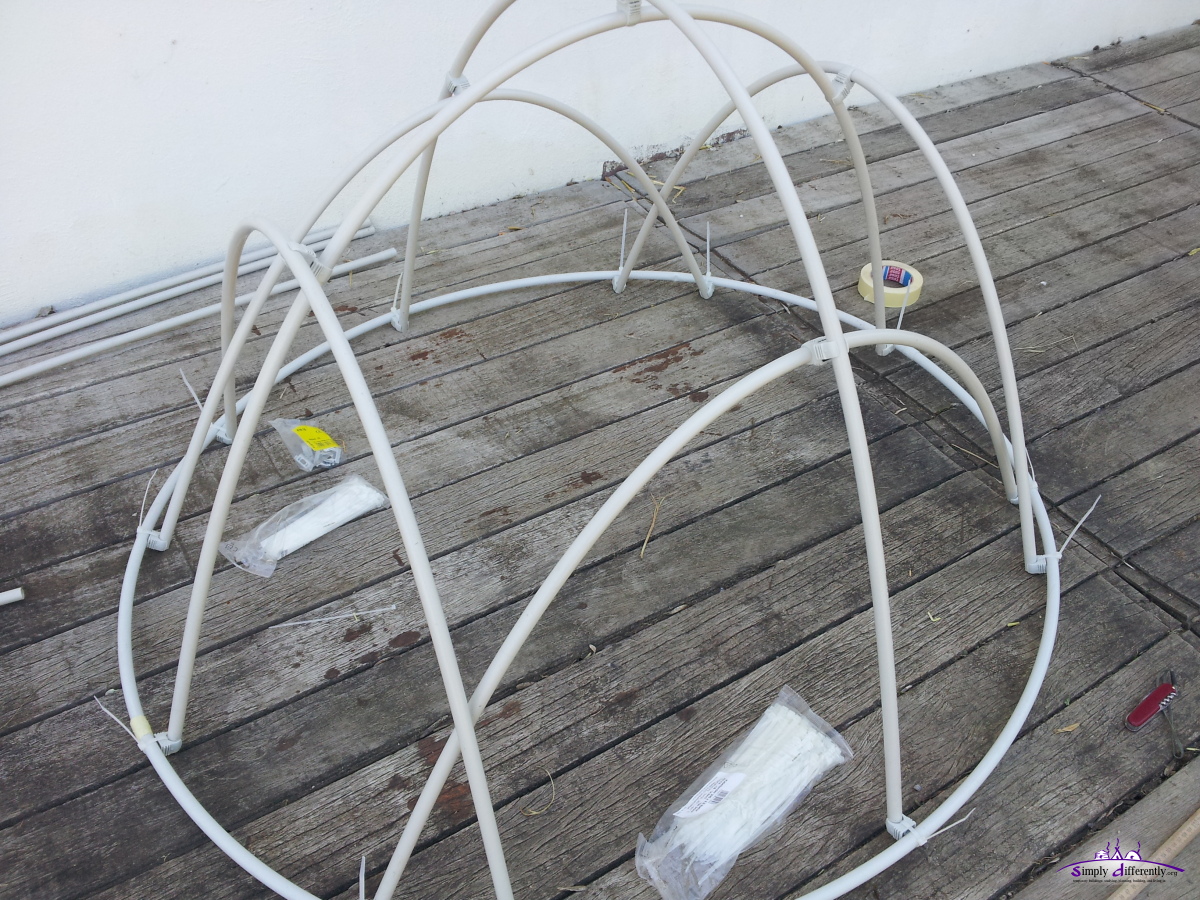 2014/06/15 11:26 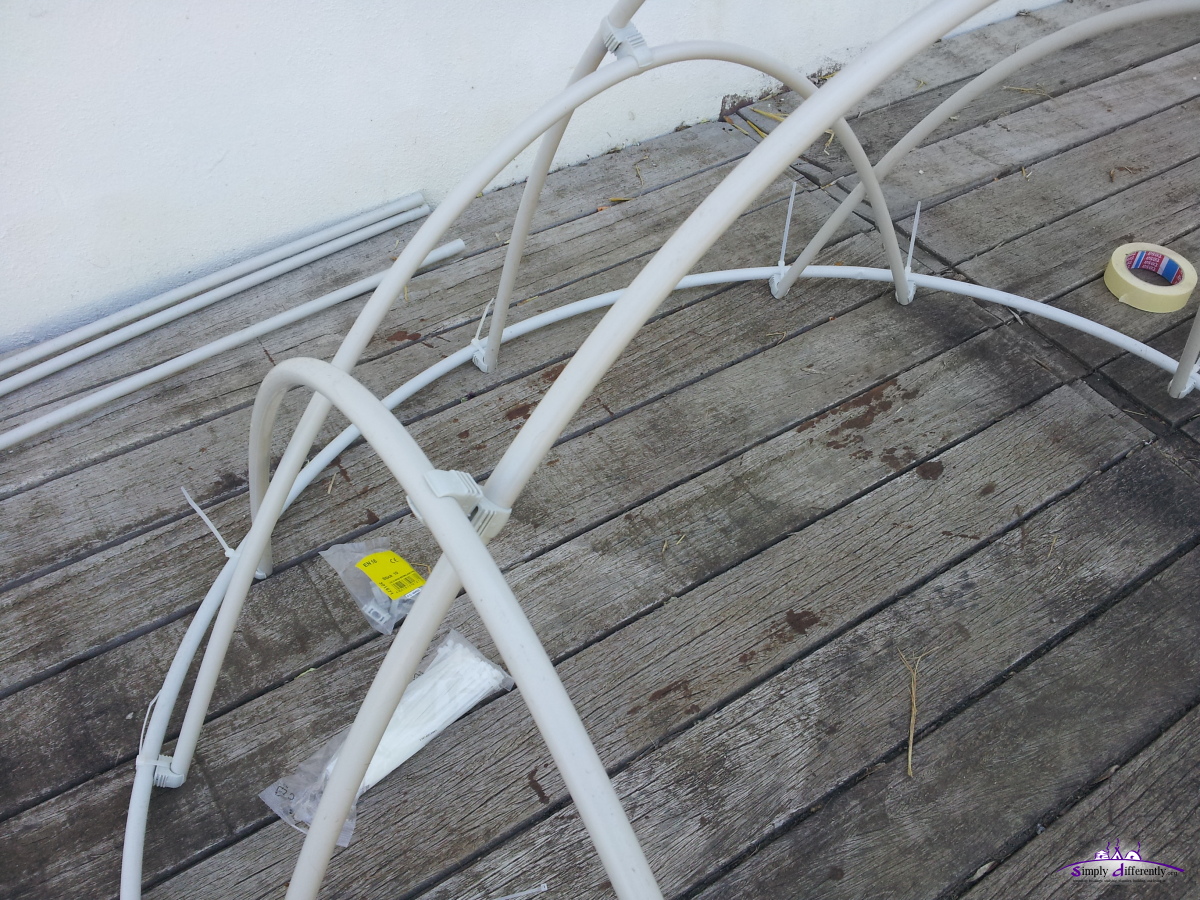 2014/06/15 11:26 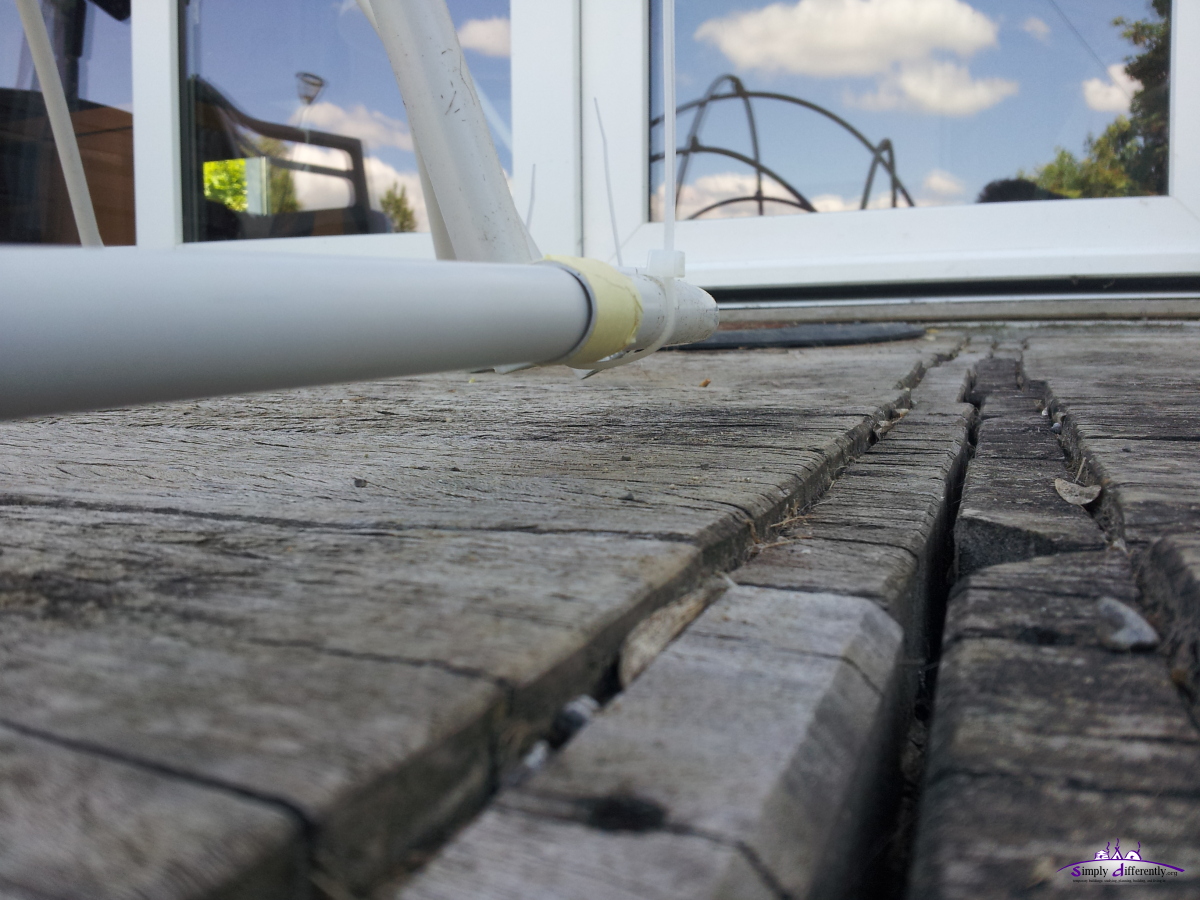 2014/06/15 11:35  2014/06/15 11:36 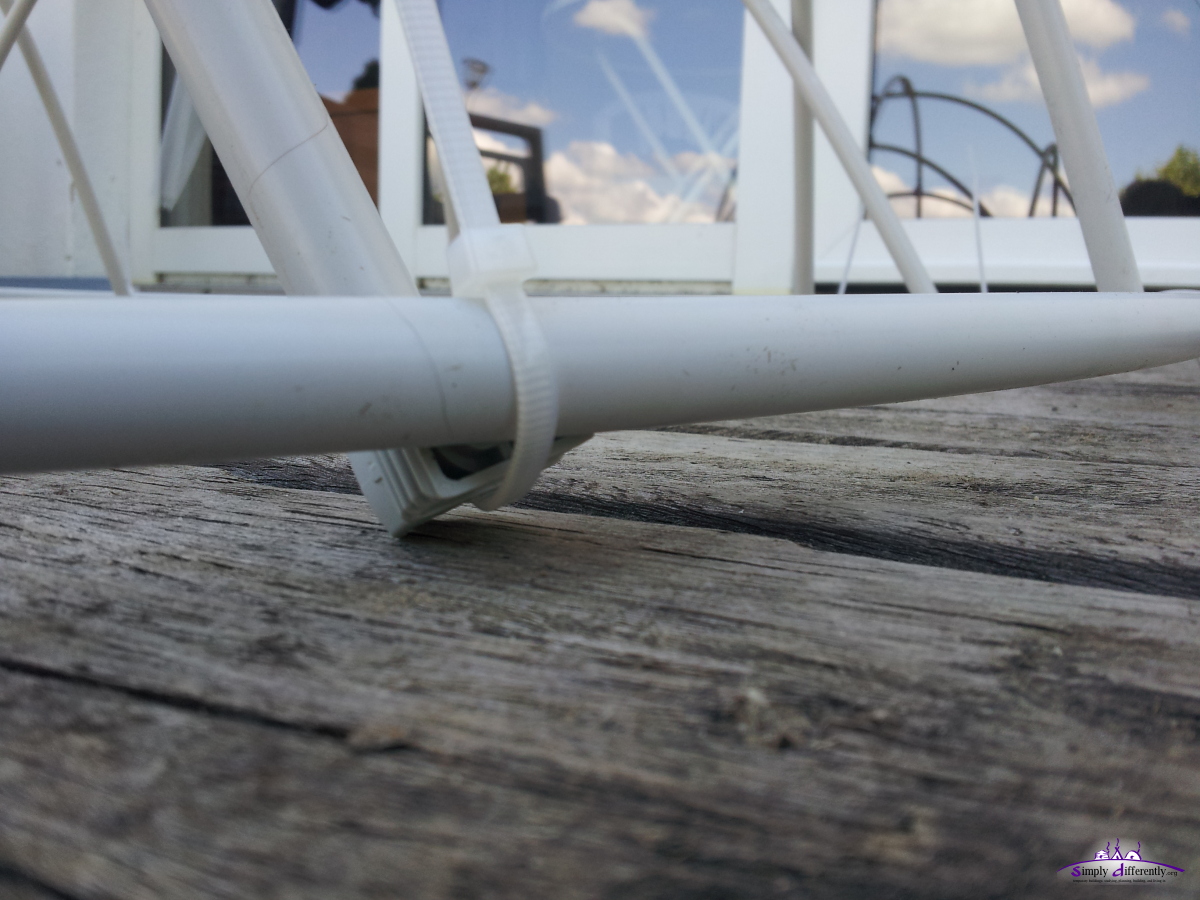 2014/06/15 11:36 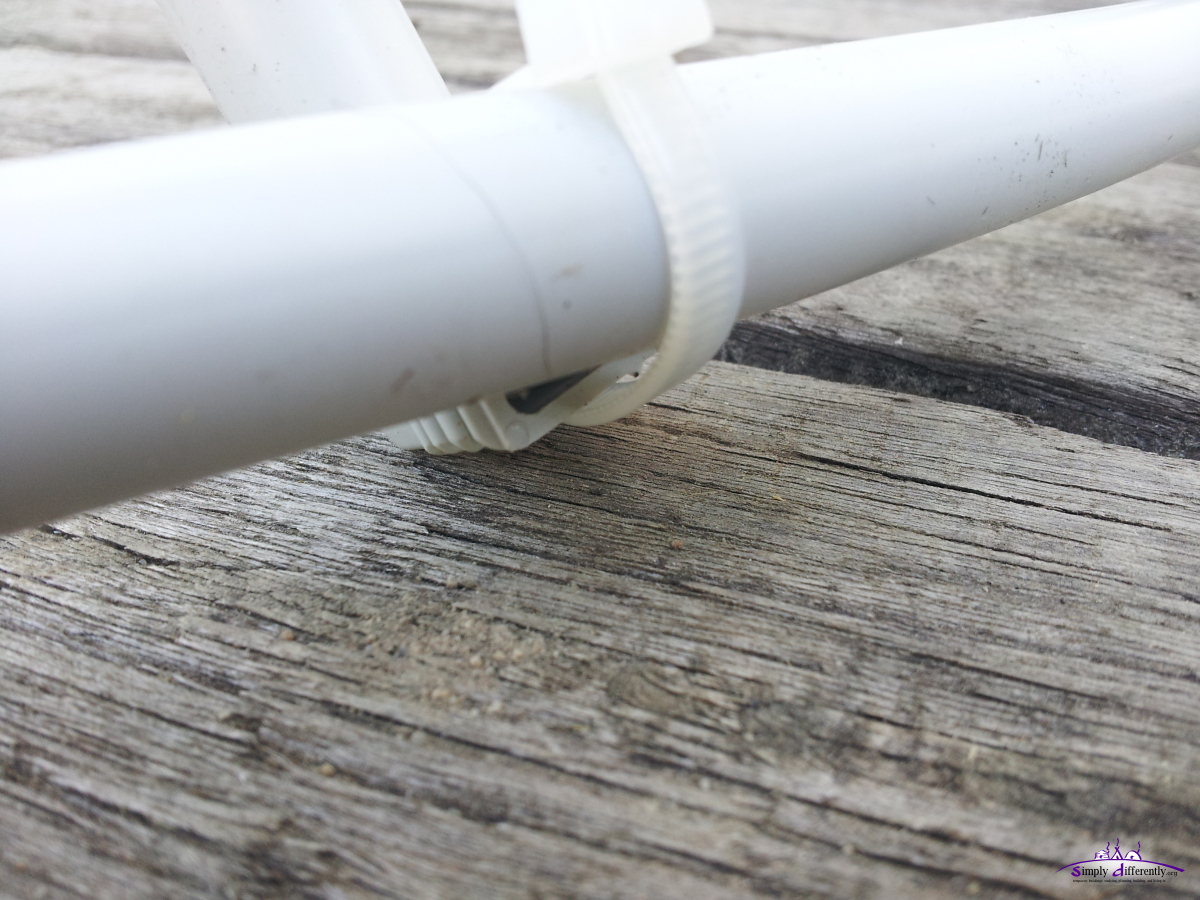 2014/06/15 11:36 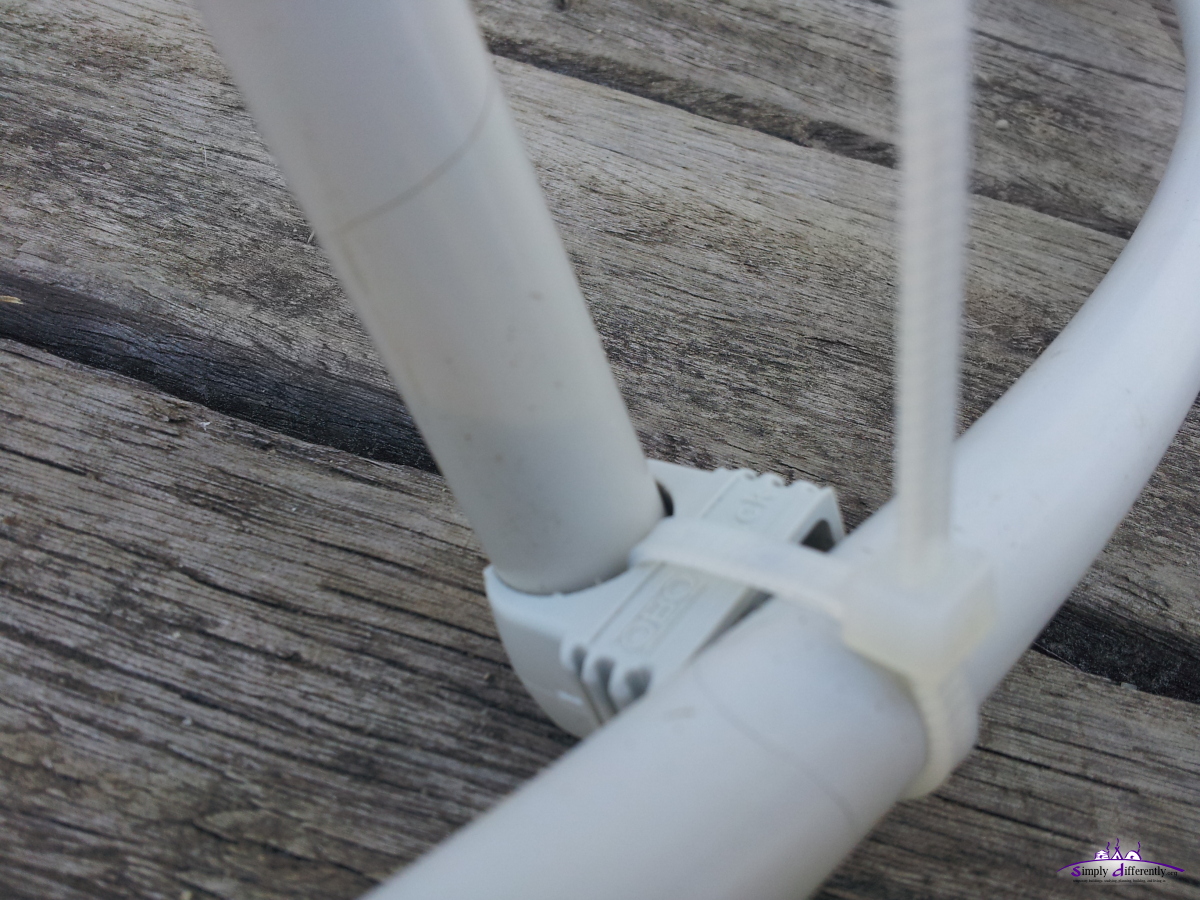 2014/06/15 11:36 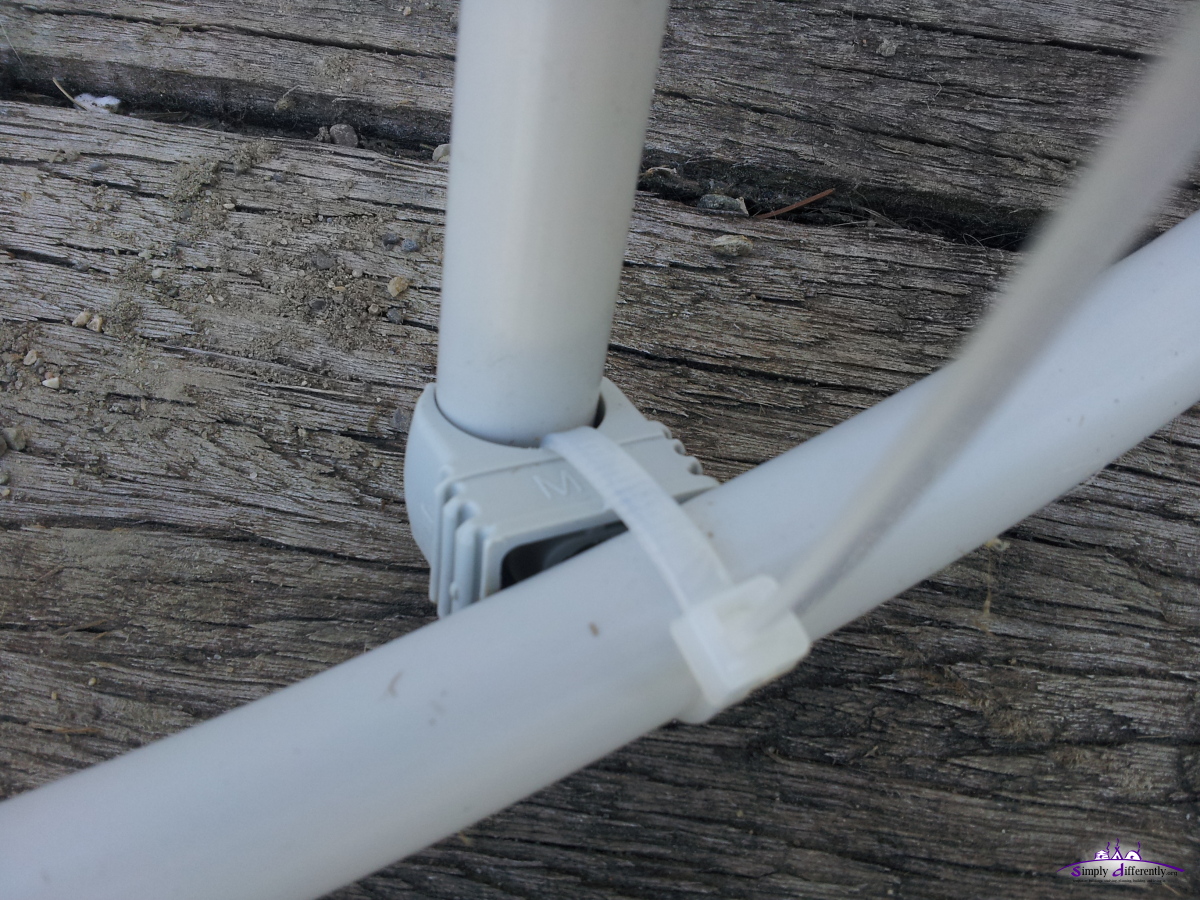 2014/06/15 11:36 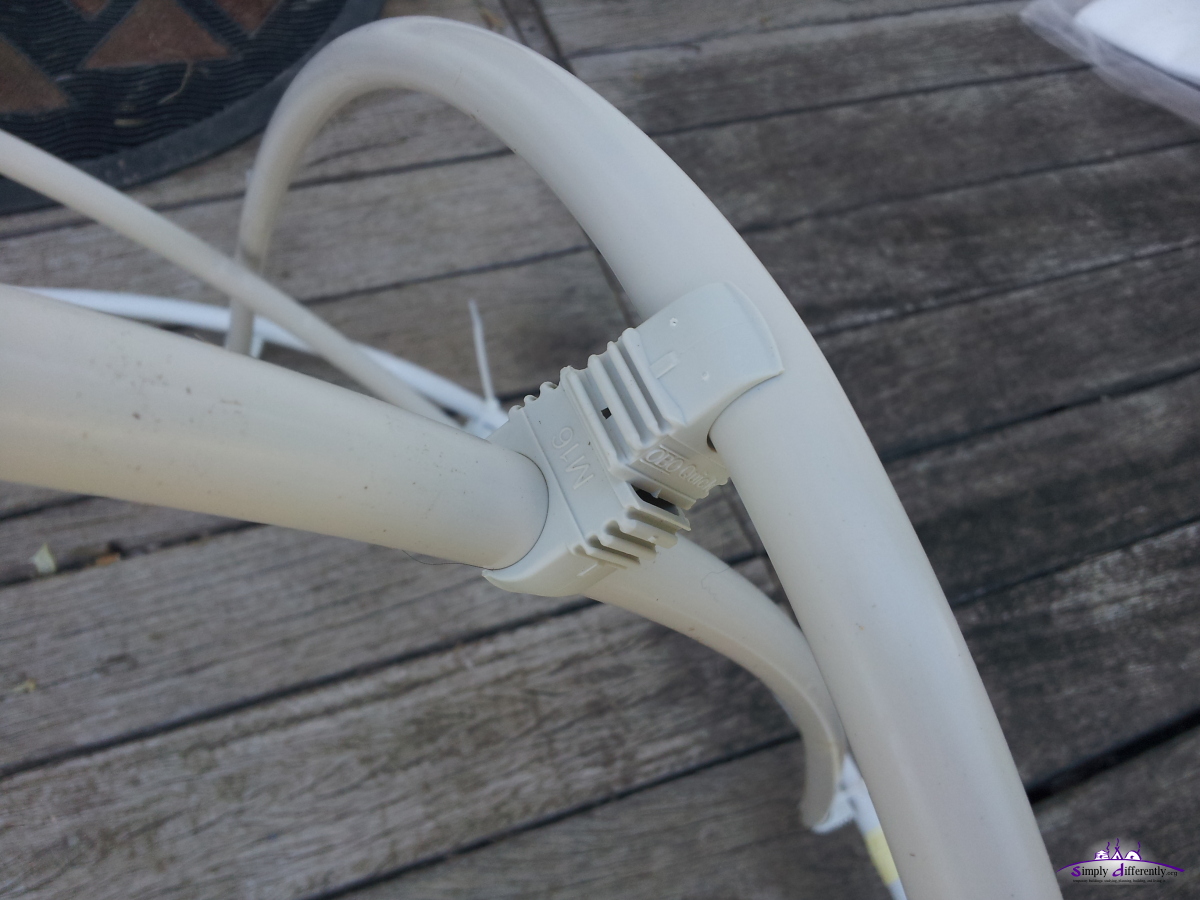 2014/06/15 11:36  2014/06/15 11:37 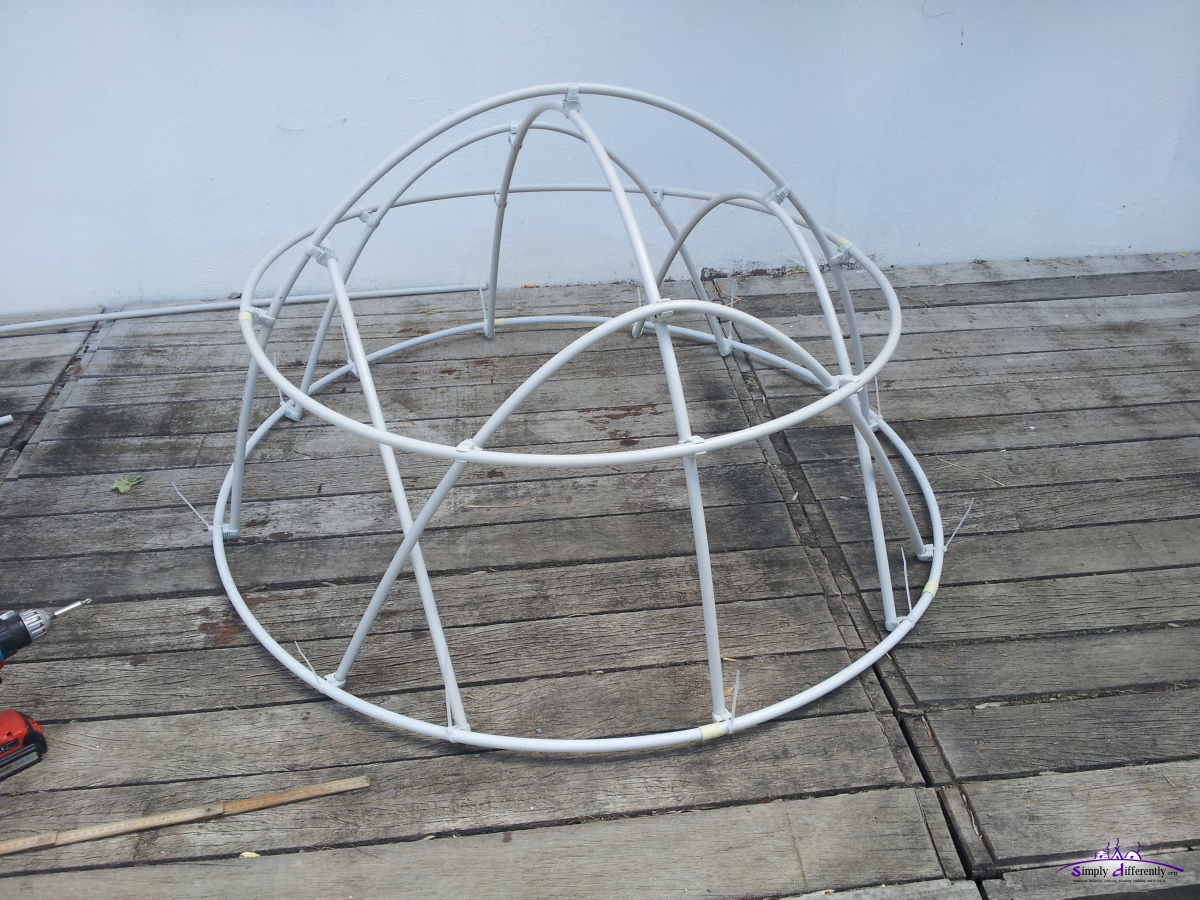 2014/06/15 13:12 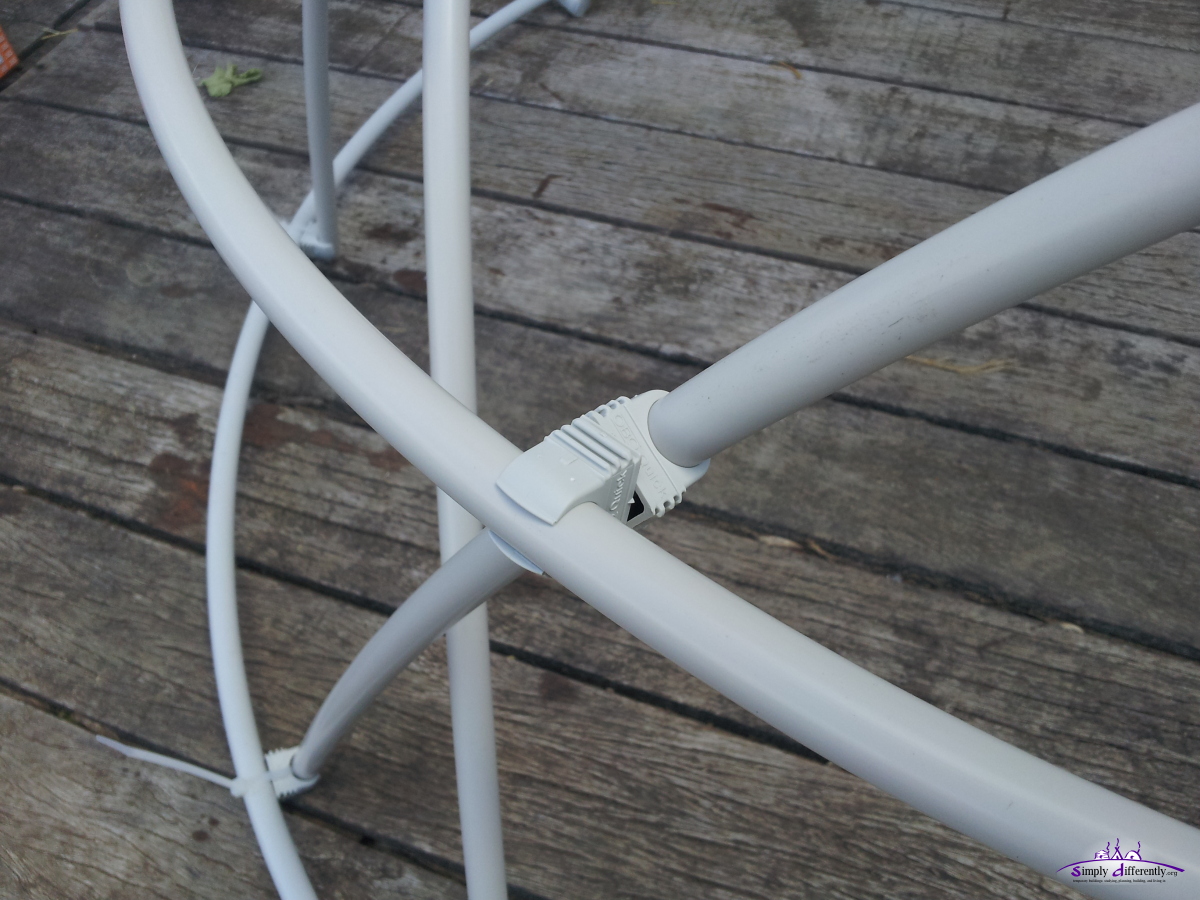 2014/06/15 13:12 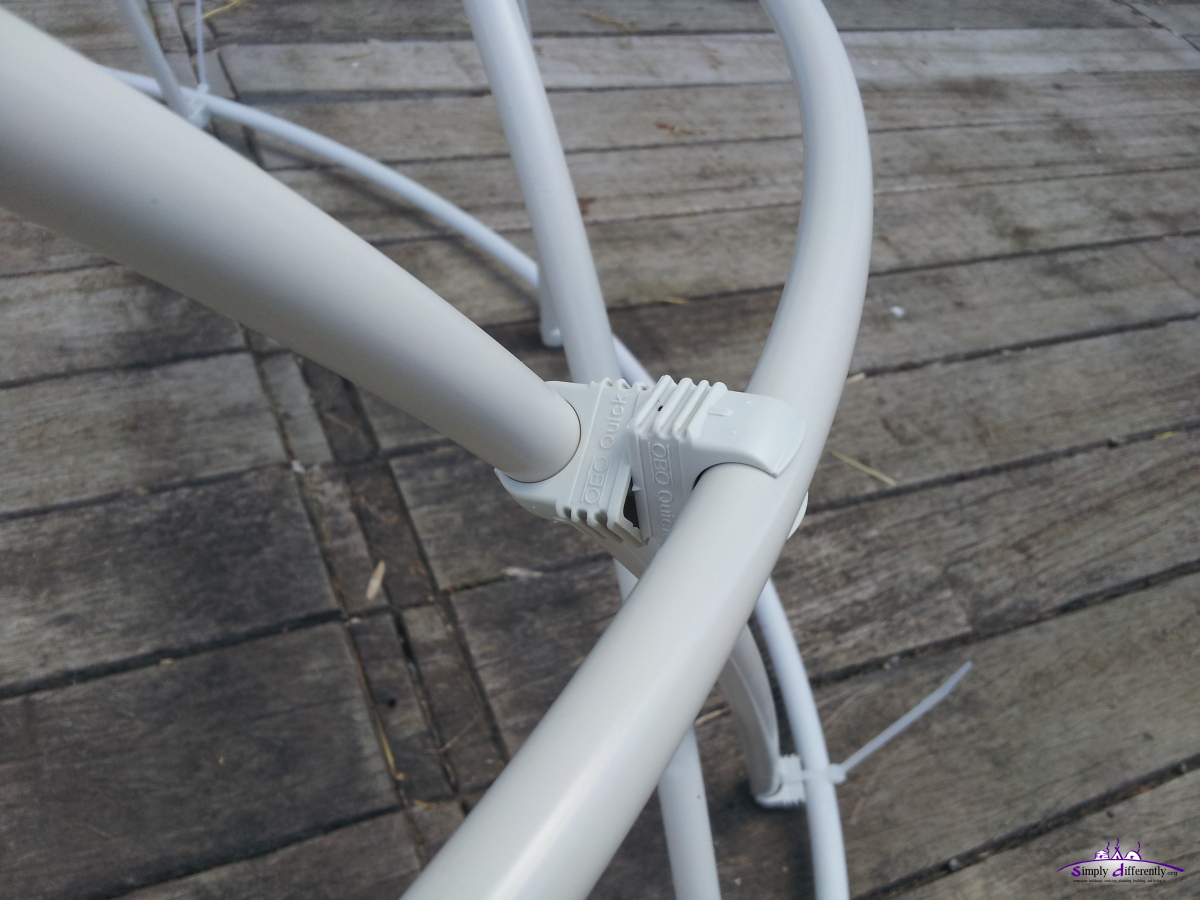 2014/06/15 13:12 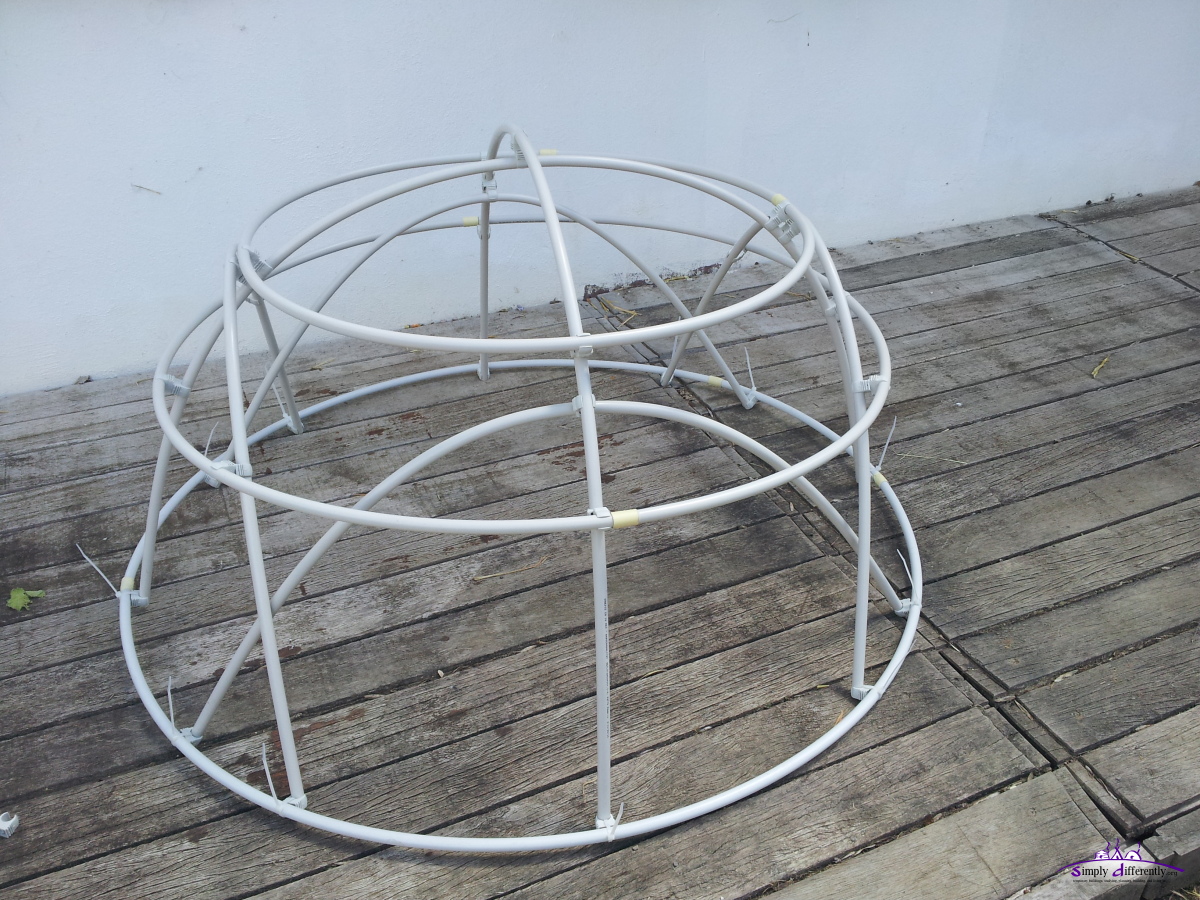 2014/06/15 13:24 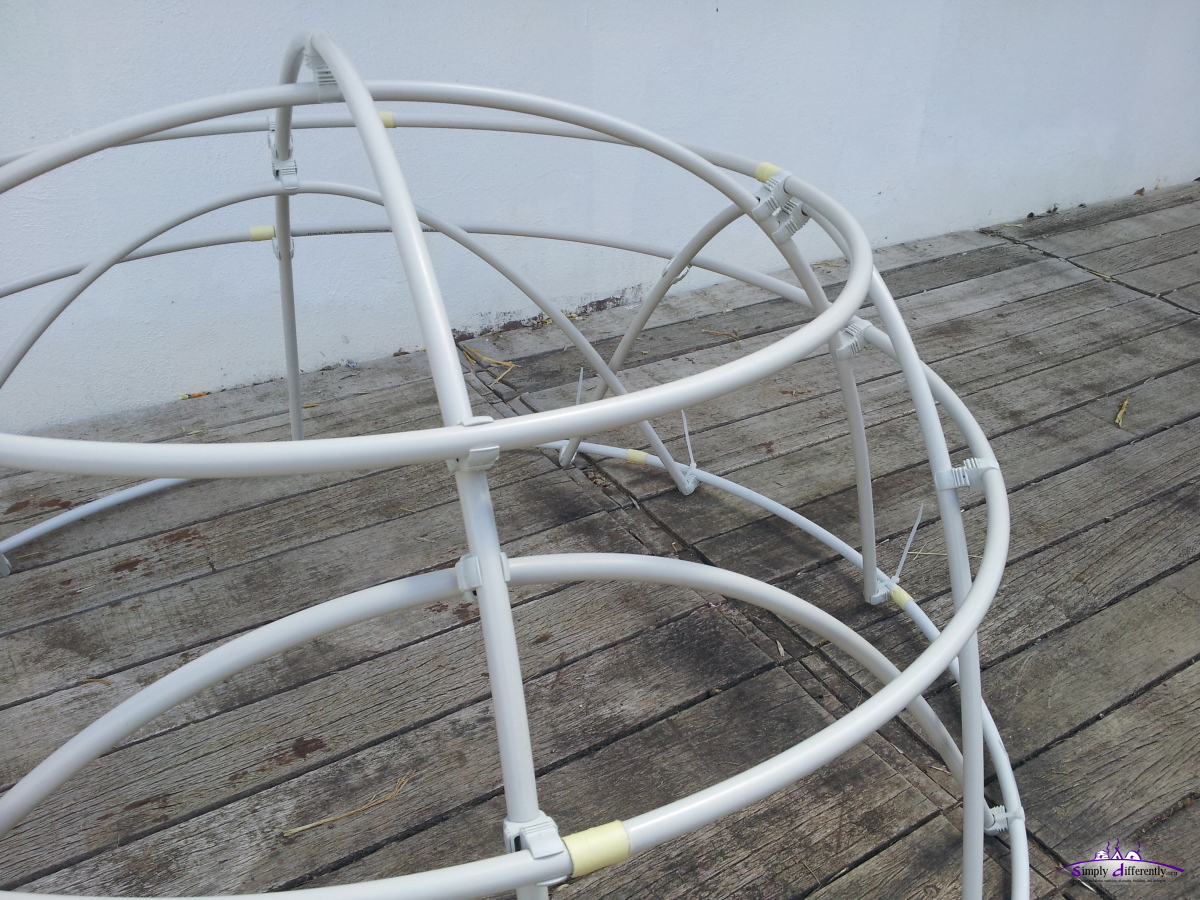 2014/06/15 13:24 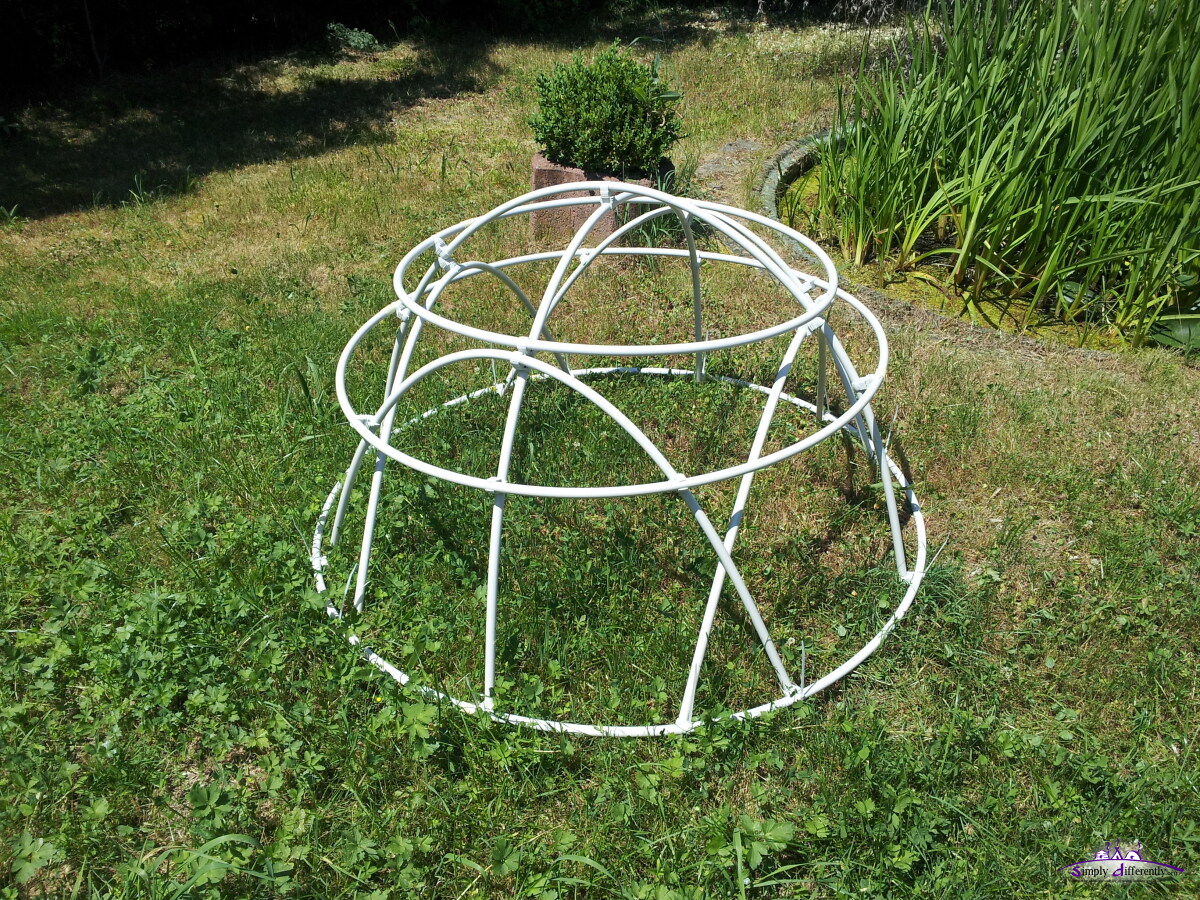 Finished skeleton 2014/06/15 13:27 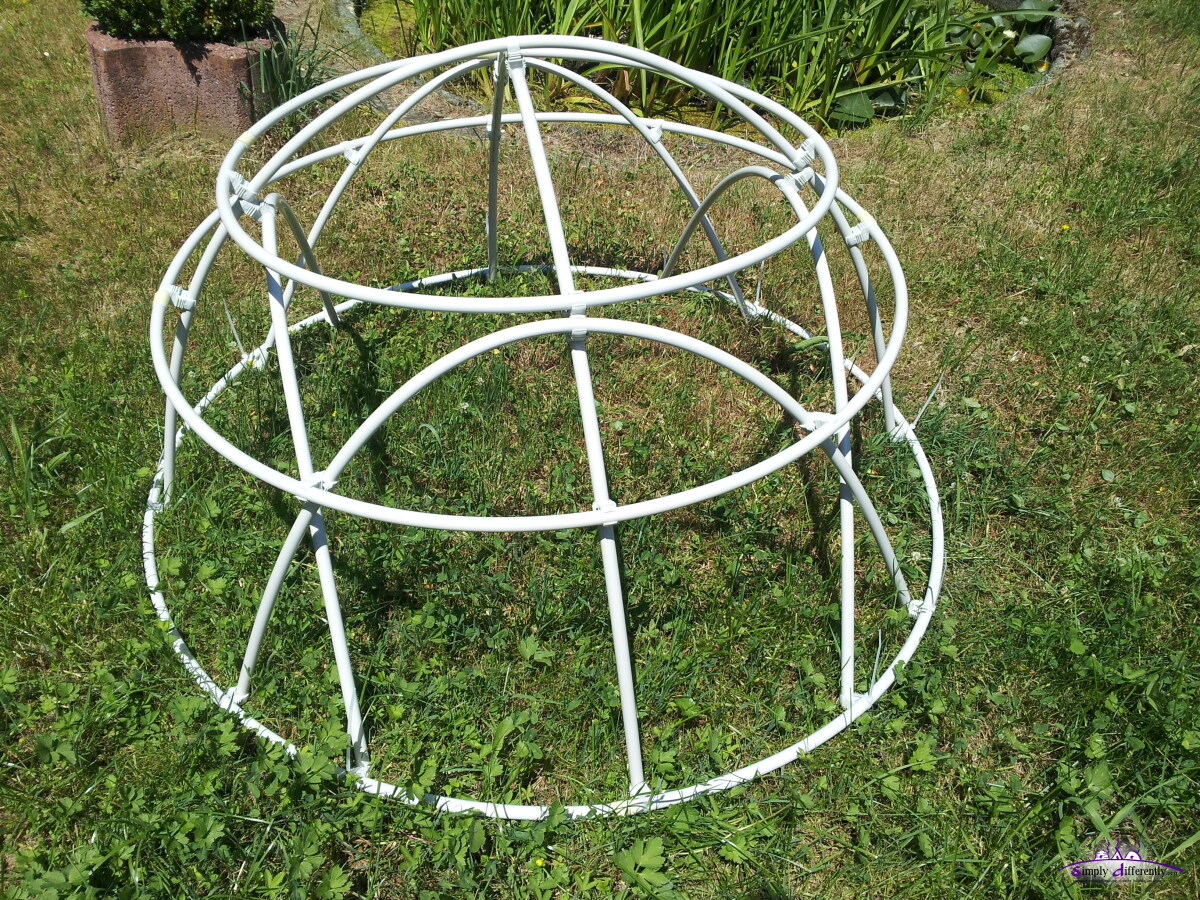 2014/06/15 13:28 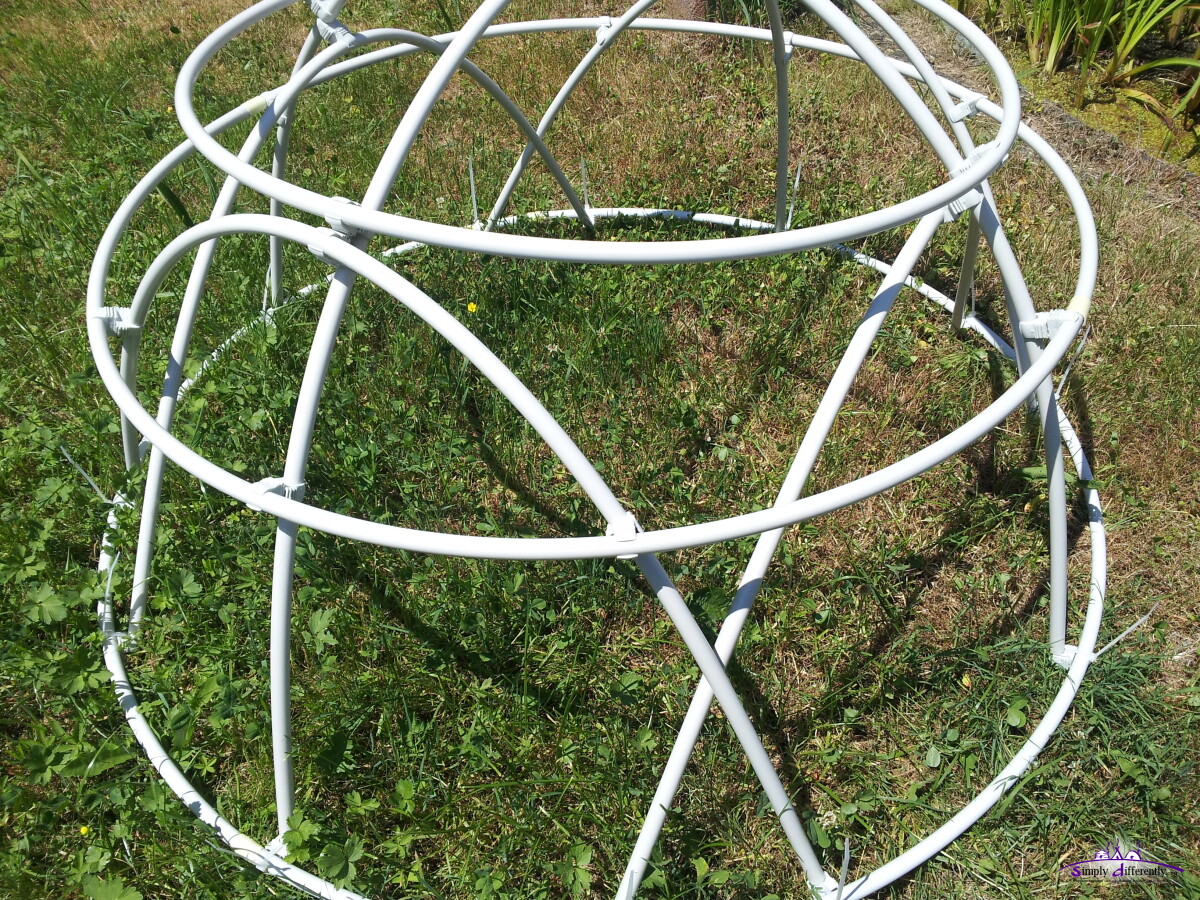 2014/06/15 13:28 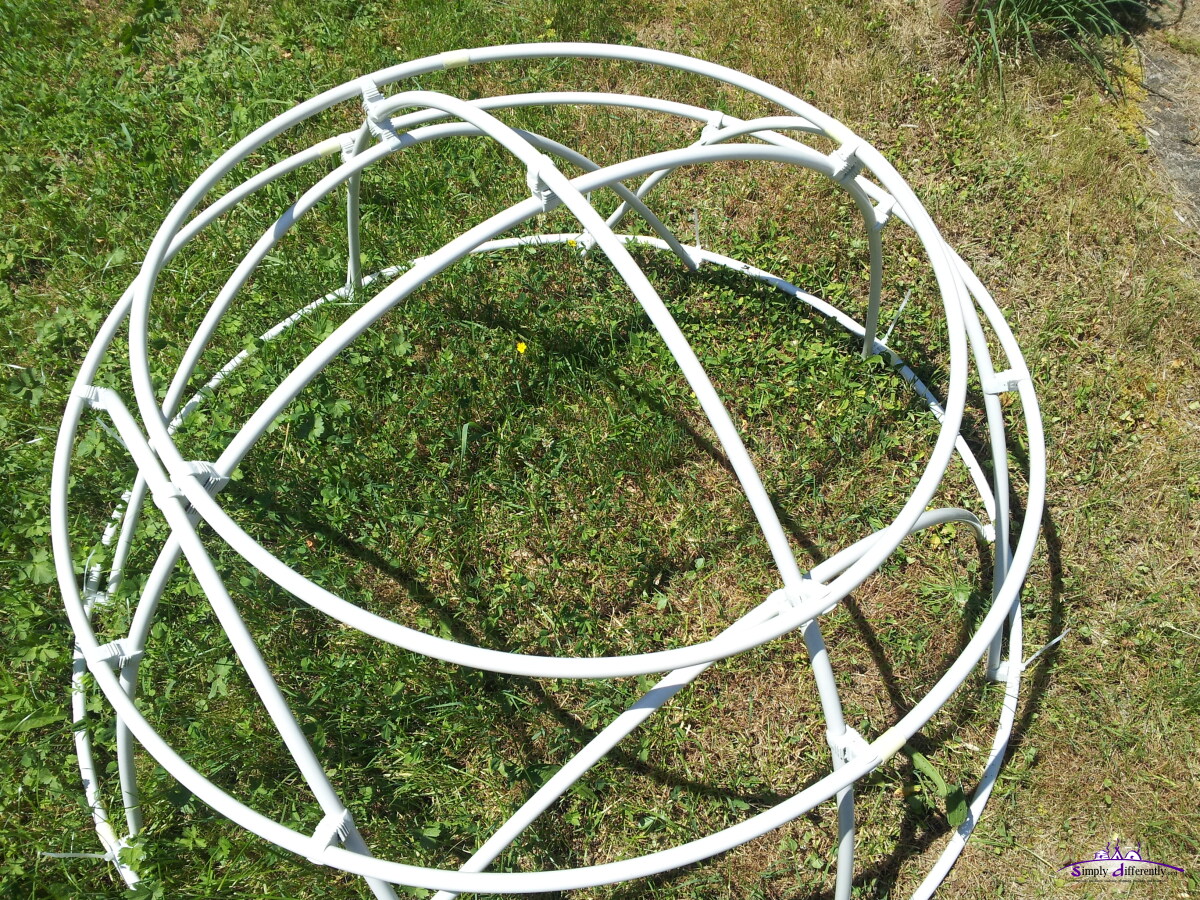 2014/06/15 13:28 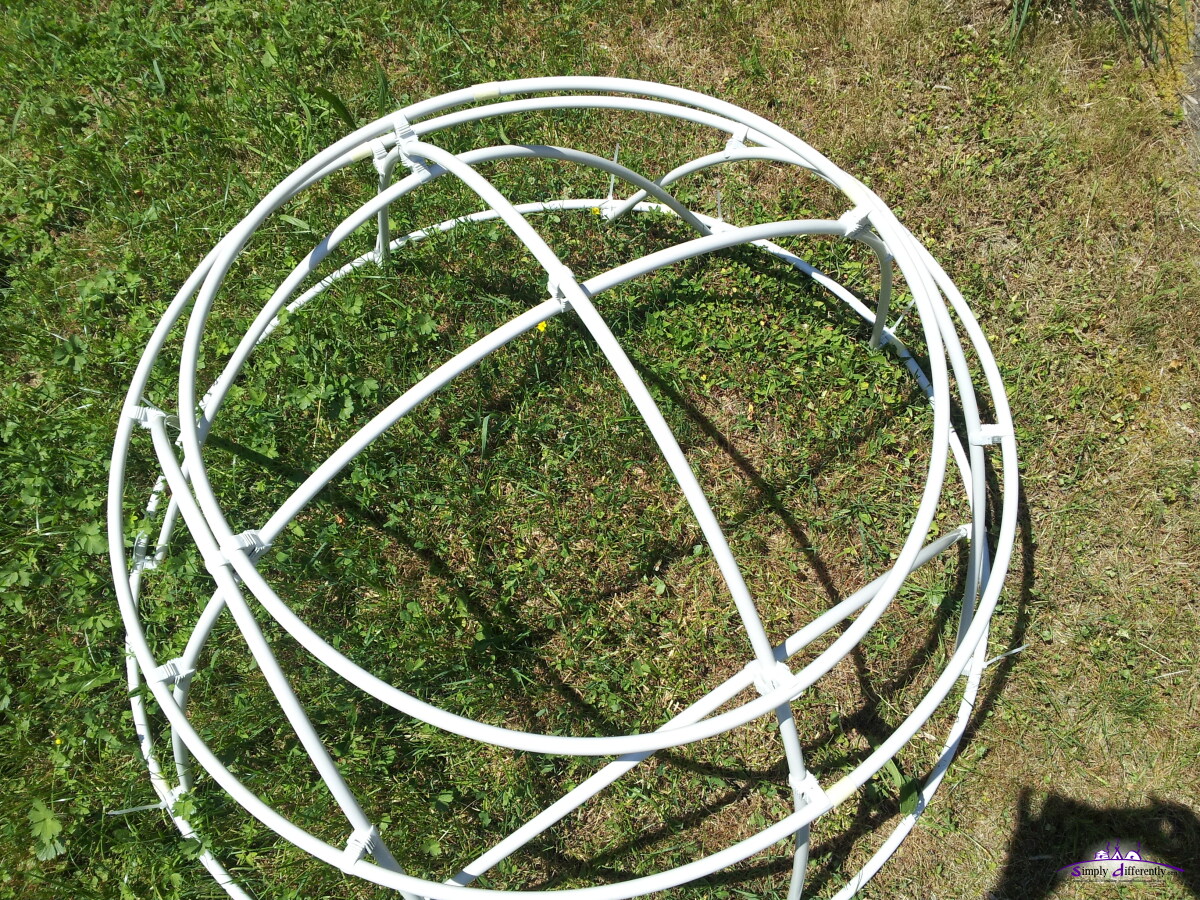 2014/06/15 13:28 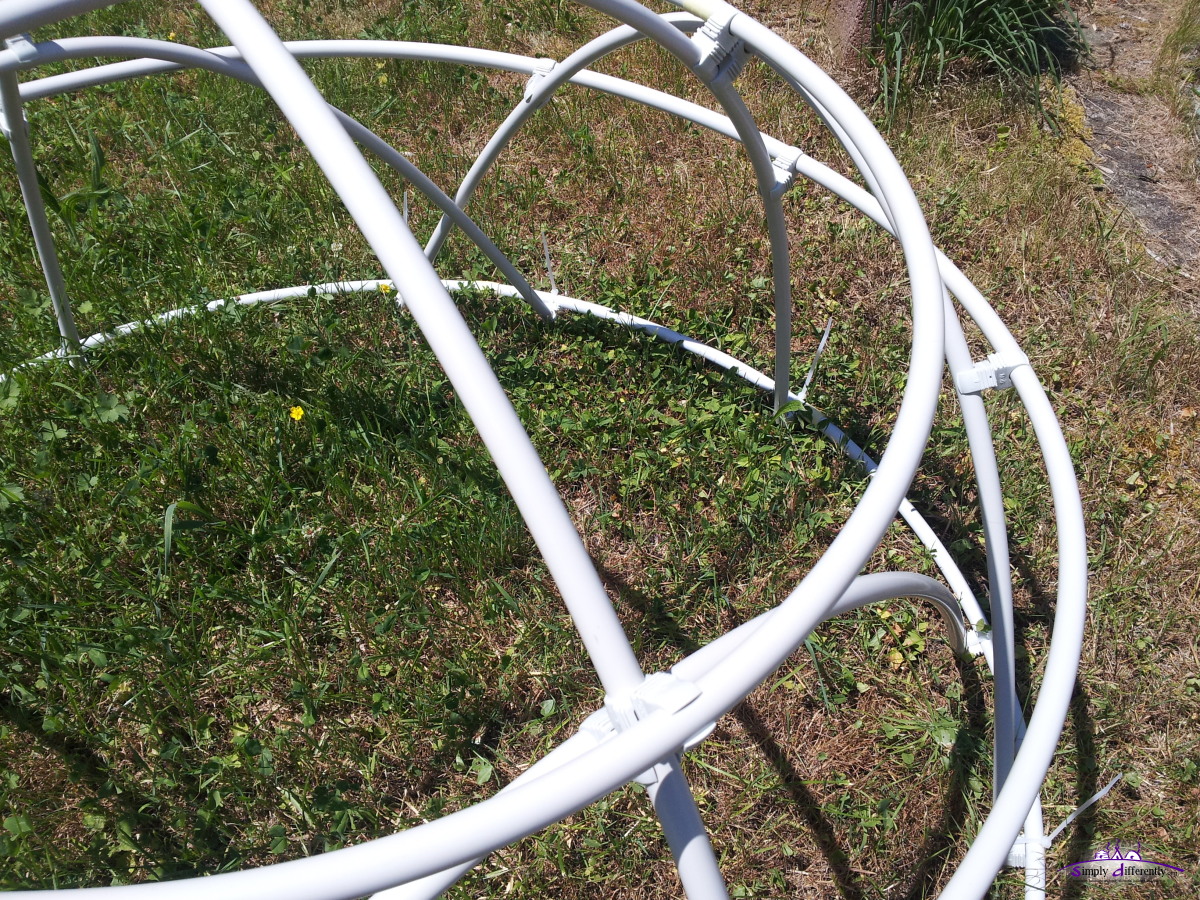 2014/06/15 13:28 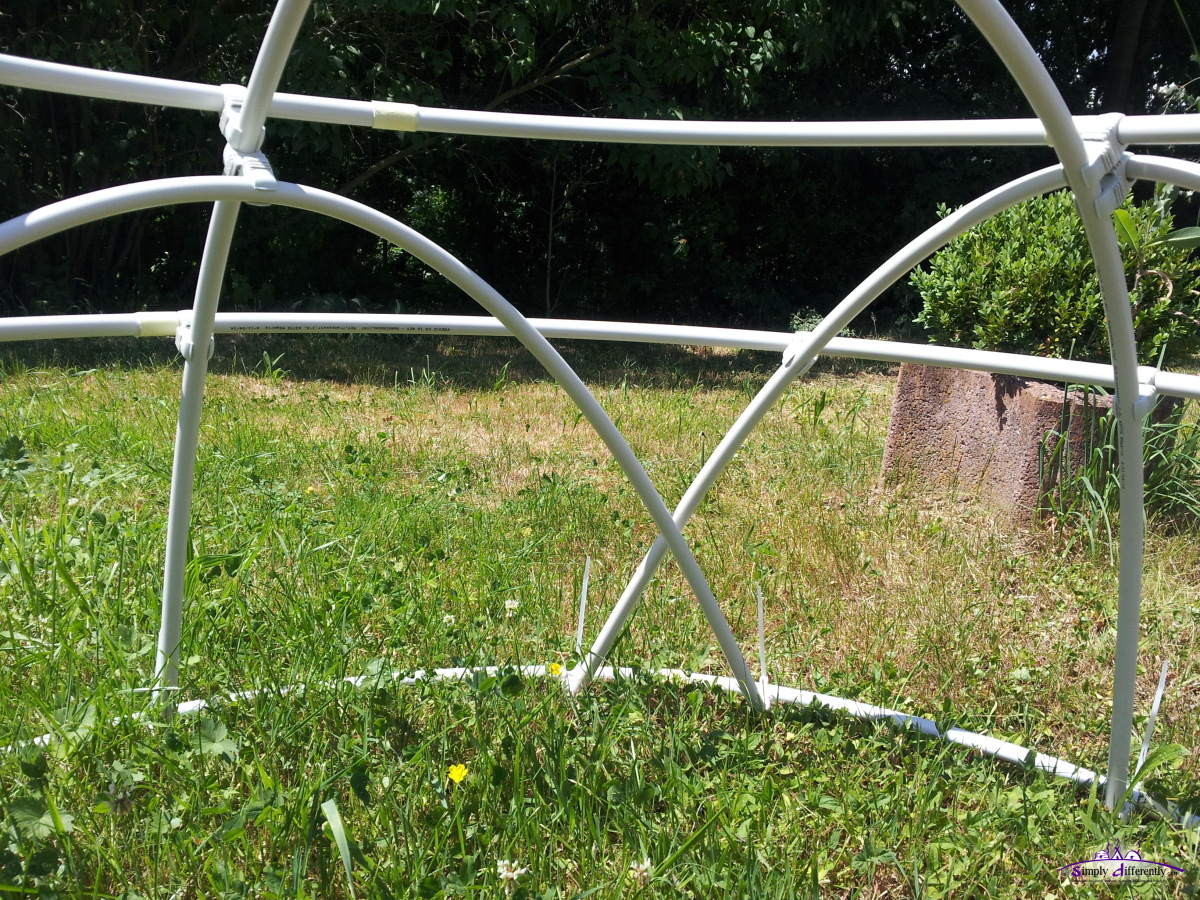 2014/06/15 13:28 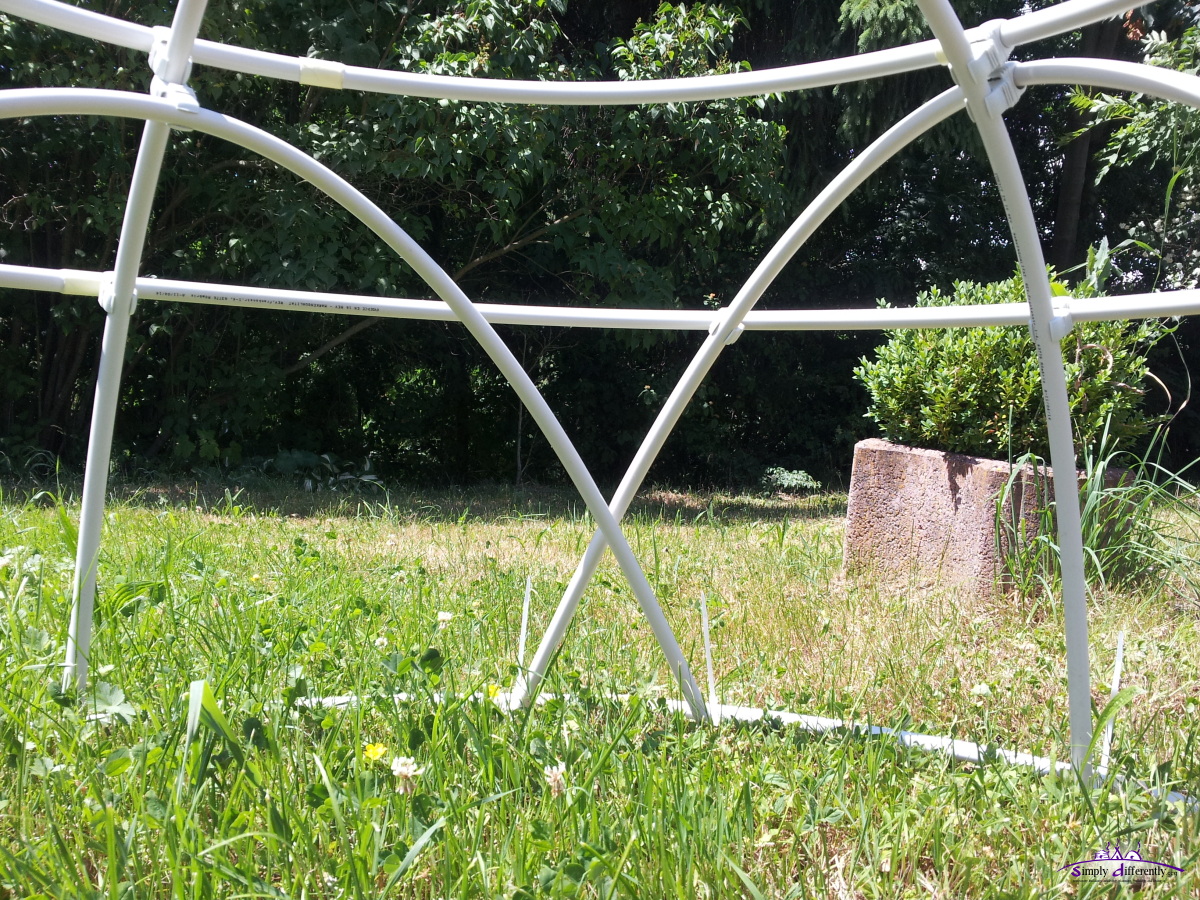 2014/06/15 13:28 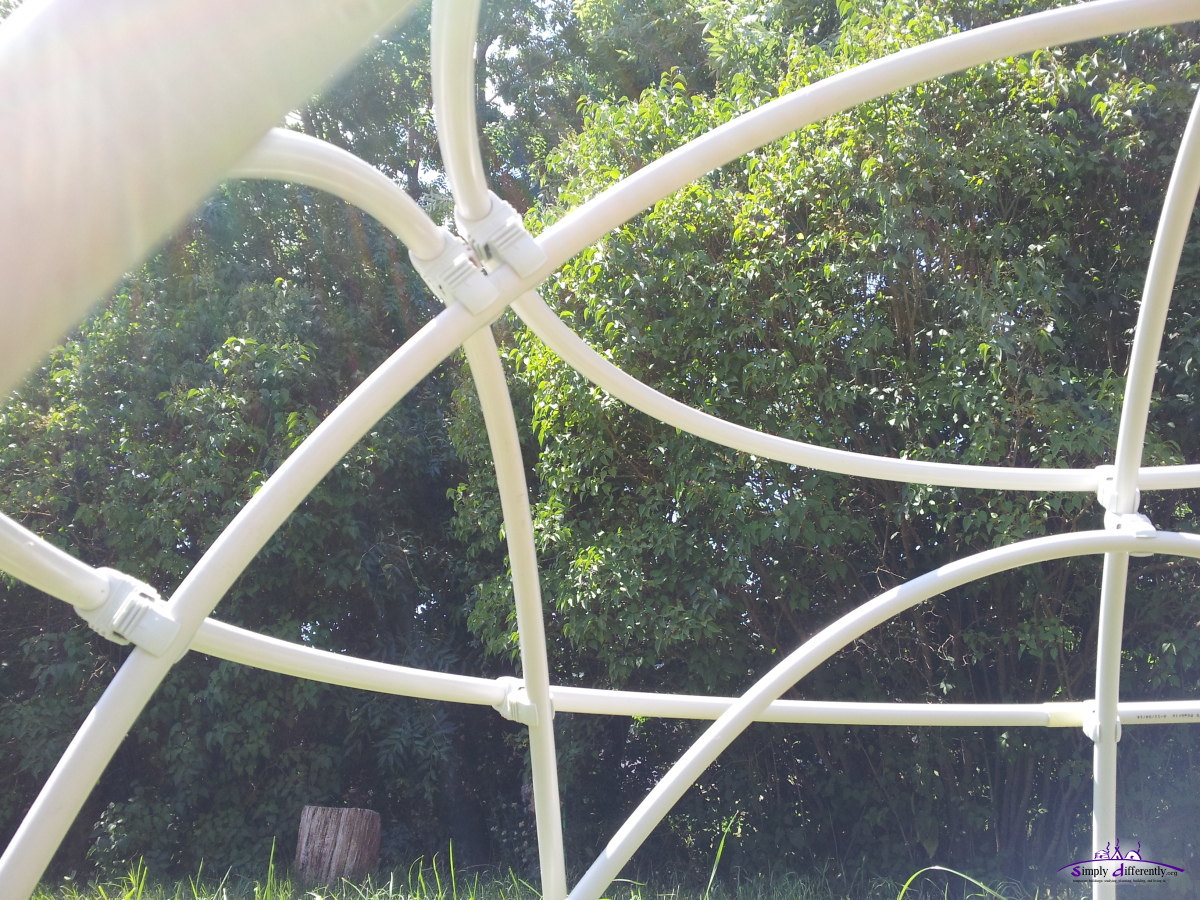 2014/06/15 13:29 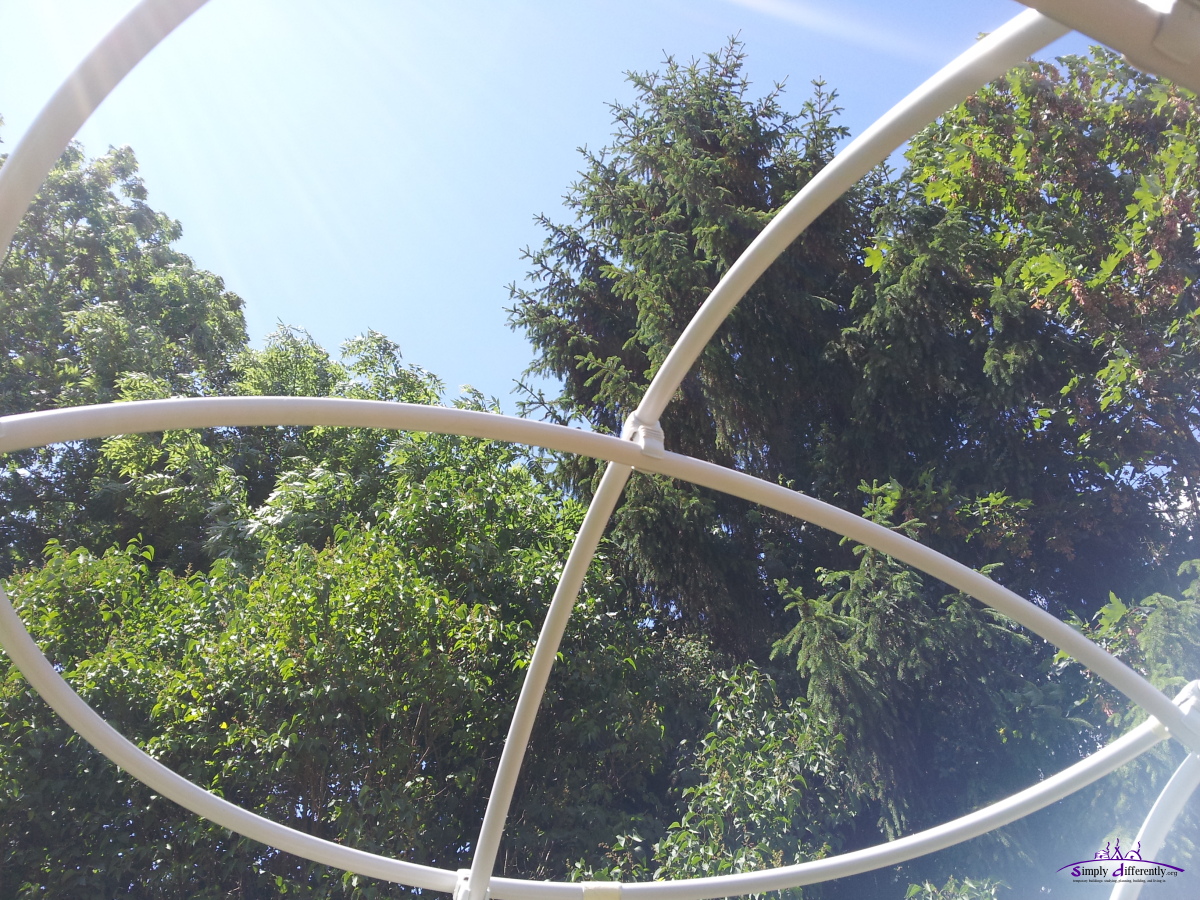 2014/06/15 13:29 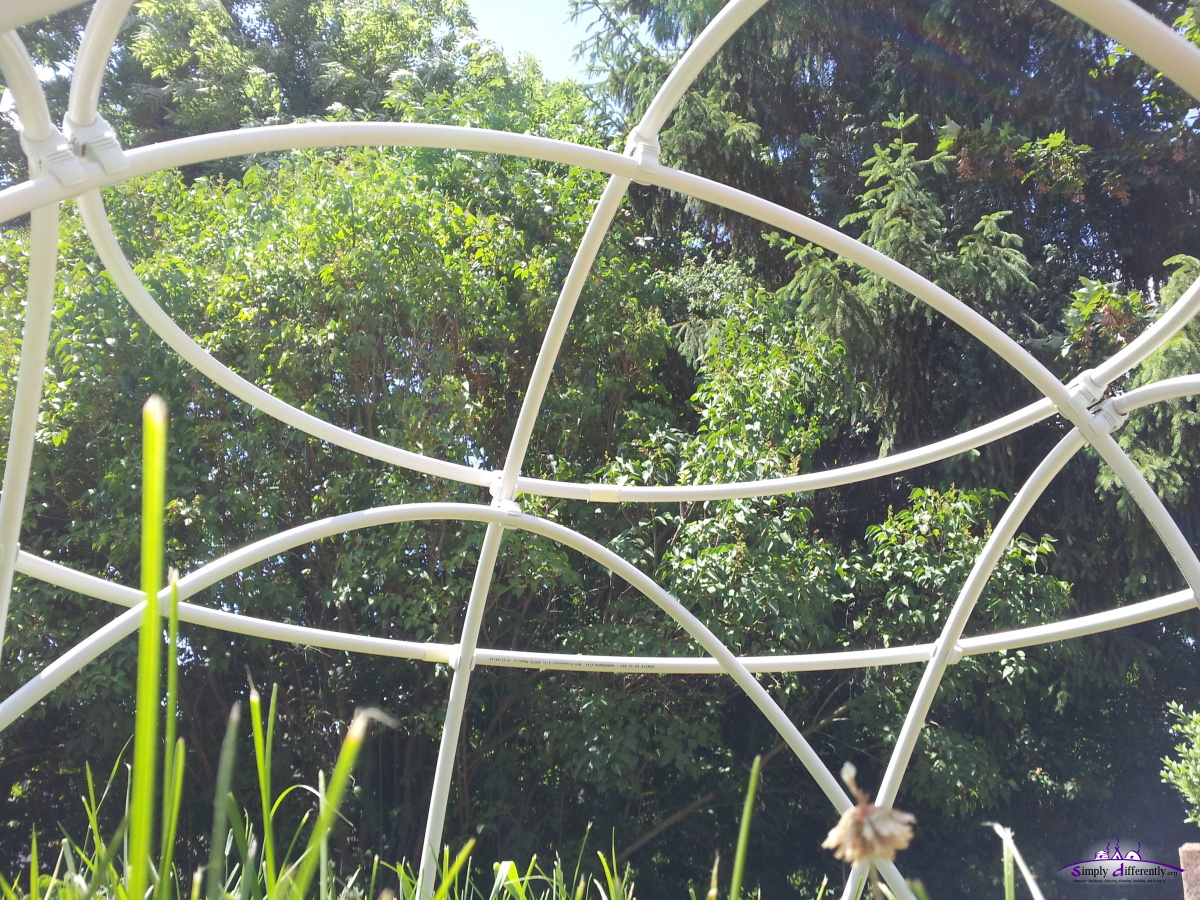 2014/06/15 13:29 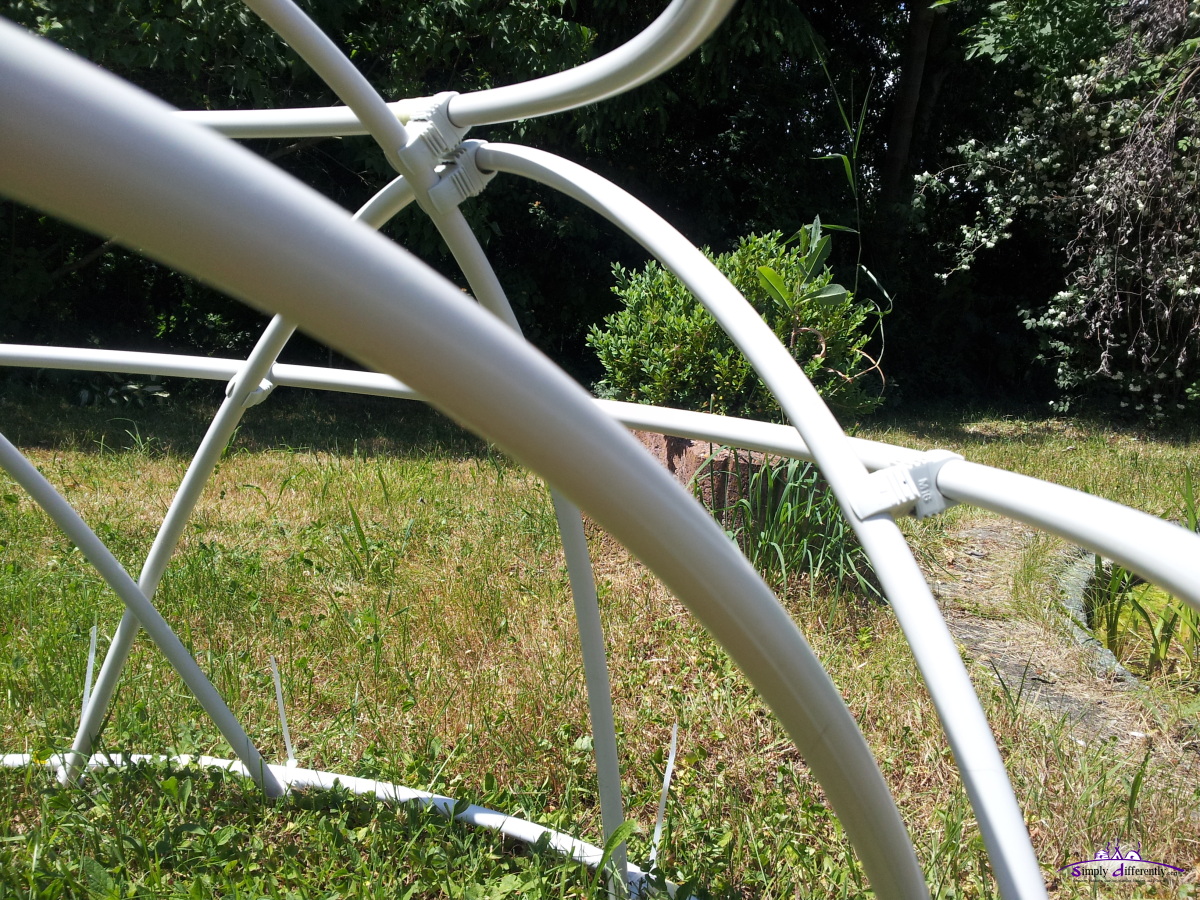 2014/06/15 13:29 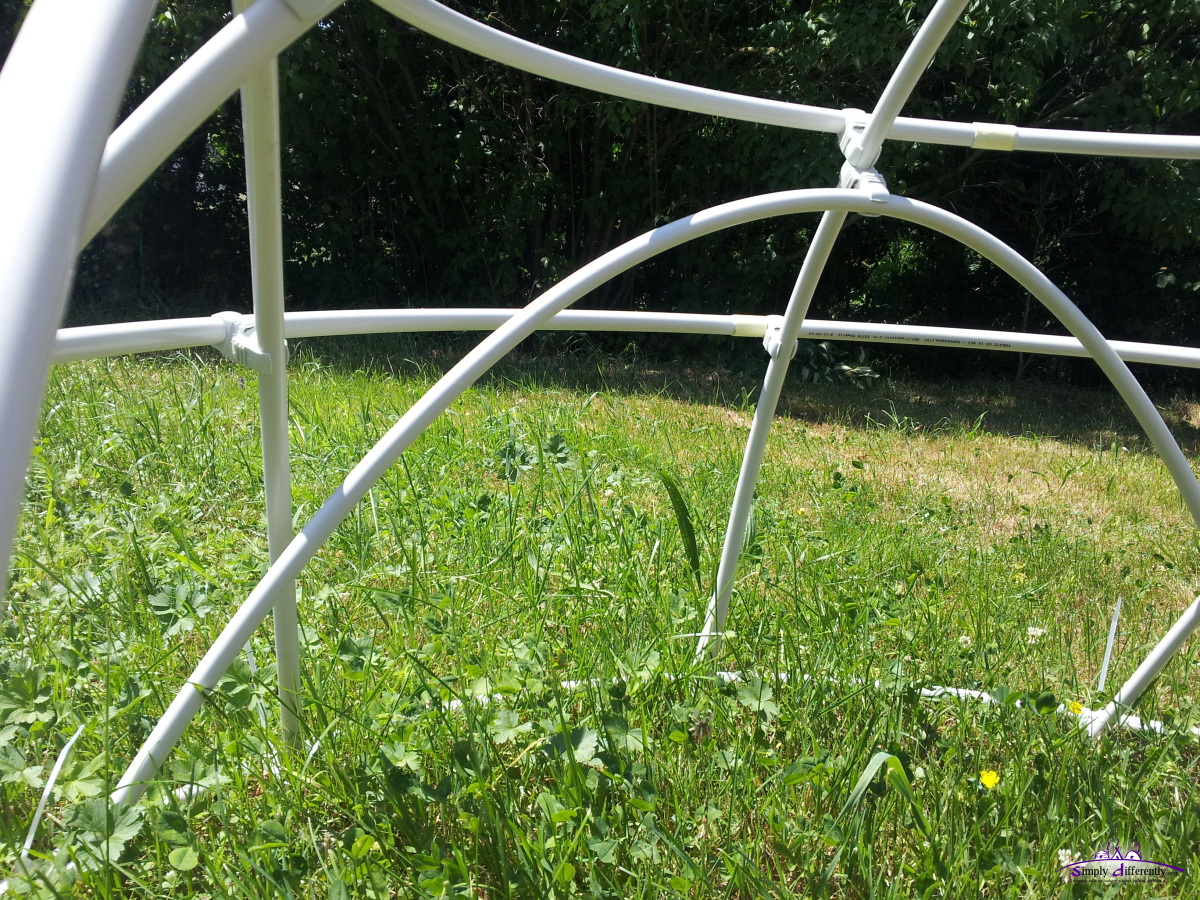 2014/06/15 13:29 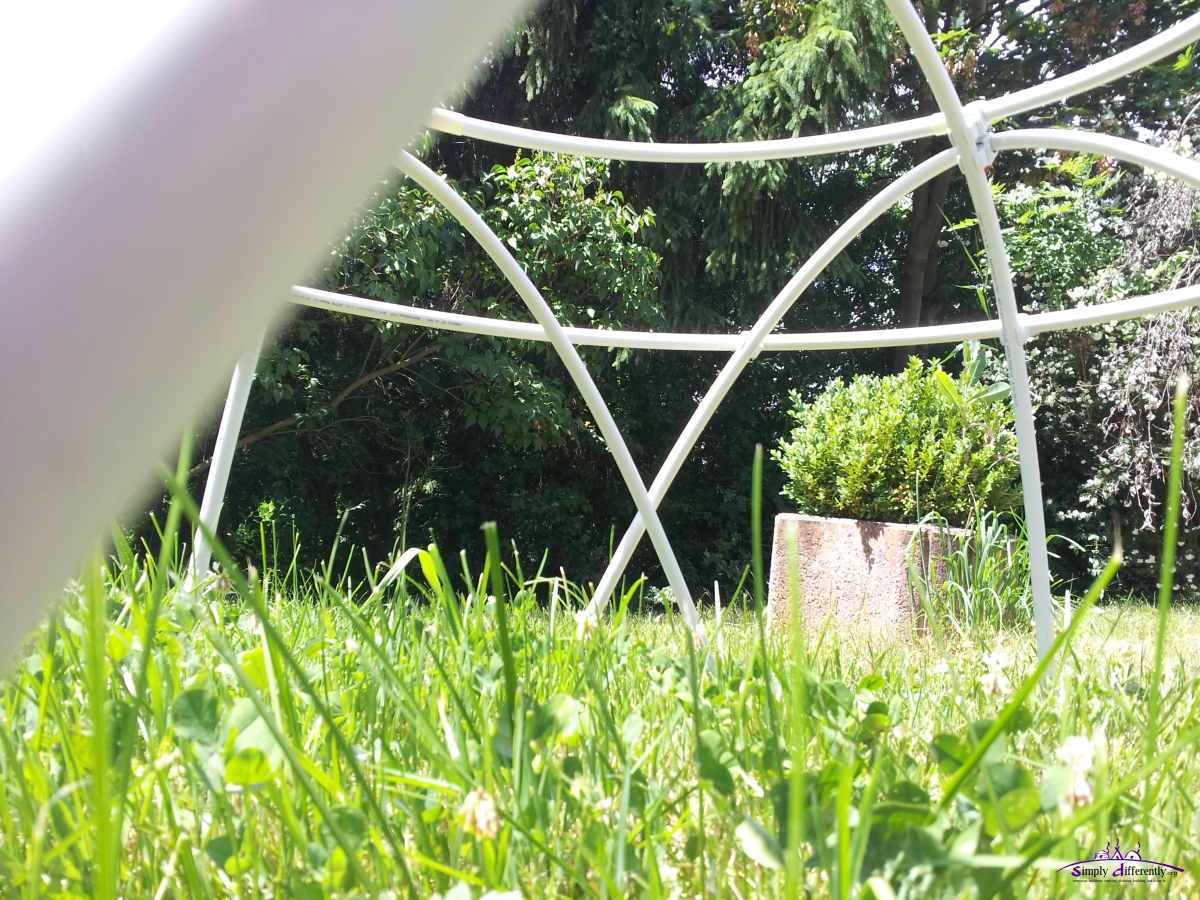 2014/06/15 13:29 I've got a 2m x 3m PE white cover, but the actual size was rather 1.83m to 3m, making it a bit short as you will see in the final stage of model: 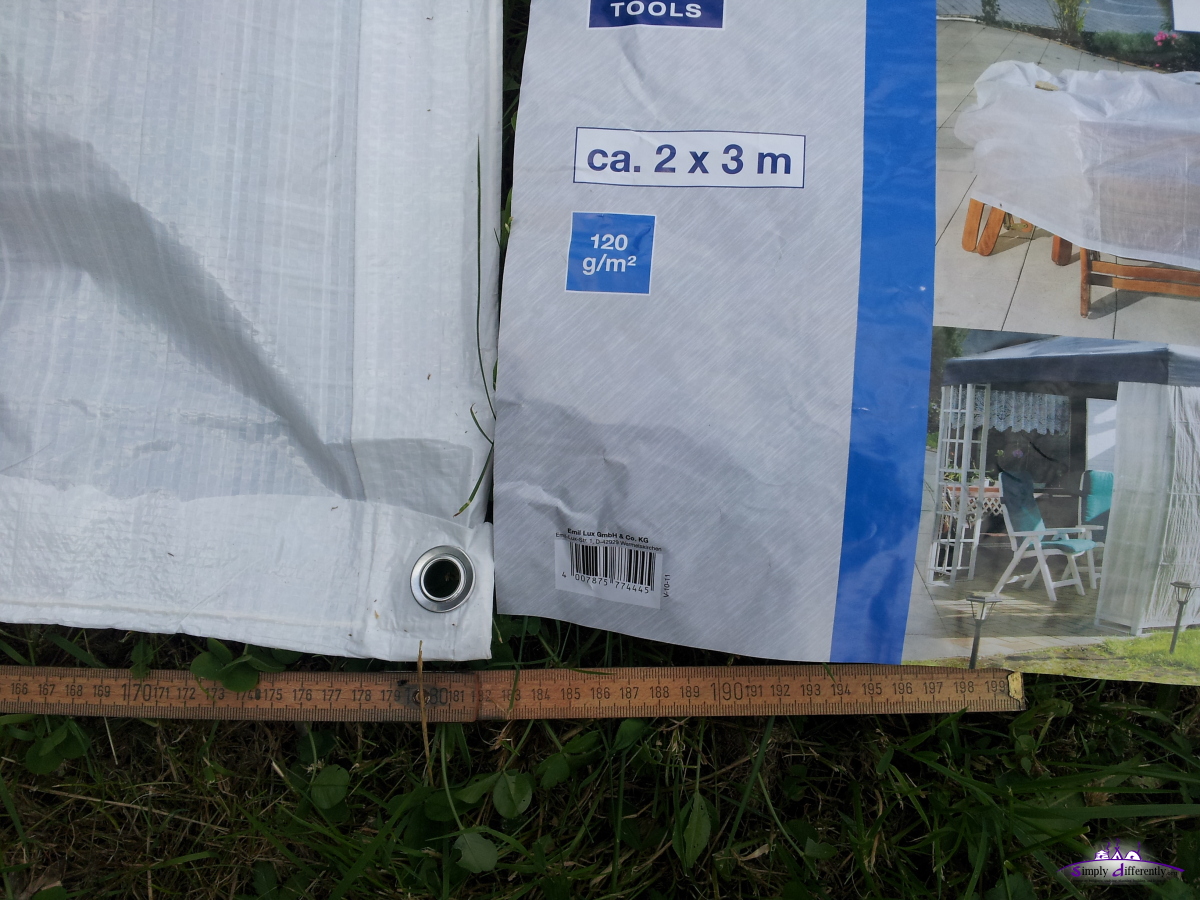 2m x 3m PE isn't really 2m, but 1.83m 2014/06/15 14:29 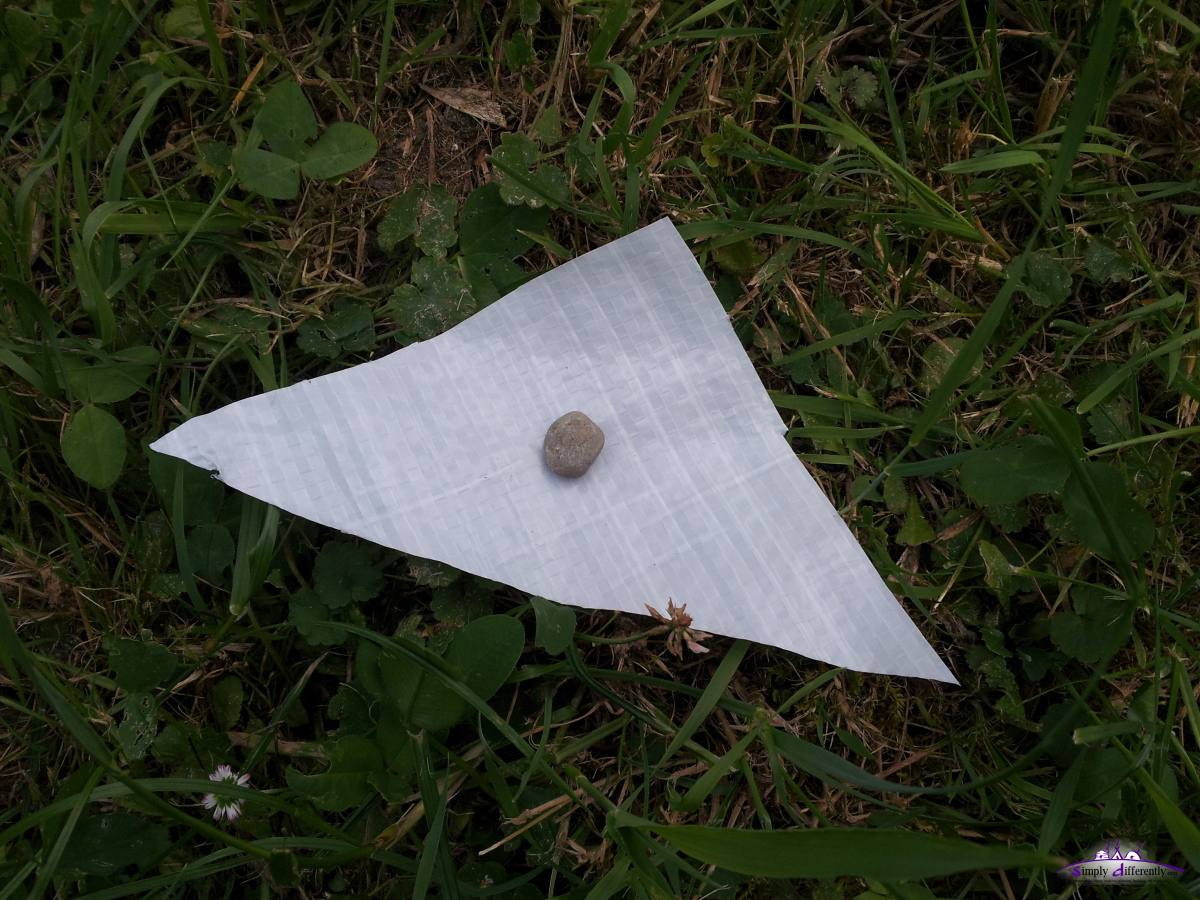 Single "Ghostly" connector (1 of 3) 2014/06/15 14:43 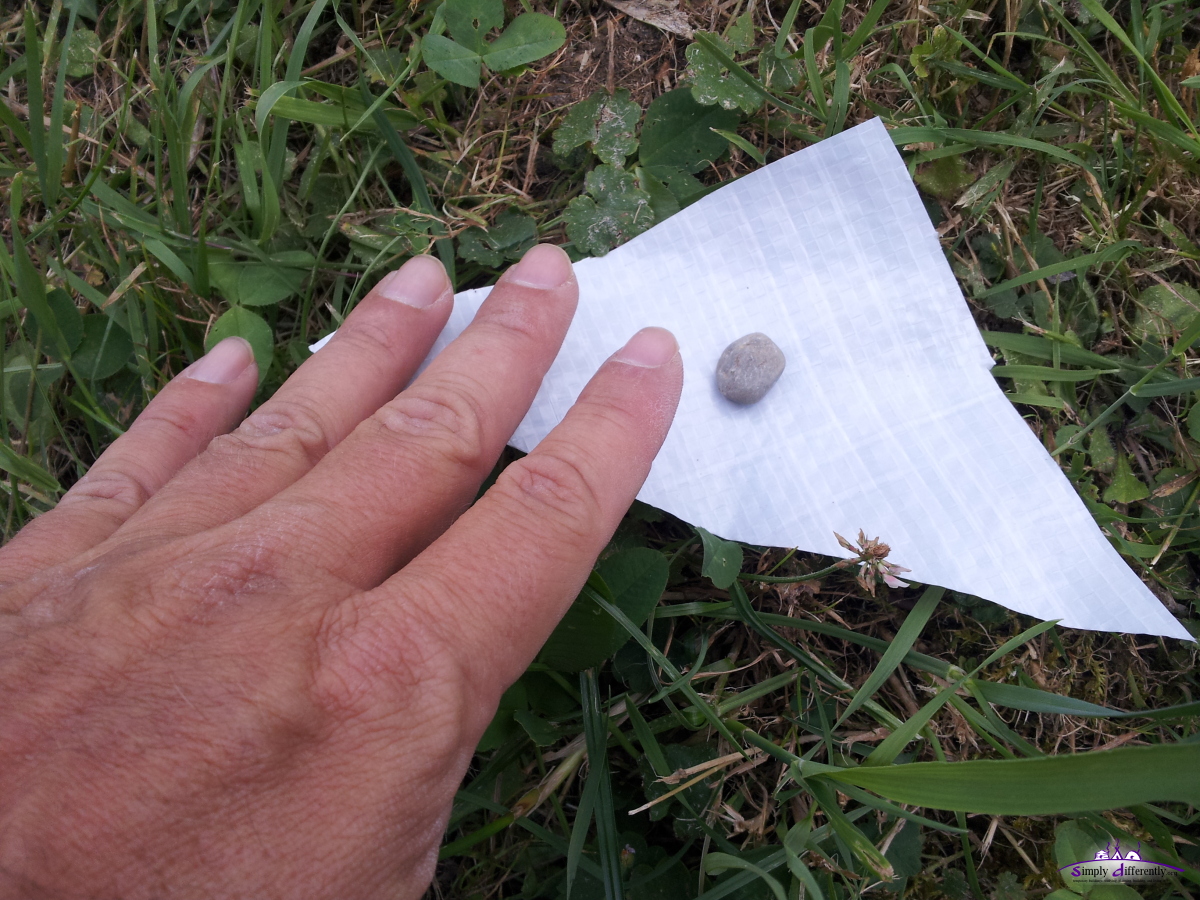 Single "Ghostly" connector (2 of 3) 2014/06/15 14:43 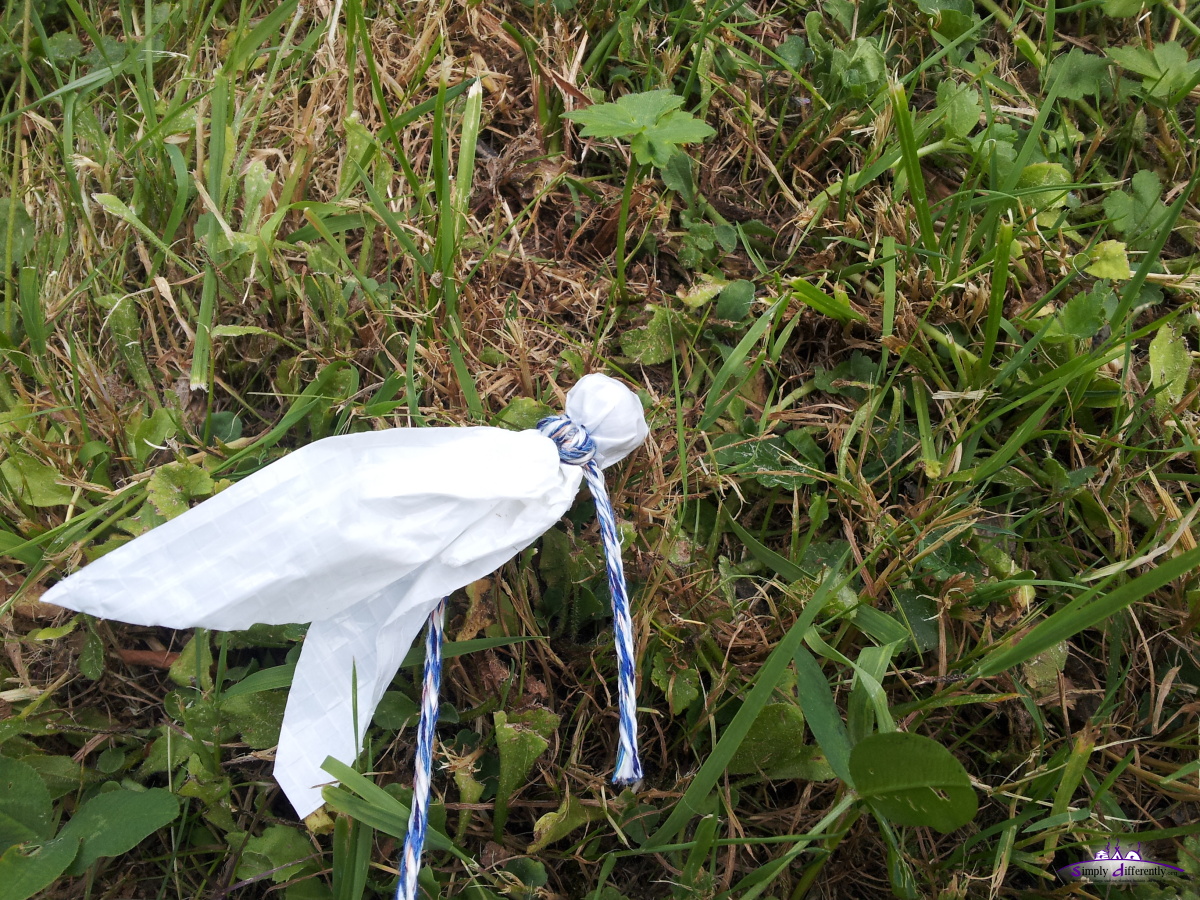 Single "Ghostly" connector (3 of 3) 2014/06/15 14:44 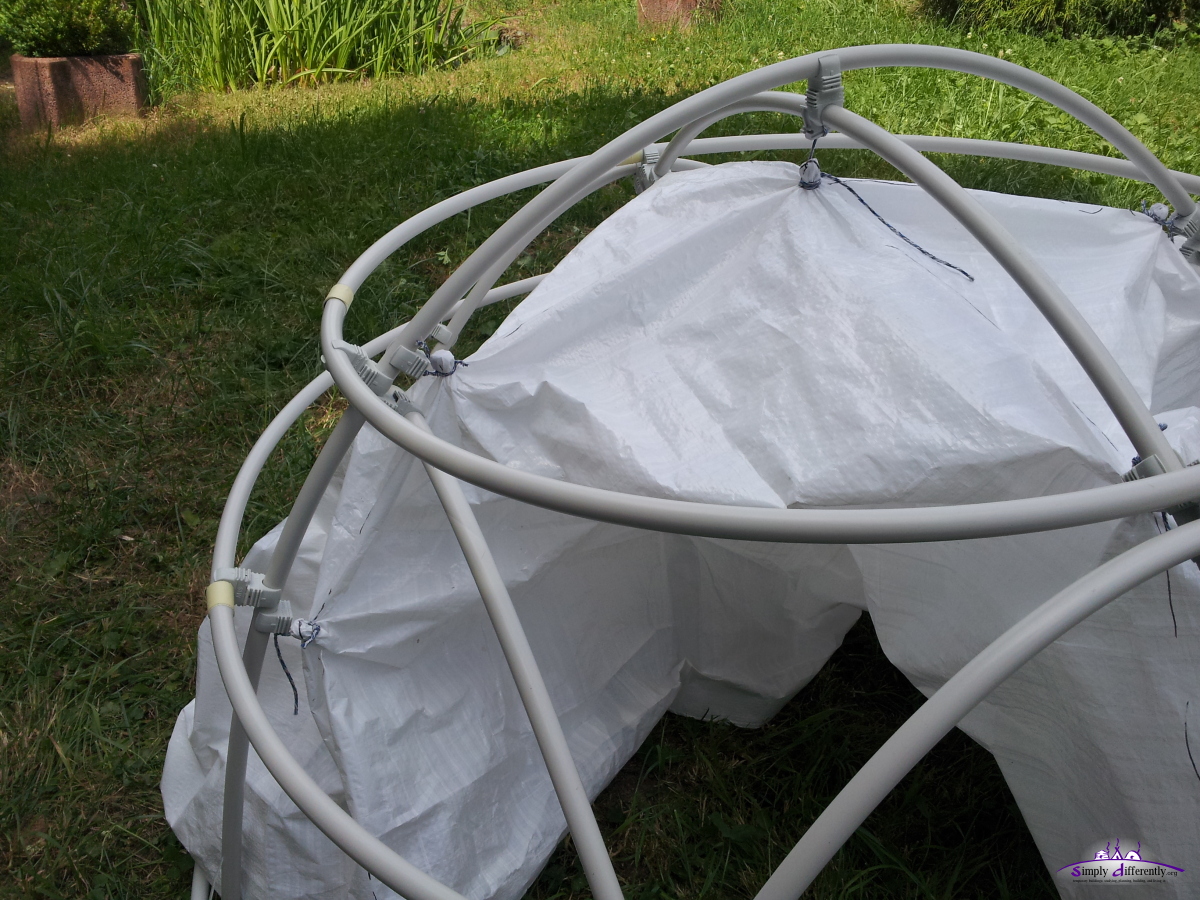 Starting with the top 2014/06/15 15:08 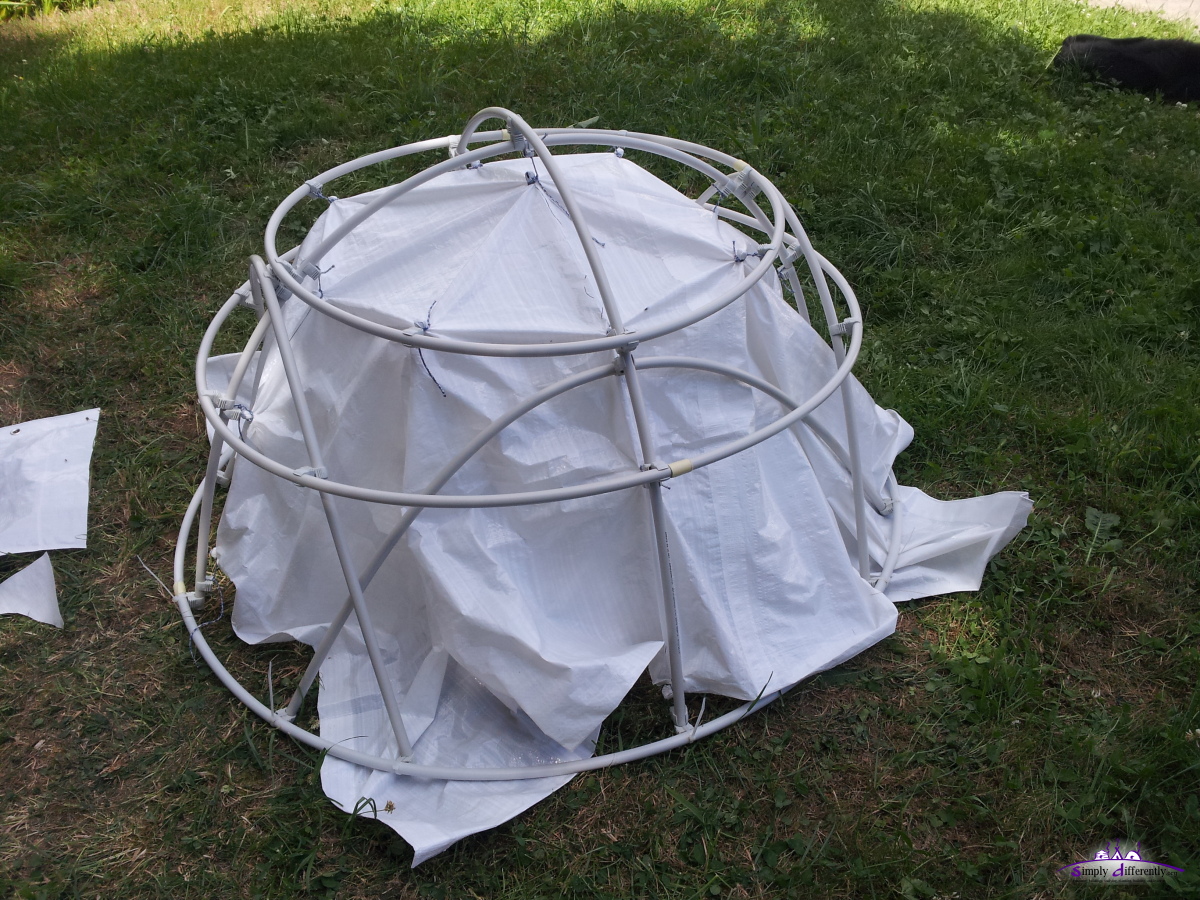 2014/06/15 15:39 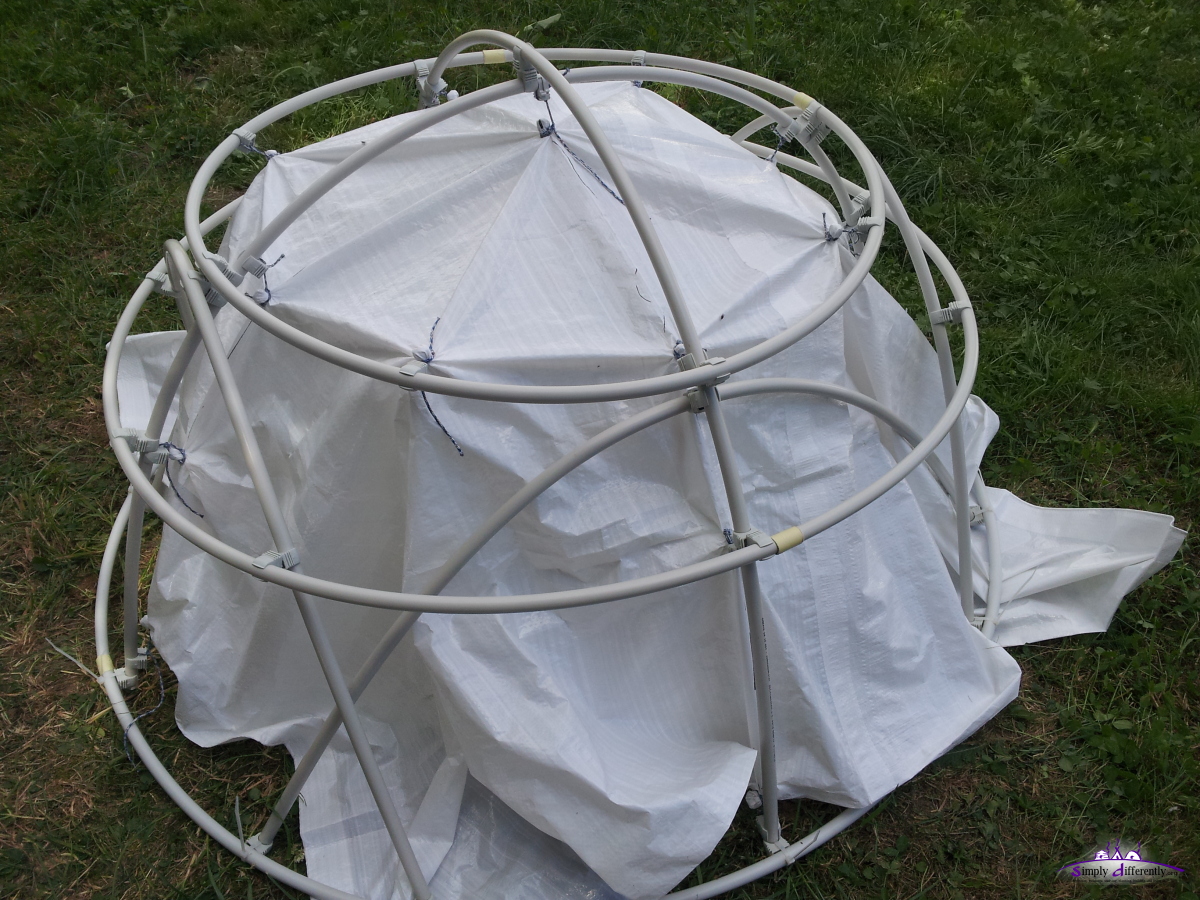 2014/06/15 15:40 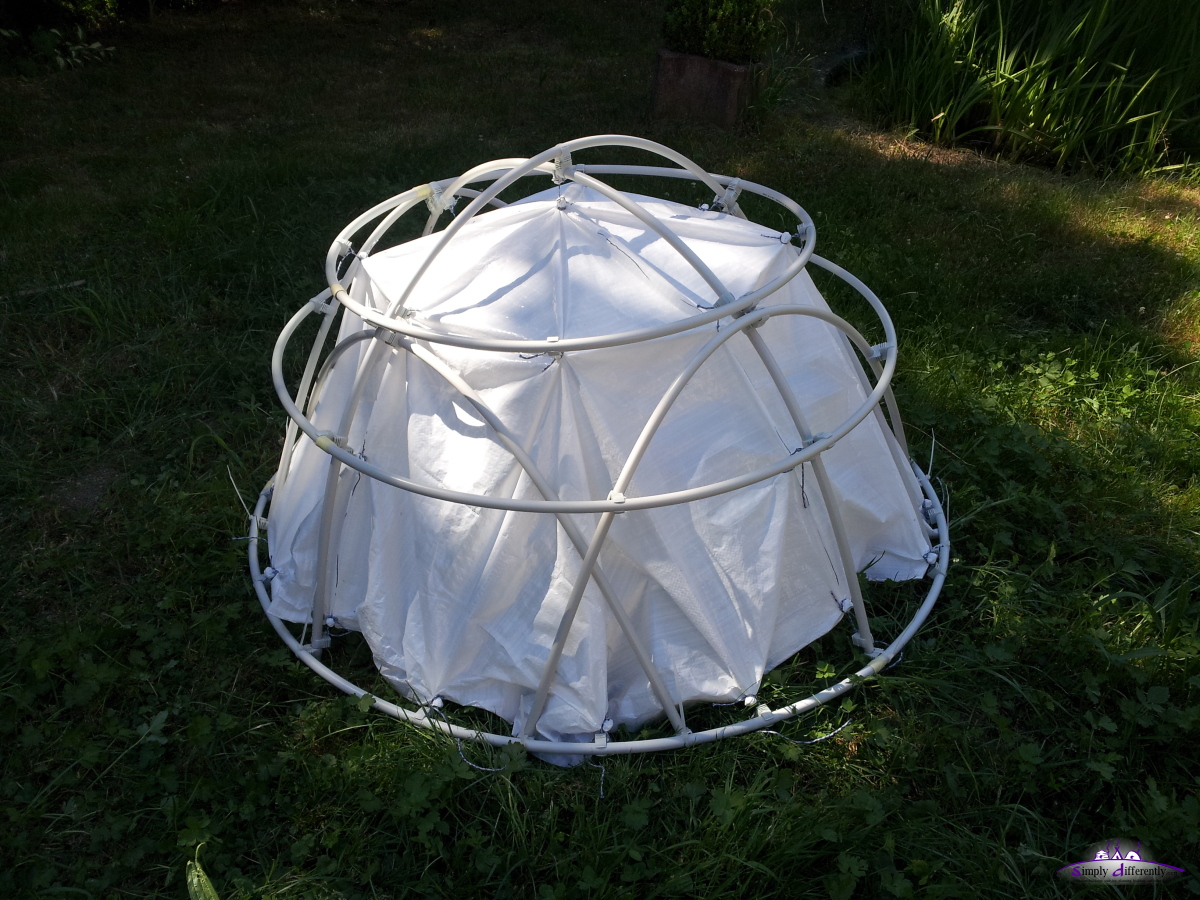 2014/06/15 16:18 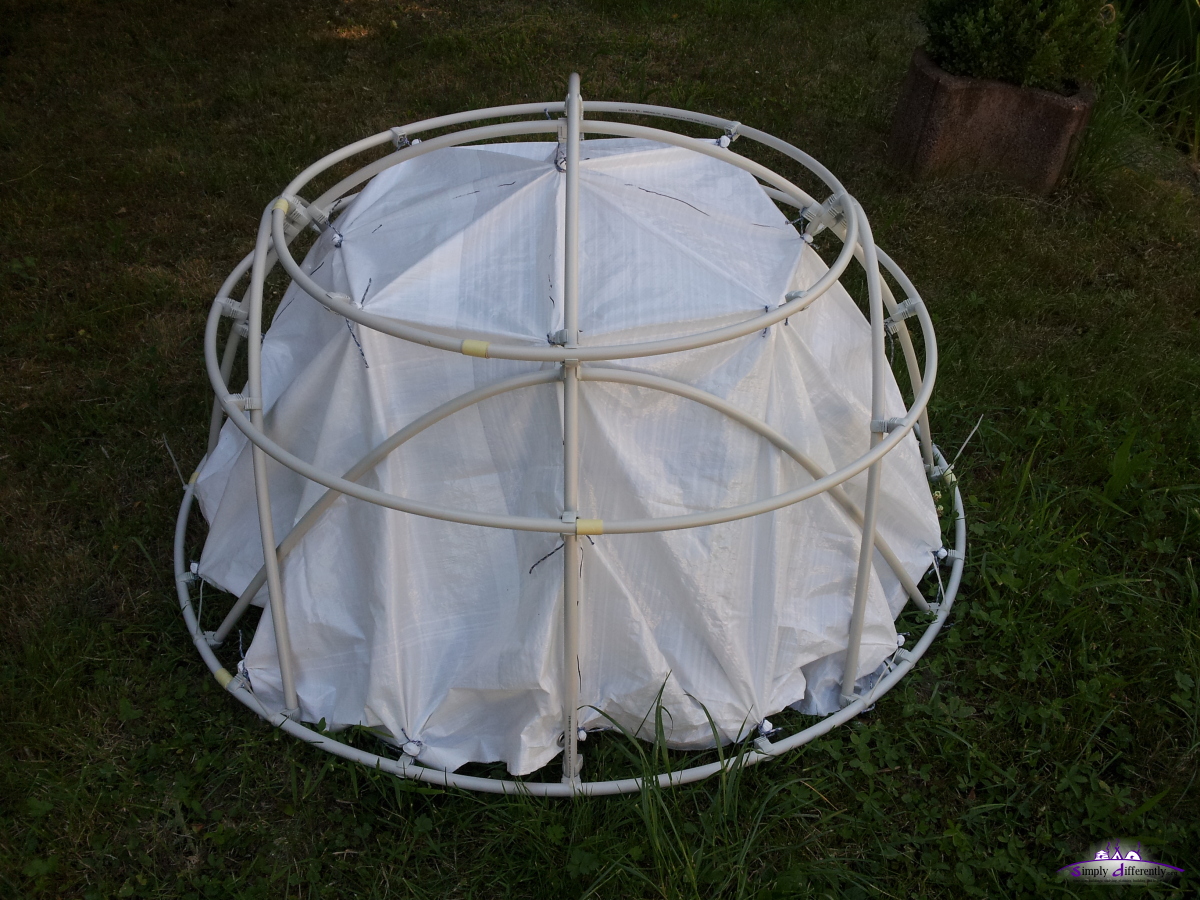 2014/06/15 16:18 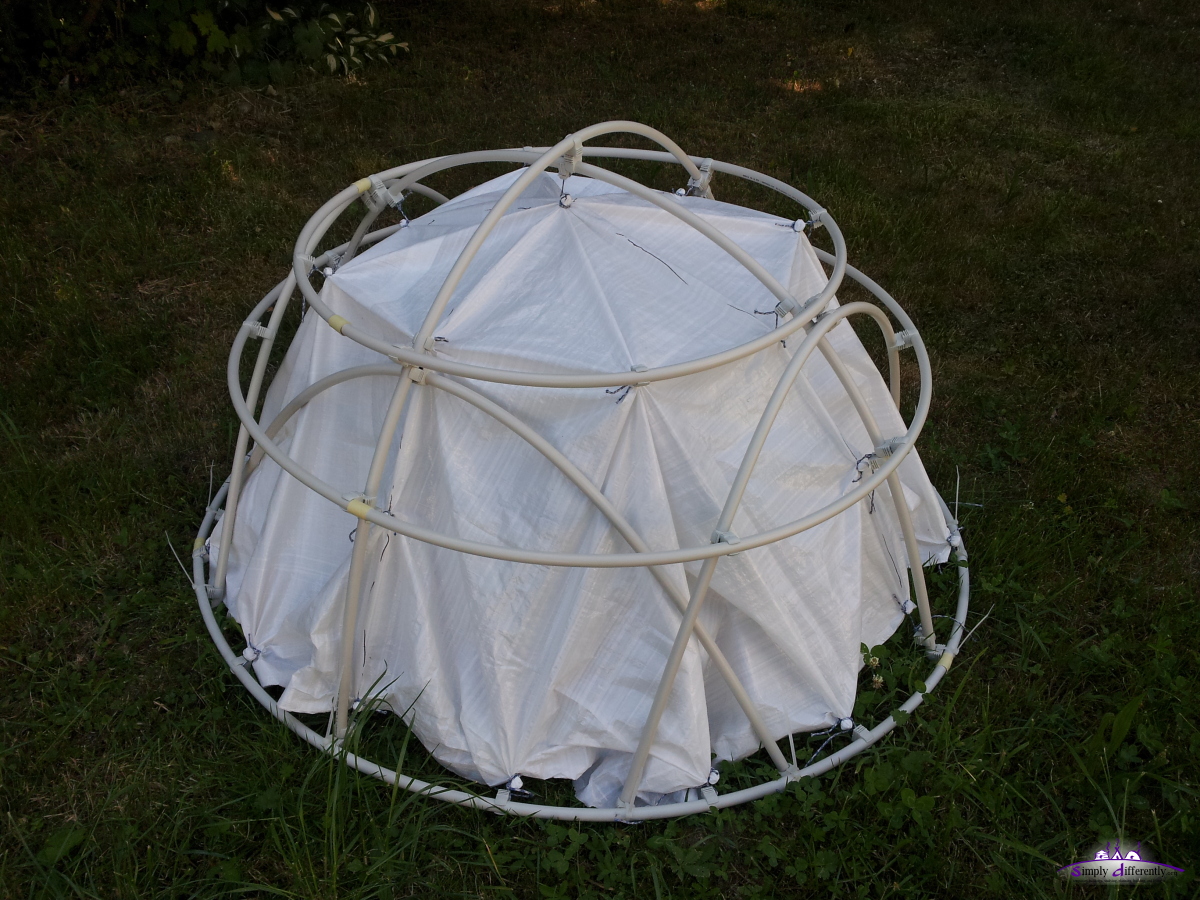 2014/06/15 16:18 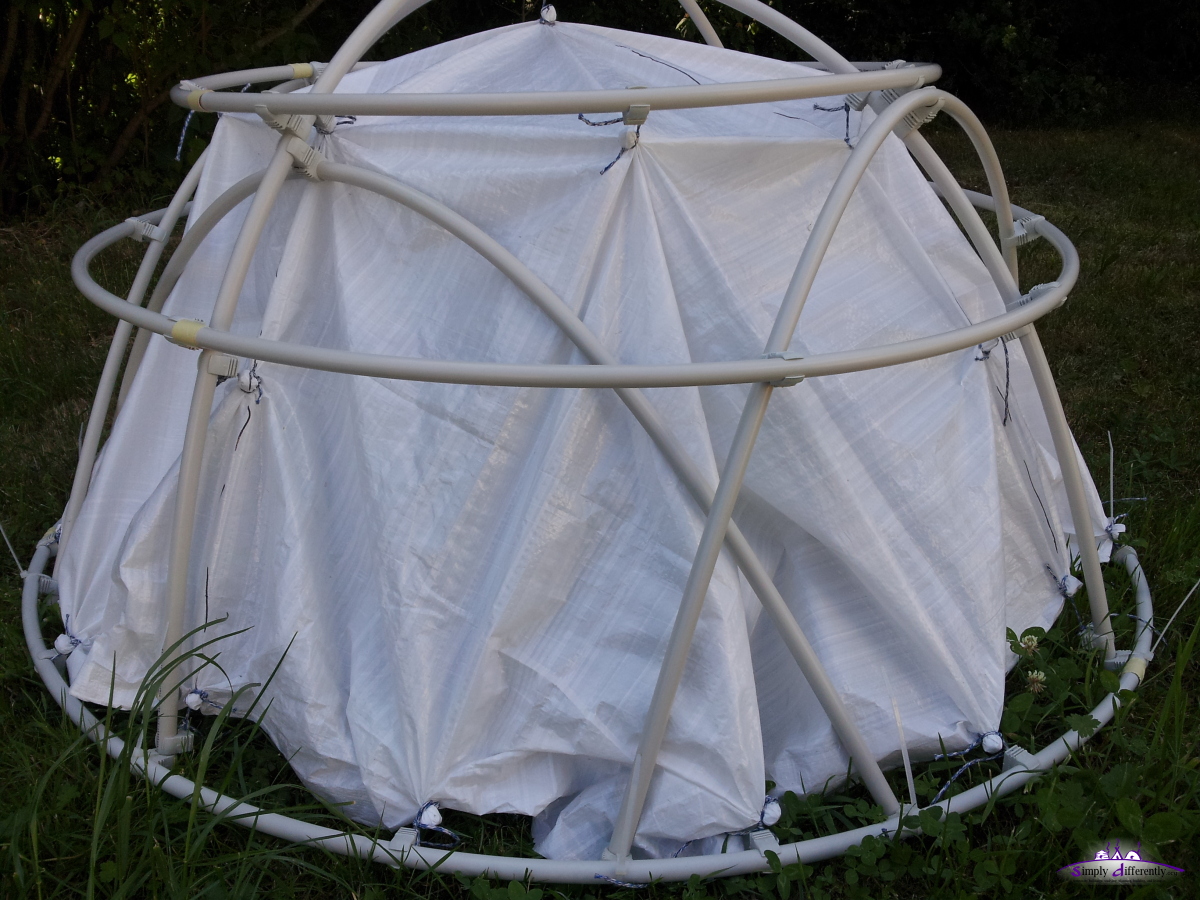 2014/06/15 16:18 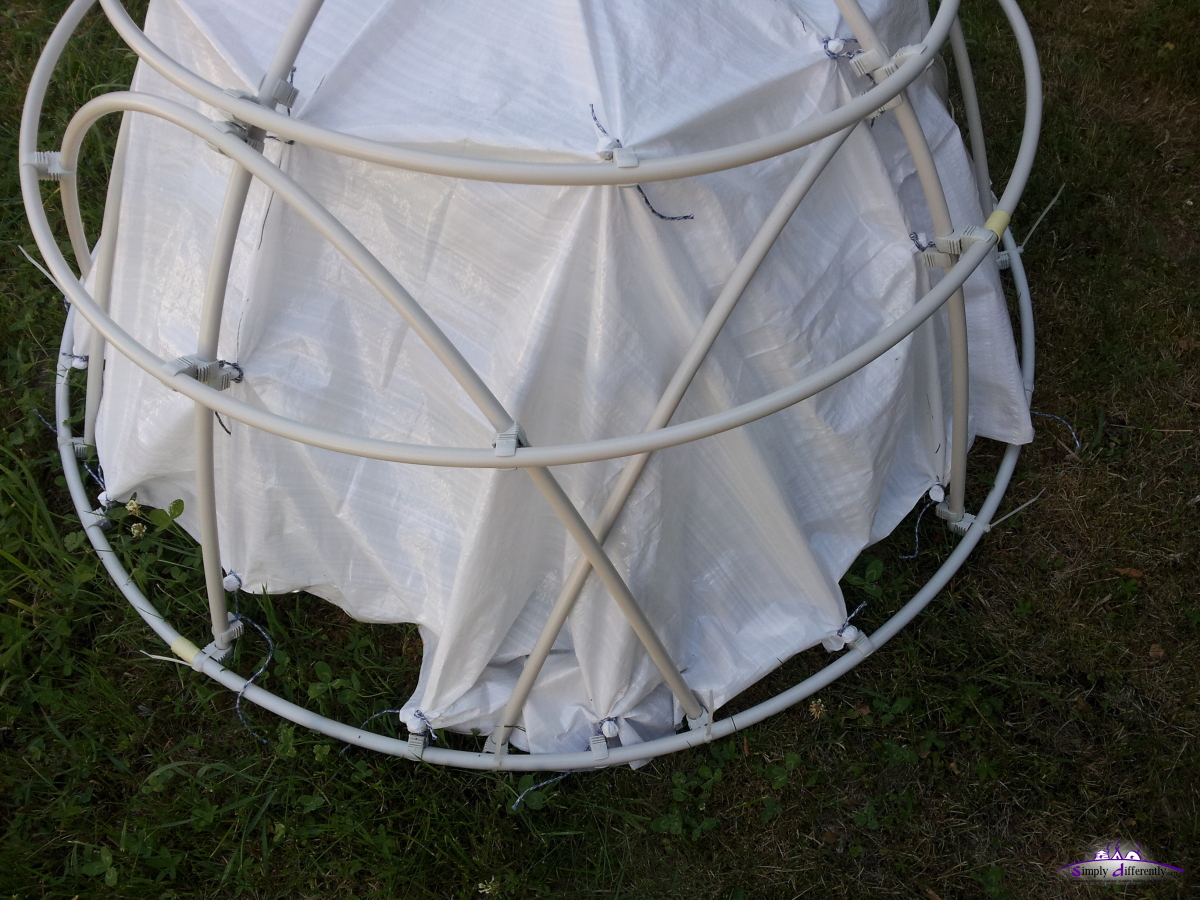 2014/06/15 16:19 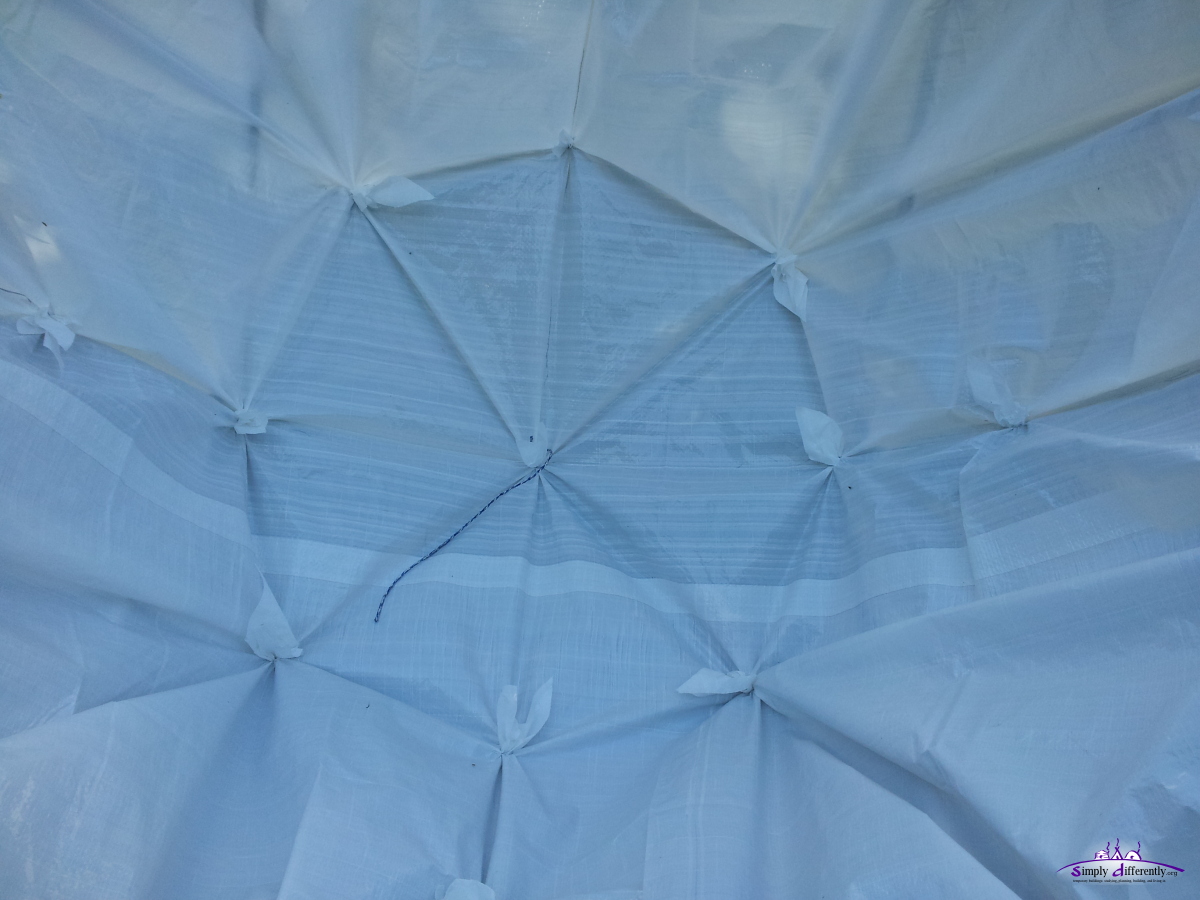 Inside view of the "ghostly" connectors 2014/06/15 16:19 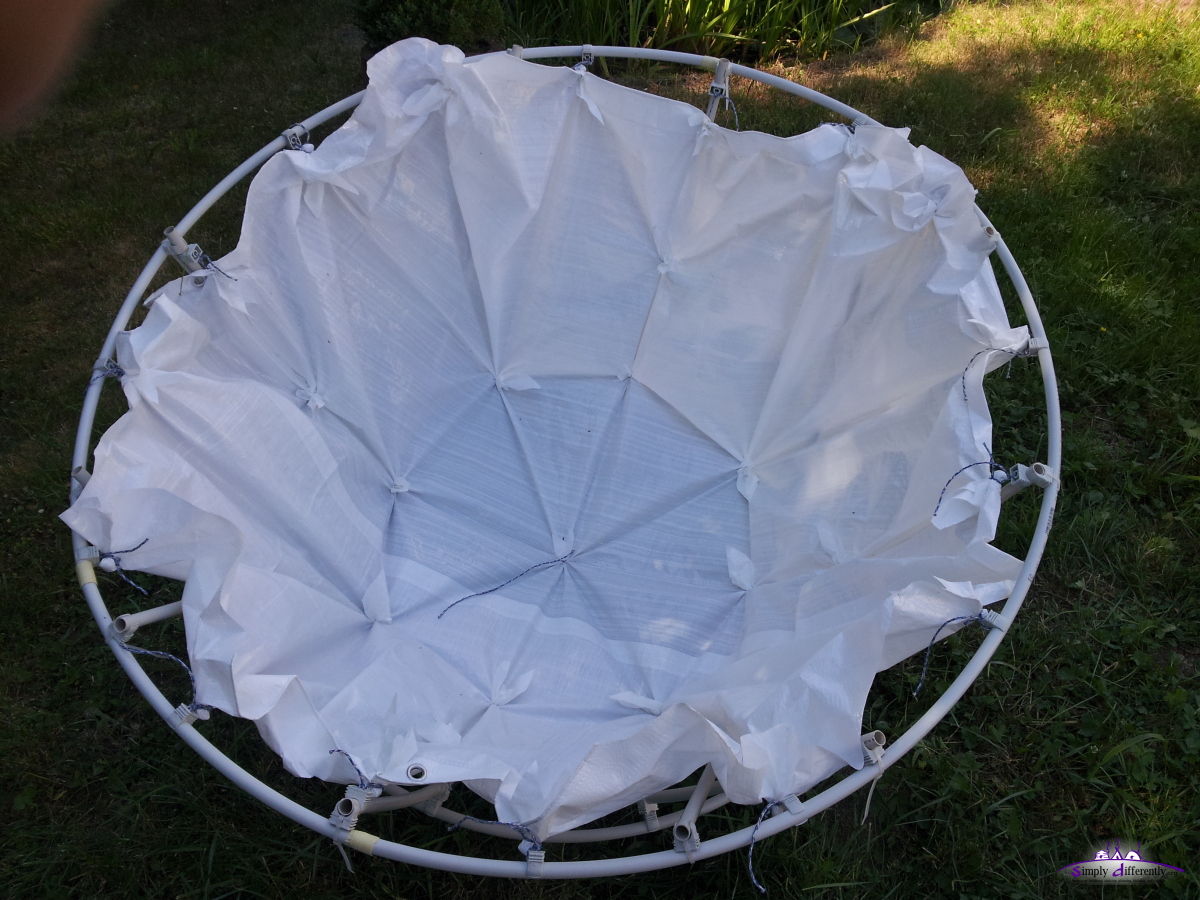 2014/06/15 16:19 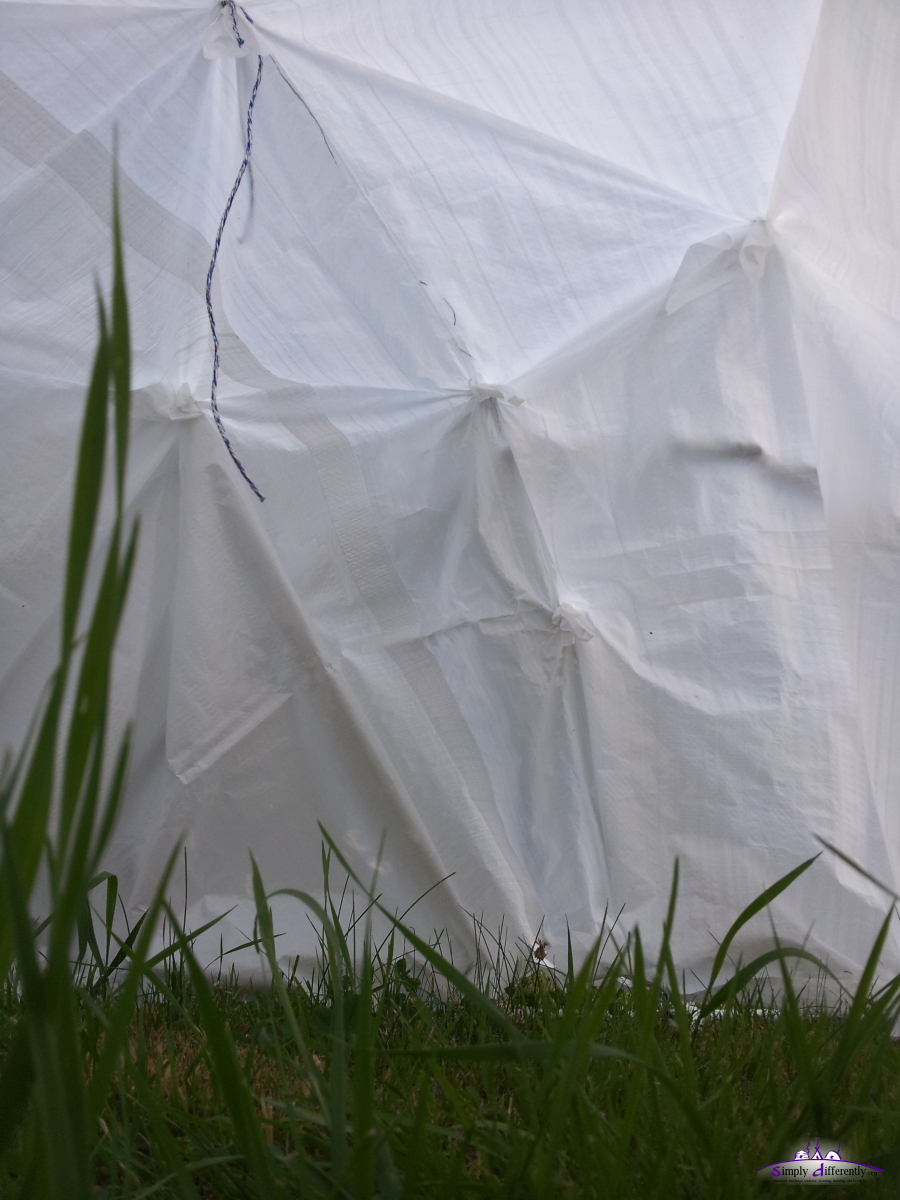 2014/06/15 16:20 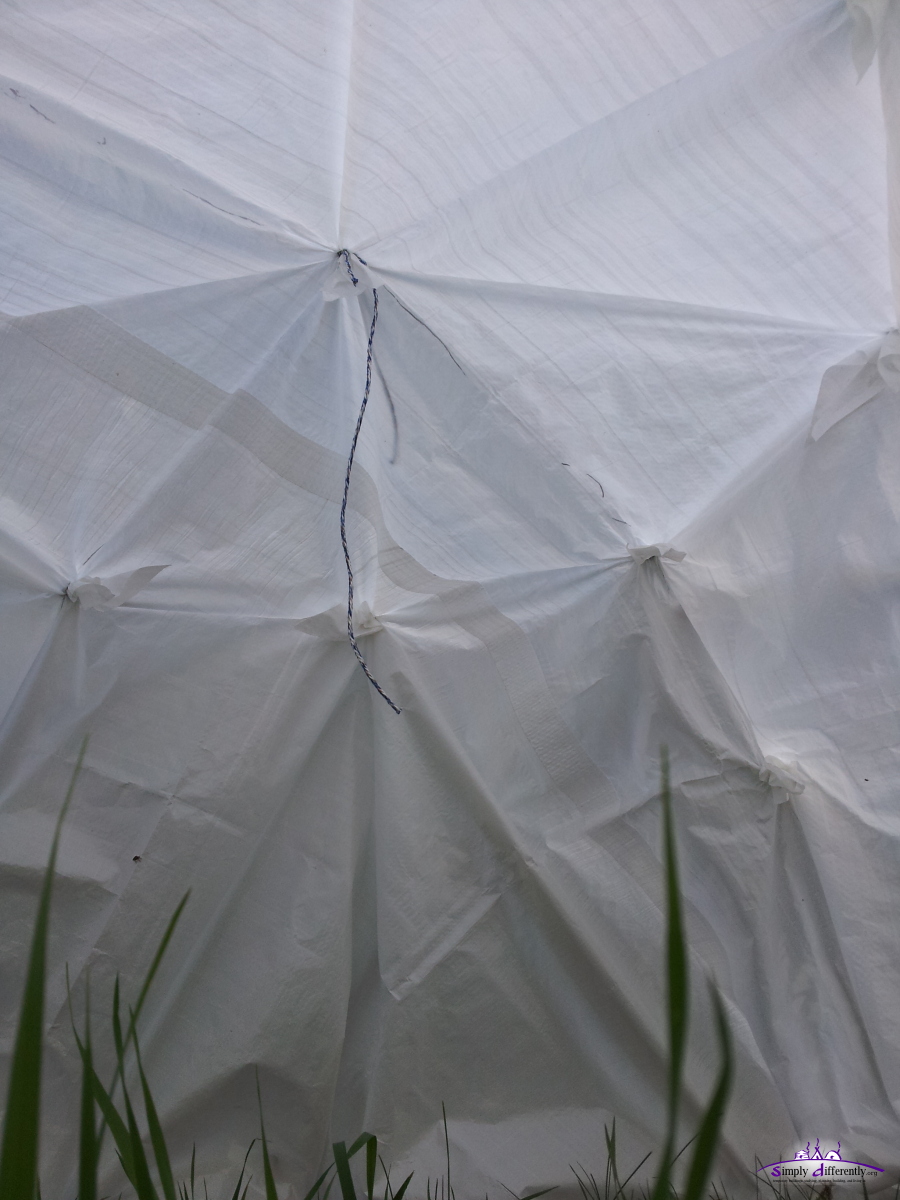 2014/06/15 16:21 2014/05/10-15: Making Notes on Tube-based DomeWhile I was traveling, I began to make notes on dome built with tubes, either 2m, 2.5m or 3m long PVC conduits - for my own reference I photographed my own notes: 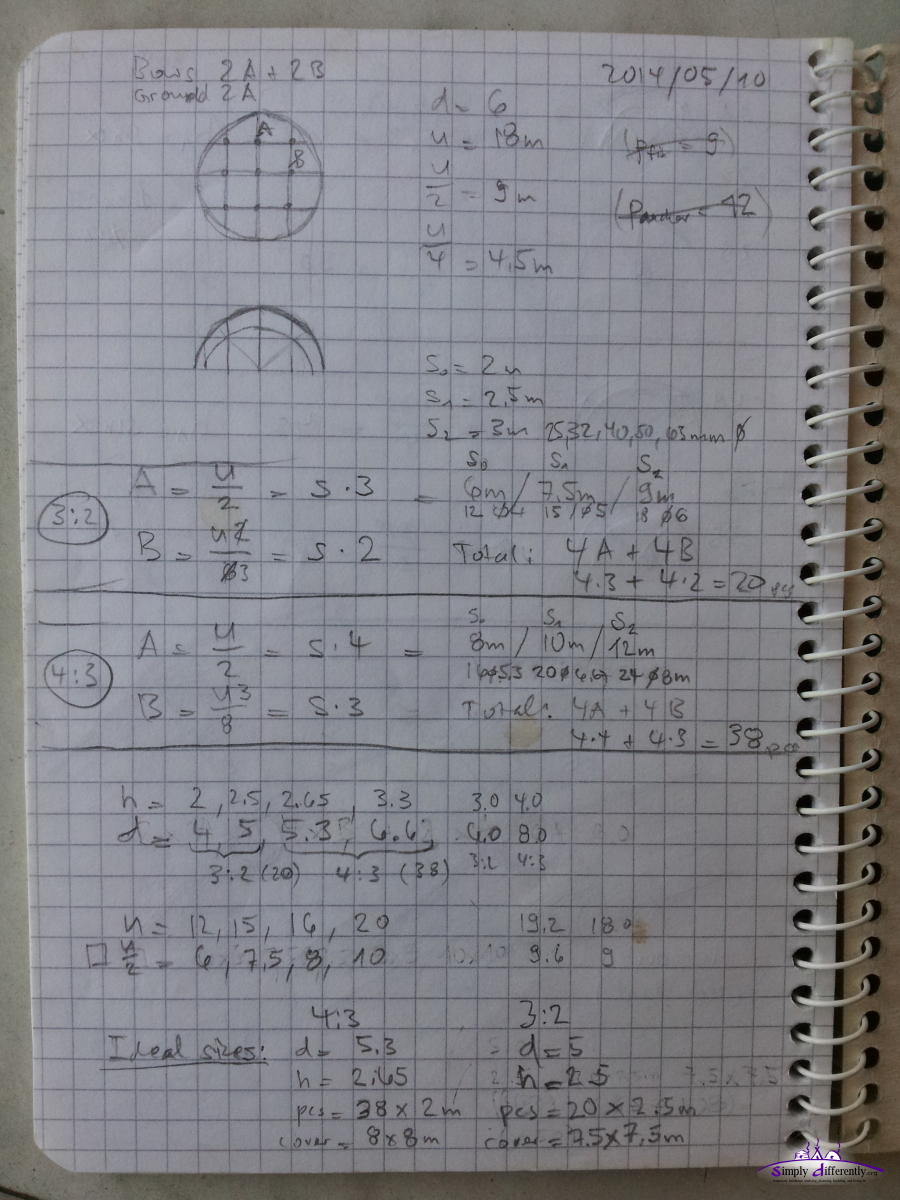 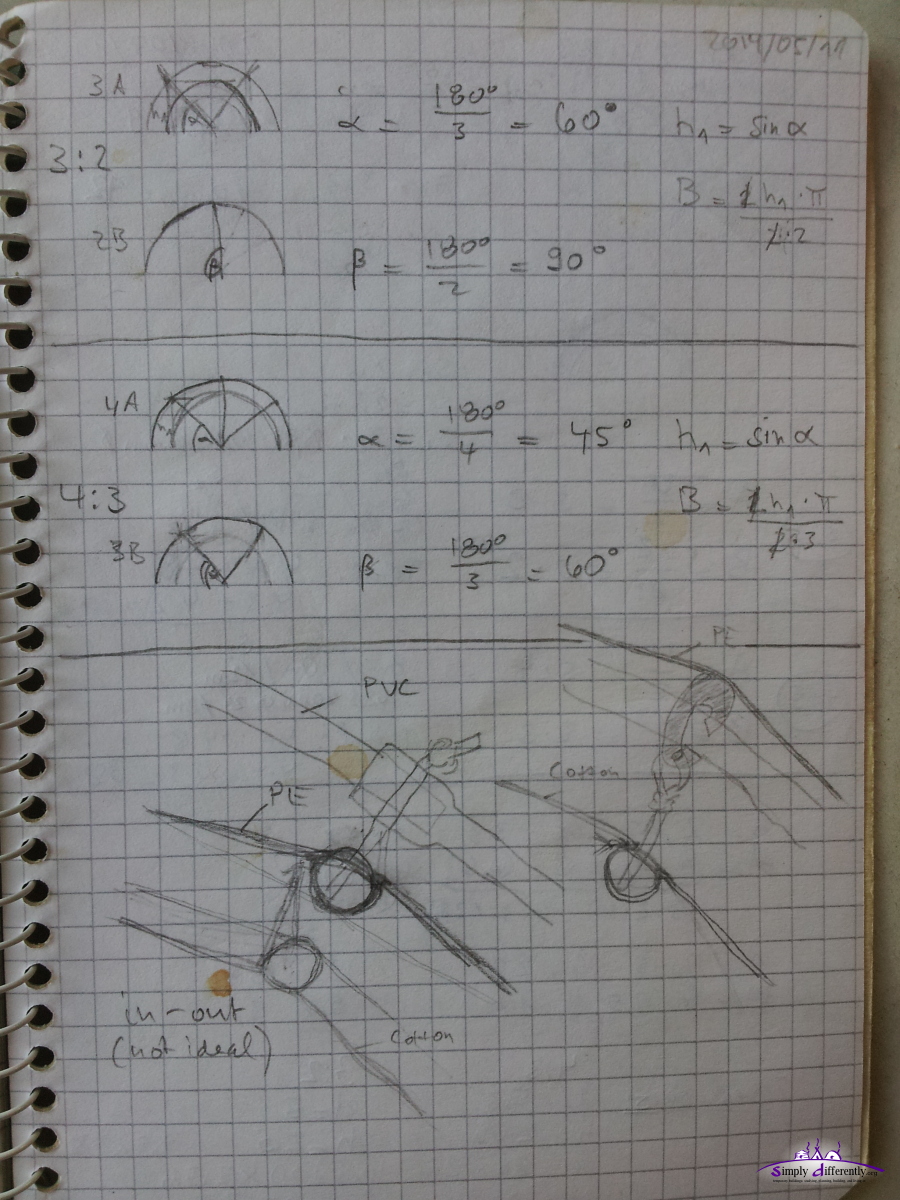 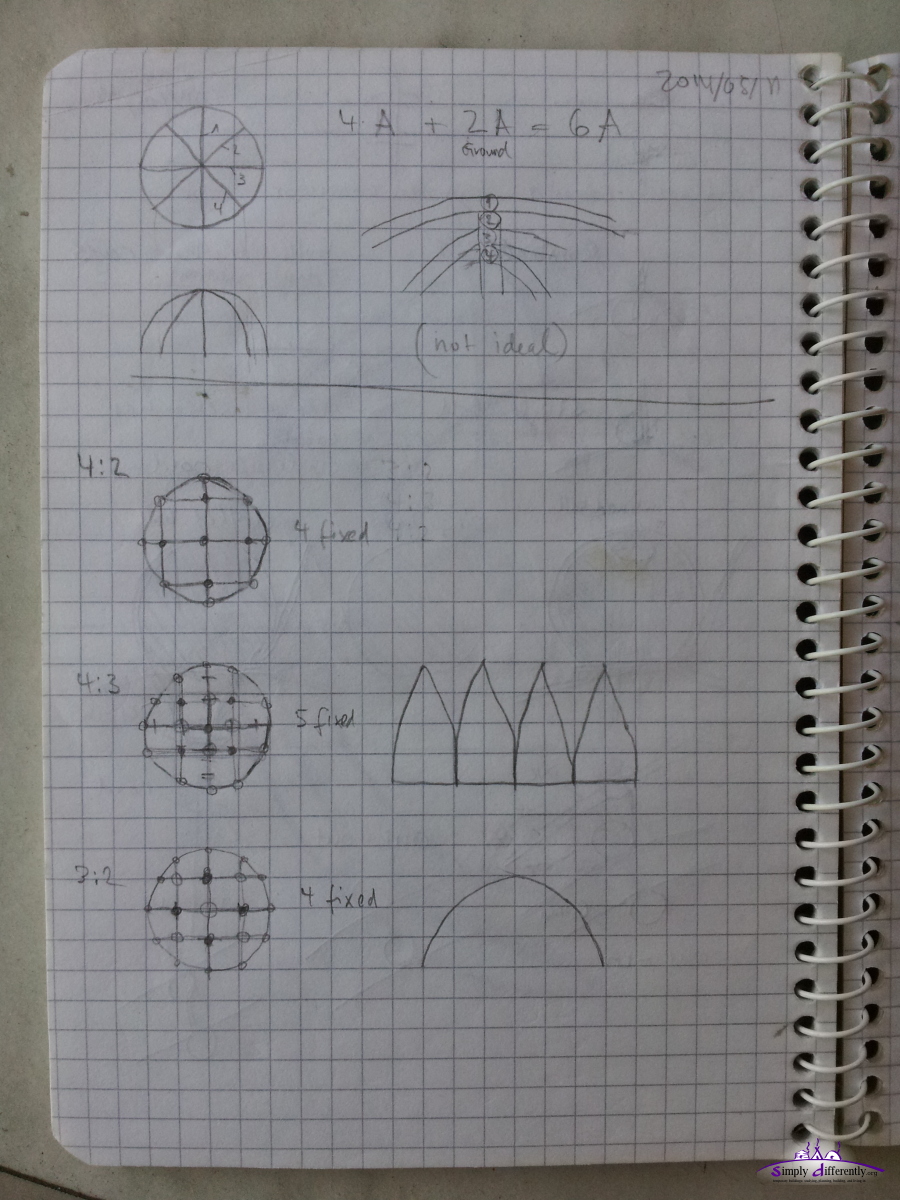 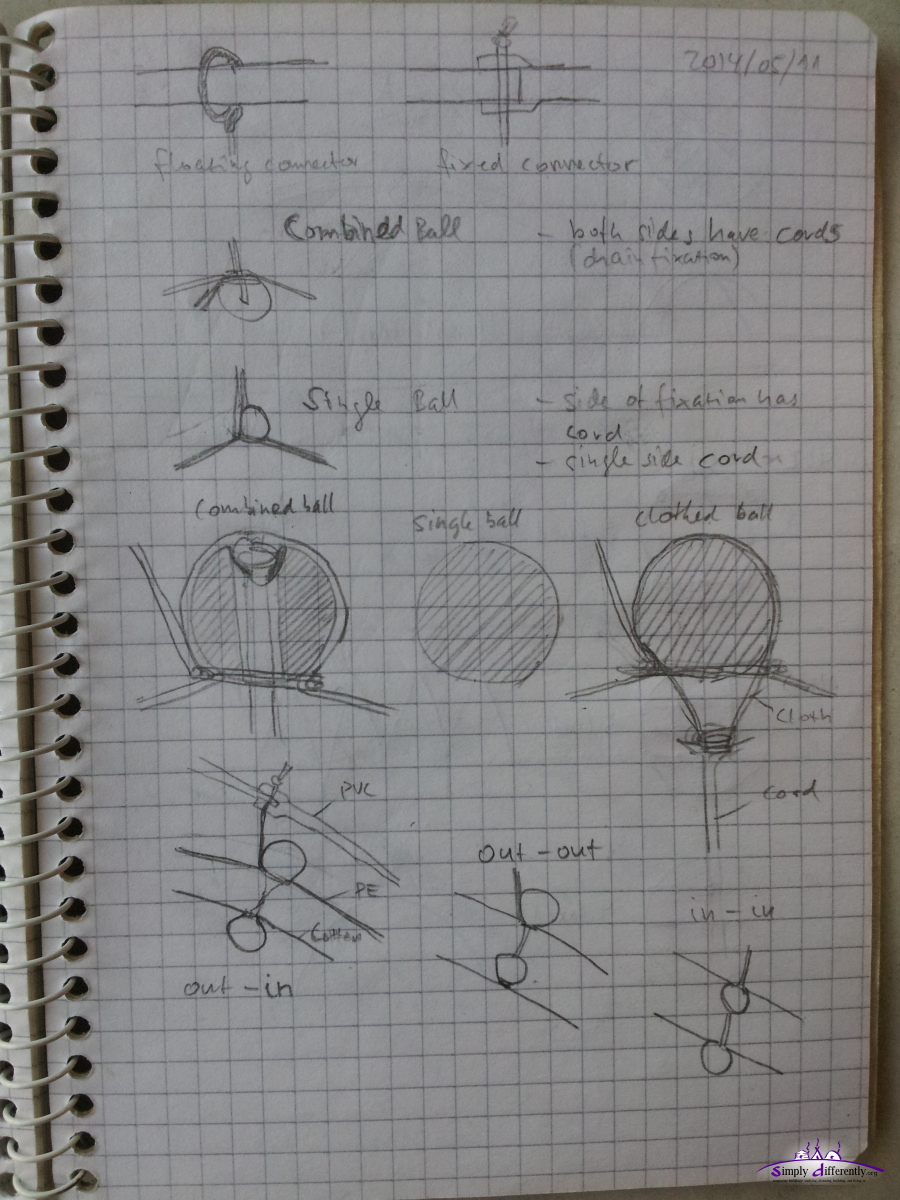 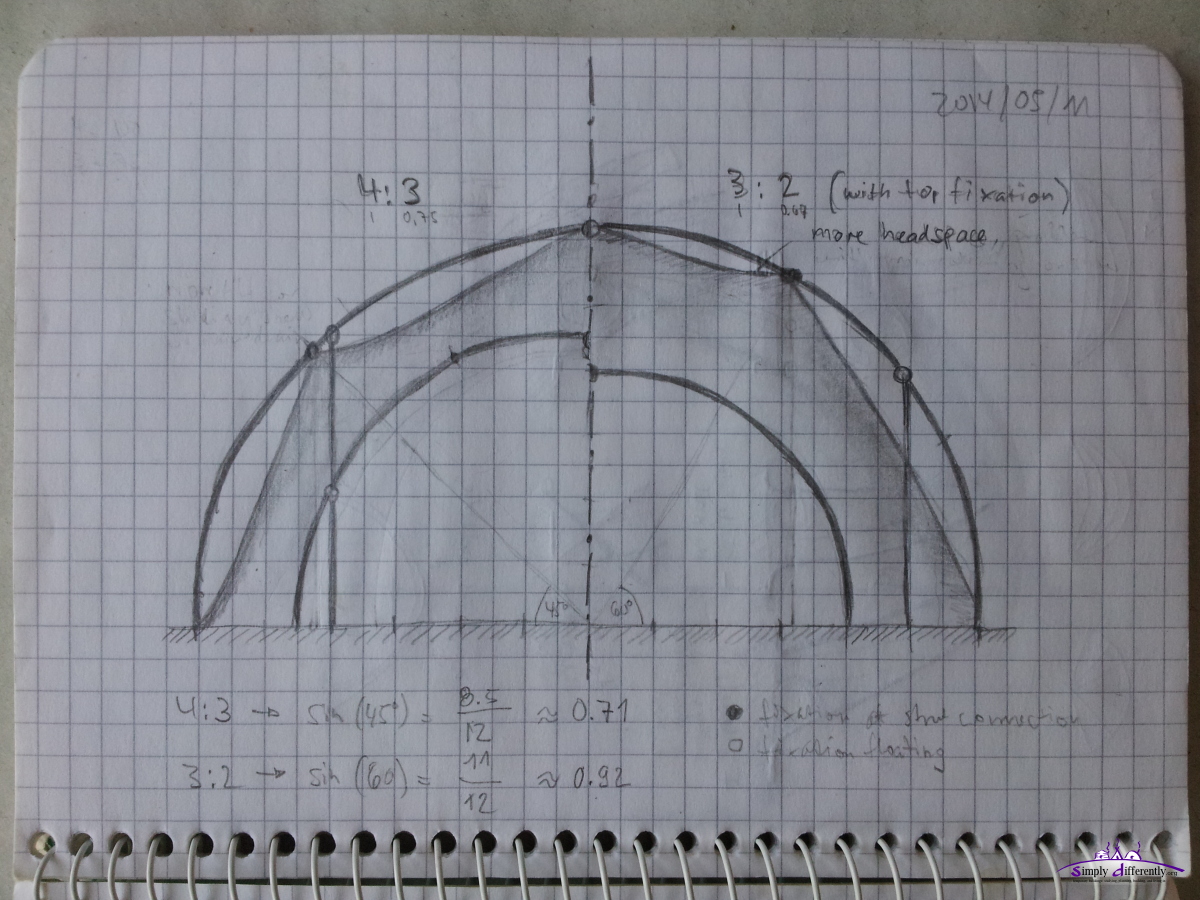 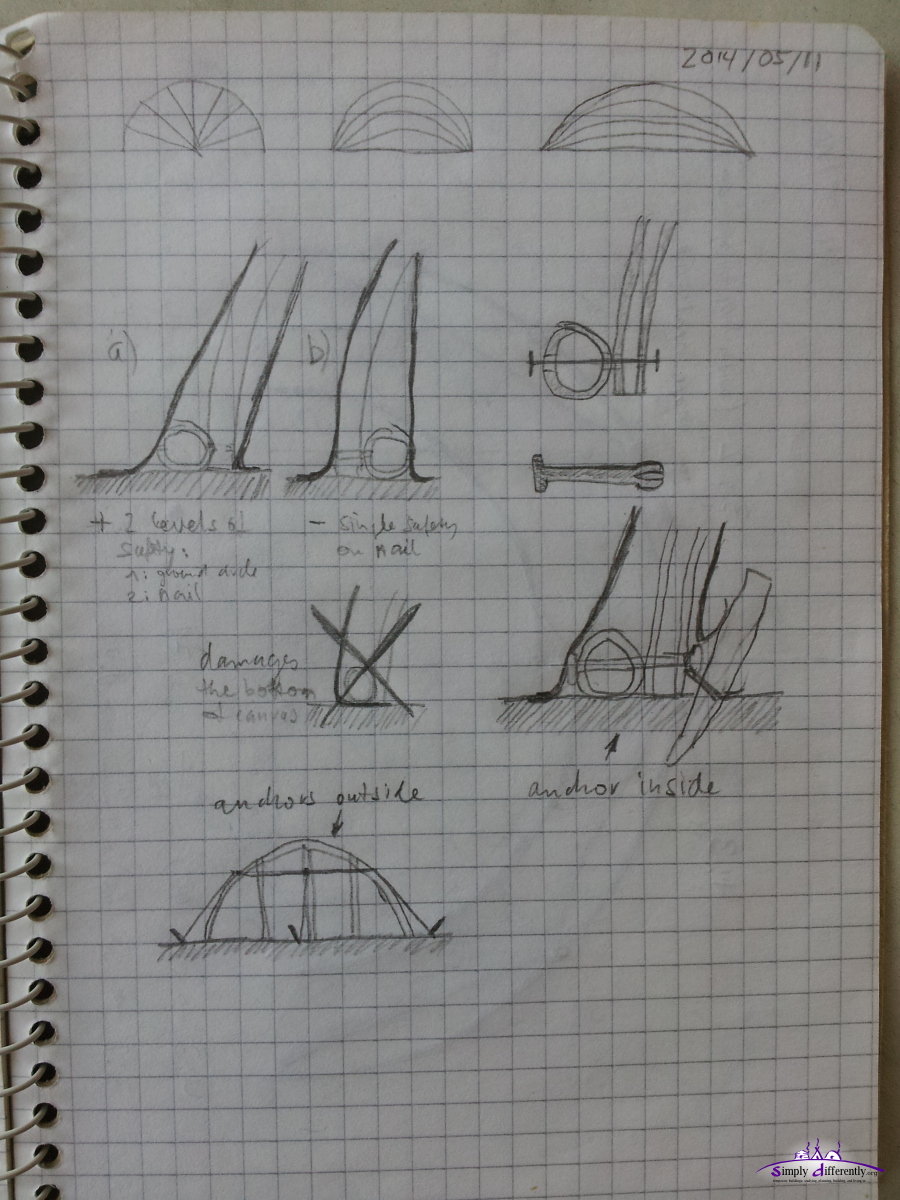 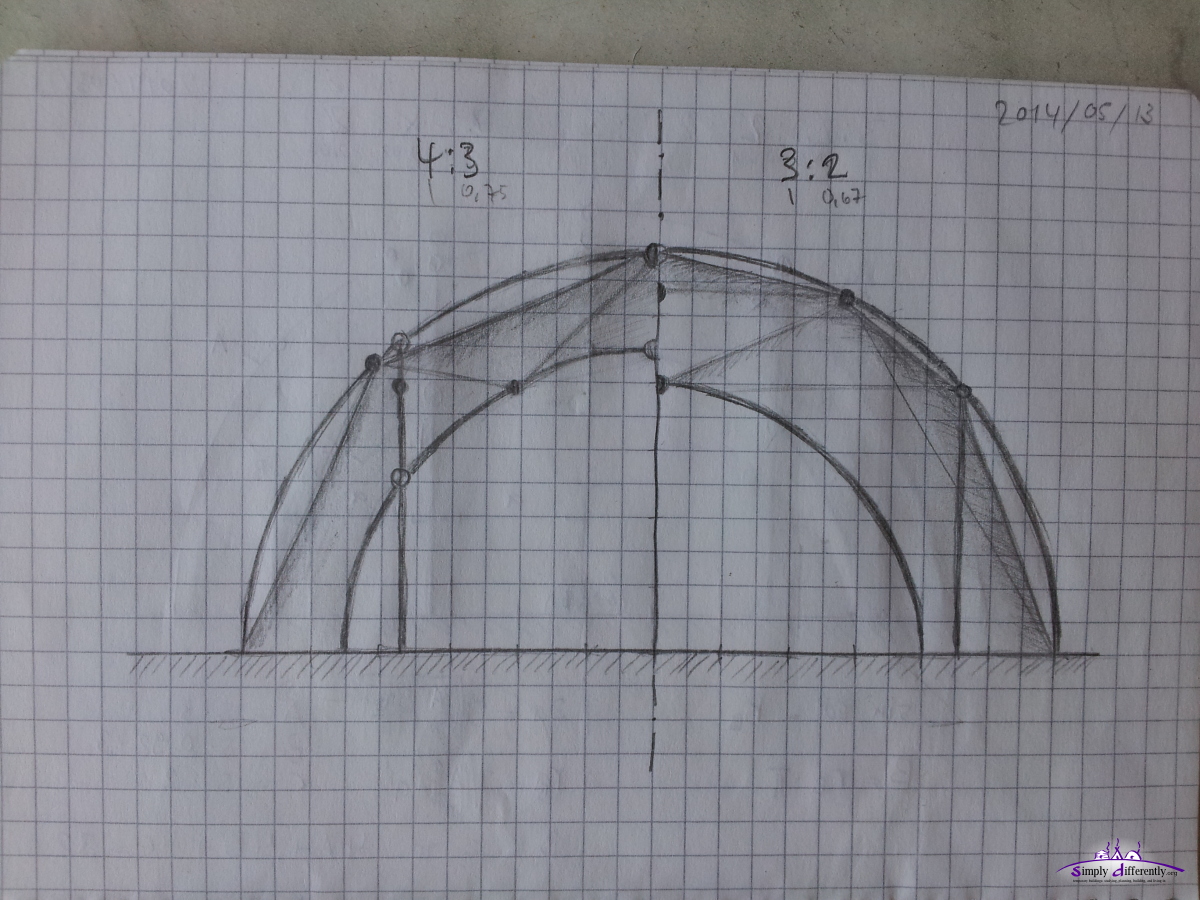 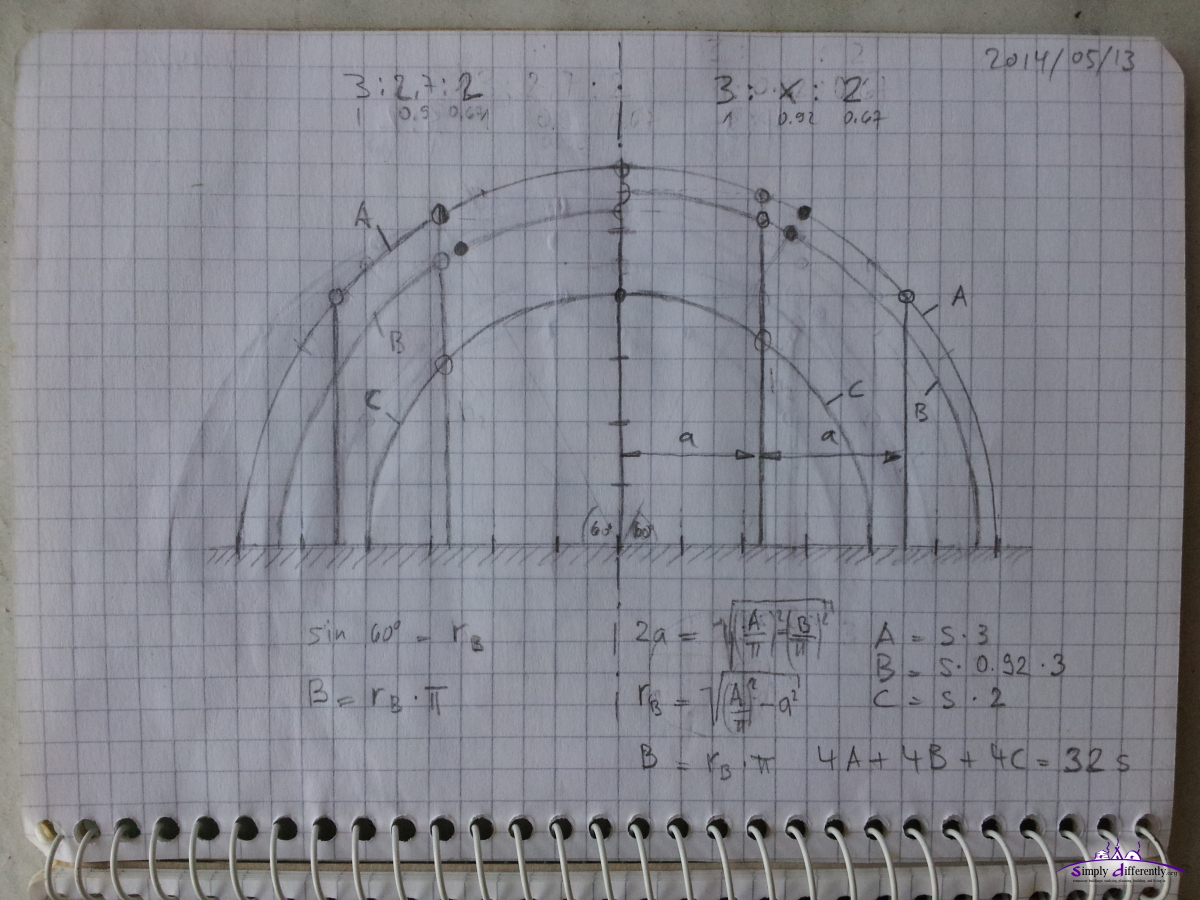 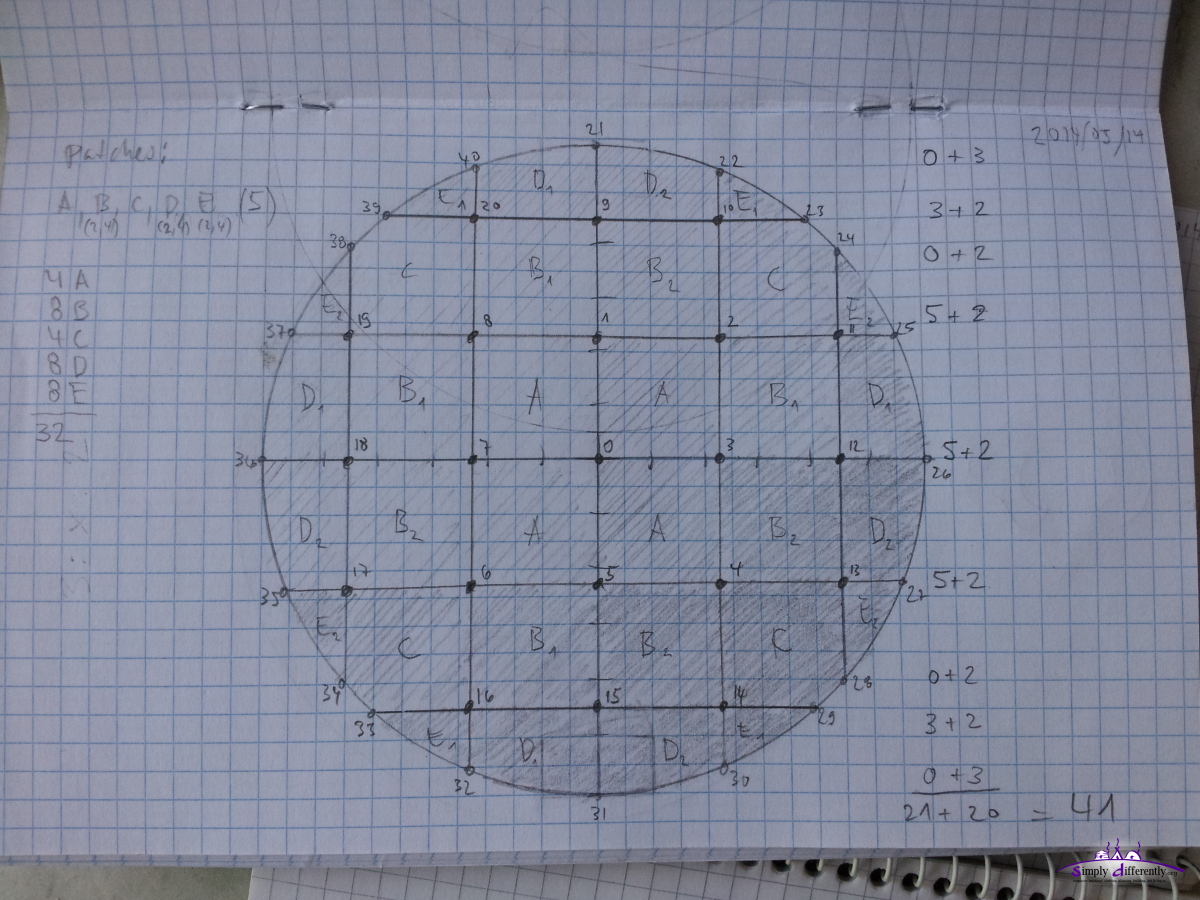 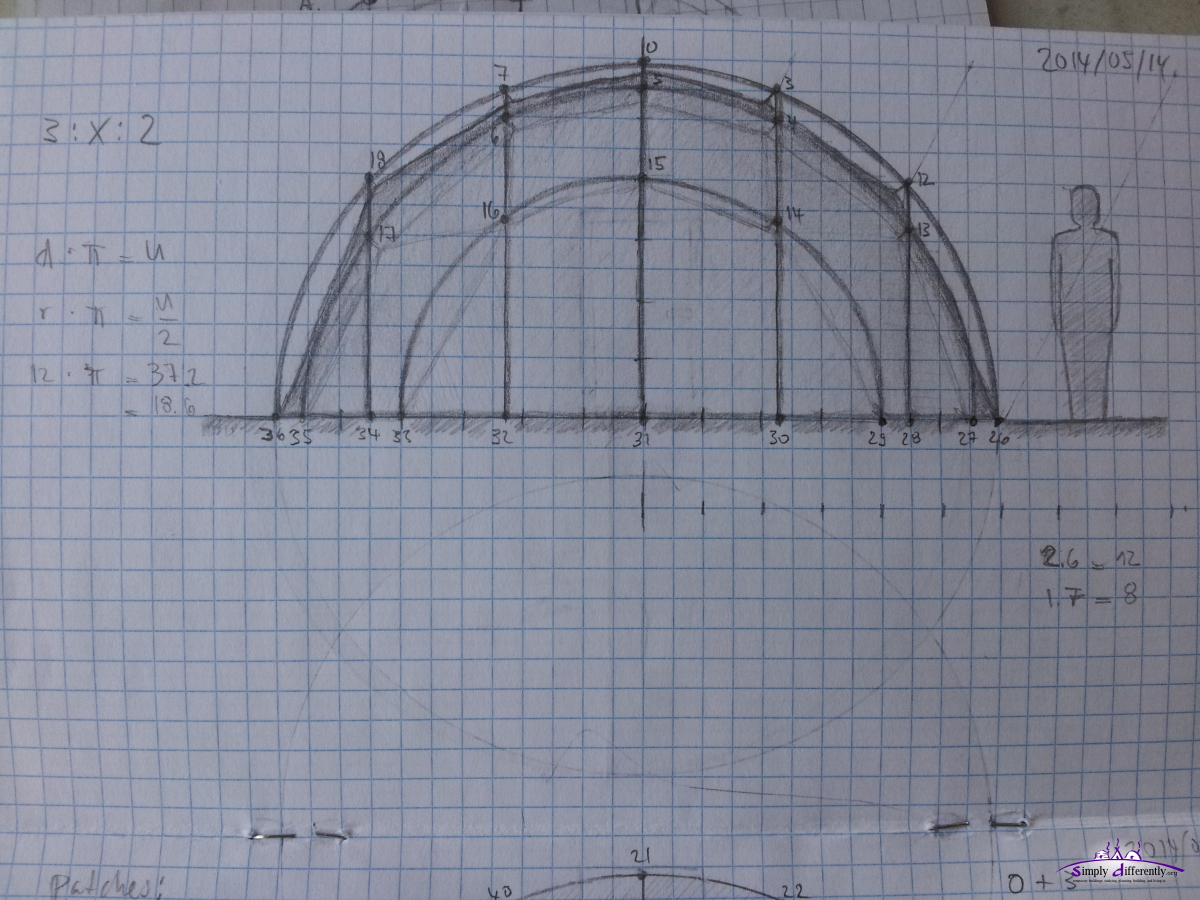 Content:
|


| Home | · | About | · |  Tipi | · |  Yurt | · |  Dome | · | Features | · | Gallery |


Creative Commons (CC) BY-SA-NC 2005-2017, developed, designed and written by René K. Müller
Graphics & illustrations made with Inkscape, Tgif, Gimp, PovRay, GD.pm
Web-Site powered by FreeBSD & Debian/Linux - 100% Open Source