
|
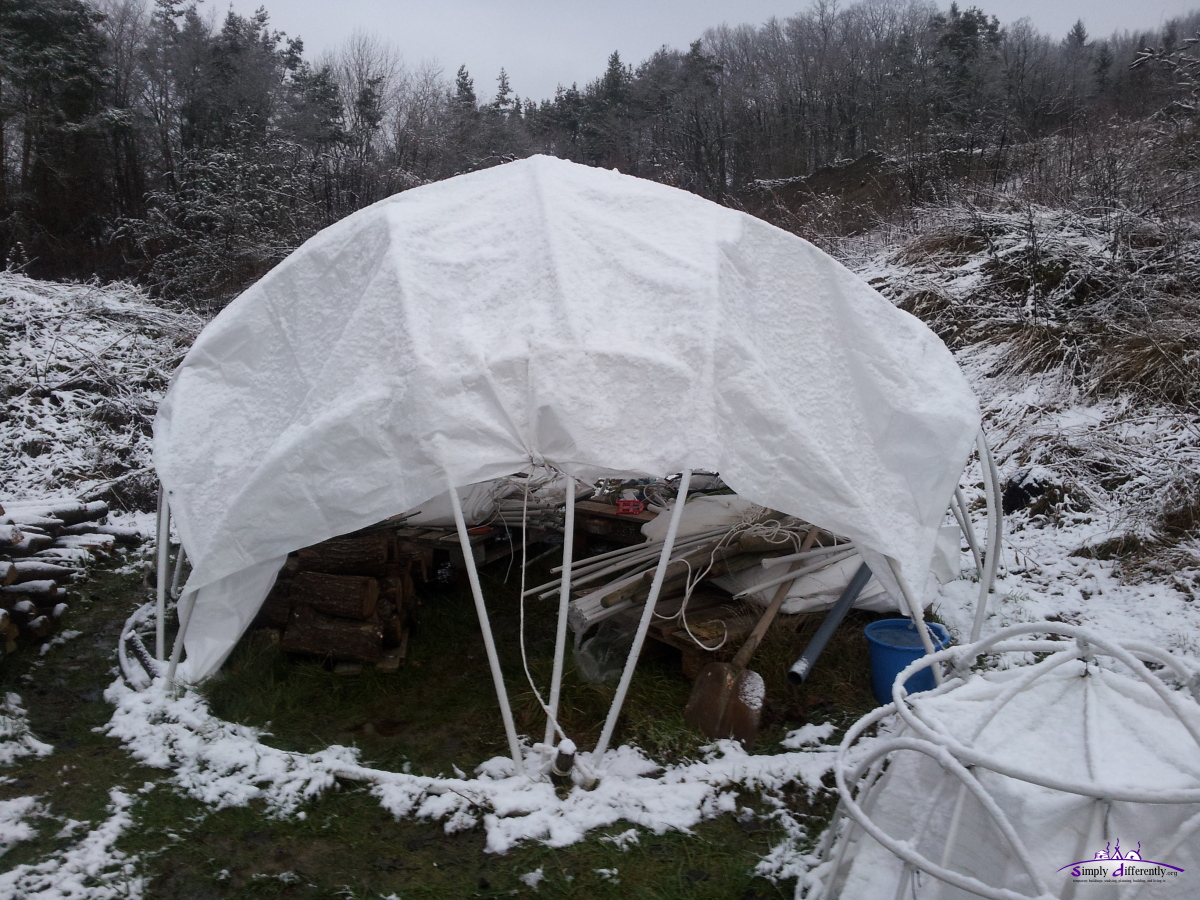
Low Cost Dome (PVC)written by Rene K. Mueller, Creative Commons CC BY NC 2014, last updated Sun, January 18, 2015 DiaryHere a reverse chronological diary (newest entry first) experimenting, building and living in LC Domes:2015/01/18: A Bit Snow Again
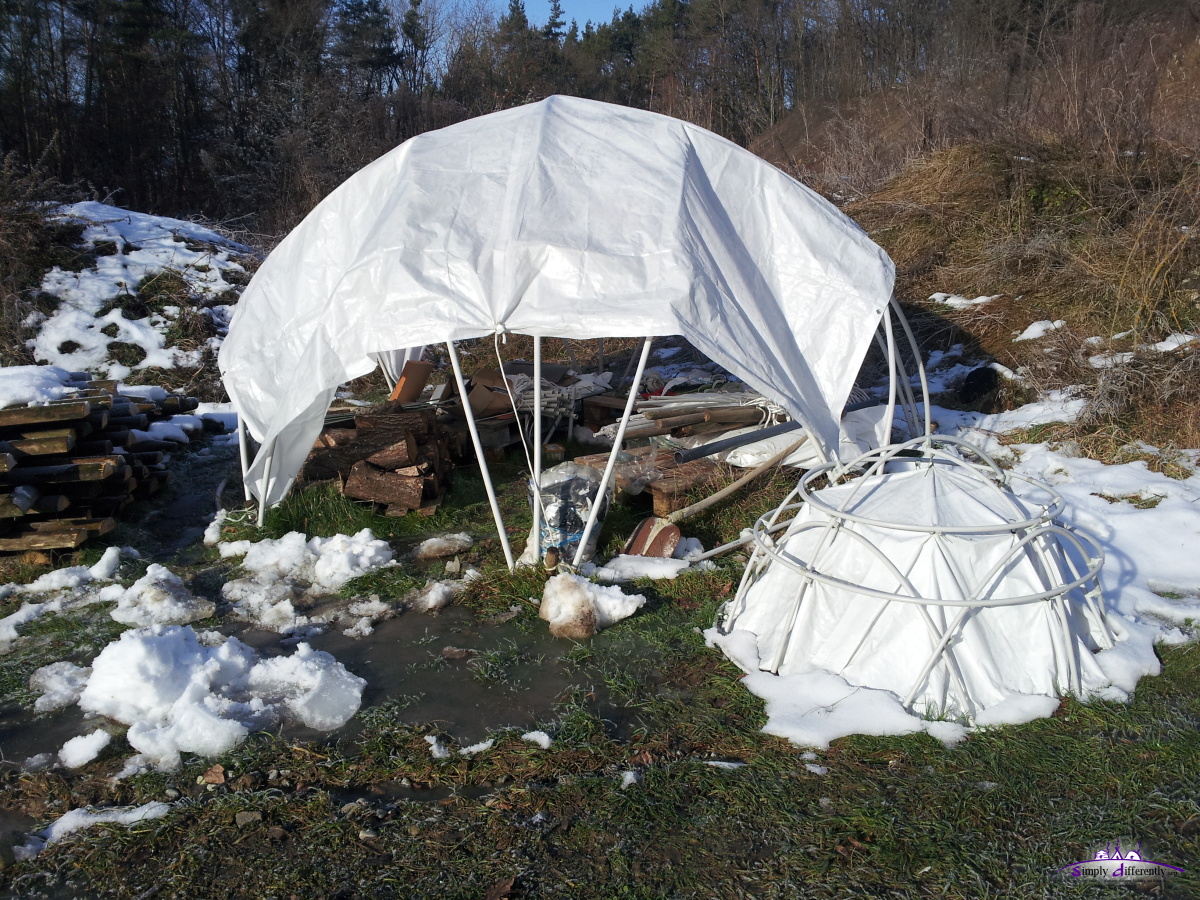
2015/01/06: Pitched Again
Some rain and perhaps snow falls is expected later this week, and I will take care it won't collapse again.
For sake of reference, I used PE before for Yurt setup successfully, where the heavy and humid snow slid down by itself, with this dome setup there is risk of snow remaining on the construction.
2015/01/03: Snow Gone
I do have spare PVC conduits and will replace those and hope should new snow arrive I will be around to prevent a collapse again.
Needless to say, this shows the limits of the "Low Cost PVC Dome", and also the reason I document it: it has its limits, and one has to be aware of it.
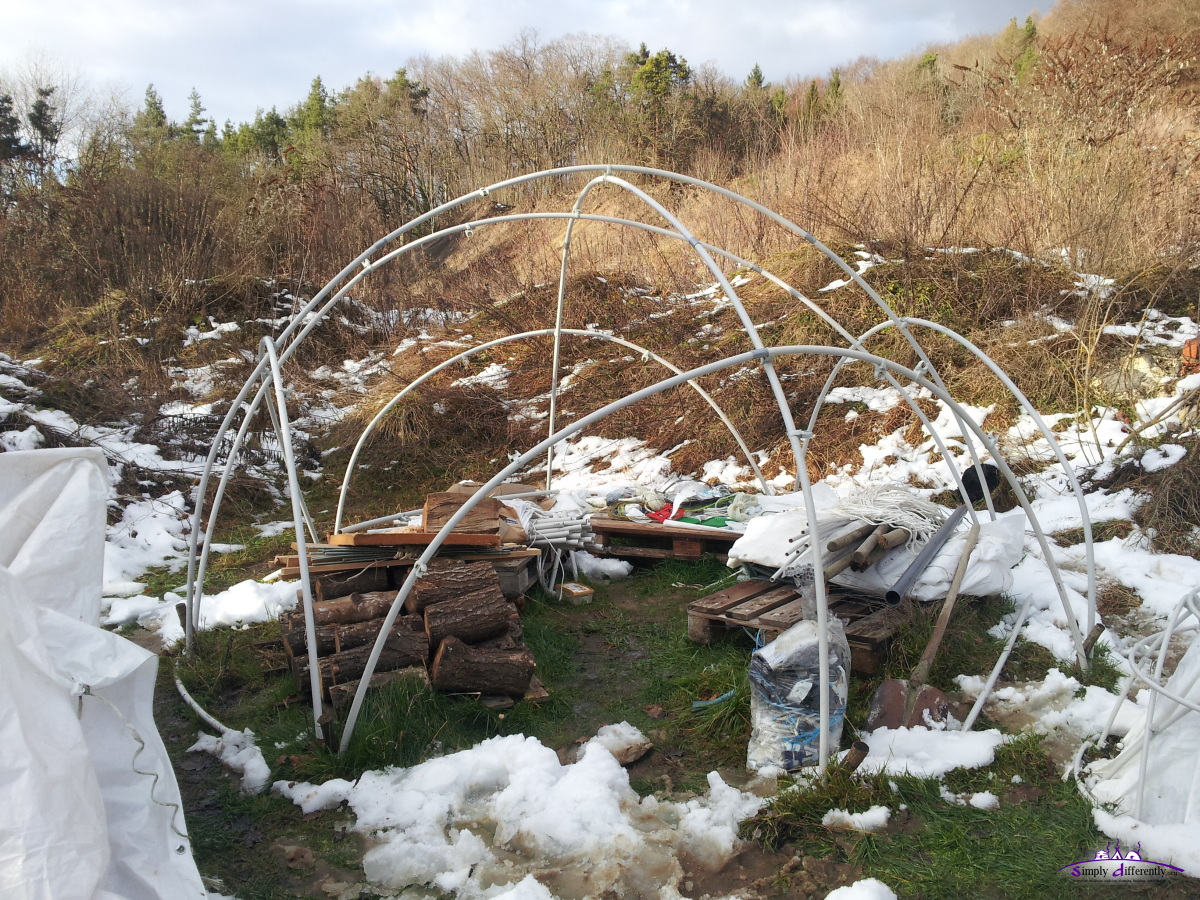
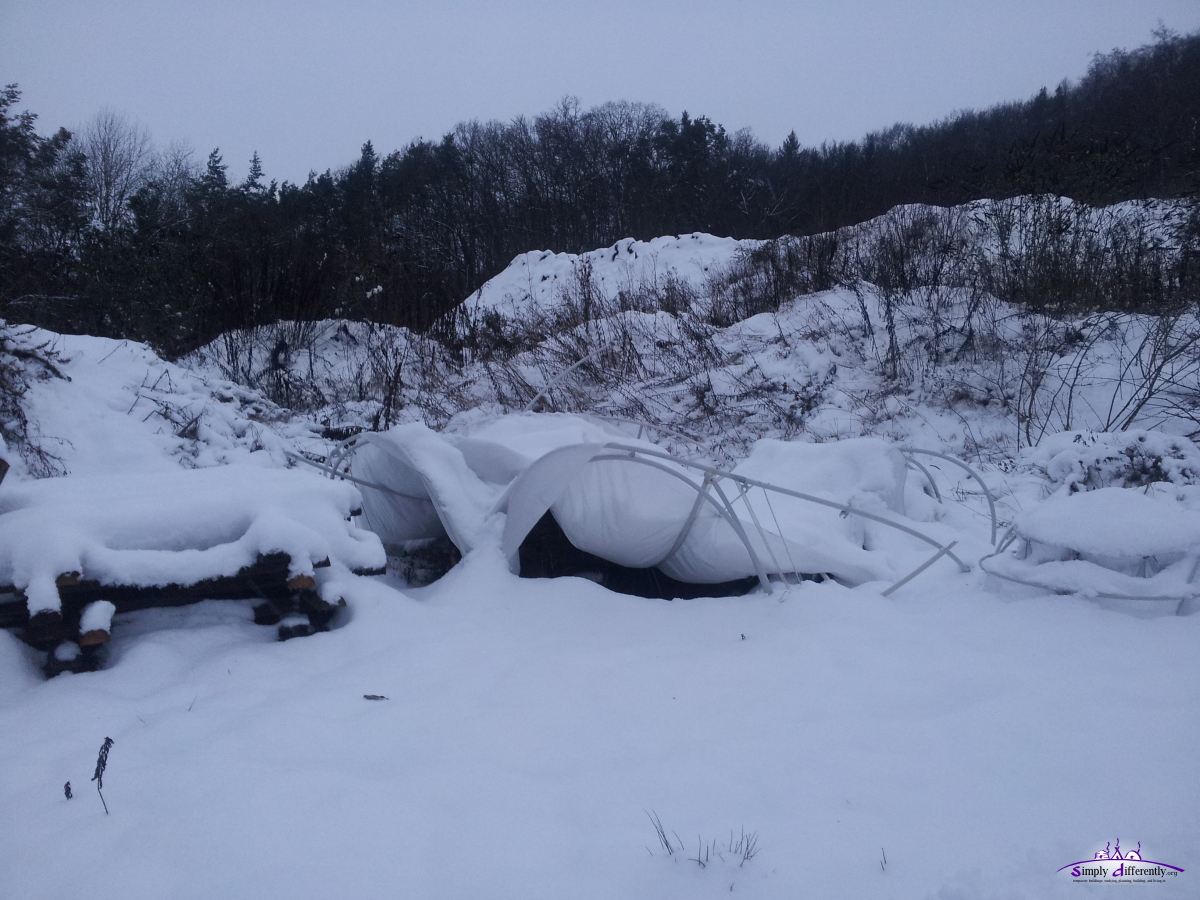
2014/12/29: Collapsed Due Snow
As soon the snow and ice is decreased, I gonna re-pitch the dome again as it's a shelter for some material storage.
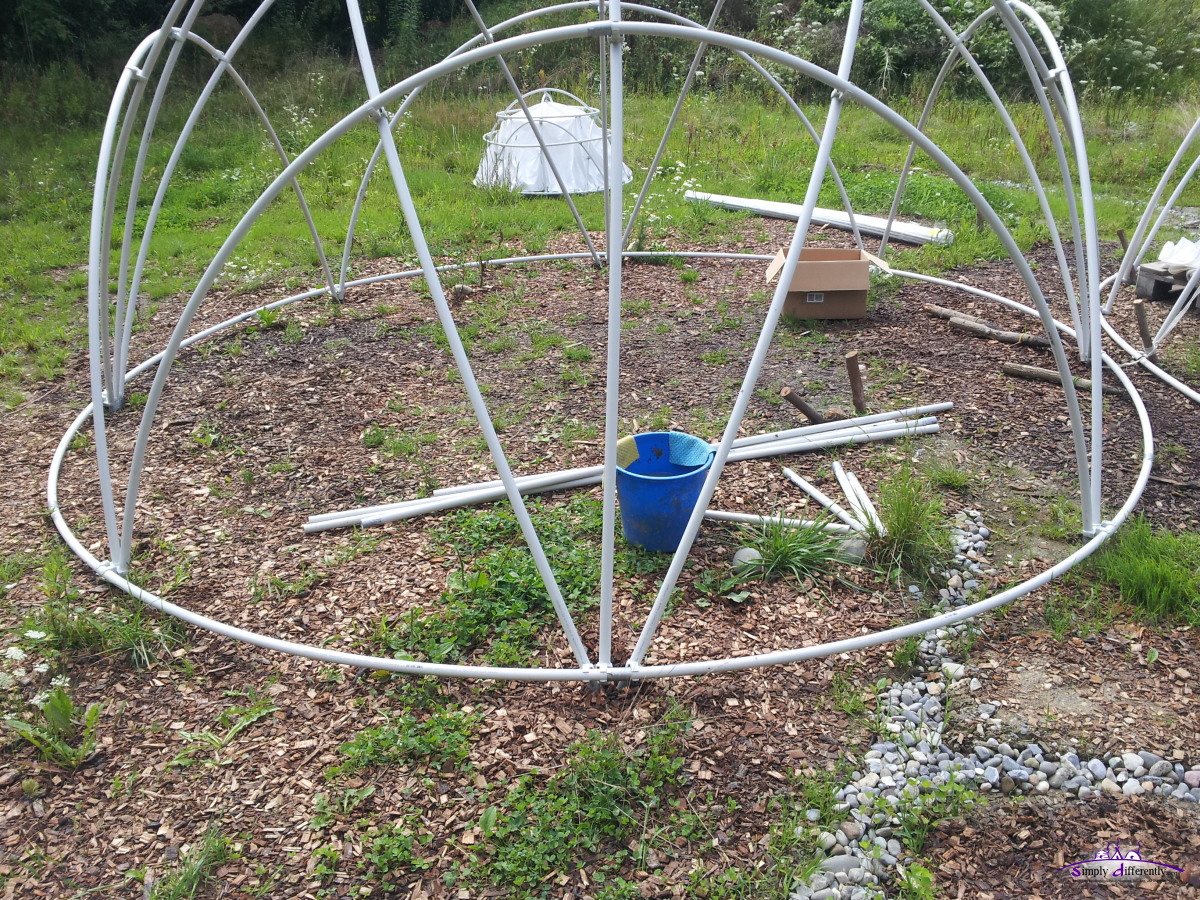
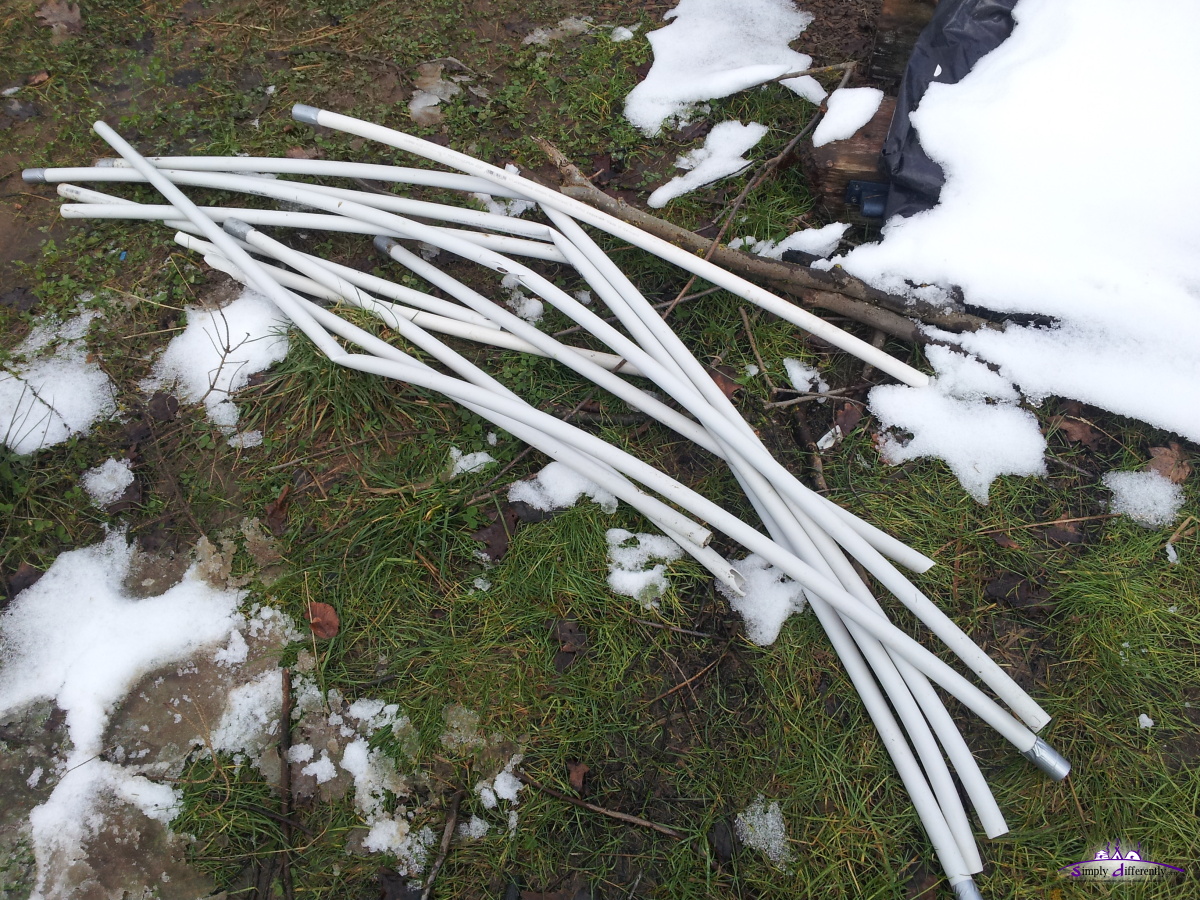
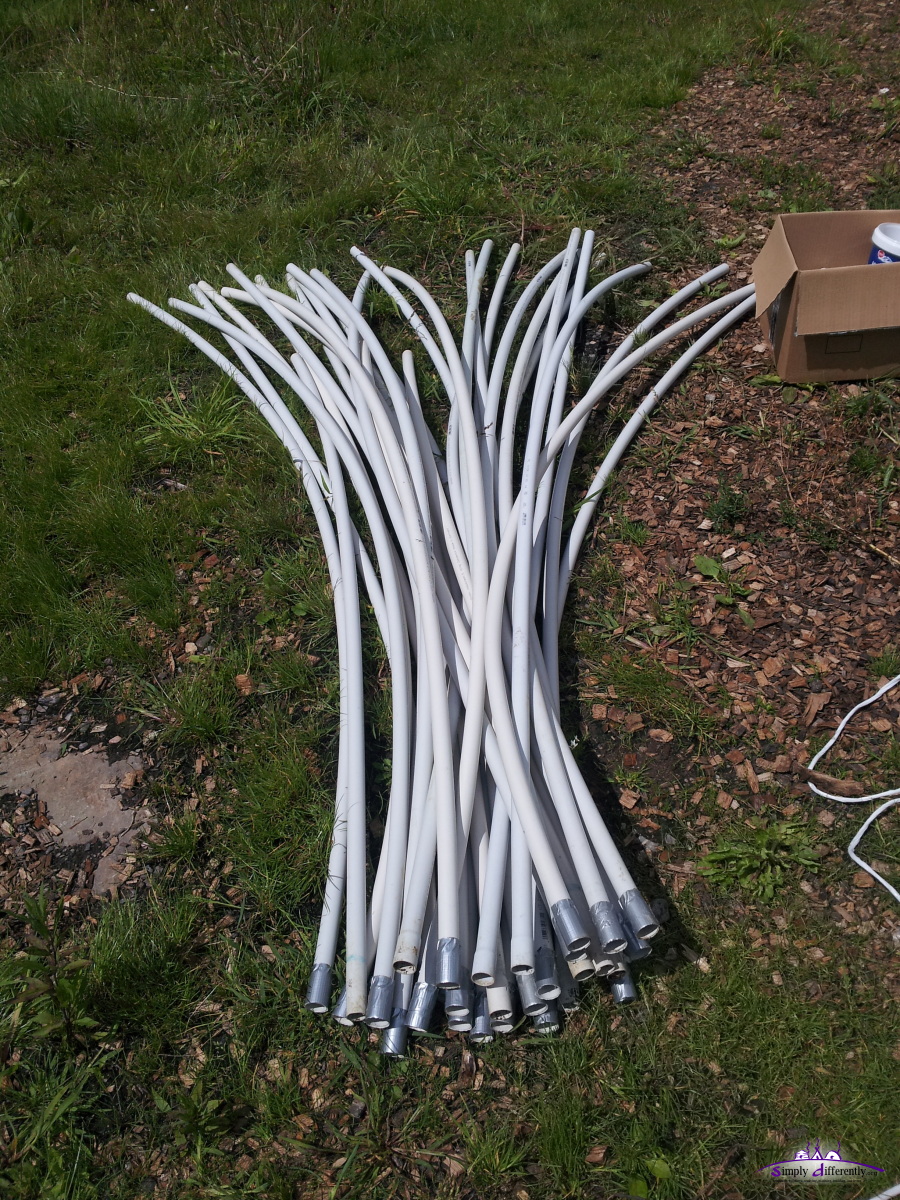
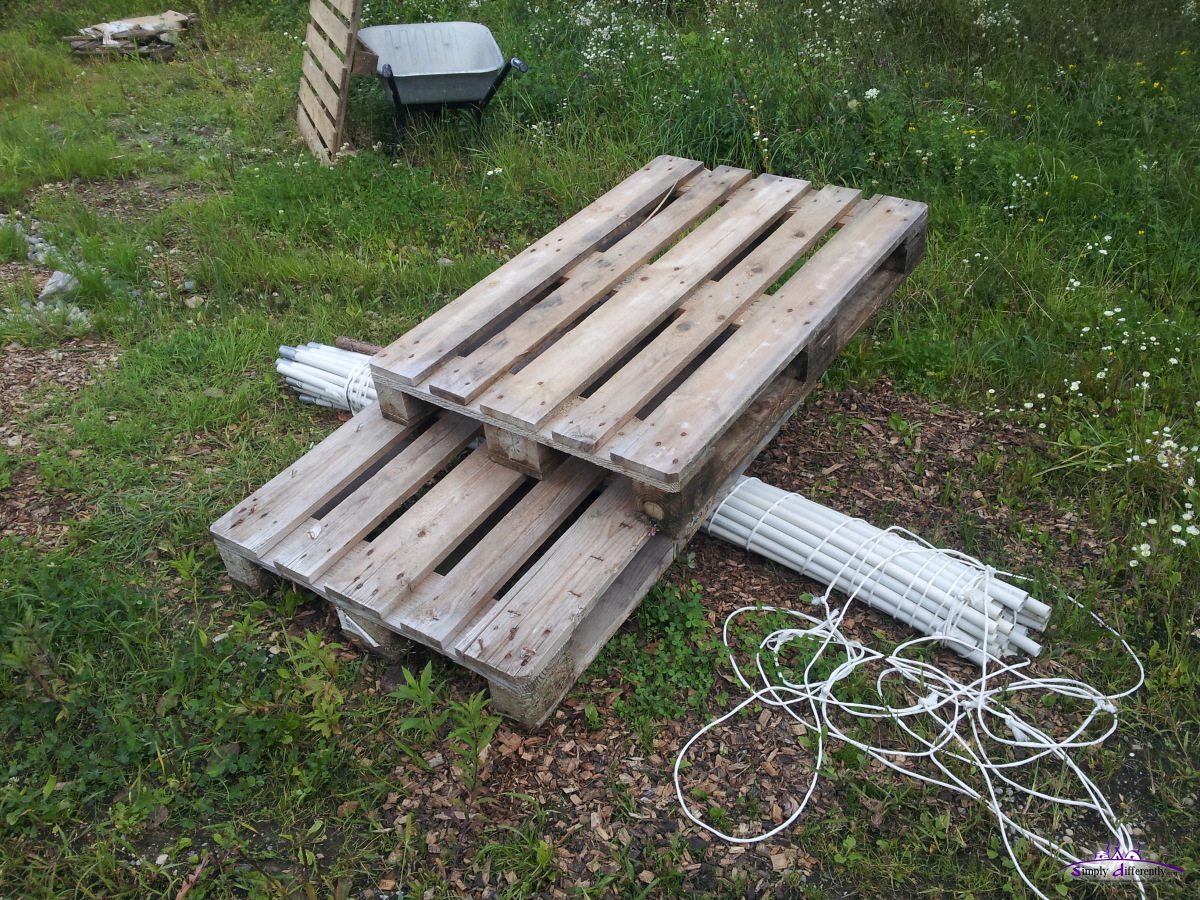
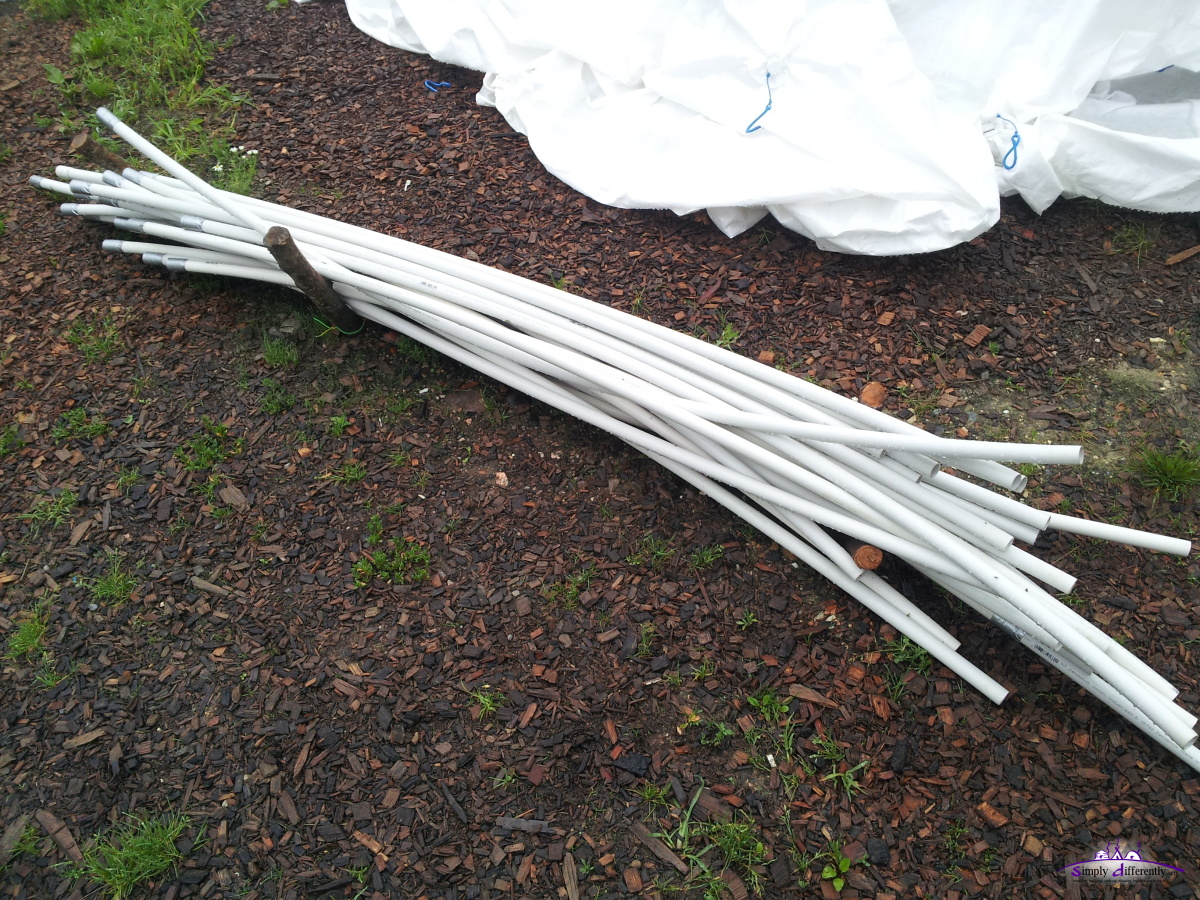
2014/08/16: Straighten PVC pipes againI took one LC 3:x:2 4m dome down, and use the parts for a geodesic dome, yes cutting it, but I need straight pipes and I came up with this procedure:
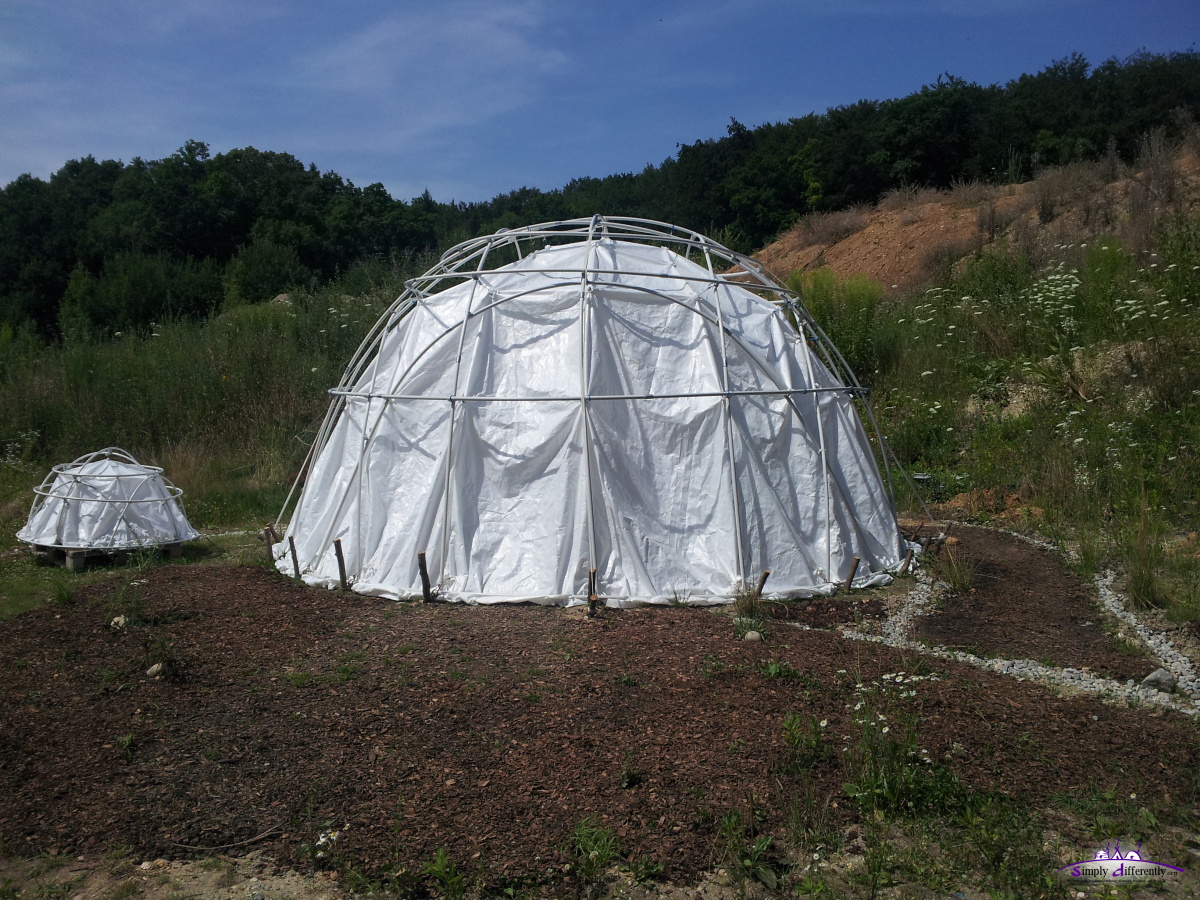
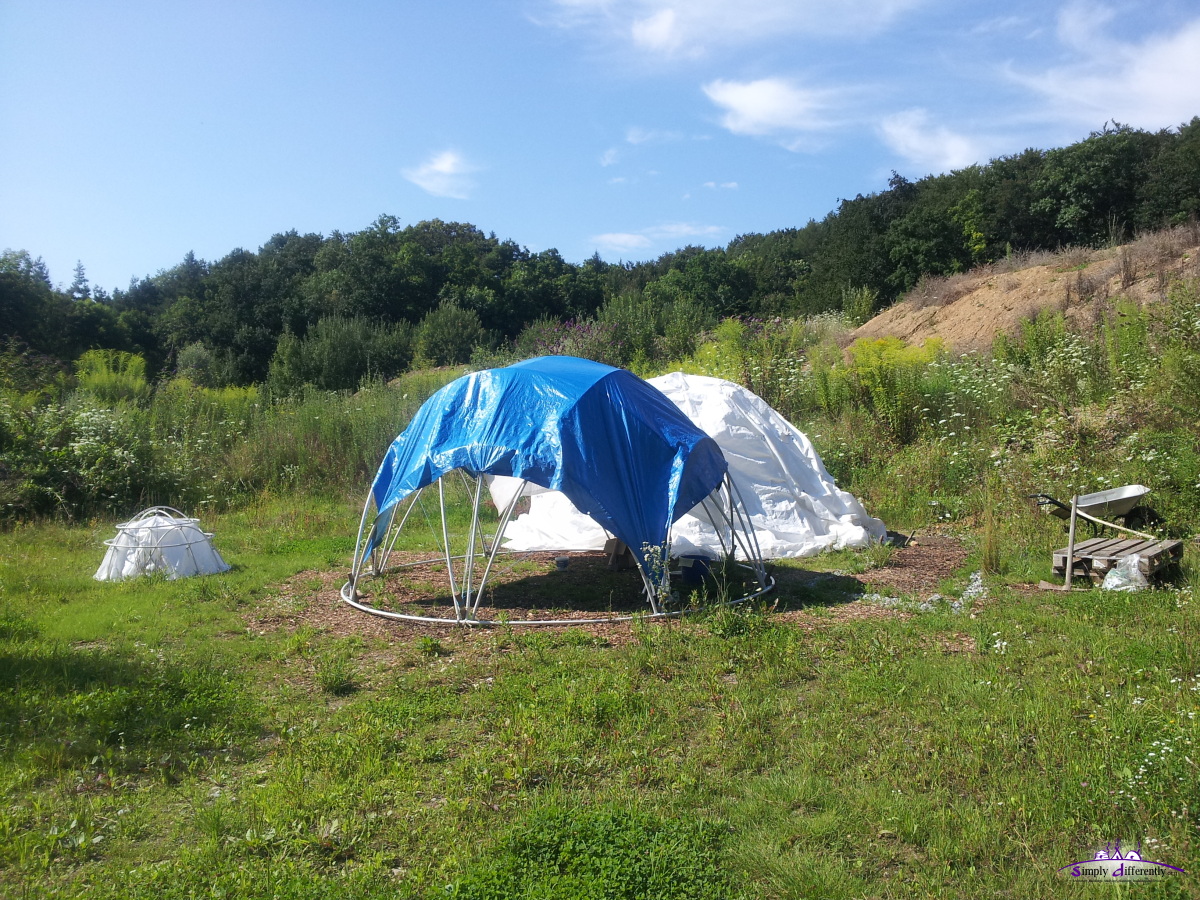
Btw, I keep one LC 3:3:2 4m dome with shelter some material, as it saw it's slightly more stable than the 3:x:2, in particular when the rain cover is thrown over the skeleton and now hang inside. 2014/08/11: Thunderstorm & Next StepsLast a thunderstorm with brief but strong winds approached my site, heavy rain for a few minutes: both LC domes remained stable. Since I didn't attach the full rain cover on the 3:x:2 4m LC dome that cover moved a bit, and so I attached it more firmely. Currently 2x LC domes stand, 3:x:2 and 3:3:2 each using 32x 2m x 25mm PVC tubes, total 64x 2m x 25mm PVC tubes, whereas 4x 2m were cut to 1.73m to fit the 'x' in 3:x:2. I will keep one LC dome for storage, but make an 2v icosahedron geodesic dome, as described in Geodesic Dome Diary. 2014/08/10: Improvised DoorI haven't come up with a decent solution for the door for the LC Dome, here an improved door: I used two 2m x 16mm PVC tubes to form 3/4 ring, and wrapped the PE rain cover around: 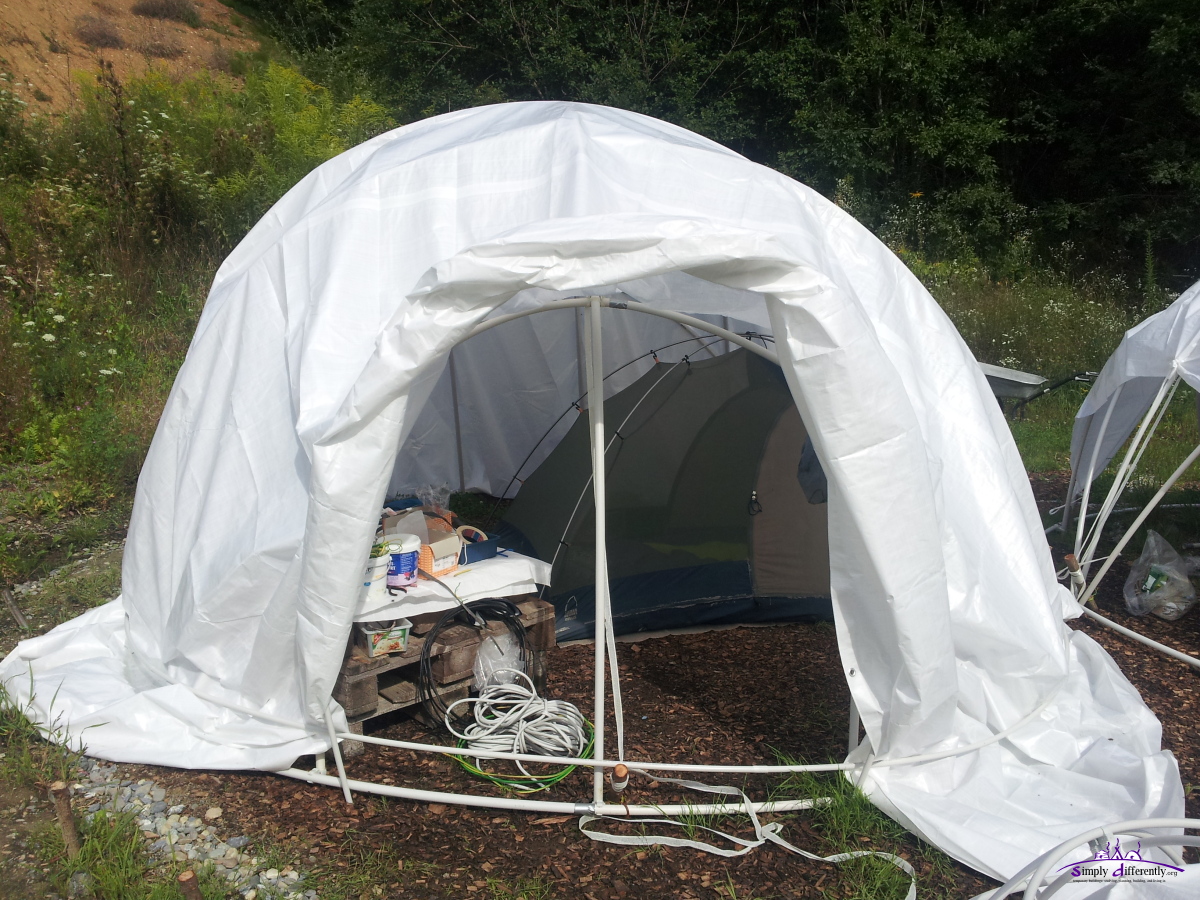 2014/08/10 16:33 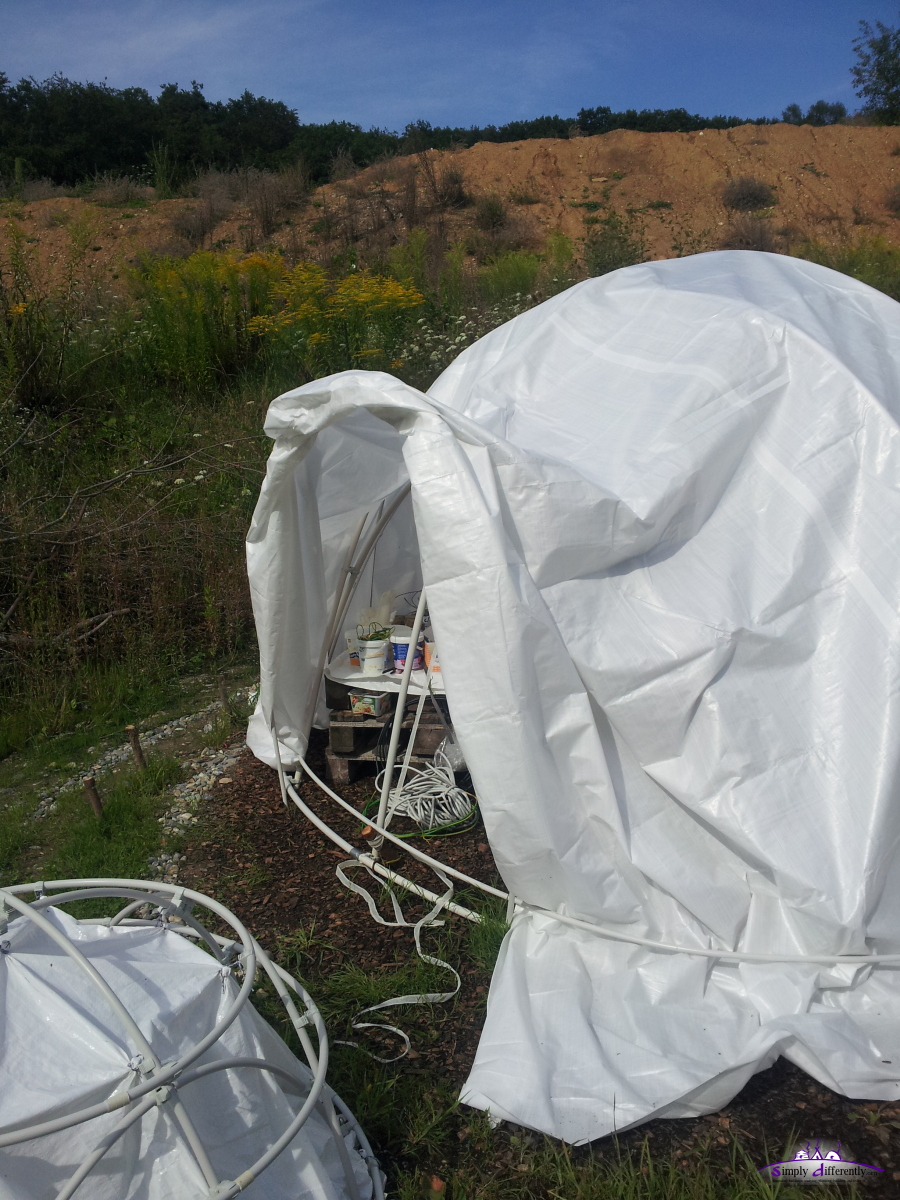 2014/08/10 16:33  2014/08/10 16:33 2014/08/02: Two LC Domes
A 4m diameter dome is sufficient for a single person given the cover lays over the skeleton, but for a whole year usage with additional insulation for the winter time, an offset inside of at least 10cm is required, making it 3.80m or even less which makes already a big difference - too small for my use case.
I also was exploring the possibility to connect two LC domes with a gateway or so.
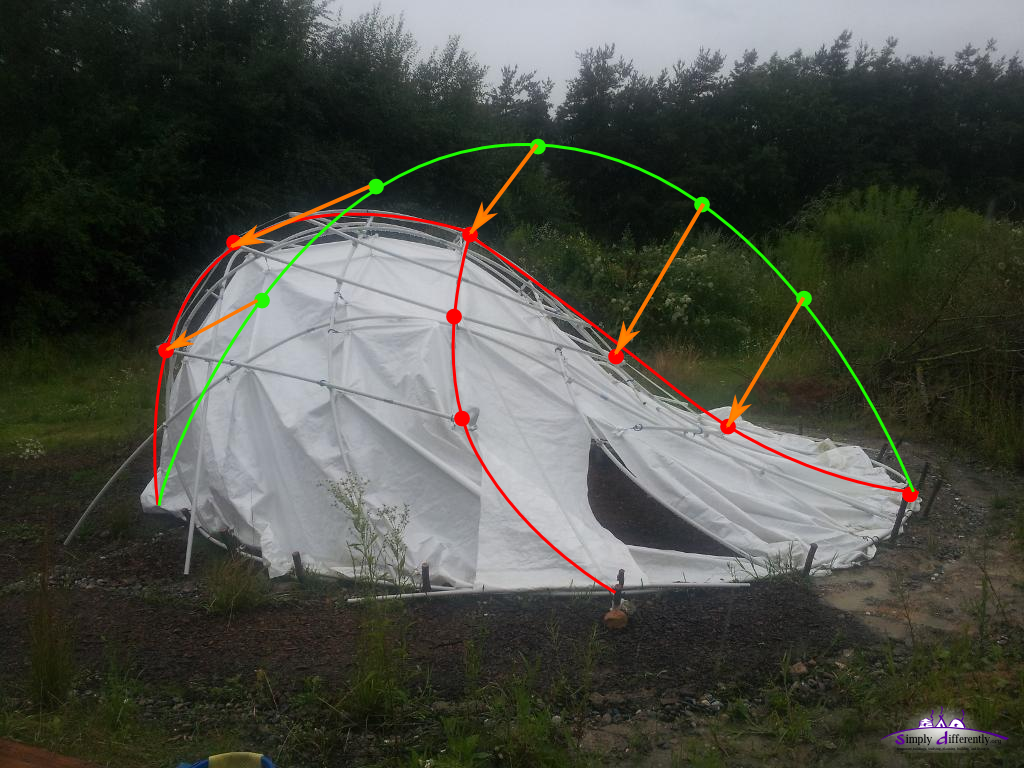
2014/07/31: 3:3:2 LC Dome
The result was the 3:3:2 LC Dome, the other 3x 2m bows attached at the same points at the base, yet, tilted to cross over at the top on the side. What was more challenging was the fact so many bows with the same length crossed each other - and more sophisticated procedure to wave to compensate the distance introduced with the "OBO quick" clips I used to fixate the crossings. I gonna document the details of the 3:3:2 LC Dome within the next days on the first page.
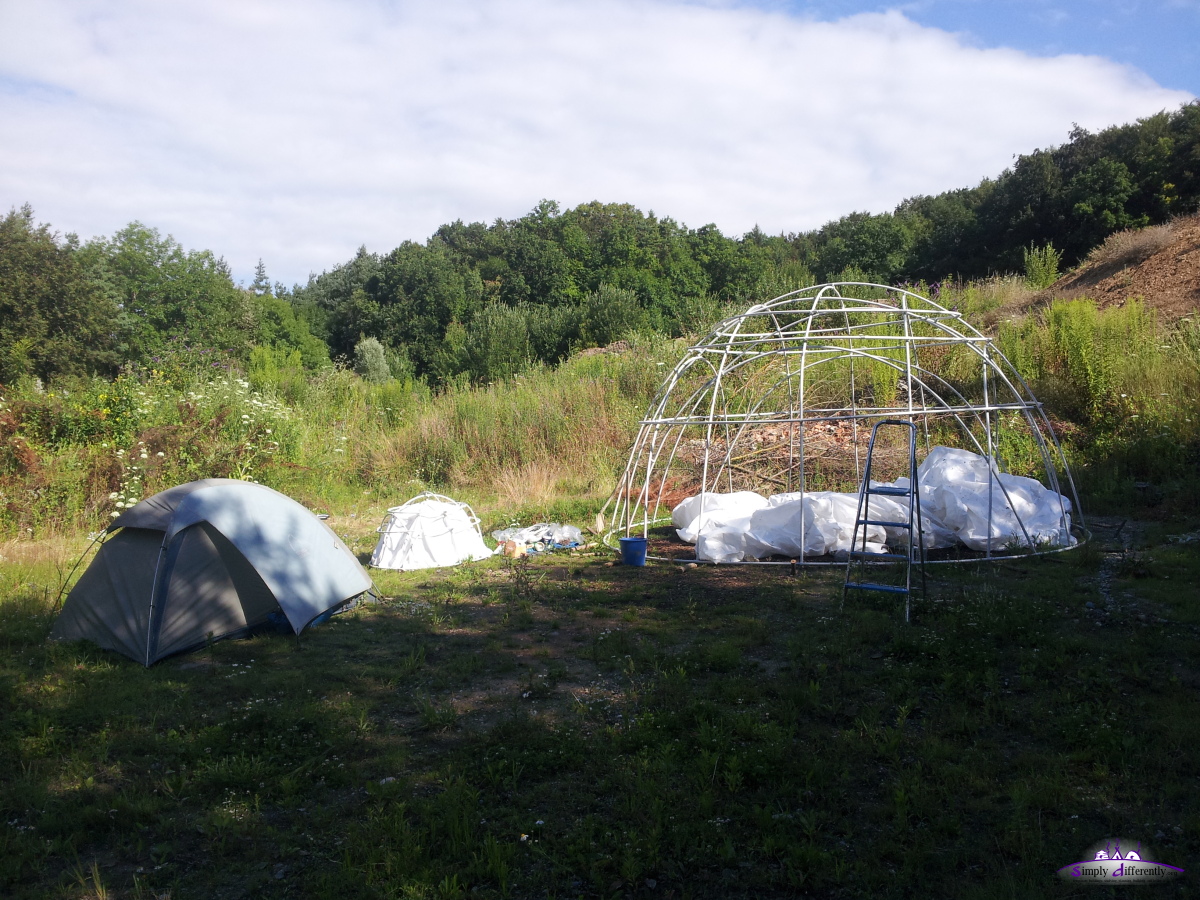
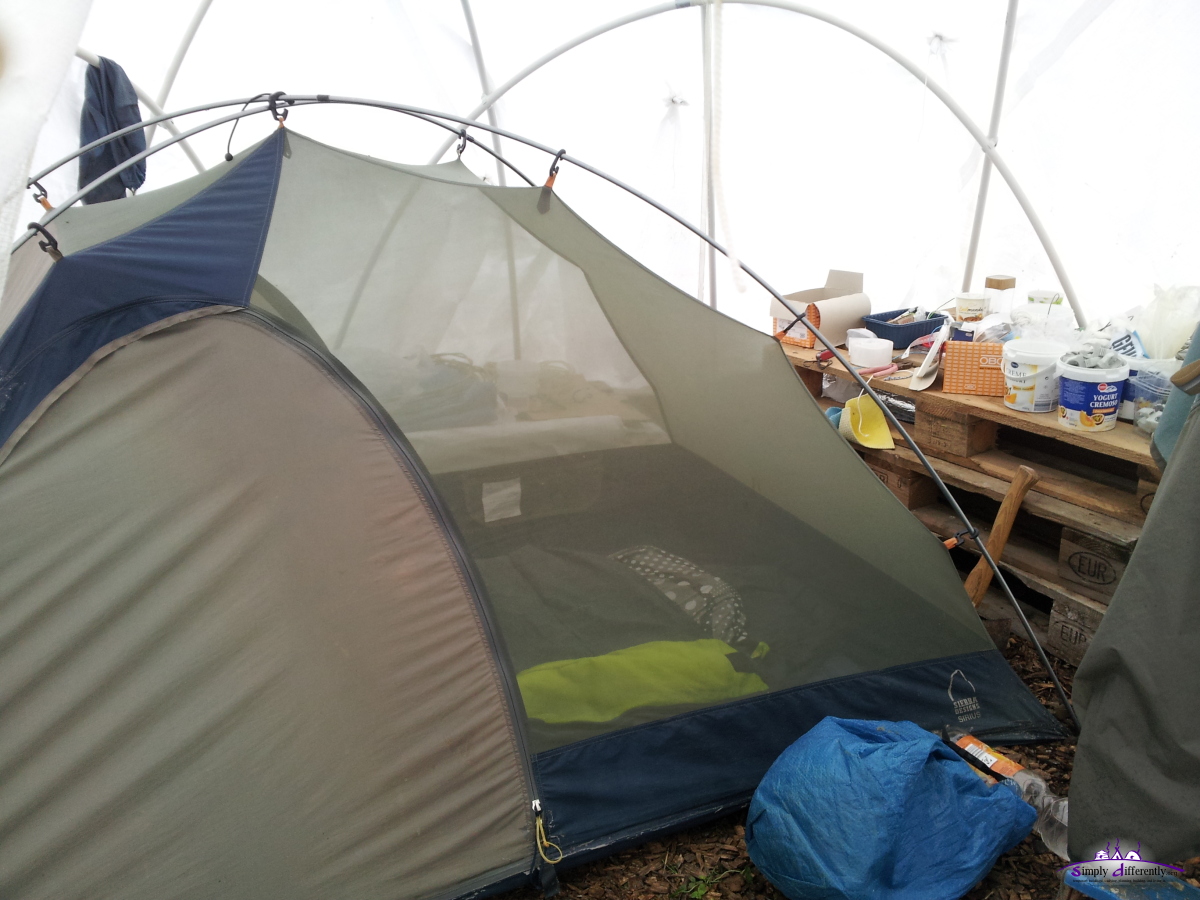
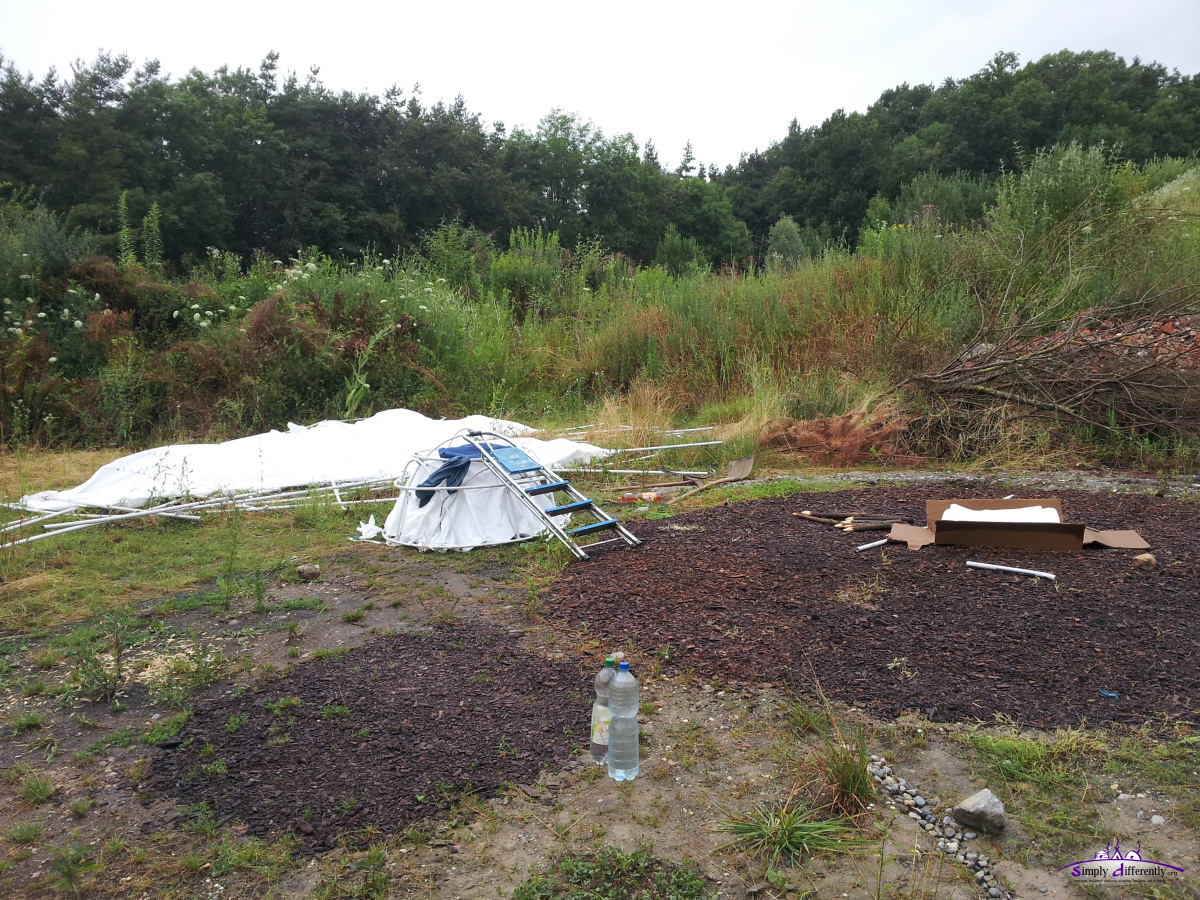
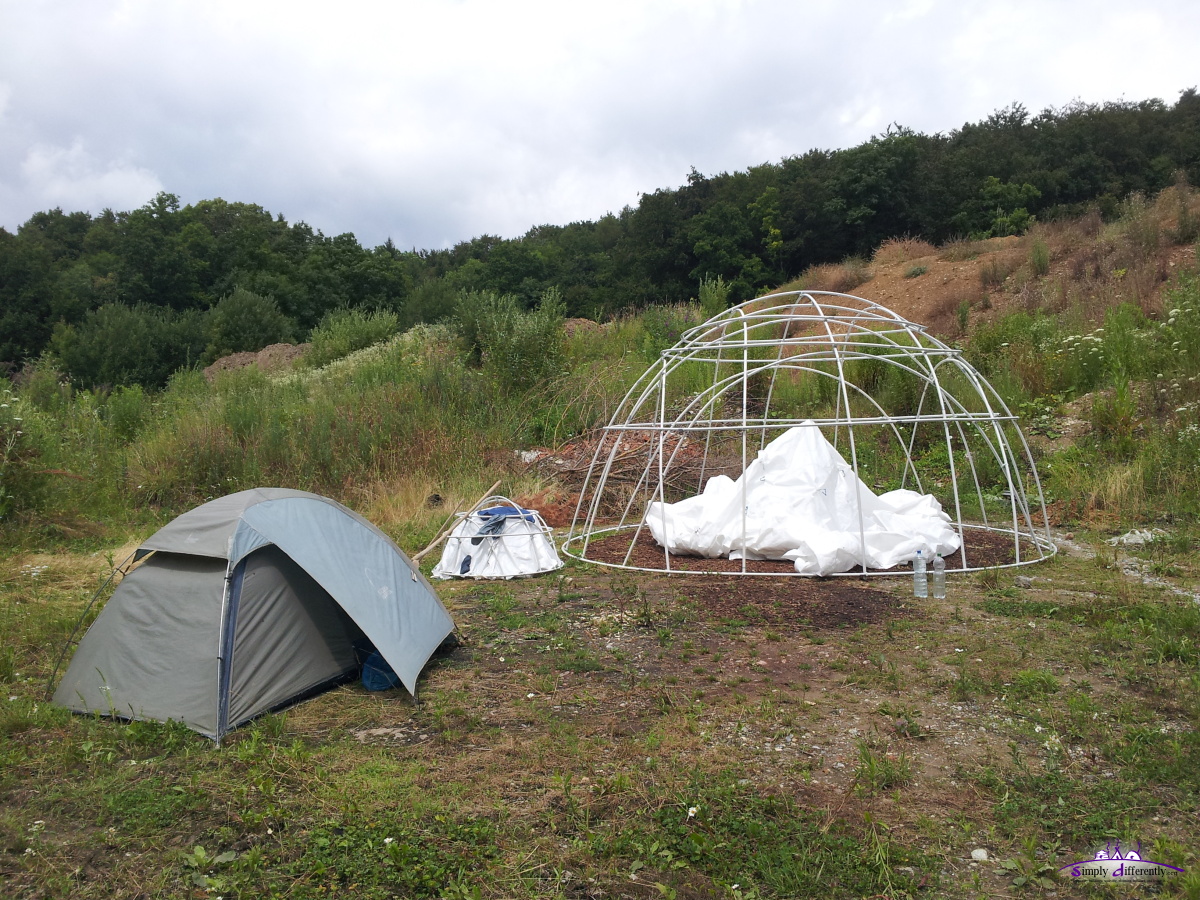
 2014/07/31 15:57 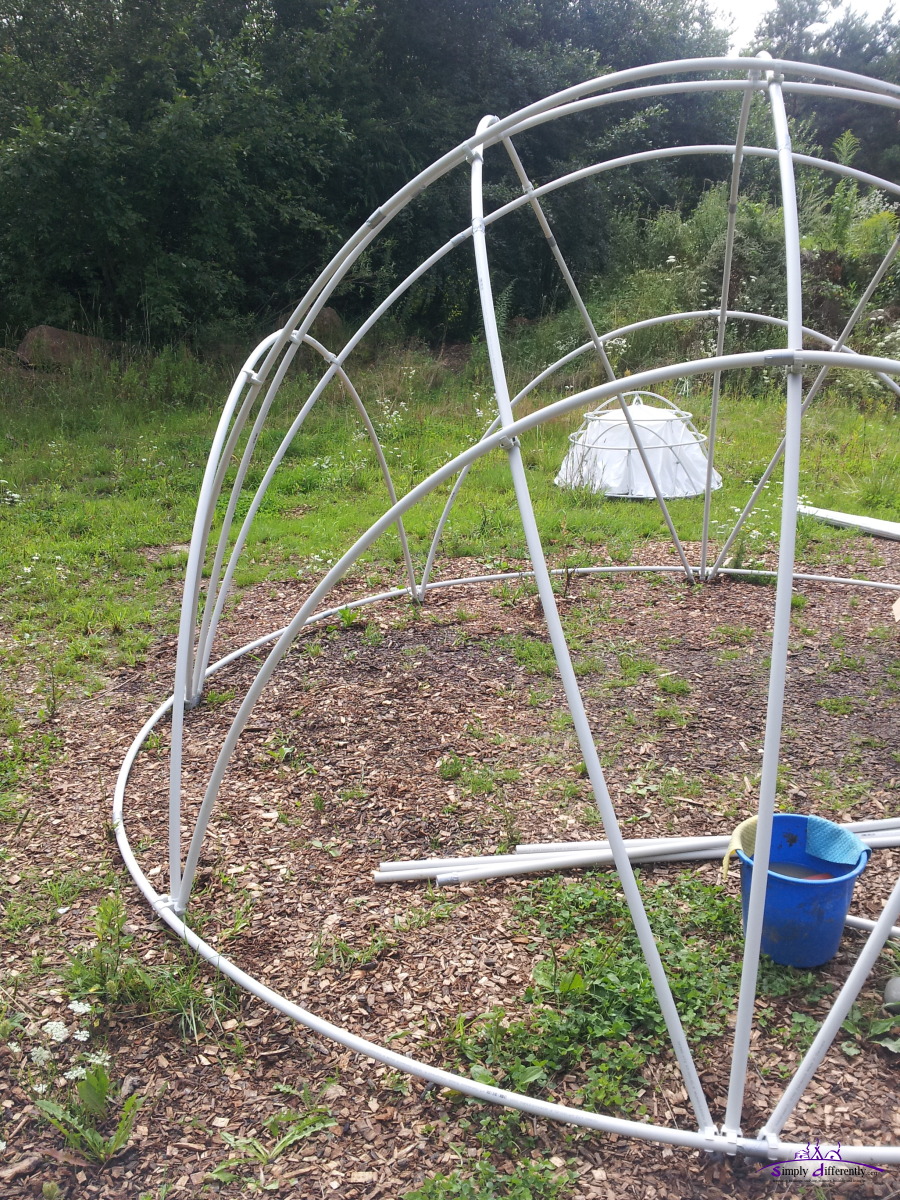 2014/07/31 15:57 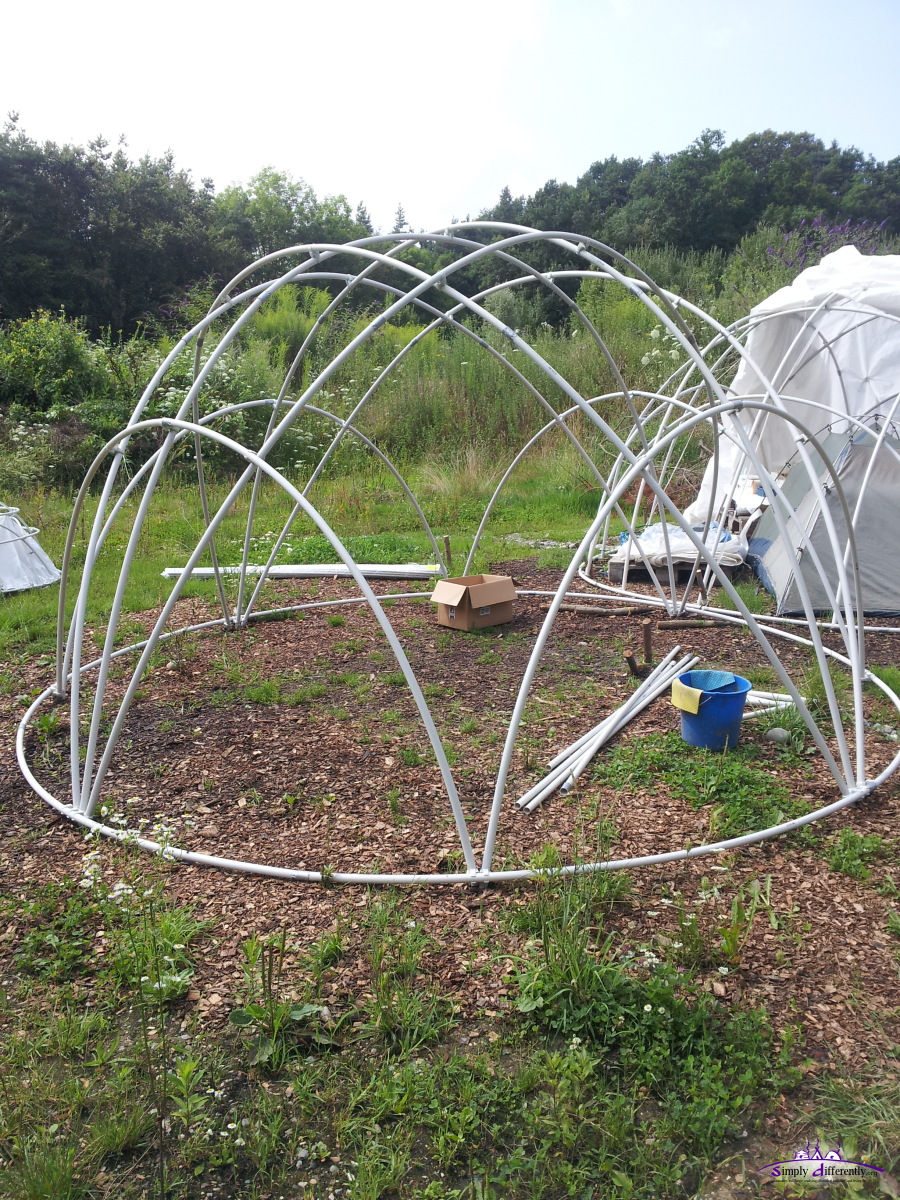 2014/07/31 15:57 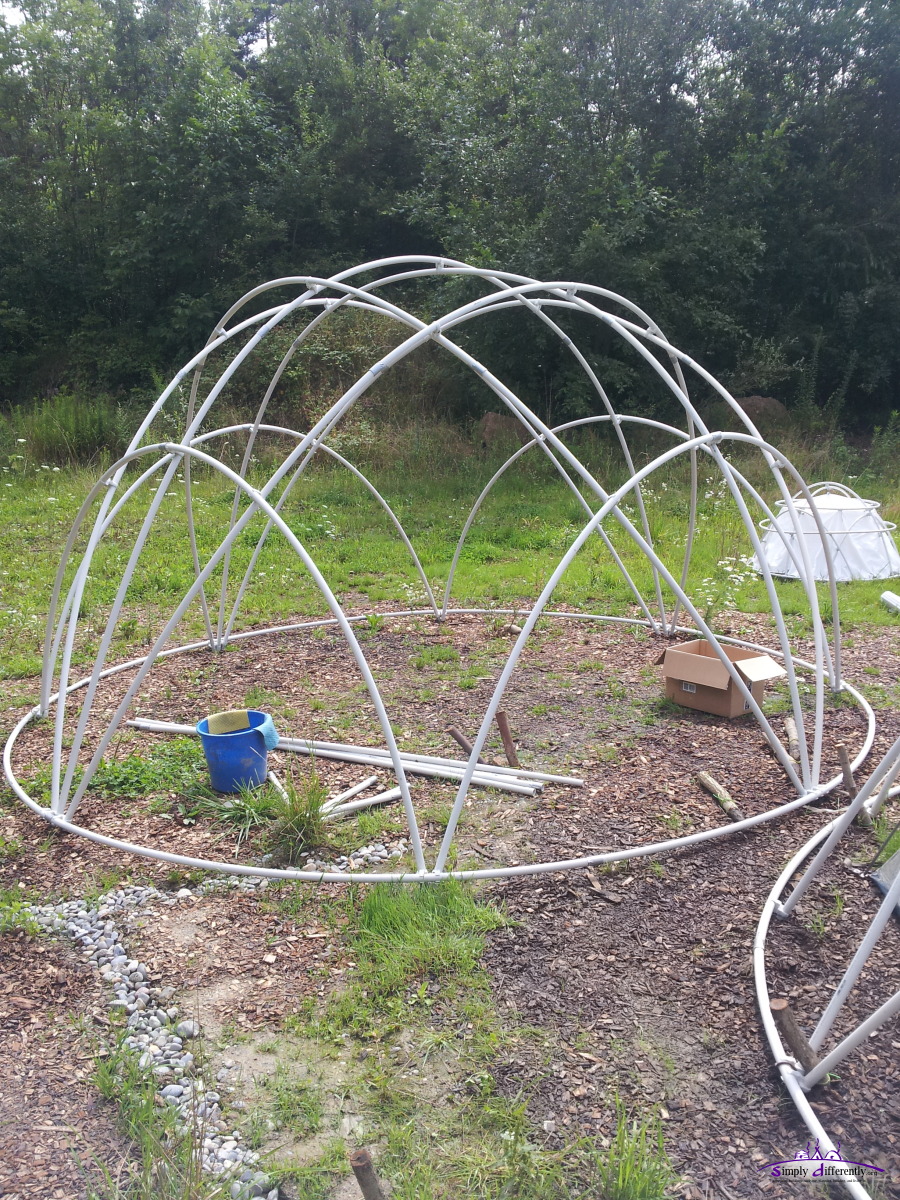 2014/07/31 15:57 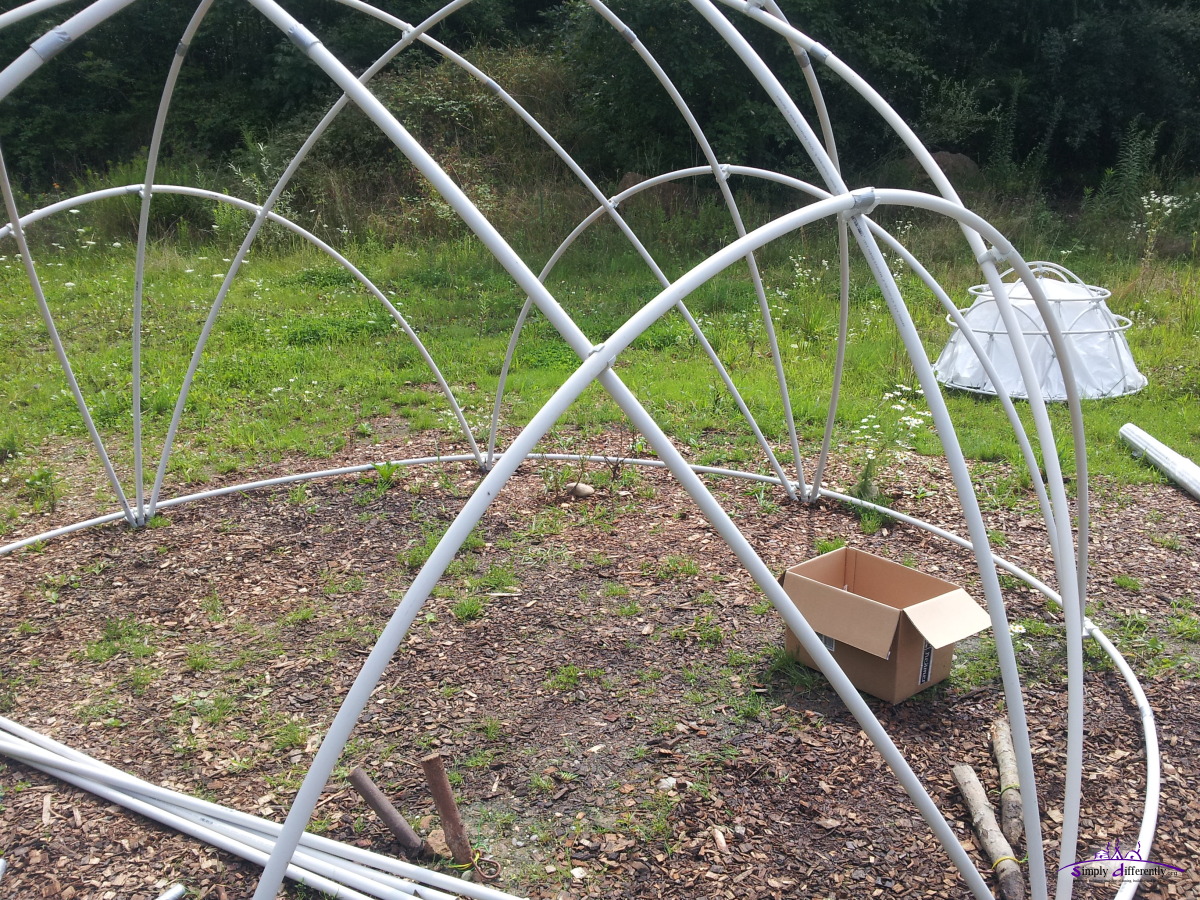 2014/07/31 15:58 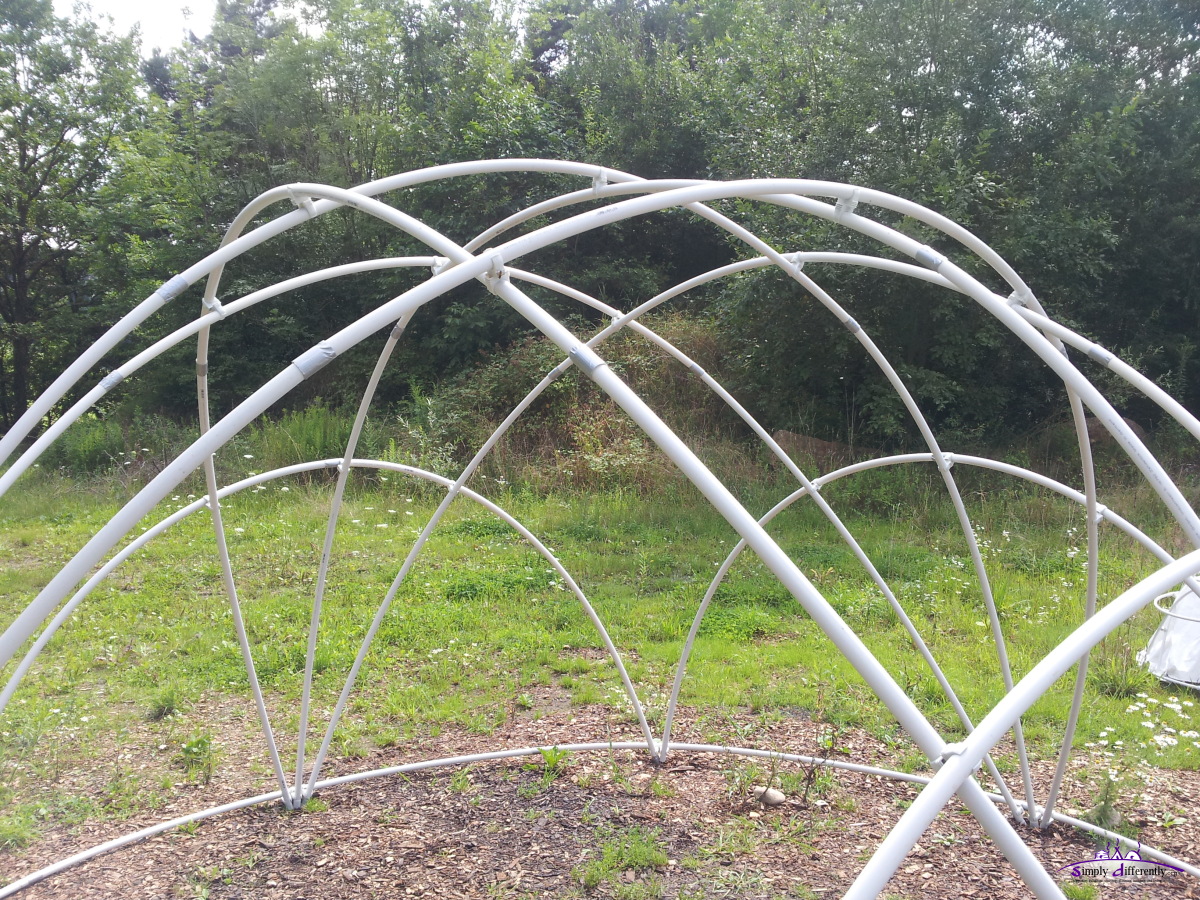 2014/07/31 15:58  2014/07/31 15:58 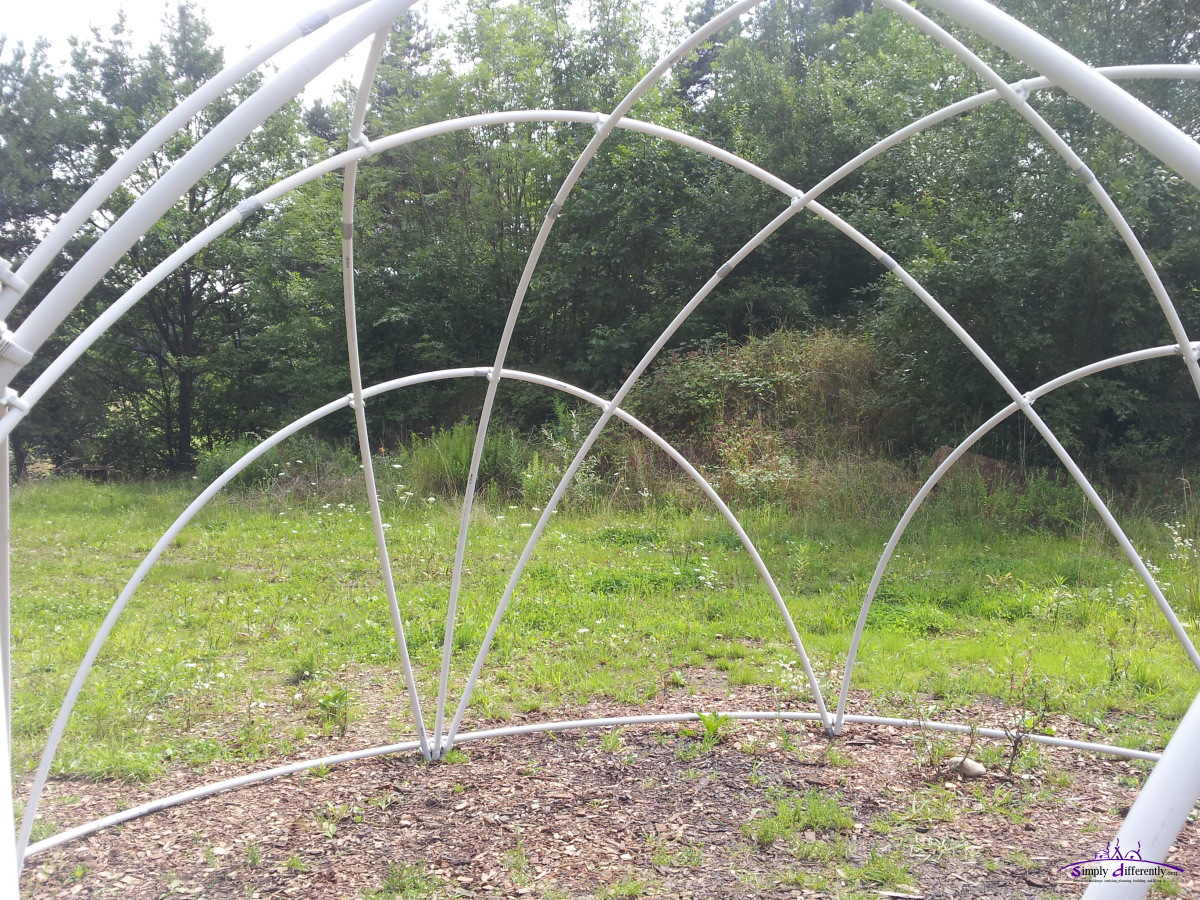 2014/07/31 15:58 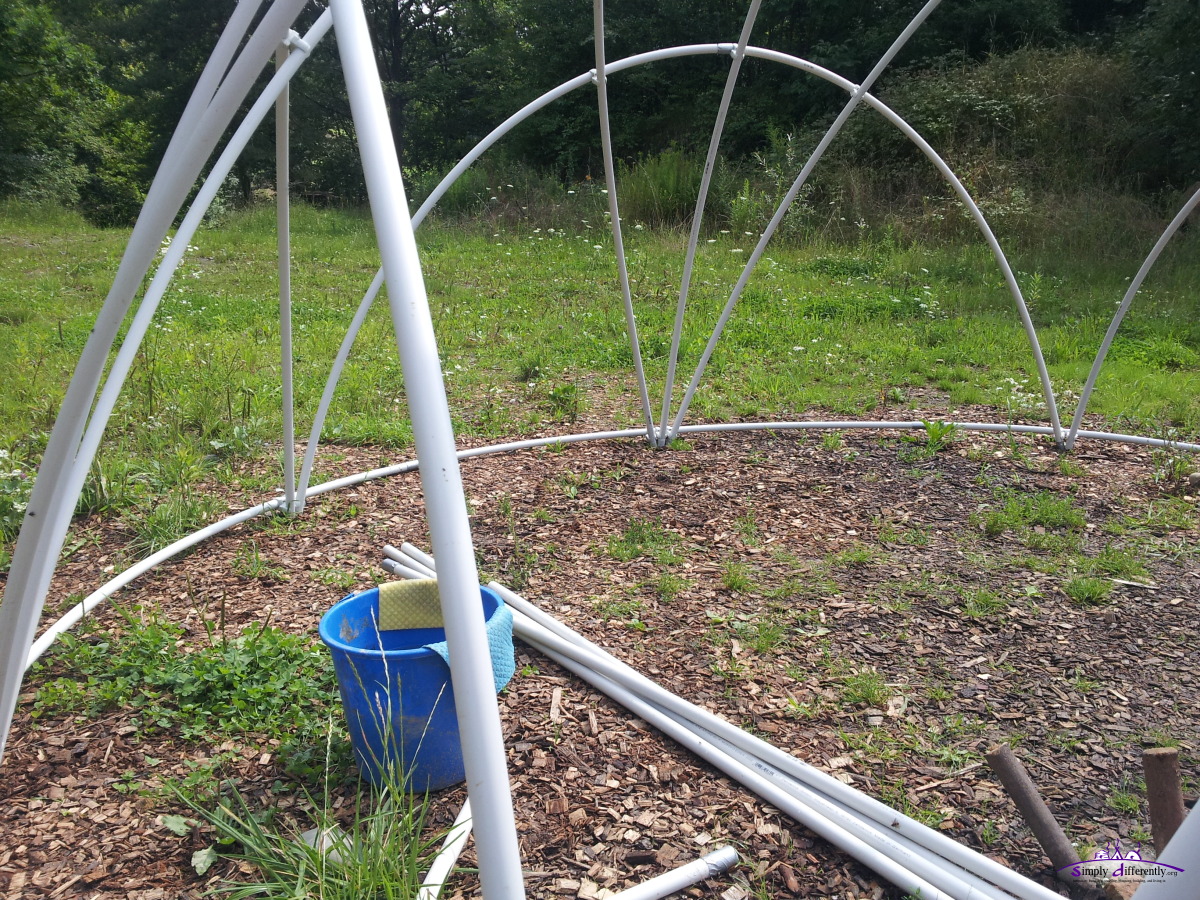 2014/07/31 15:58 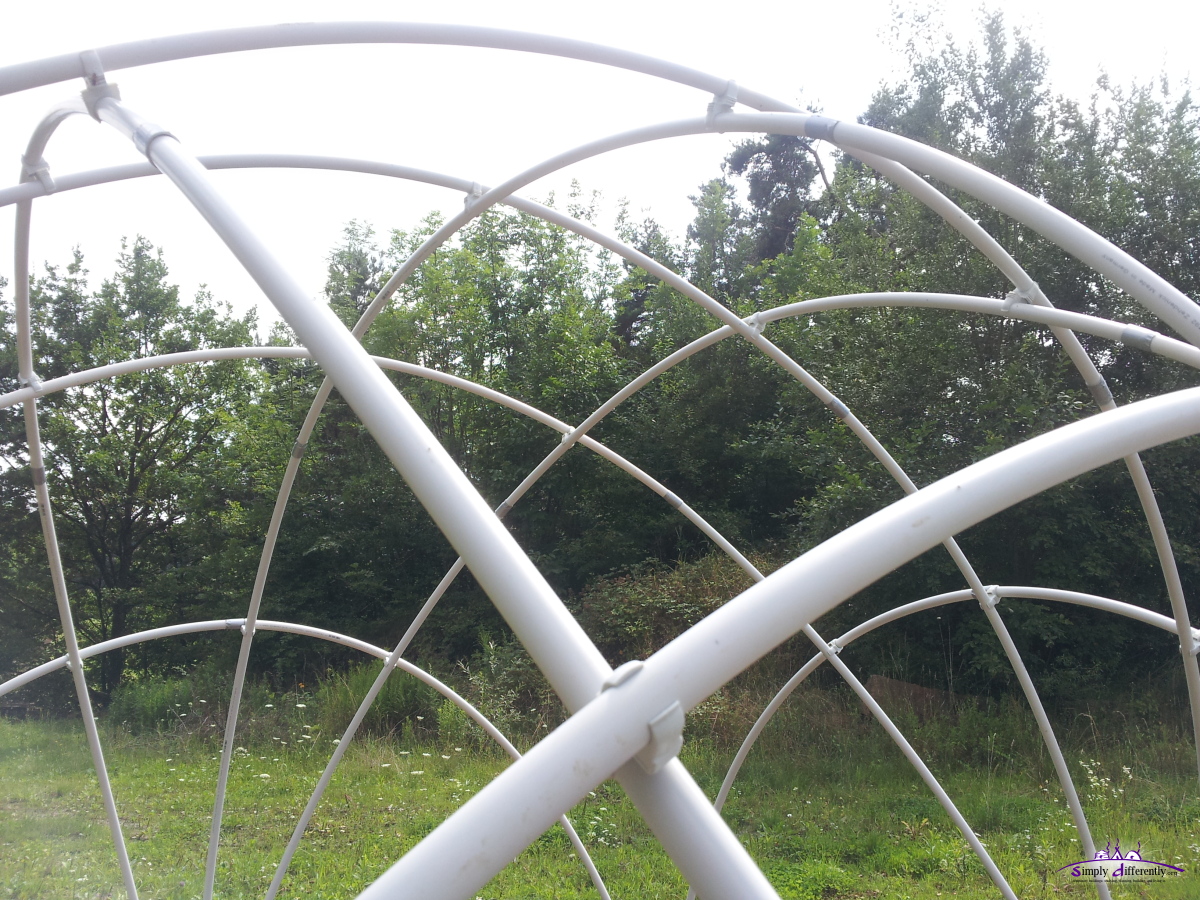 2014/07/31 15:58 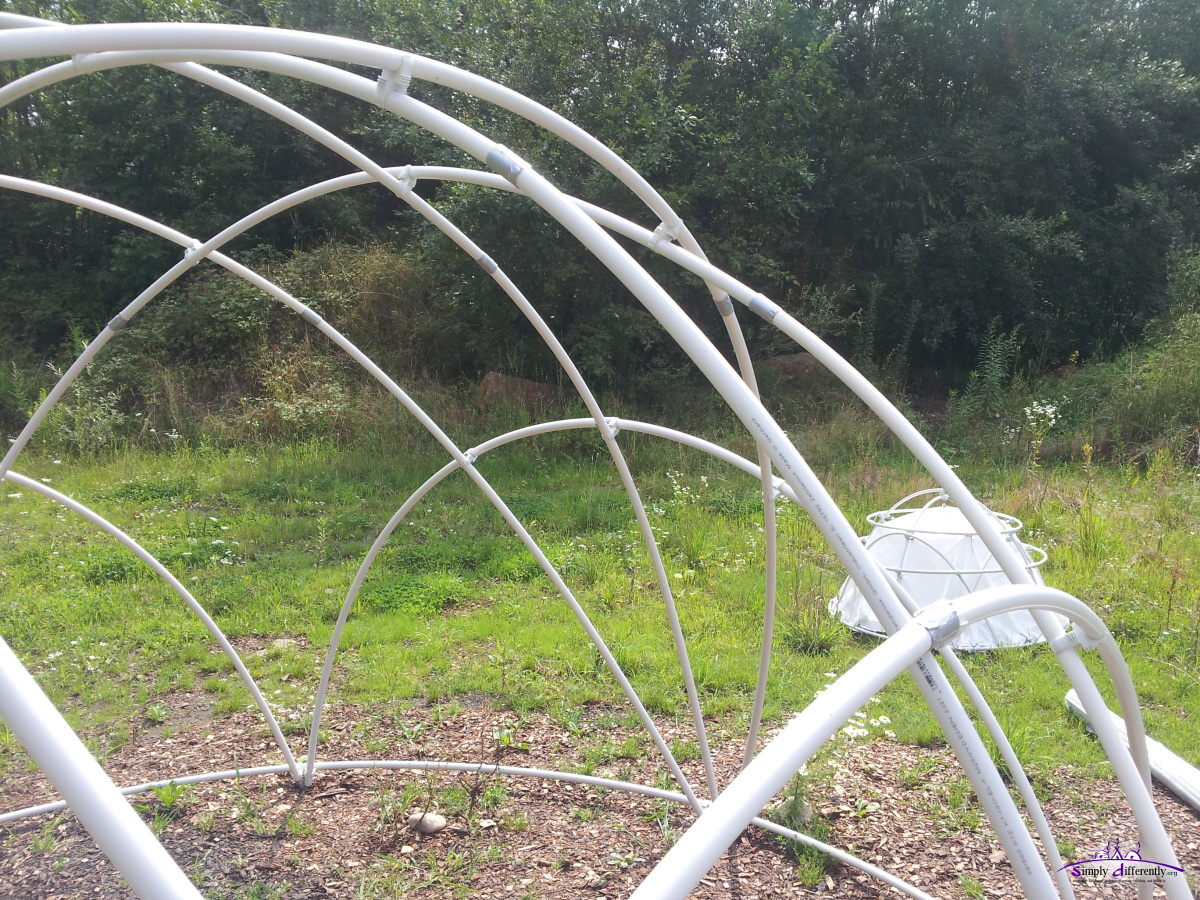 2014/07/31 15:58 2014/07/25: Tent in a Tent
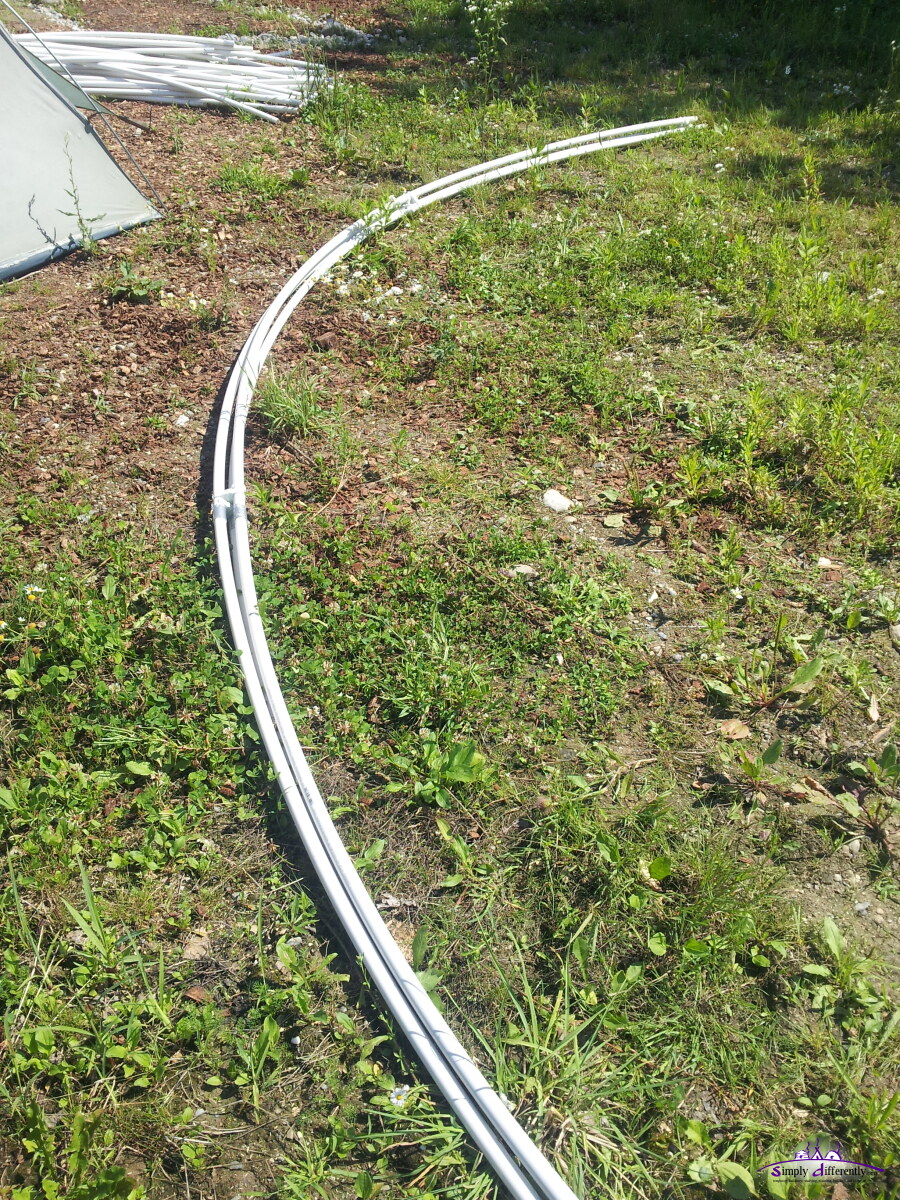
Some of the spare tubes I placed on the ground to straighten again for future use.
Since the 4m dome is too small for my use case, I am pondering on a 2nd 4m LC dome, or a 5m geodesic dome, either
reusing the 2m tubes. 2014/07/22: Storm Again, 4:x:3 5.1m LC Dome Too Woobly
The bows are too weak, or too wobbly - even fixating some of the junctions doesn't prevent the dome to bend. I also didn't had a proper door as I noticed the wind found its way into the dome. Important Conclusion: 4x 2m bows with 25mm diameter (4:x:3 5.1m LC Dome) is too weak to do, even when a rain cover adds integrity, but the weakness of the bows remains. As I wrote before, but repeat here: the best would to use 32+mm diameter PVC 2m tubes for > 6m long bows, but the fitting of those electrical PVC conduits is only 30mm long, too short to reliably connect 32+mm diameter 2m or 3m long tubes - this is why I tried this with 25mm diameter only tubes until now. Also, no part got broken, where too much force was applied the tube connectors let go the tube (e.g. at the base) - it is one of my other objectives with LC dome to keep it modular, simple to assemble, and disassemble in case of strorm in a way so no parts are broken. Since the entire LC Dome approach is rather modular, I disassembled the 4:x:3 dome and made a 3:x:2 4m dome instead (no photos). Storm bent 5.1m 4:x:3 LC dome, with 2m x 25mm tubes: 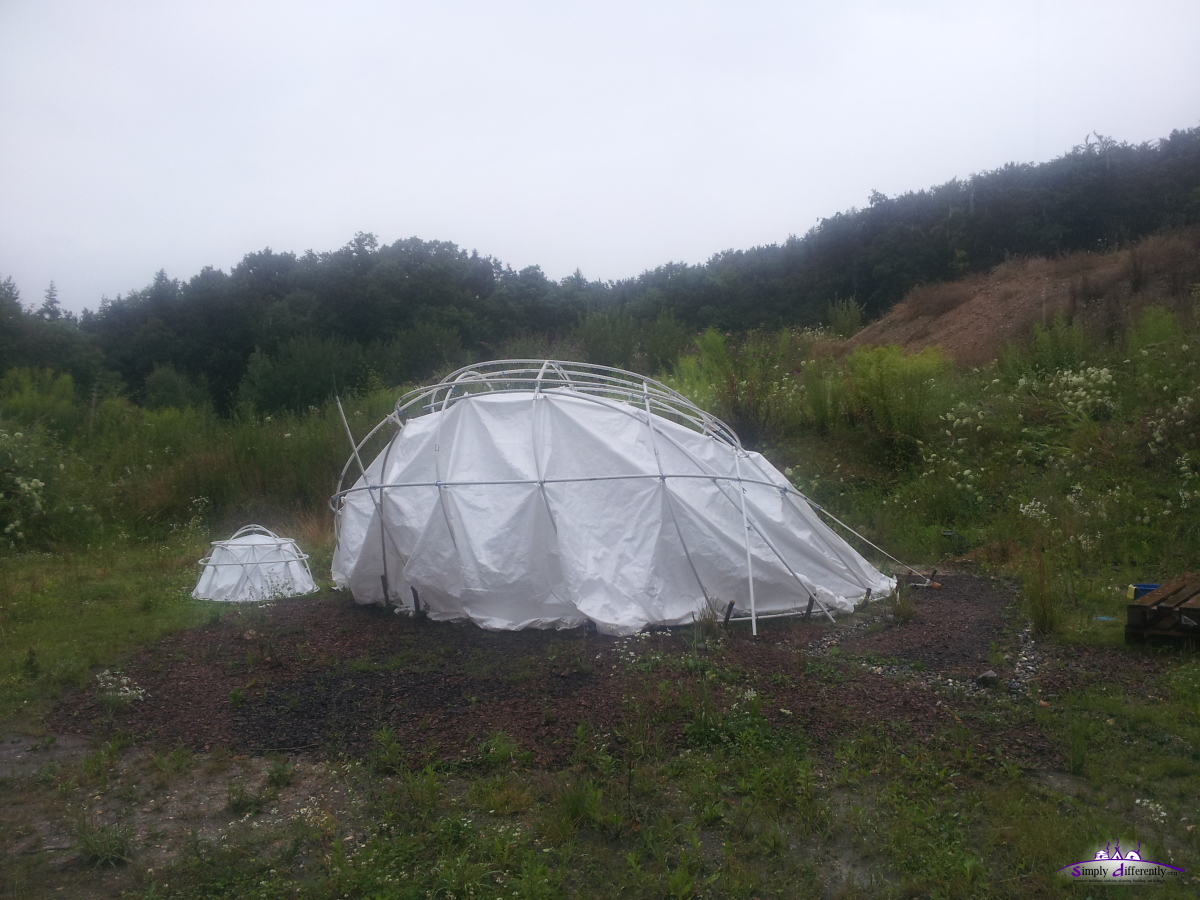 Storm bent LC dome 2014/07/22 12:25 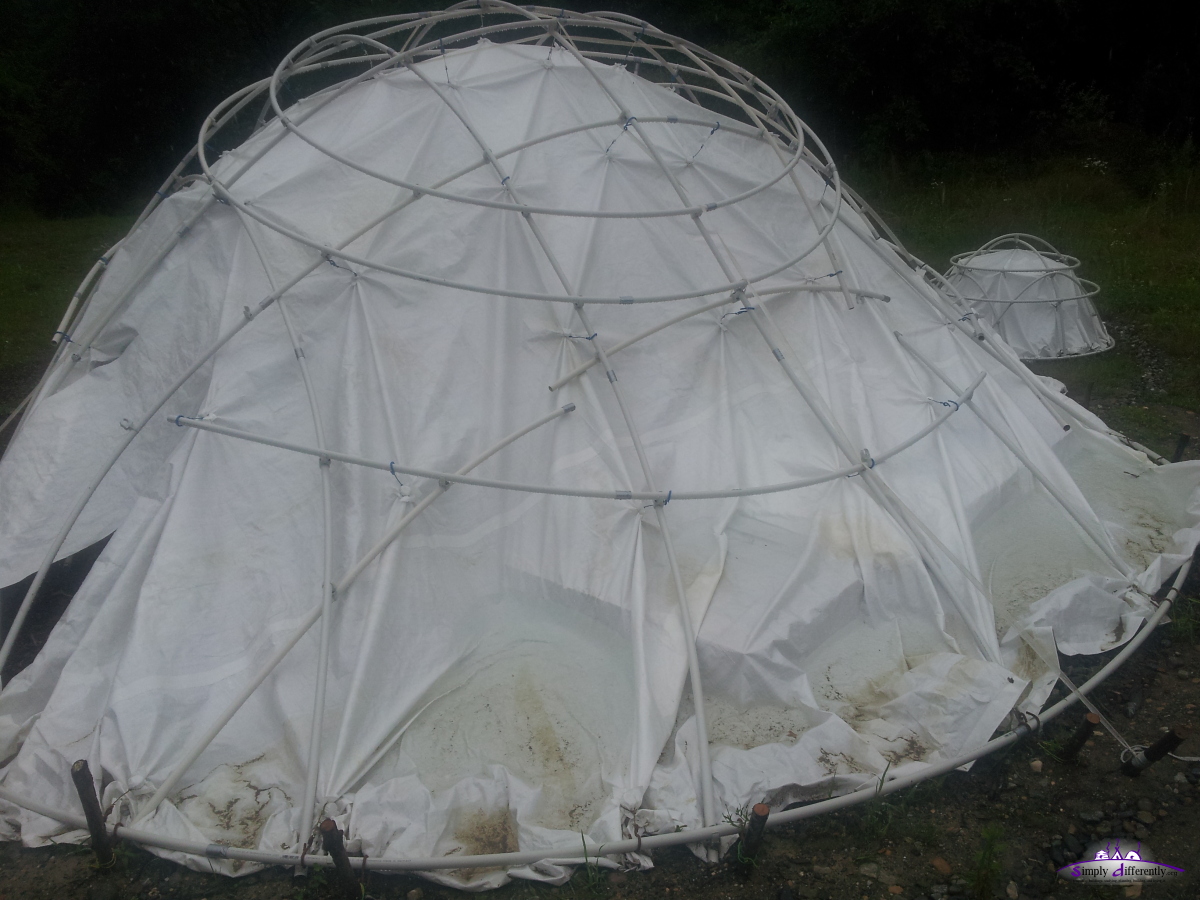 Horizontal ring opened 2014/07/22 12:25  Laying aside after storm 2014/07/22 12:26 2014/07/19: More Drainage, Anchoring DomeAfter the few days drying the inside, I close the dome and anchor the dome finally - but before I did this, I digged an additional 2nd small drainage just where the rain cover will reside at the top of the slope: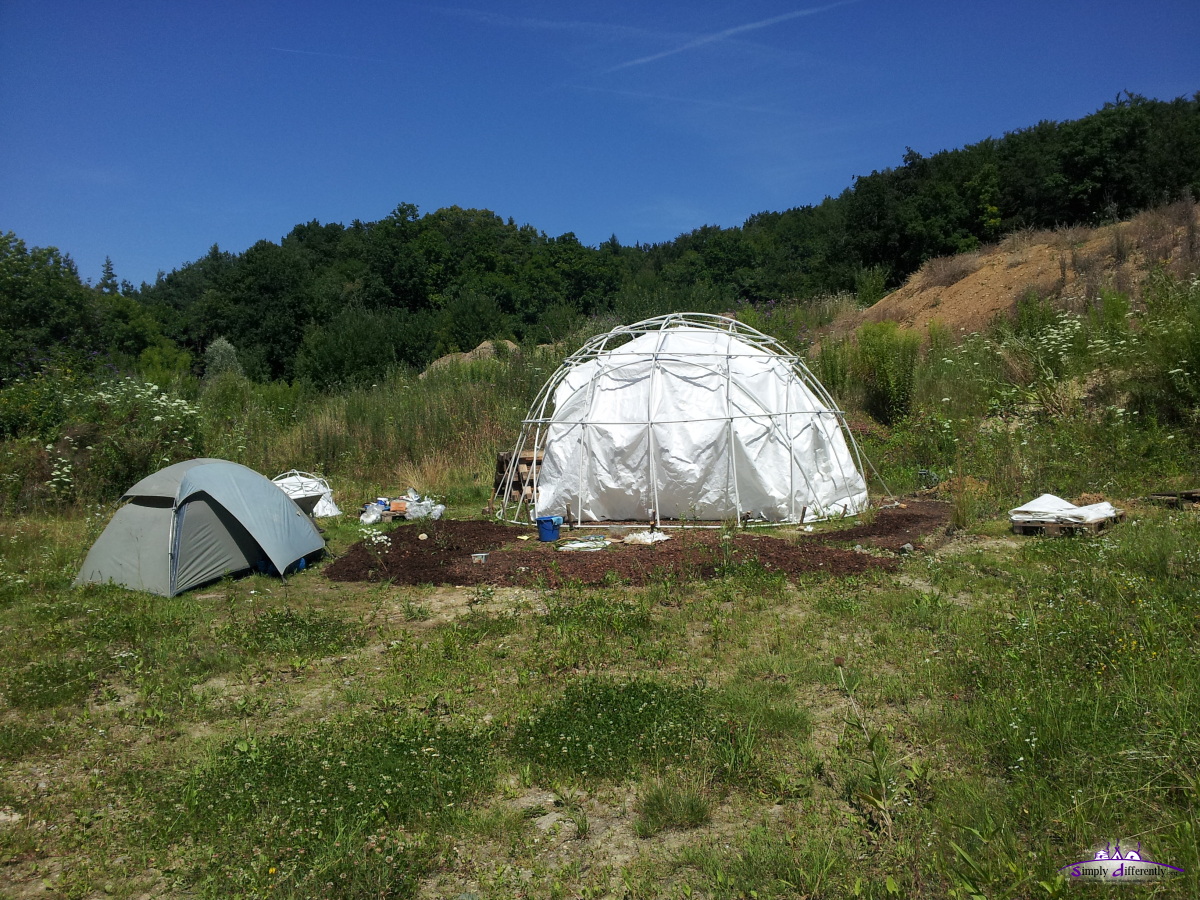 2014/07/18 12:28 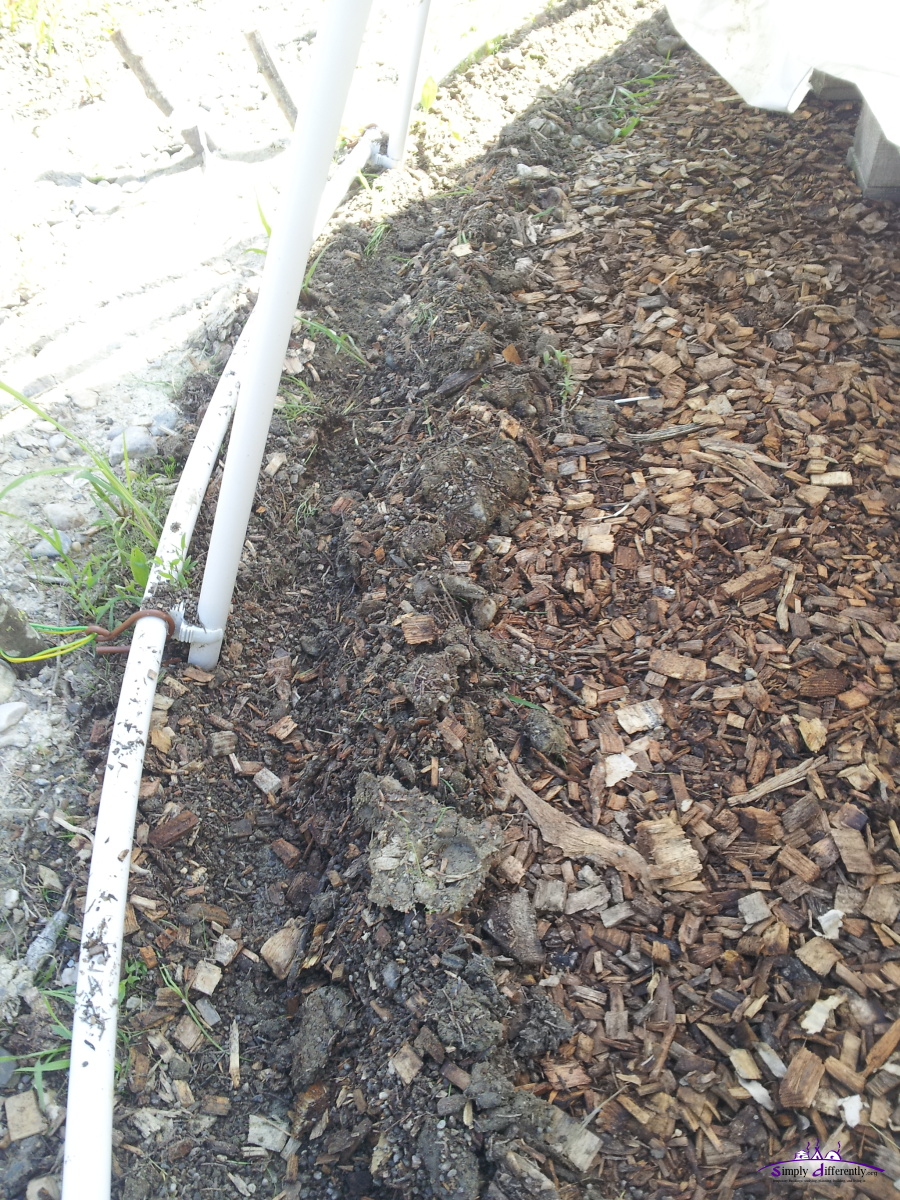 2014/07/19 10:29 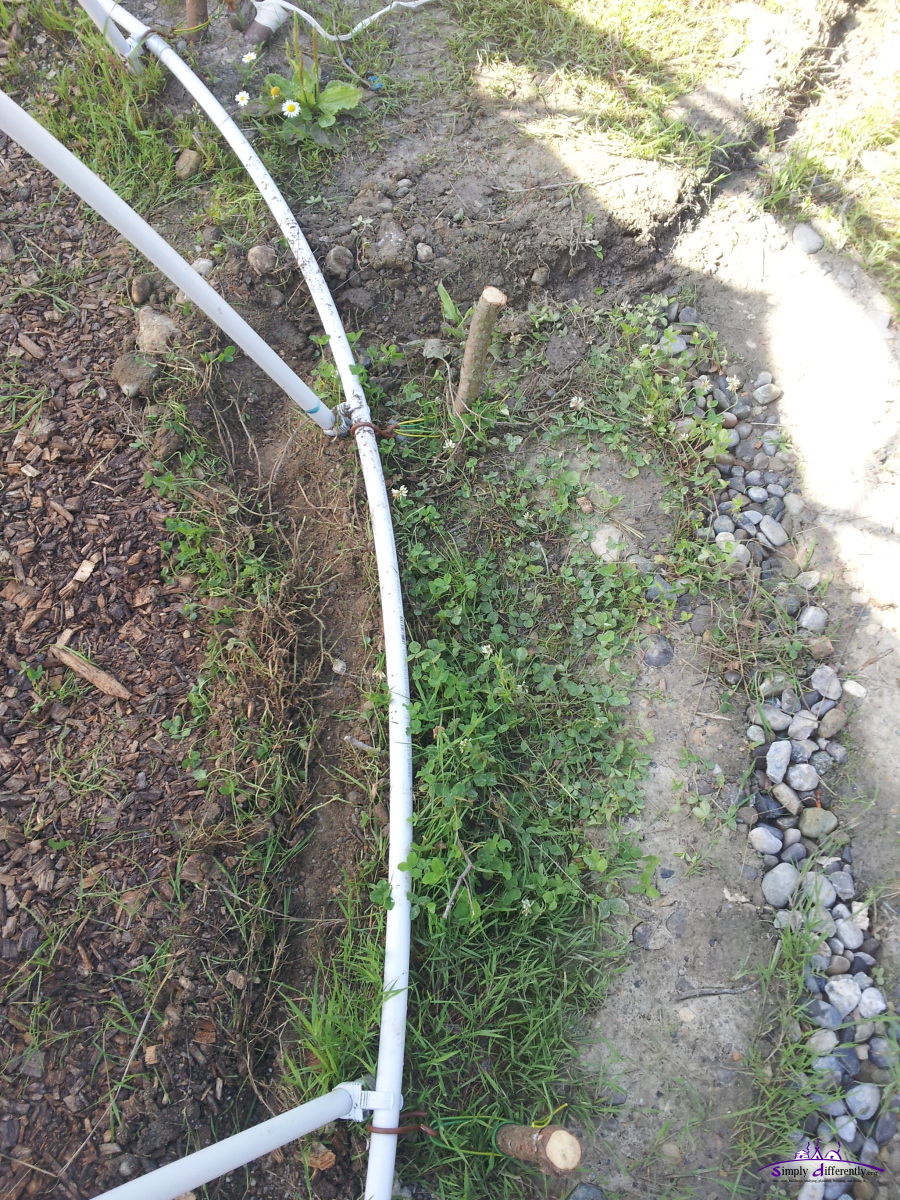 2014/07/19 10:29 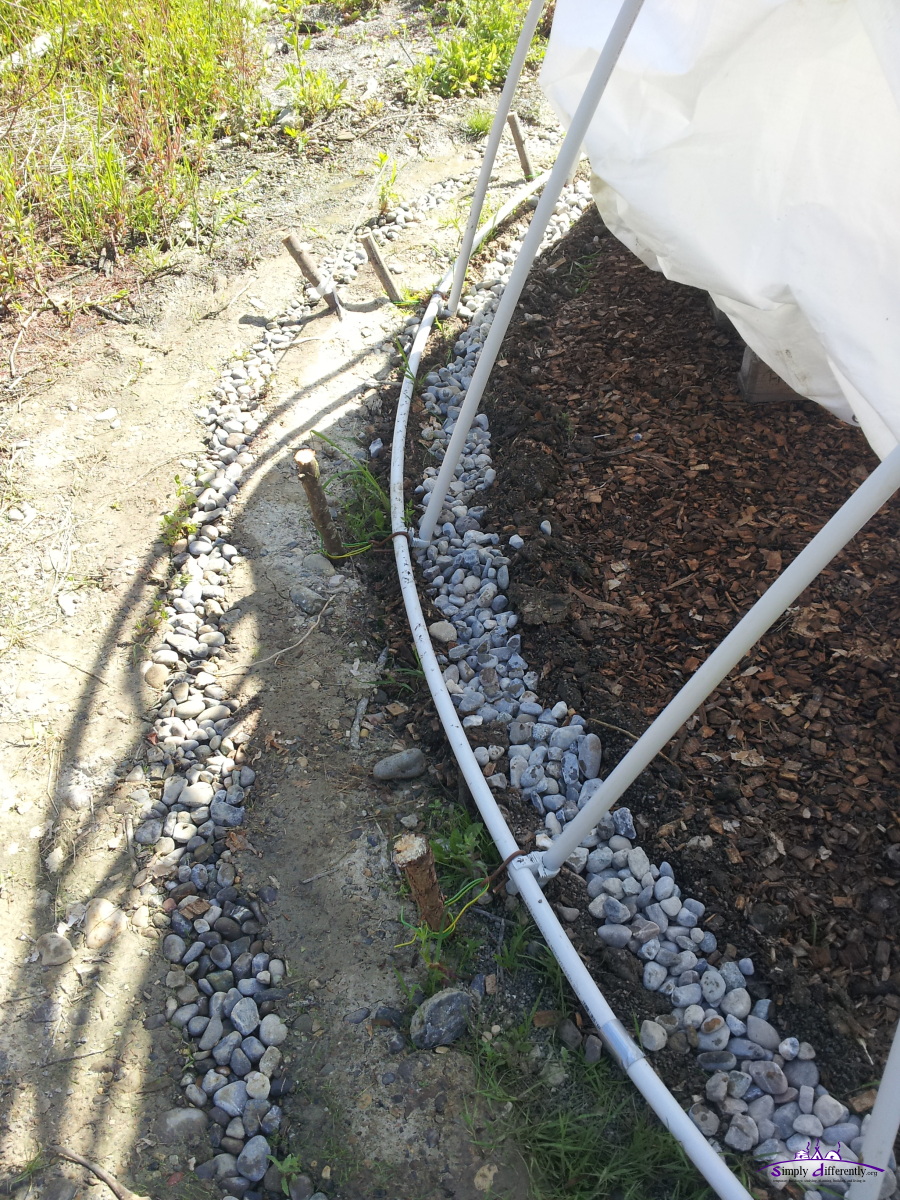 2014/07/19 10:39 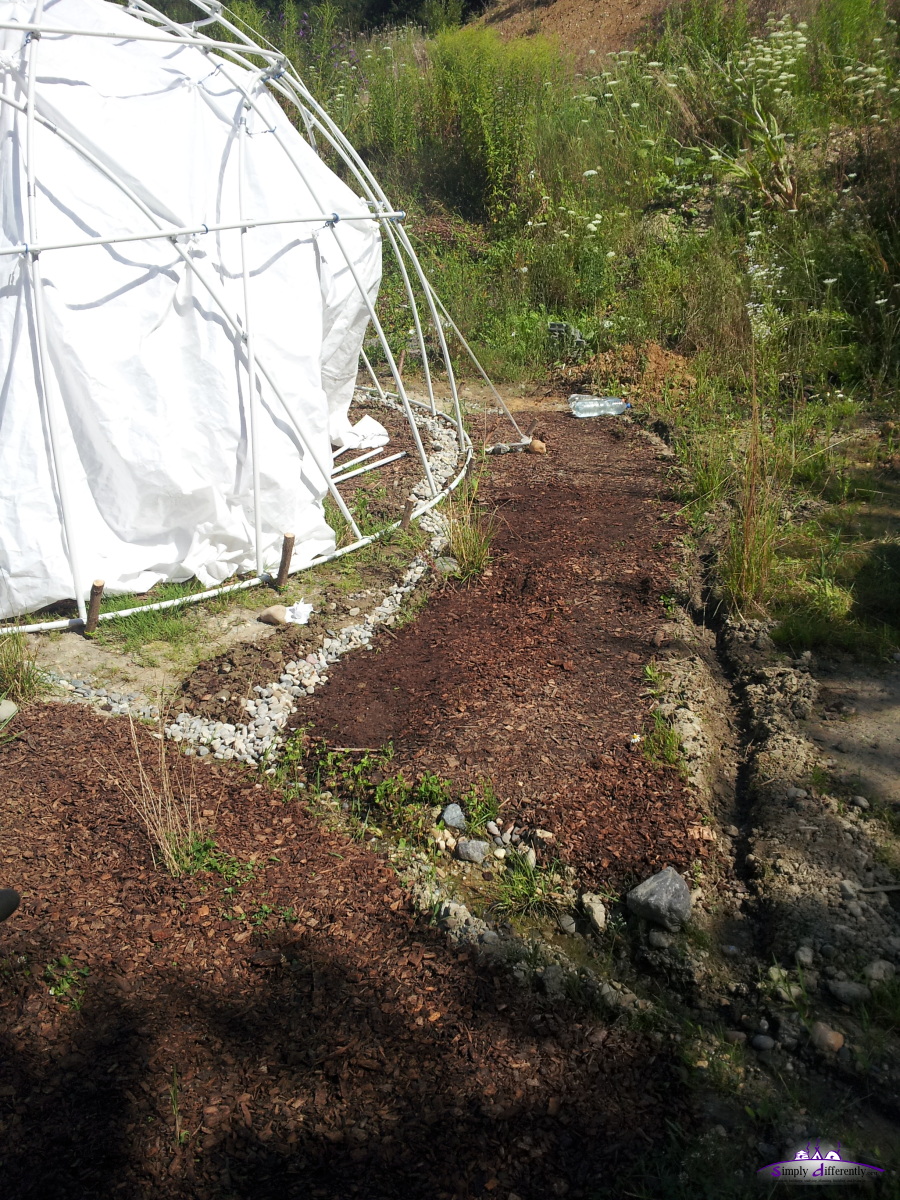 2014/07/19 10:42 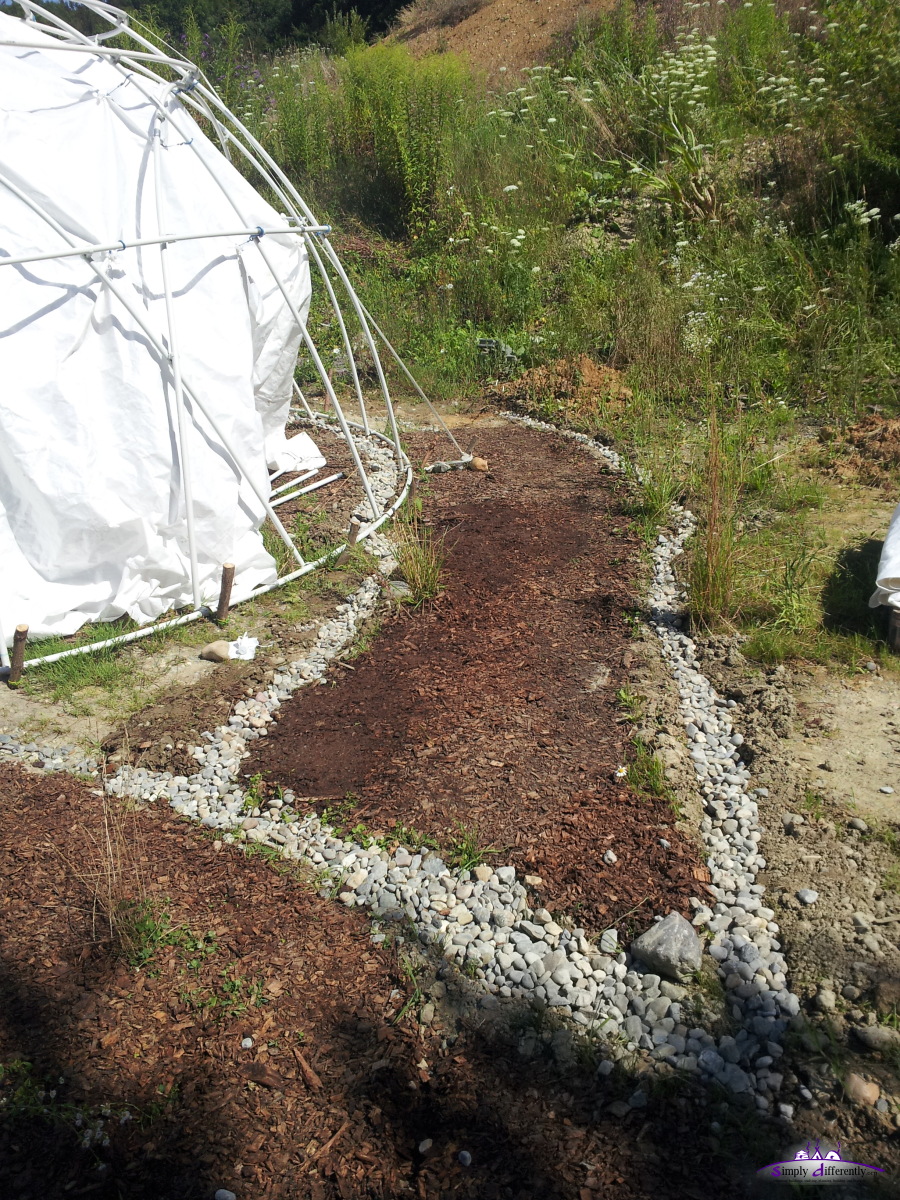 2014/07/19 11:01 I deliberately made two drainages, one for the water coming from the hill, and the other from the water from the rain cover - and since I'm positioned on the slope the drainage is only on the "back" side facing the hill slope. The next days a significant drop of temperature with heavy rain and thunderstorms are expected - a test for my overall setup. If it succeeds, I gonna start to move actual living equipment inside the room and also attach the interior canvas.
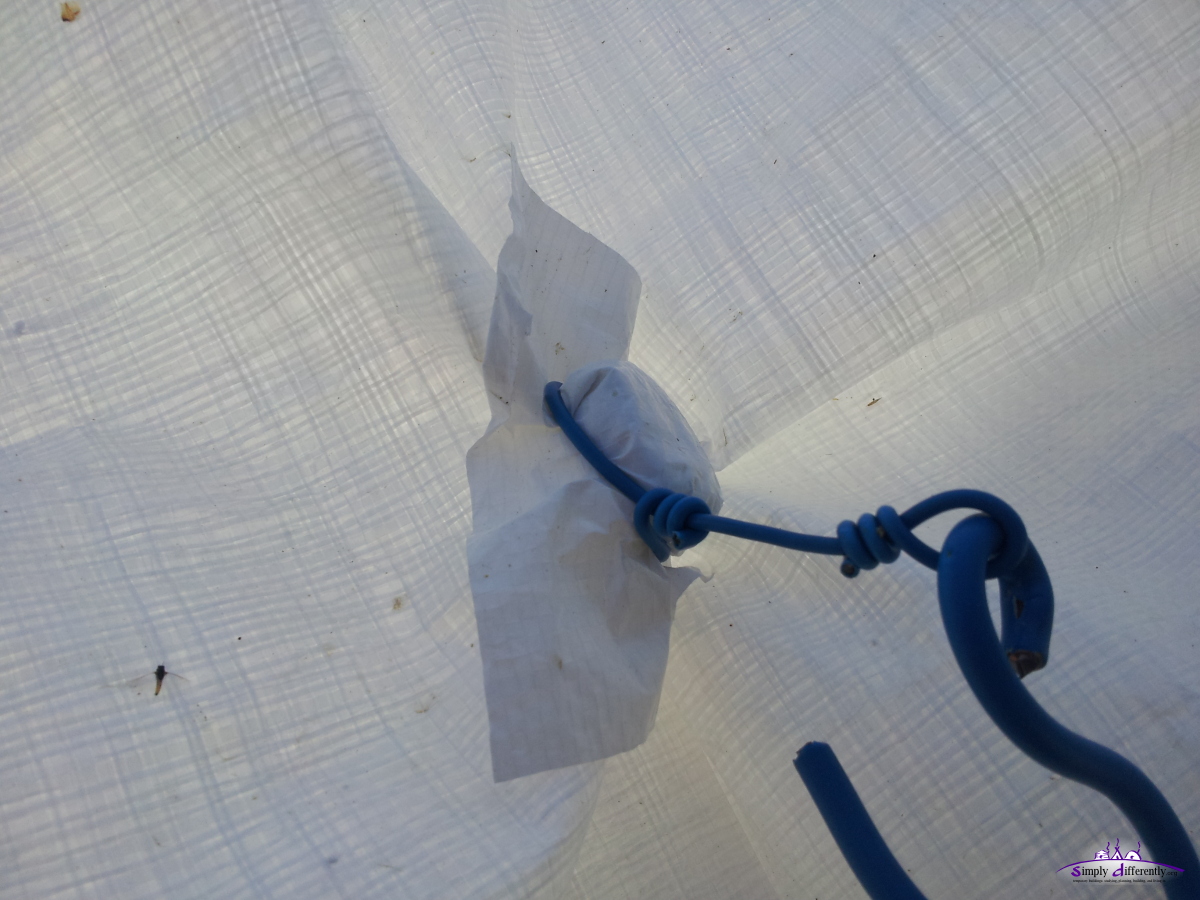
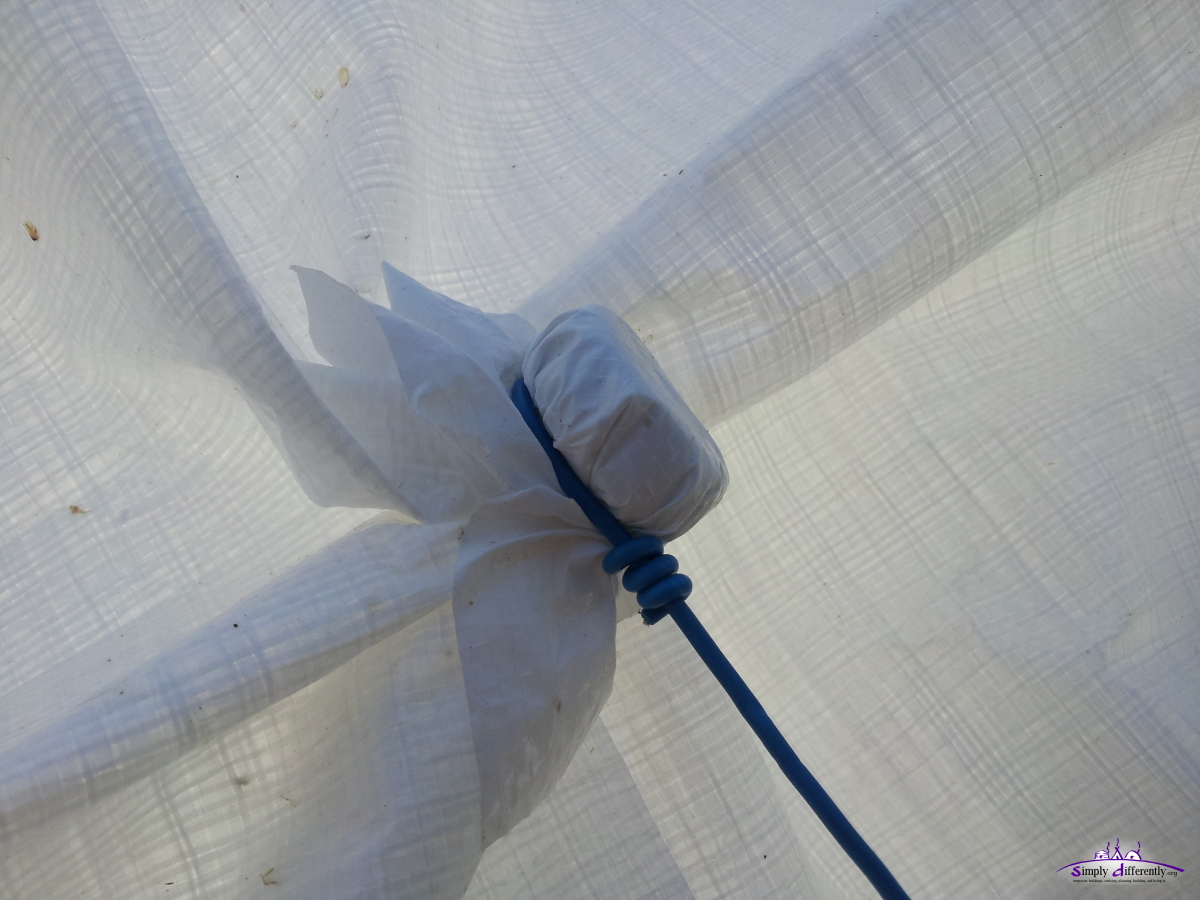
 2014/07/19 15:15 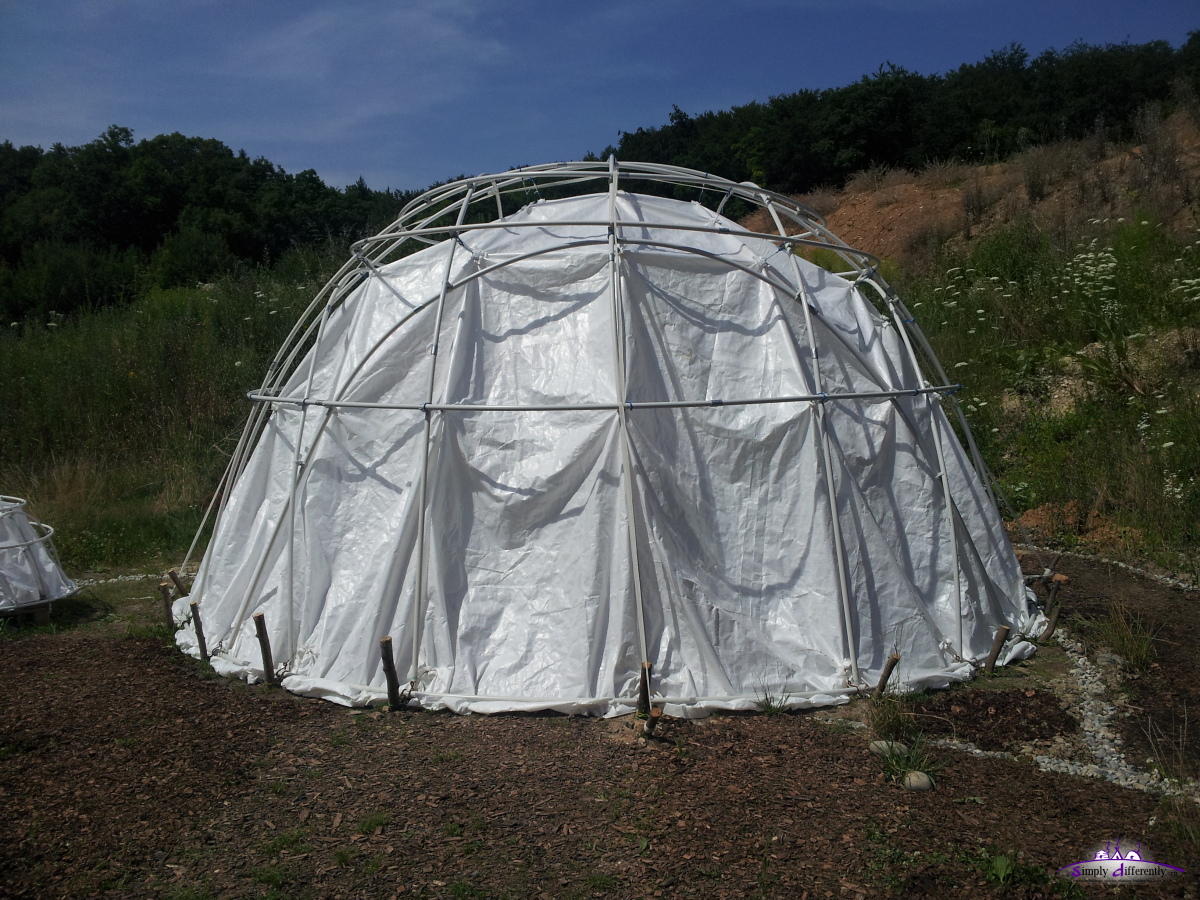 2014/07/19 15:15 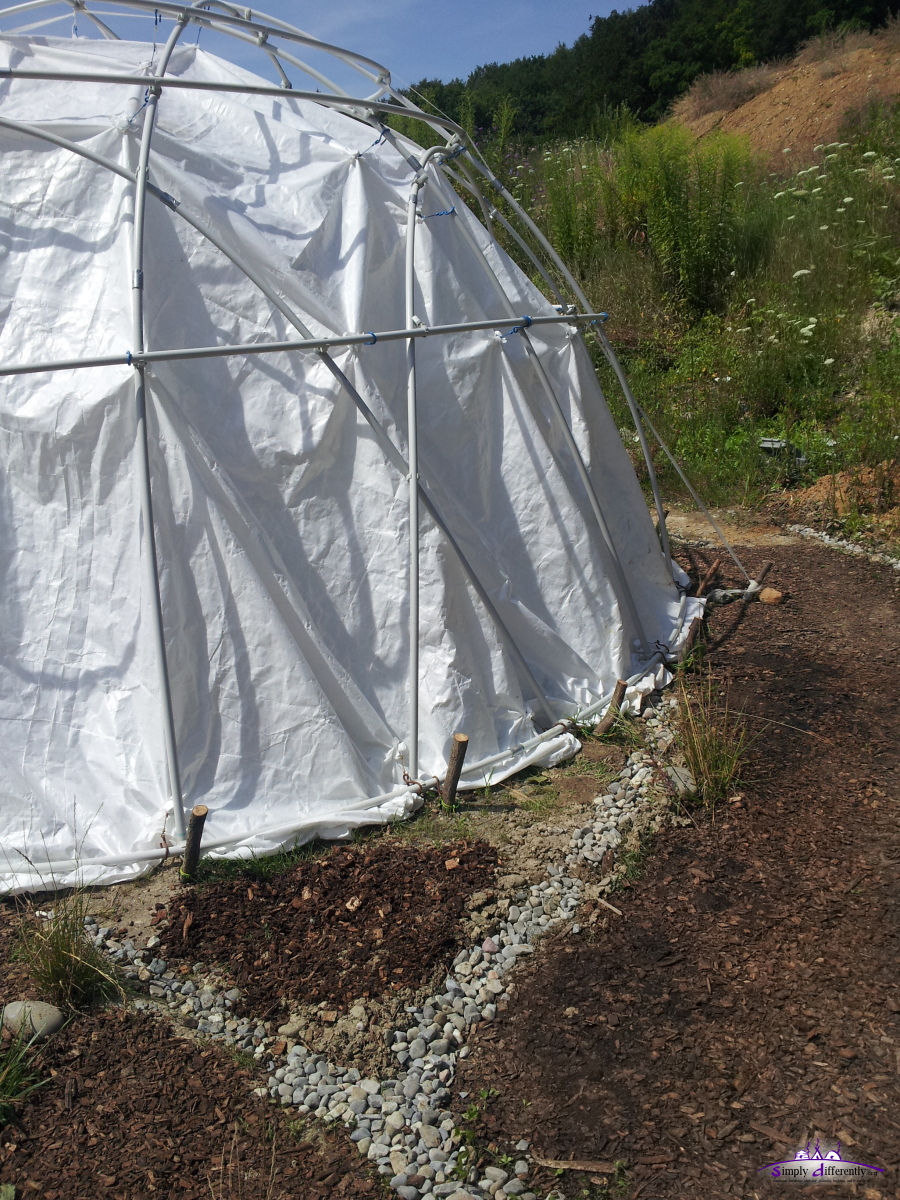 2014/07/19 15:15 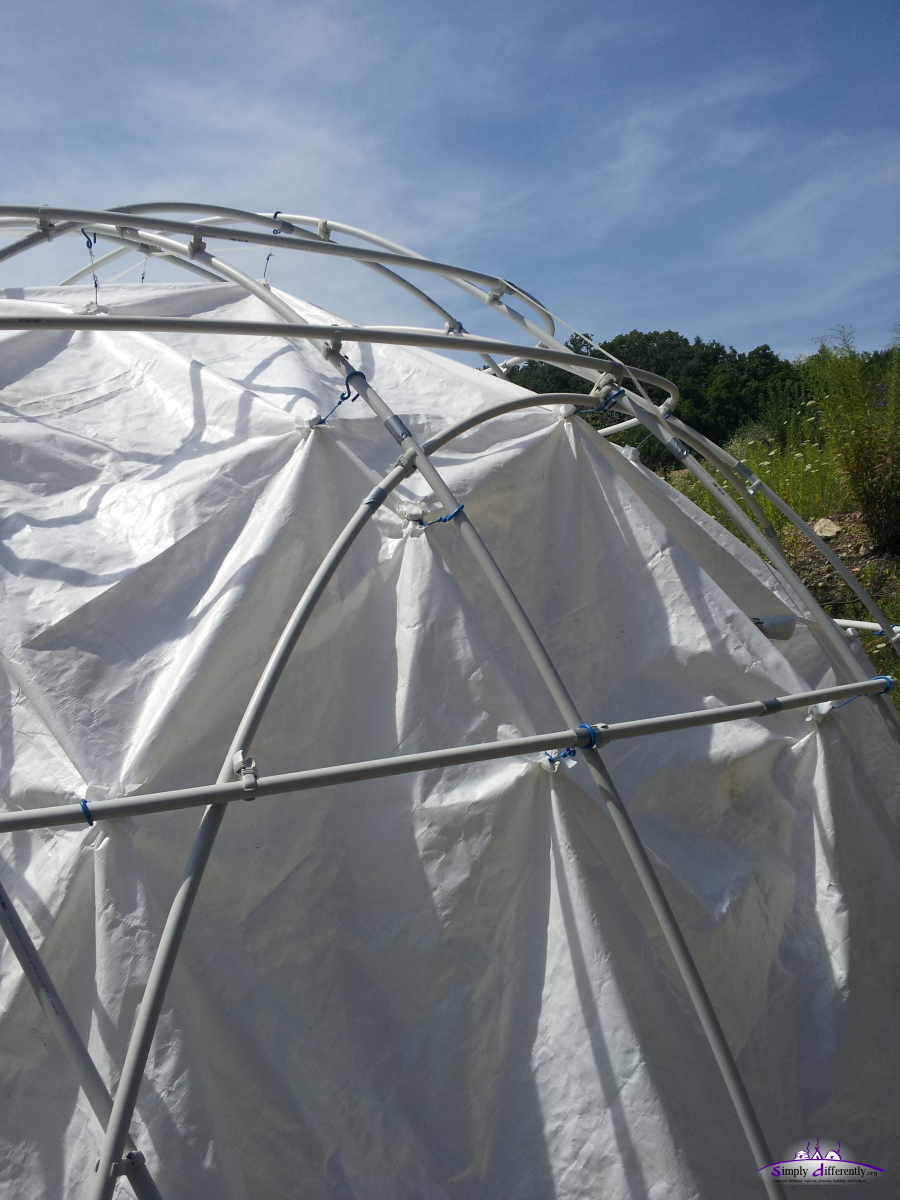 2014/07/19 15:16 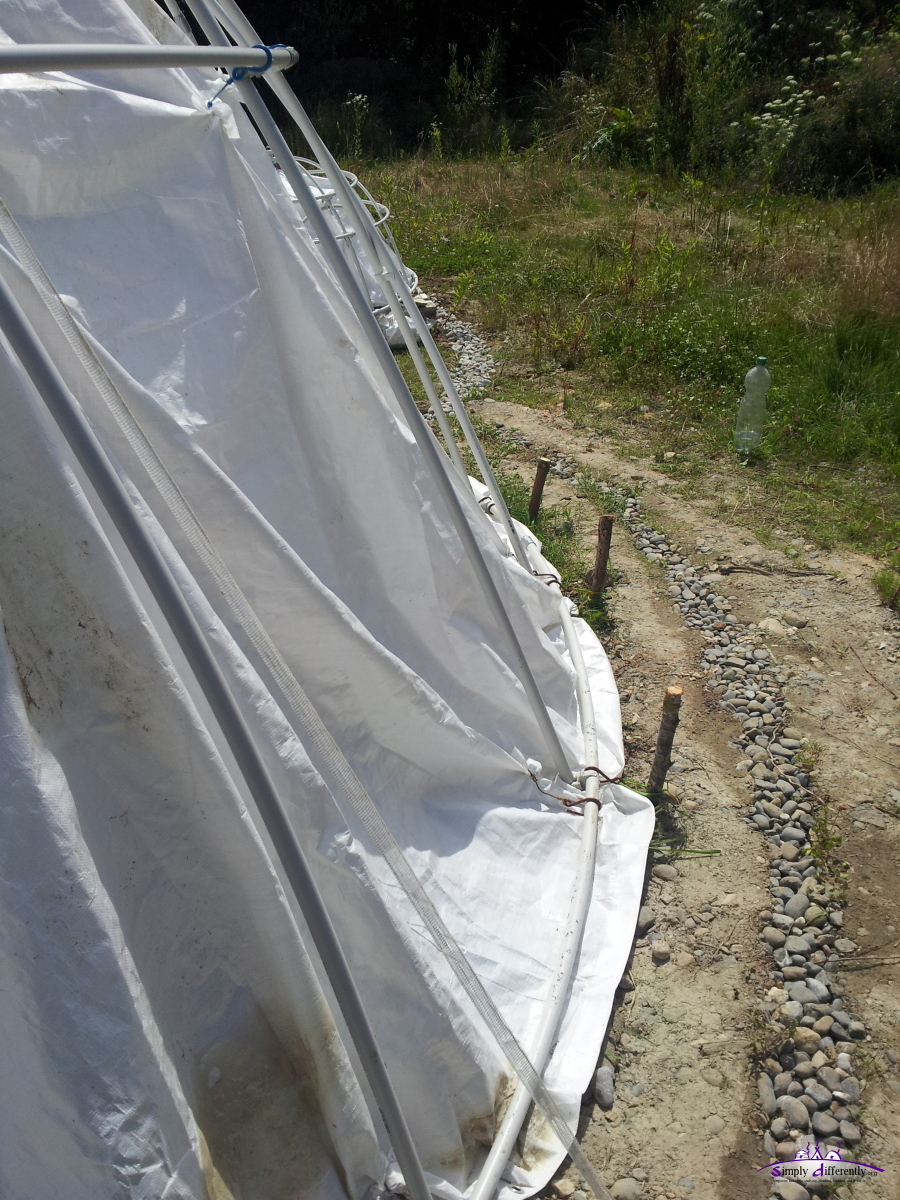 2014/07/19 15:16 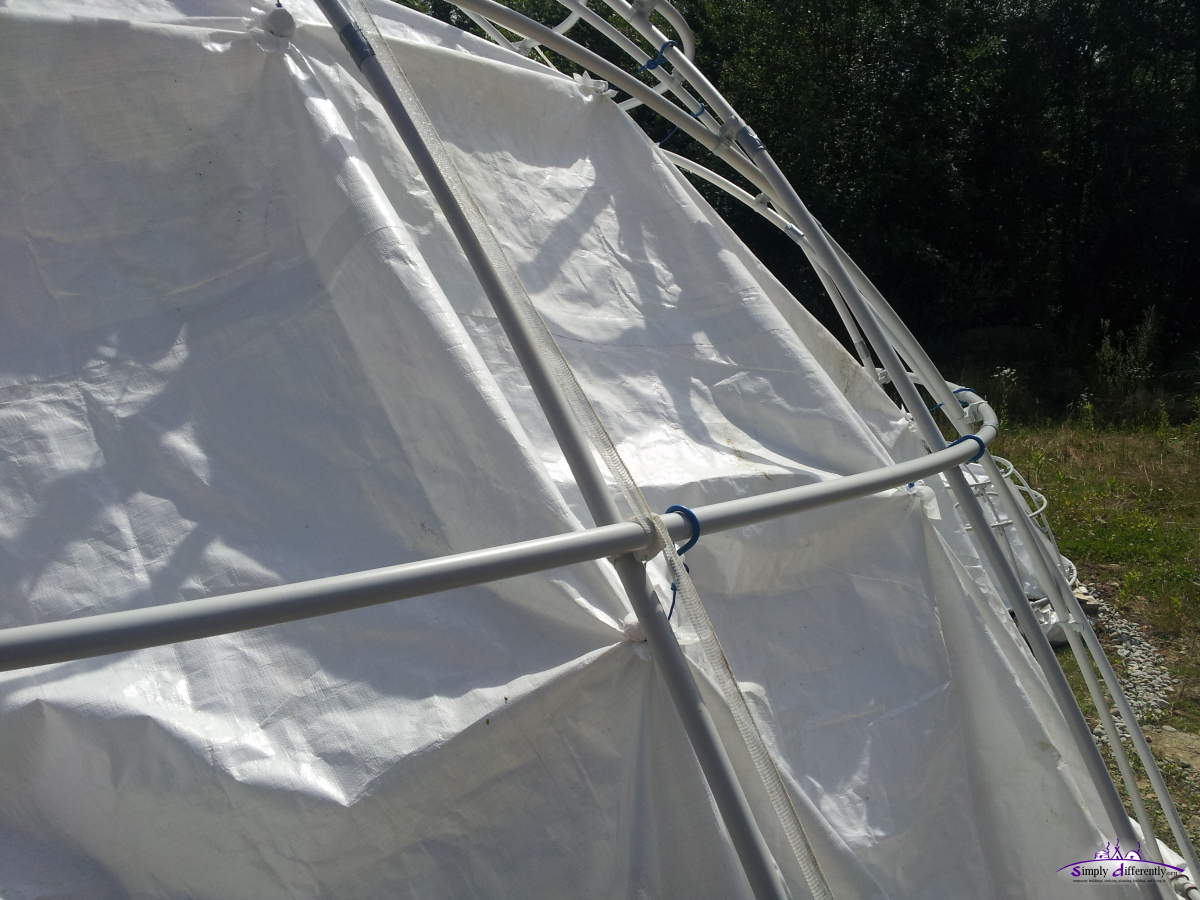 2014/07/19 15:16 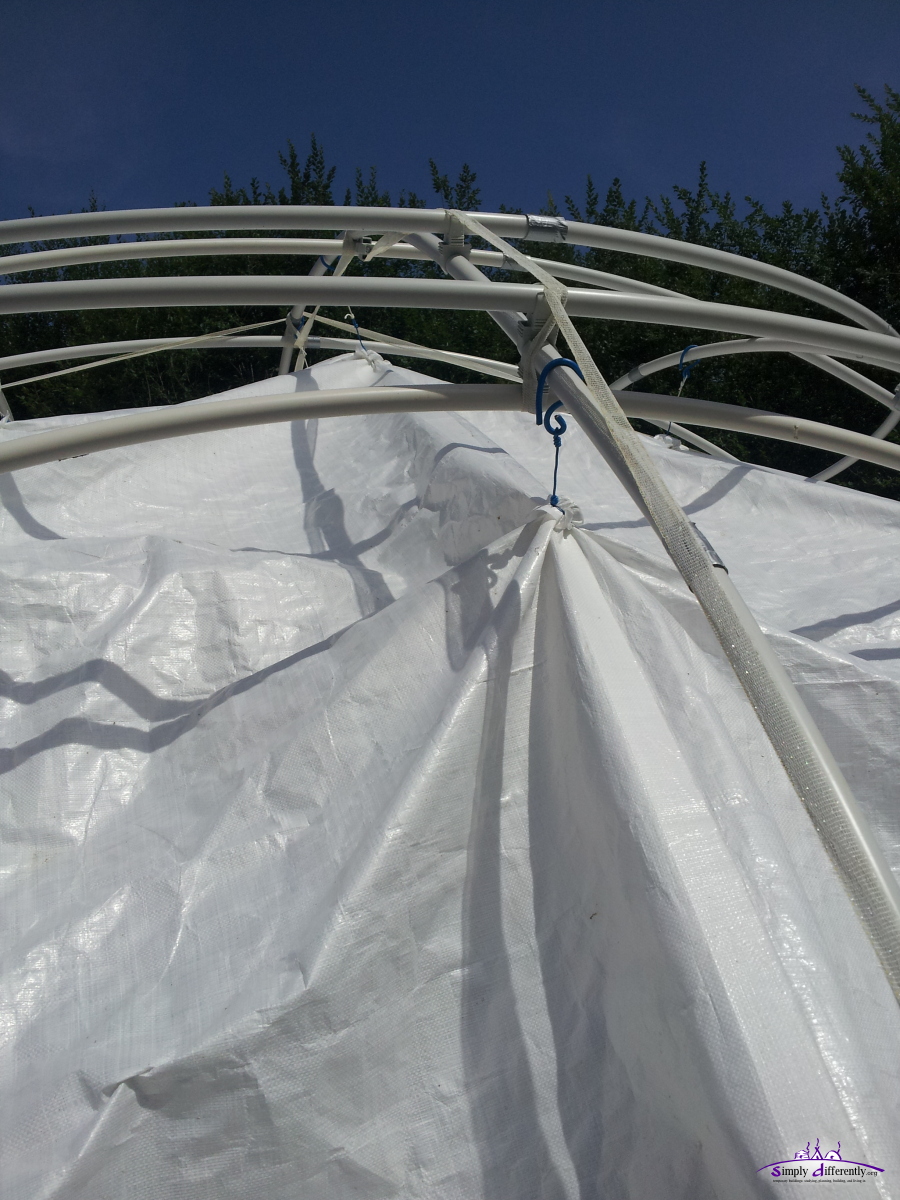 2014/07/19 15:17 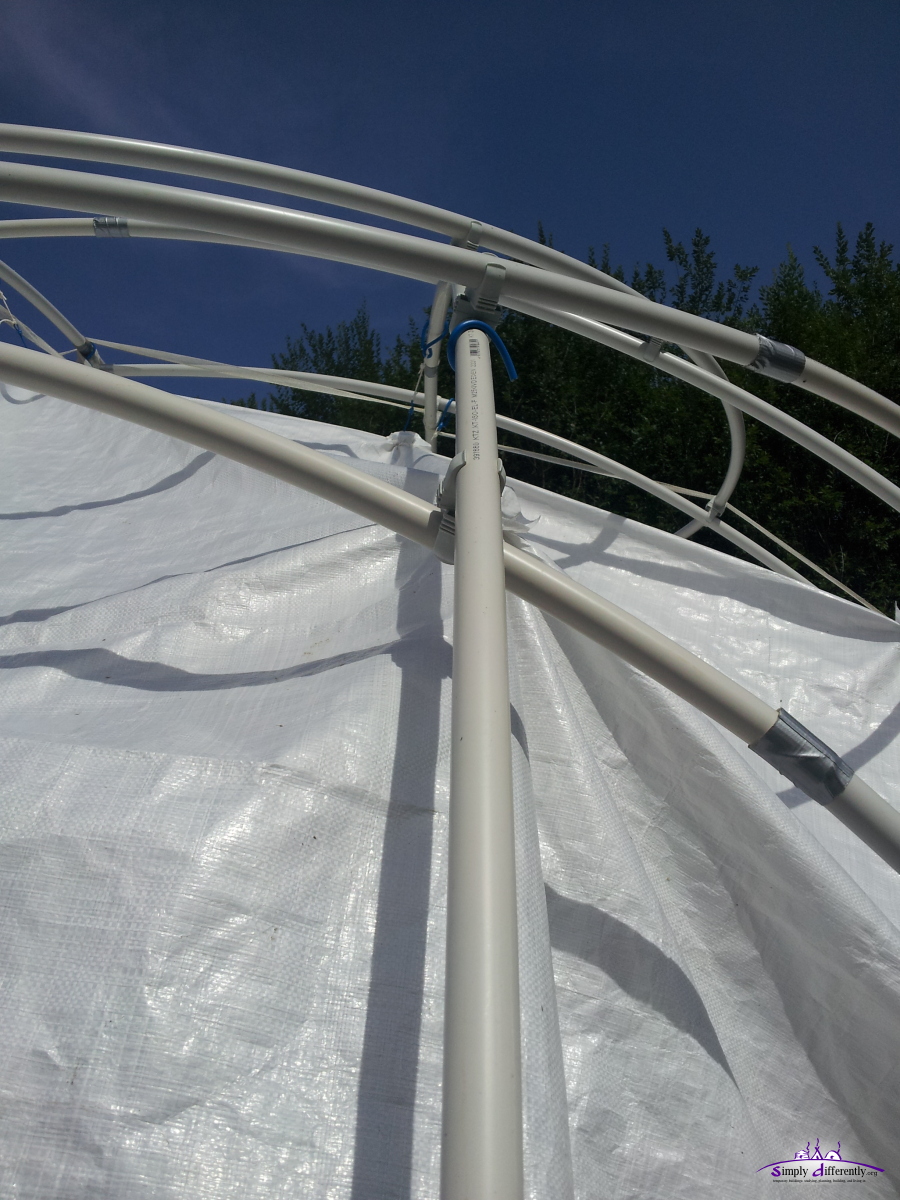 2014/07/19 15:17 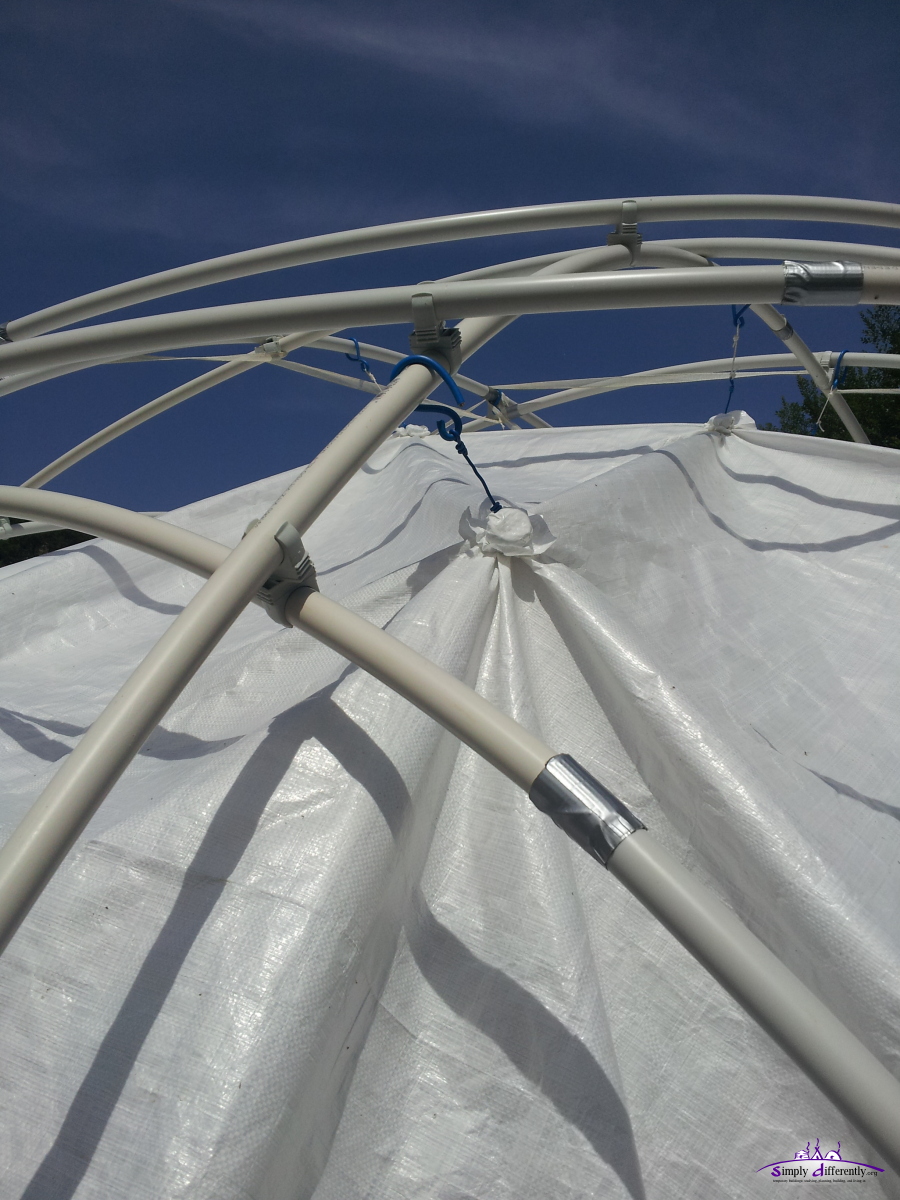 2014/07/19 15:17 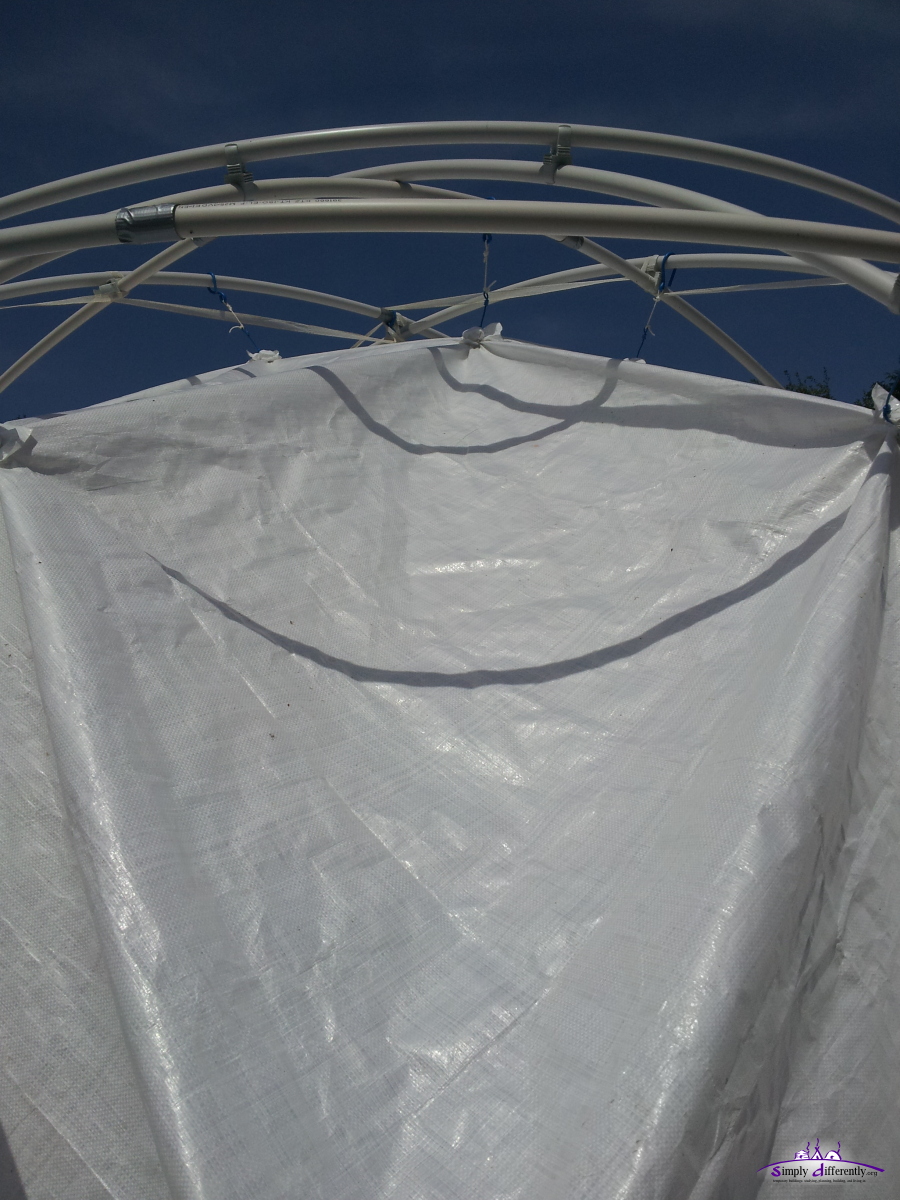 2014/07/19 15:17 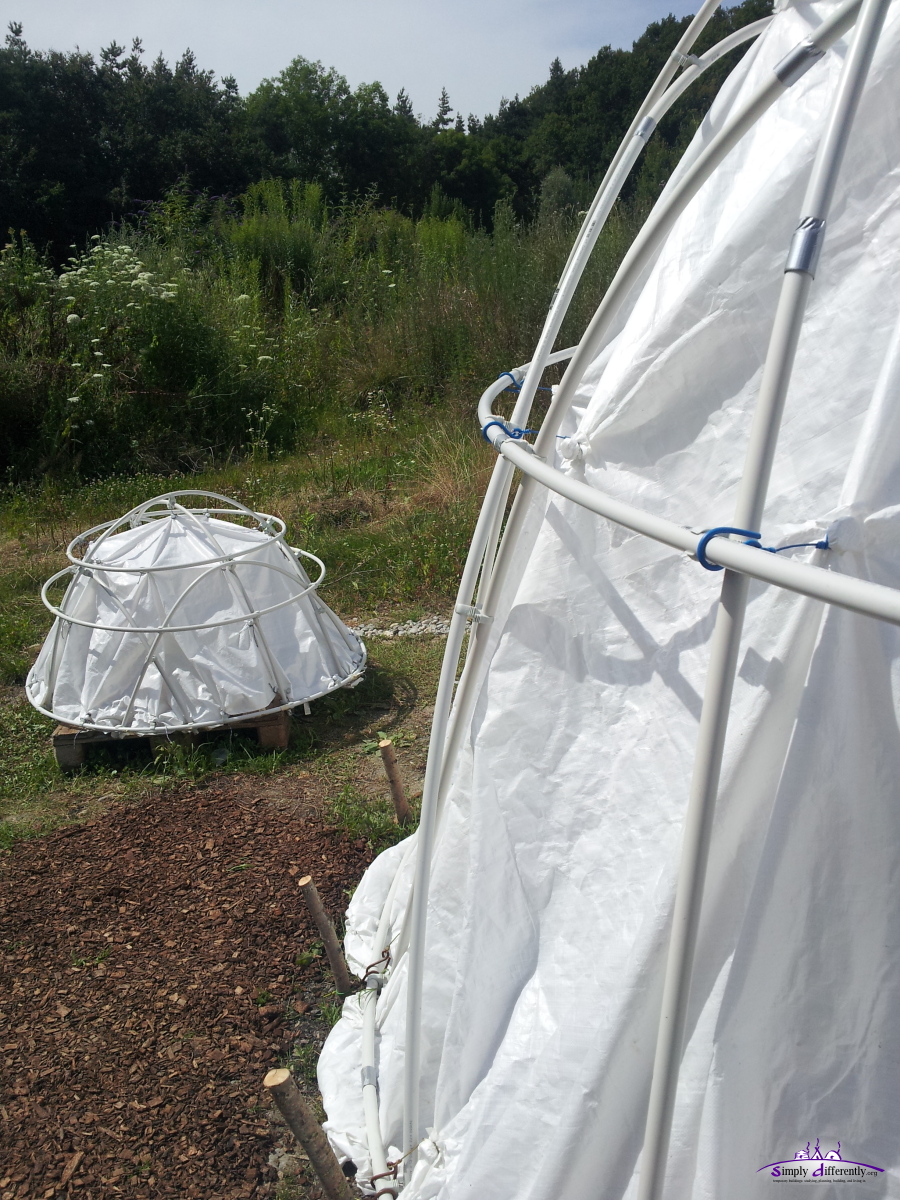 2014/07/19 15:18 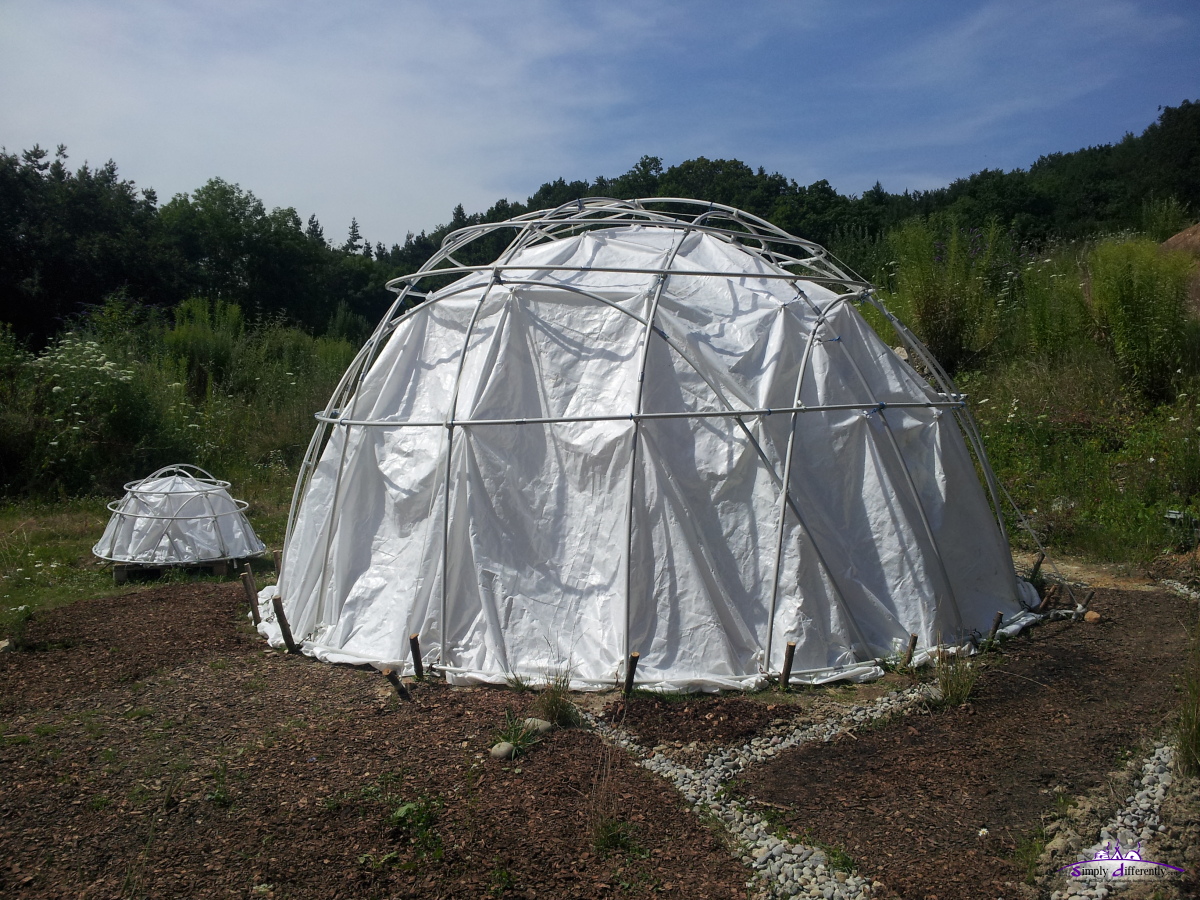 2014/07/19 15:19 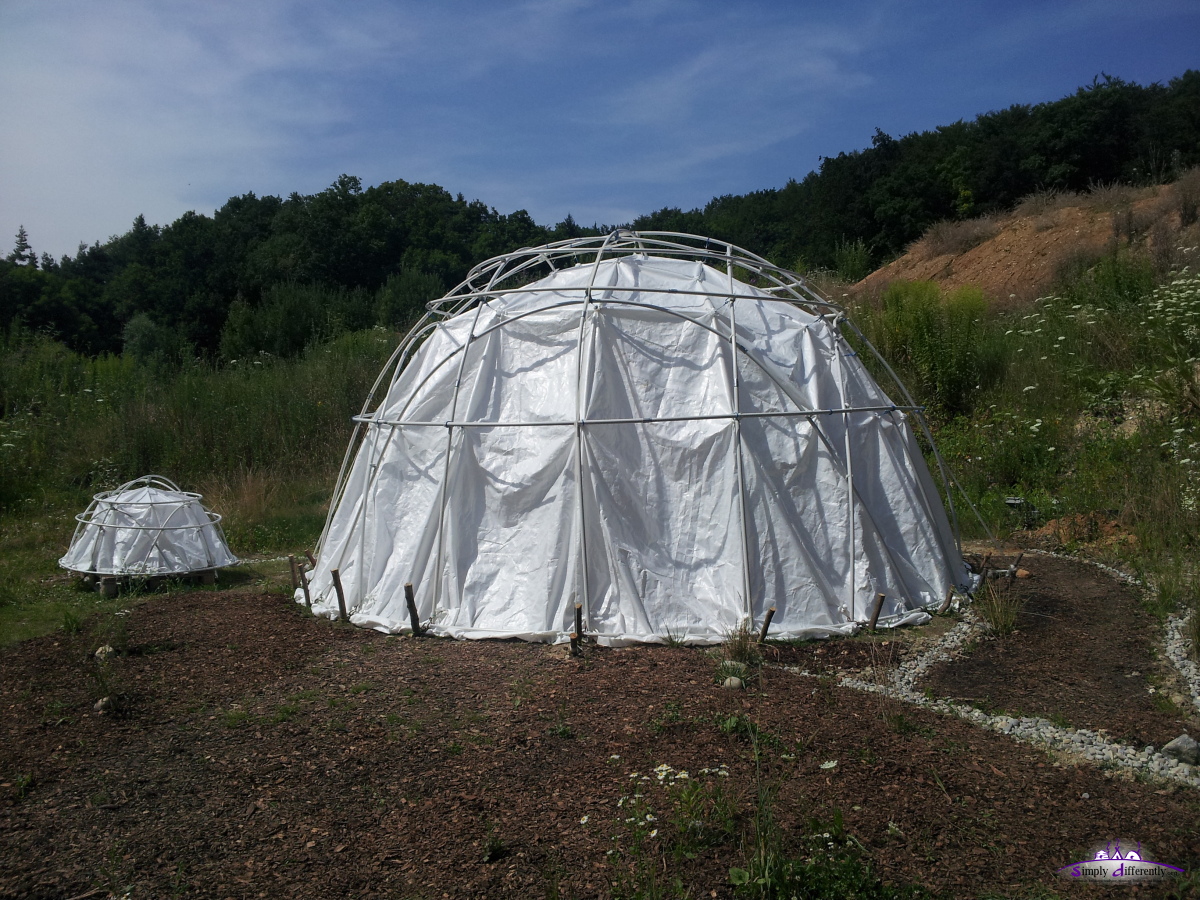 2014/07/19 15:21 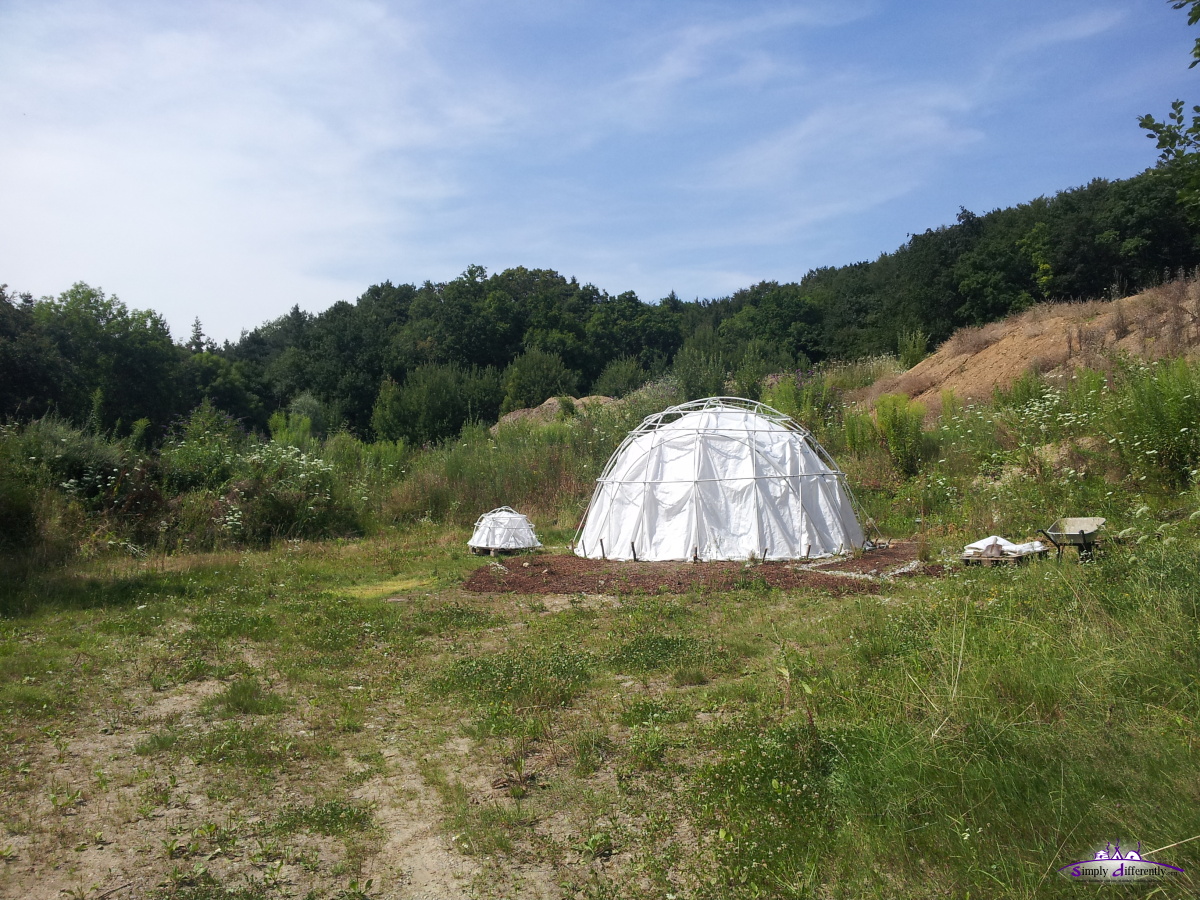 2014/07/19 15:21 2014/07/17: Rechecking Captures & Fixating DomeWhile using a electric fence band, found on-site, to fixate the dome *), I realized some of the captures where not fully enclosing the bottle caps I used as "captures" to attach the PE rain cover, so I corrected those.
The wire hooks really turned out well, I was able to detach the rain cover quickly and work myself to the last top 5 hooks I left, and put the fixation band over it - in a way so with the pull the connection are strengthened; although this runs against the concept a bit to let the dome fall apart without breaking any parts in case of heavy winds or storms - but the last thunderstorm kind made me more conscious of the weakness of the "Low Cost Dome (PVC)", the entire dome is or was still too wobbly and bent in when wind pushed from one side.
So, it's more stable now, but also introducing possibilities where parts may break when pushing the dome forcefully.
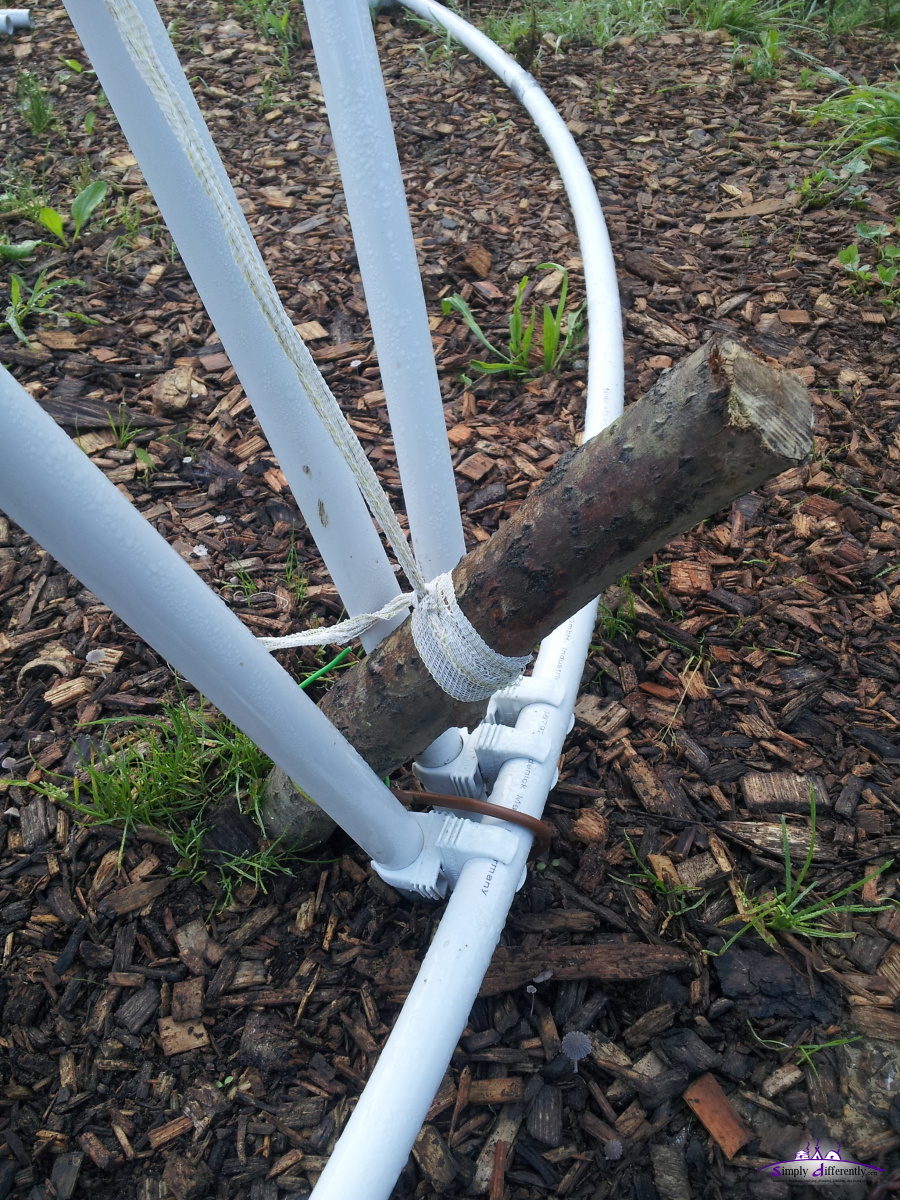
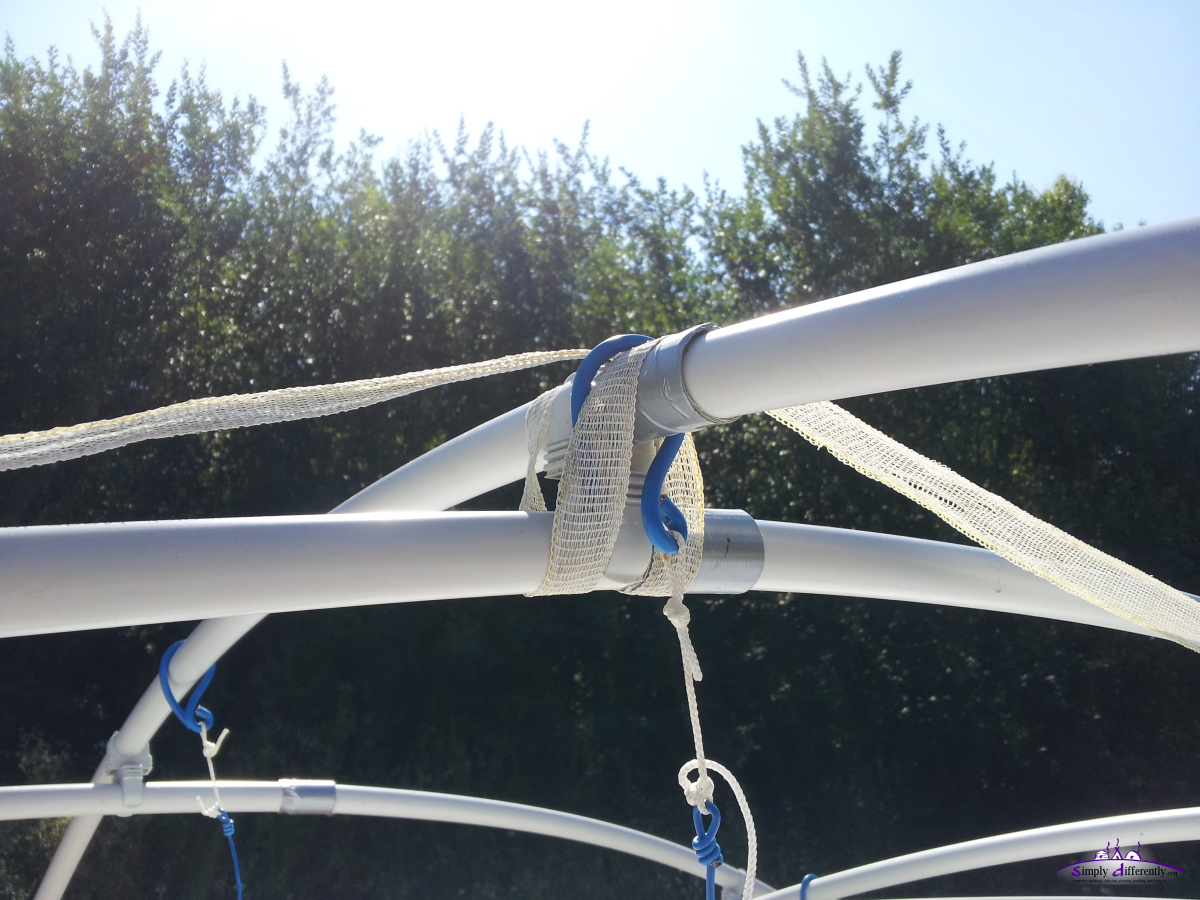 Band fixating top junction (over, below-other-side, over, below-other-side, over) 2014/07/17 10:21 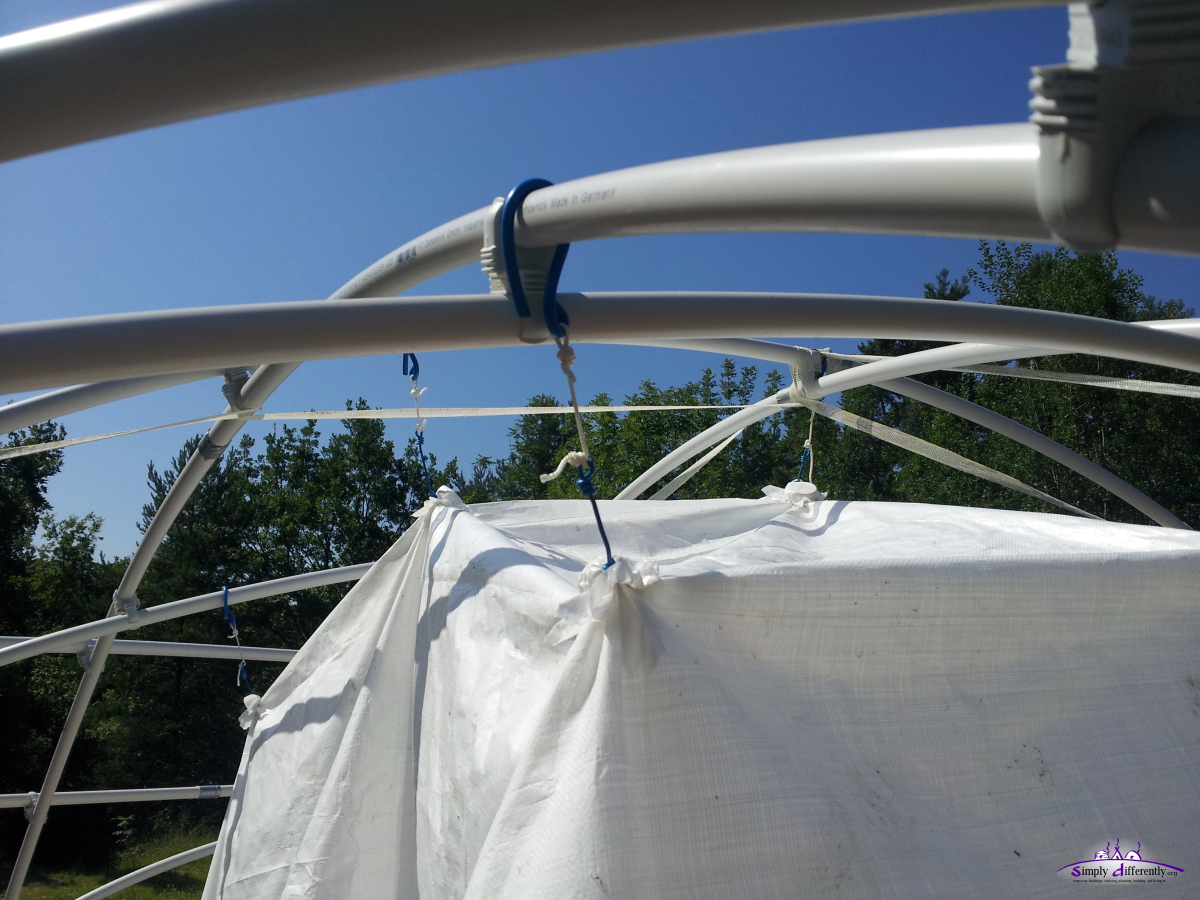 2014/07/17 10:54 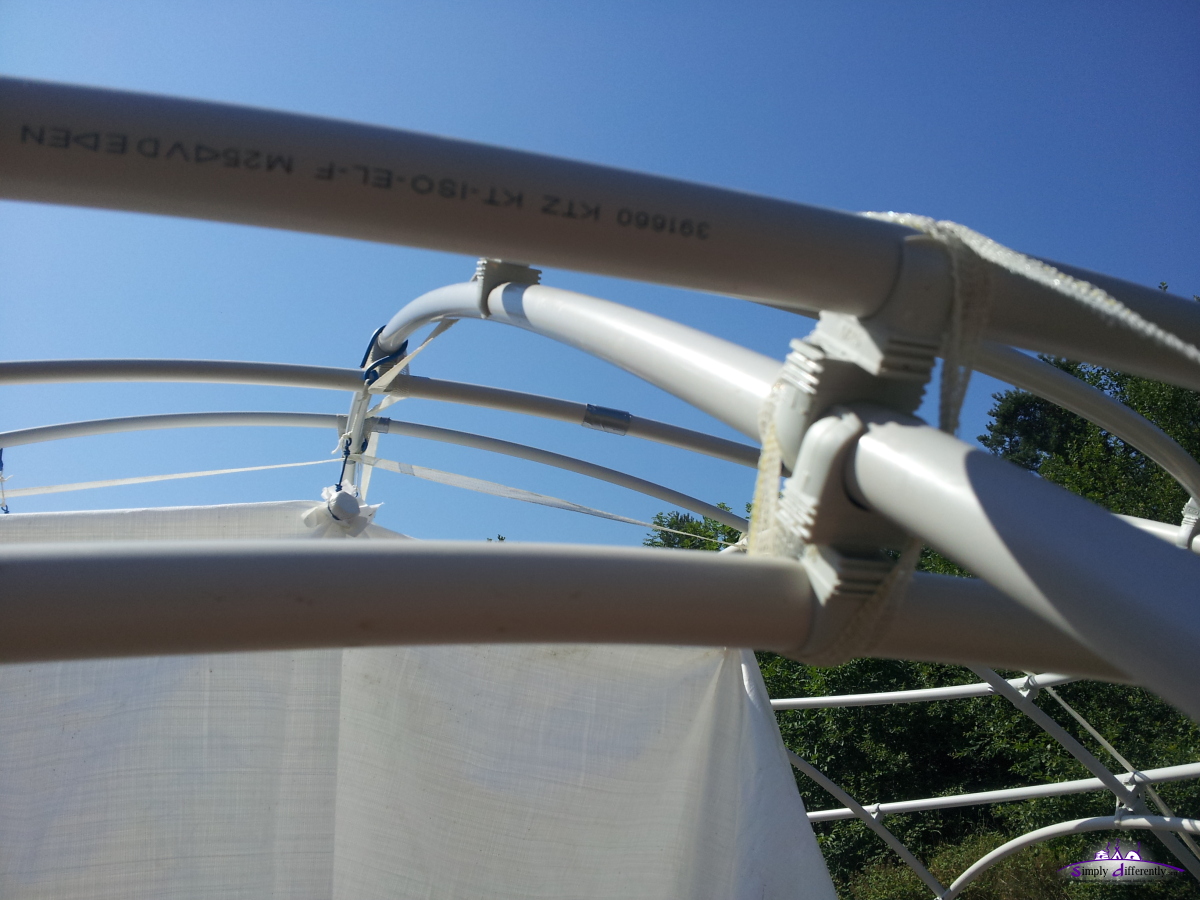 More details on the band fixing the bow junctions 2014/07/17 10:54  Dedicated peg to fix the fixation band 2014/07/17 10:55 *) Many of the details were resolved with material I found on-site, e.g. the heavy use of various wires. 2014/07/16: Preparing Place & Wooden PegsPerformed tasks today:
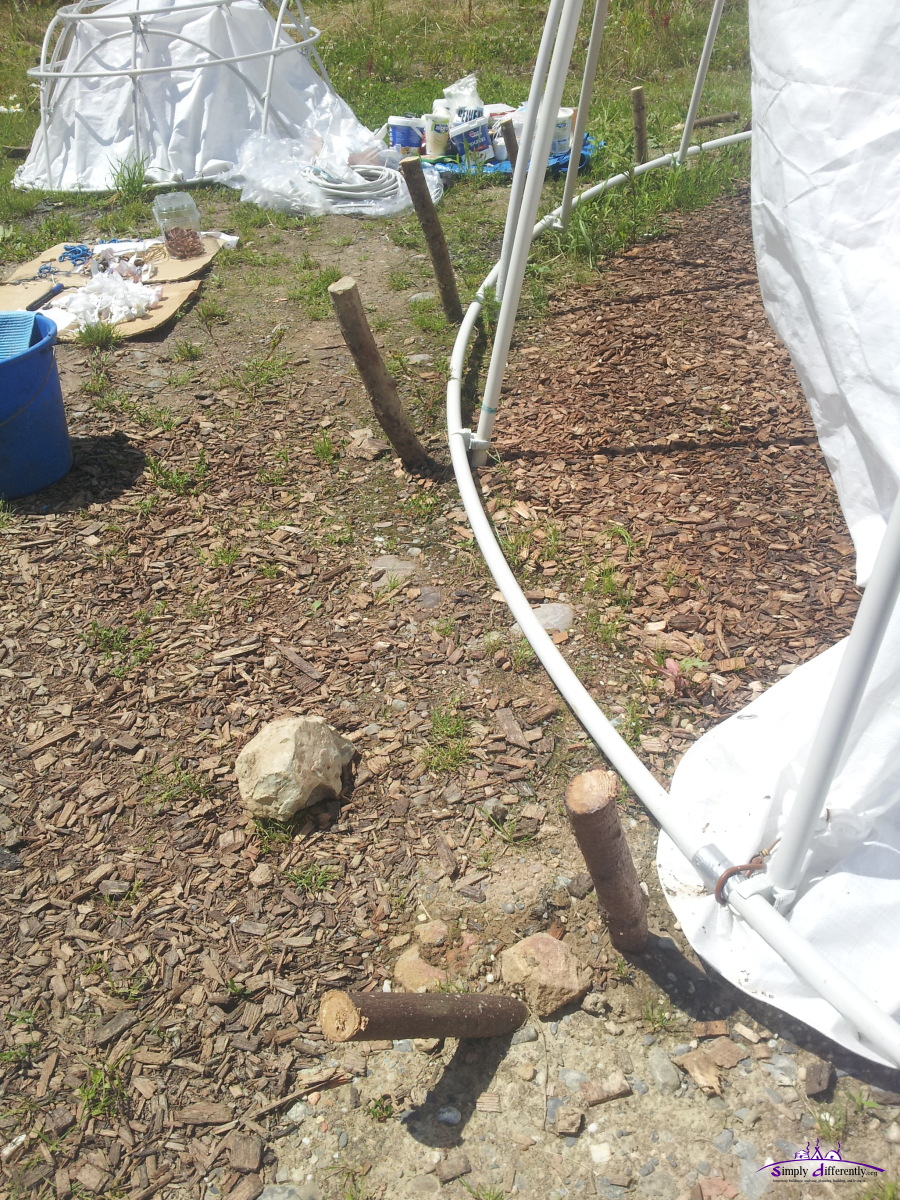 Wooden pegs to tie the ground ring 2014/07/16 14:14 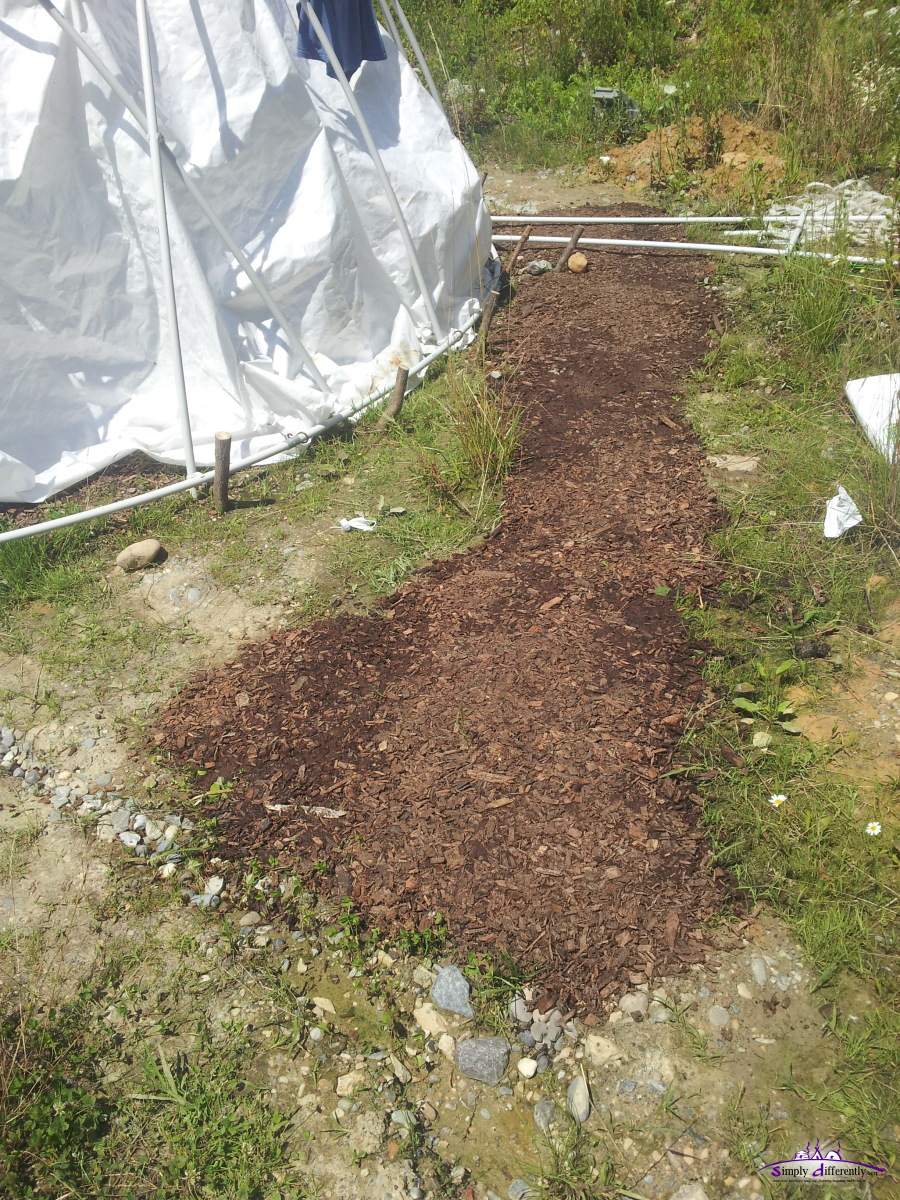 More wooden chips to prepare path to entry 2014/07/16 14:14 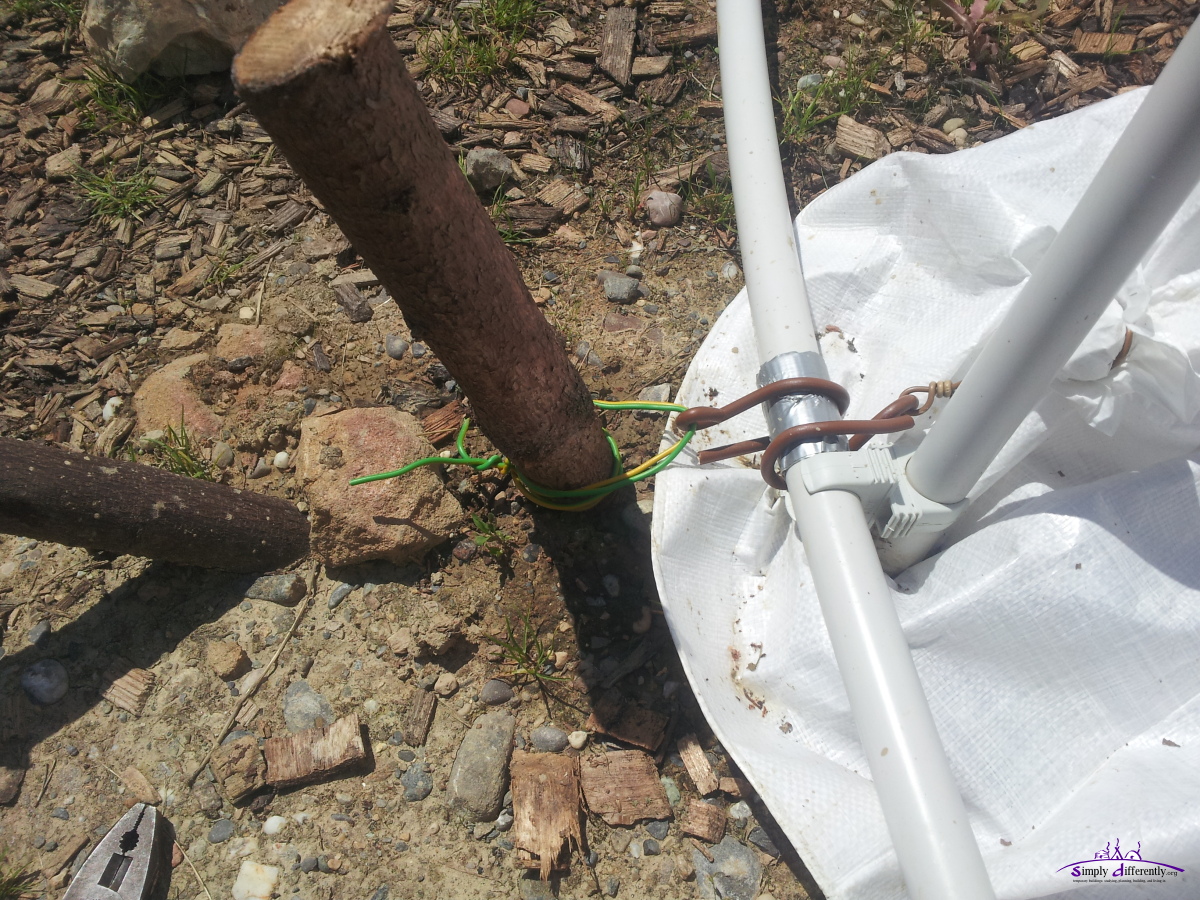 Detail: wooden peg with wire to hook on base ring (not directly connect other hook) 2014/07/16 14:29 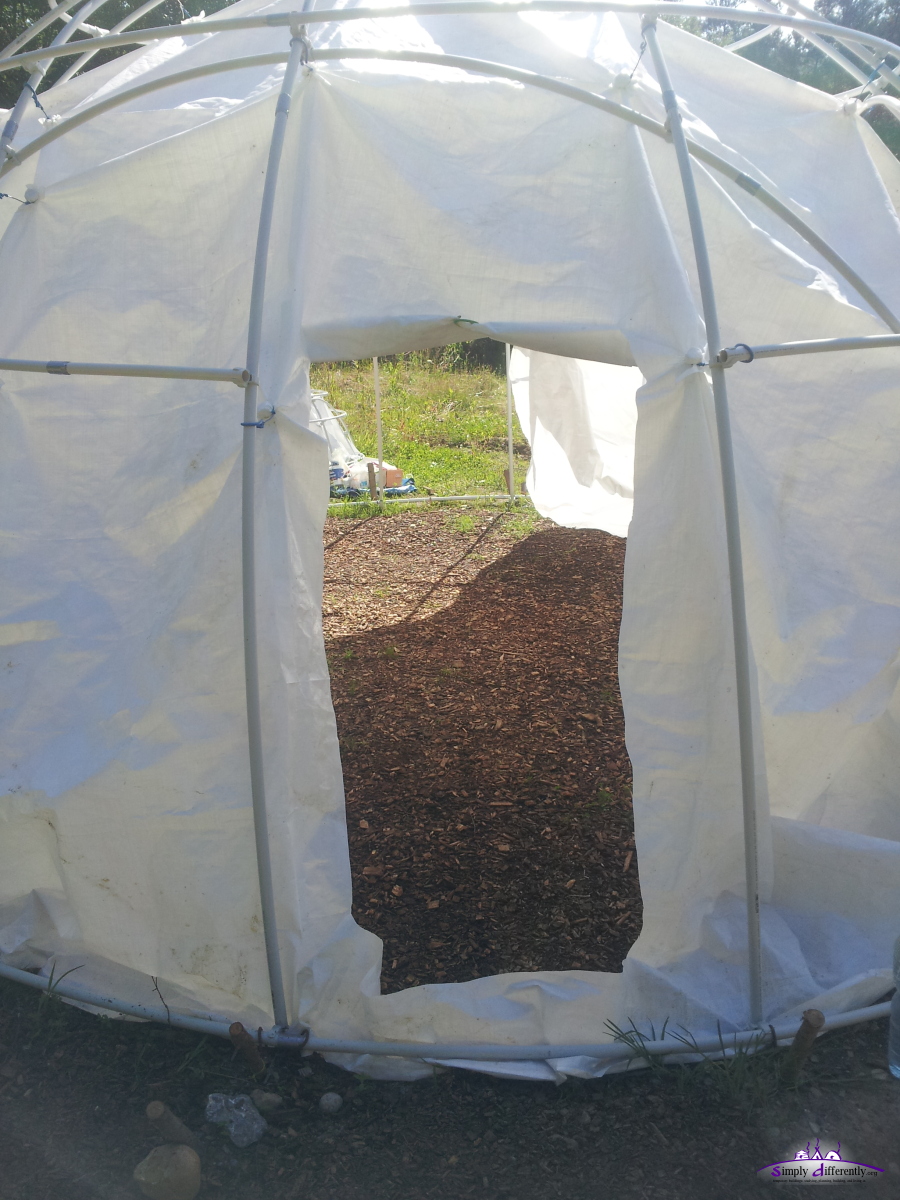 Cutting the door 2014/07/16 17:13 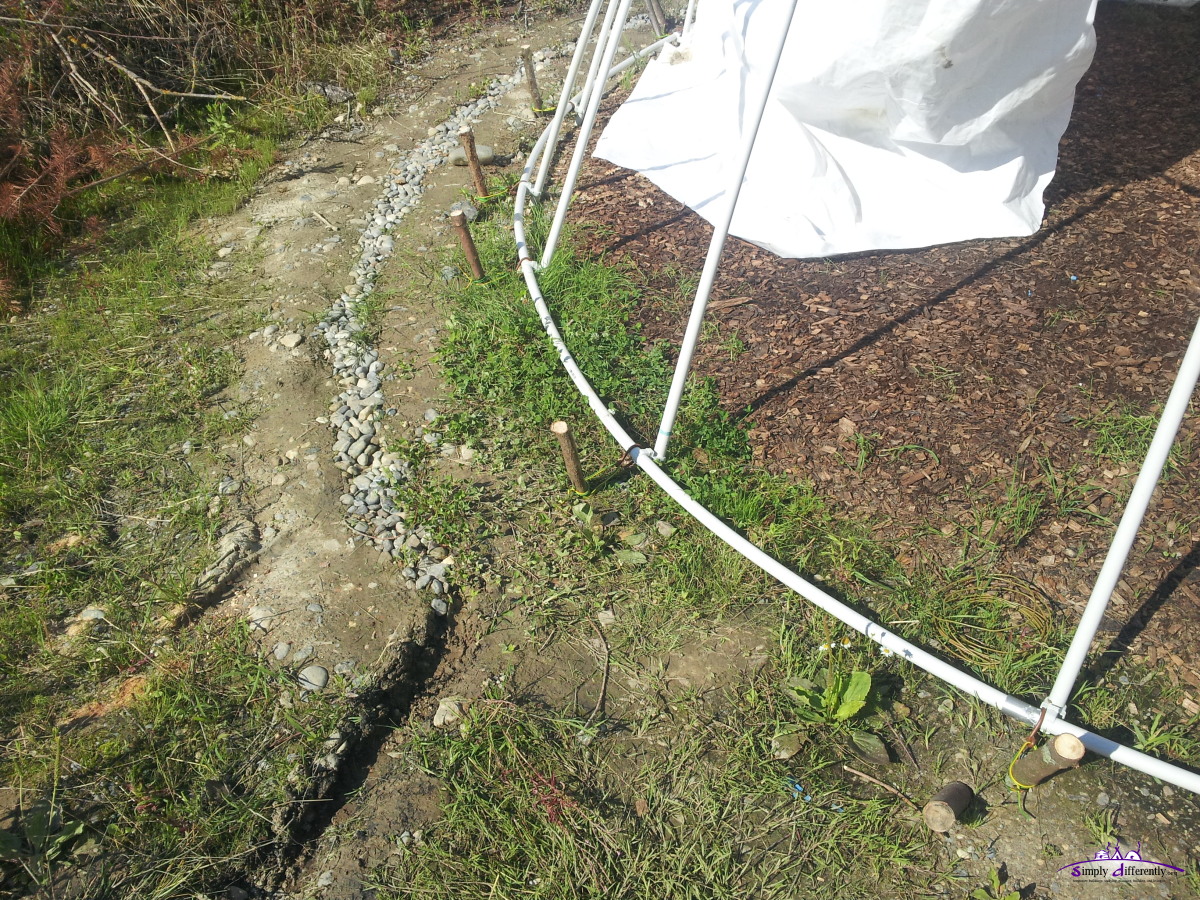 Extending the drainage 2014/07/16 17:25 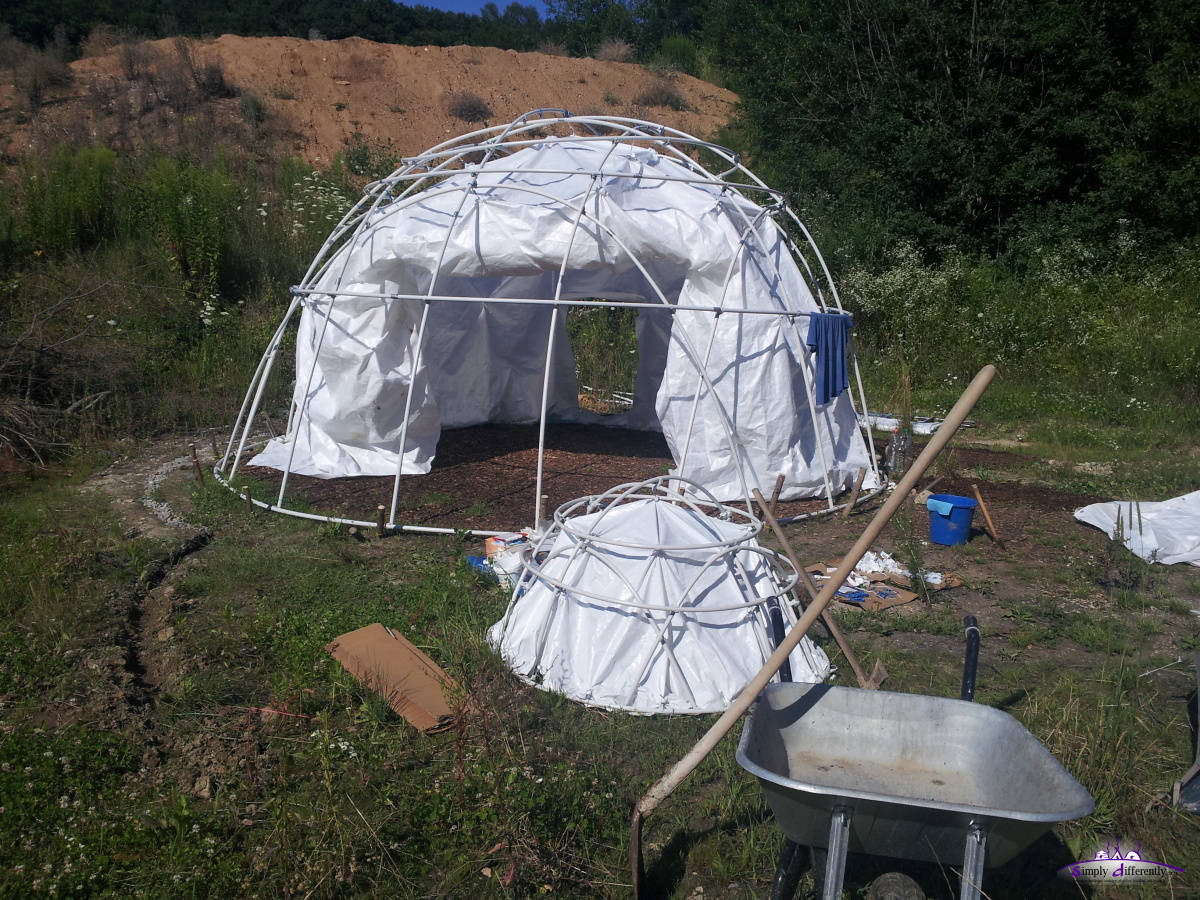 Opening the dome, wrapping up the rain cover to let the inside dry 2014/07/16 17:26 2014/07/15: Putting Up Cover AgainAfter a week pause I continue with the dome, putting up the cover again - the positions to the bows junctions to the cover connectors have changed slightly. The problem is that the entire ground has a slope which causes the entire dome lean forward toward the position the photos were taken (south). I only adjusted one connector, all others I left as they were. As next I ram some small wodden pegs into the ground to anchor the dome properly.
 2014/07/15 09:24 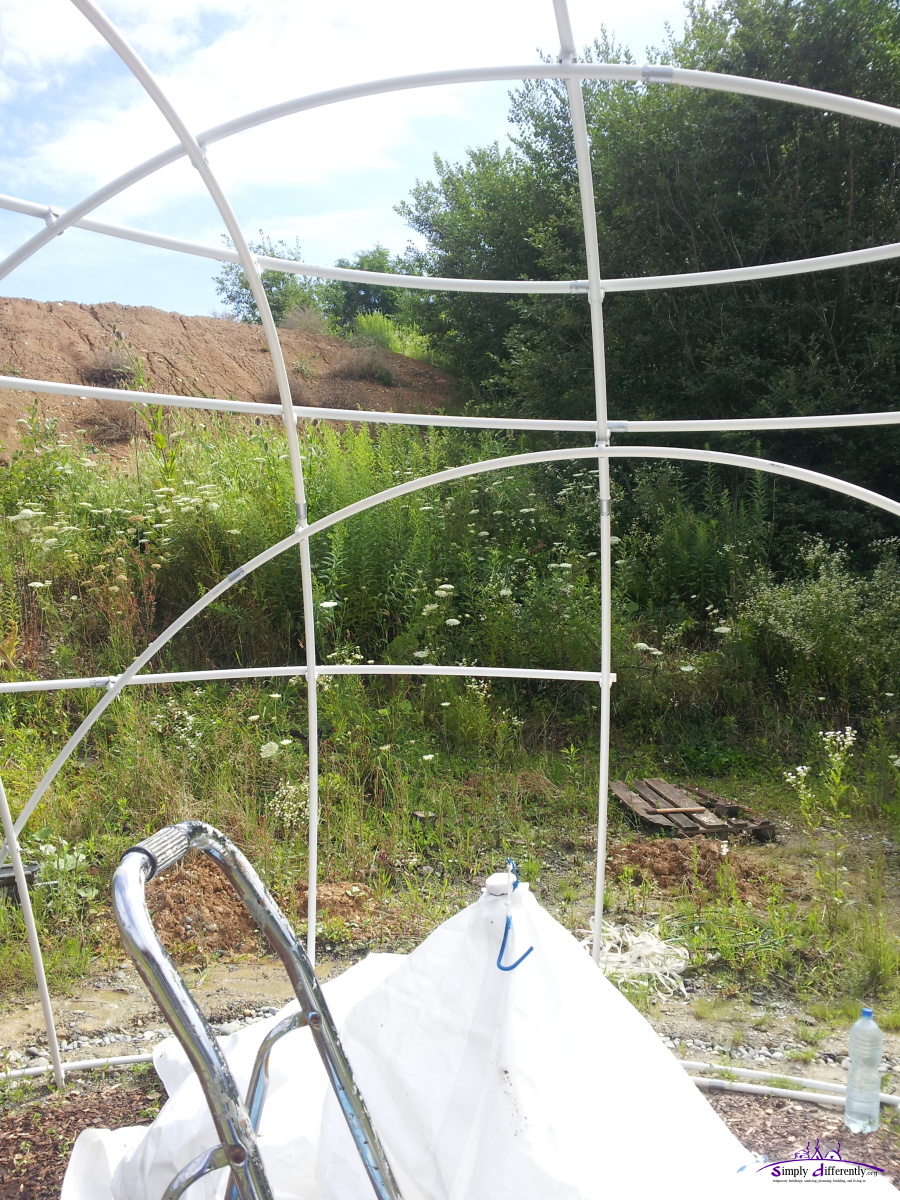 2014/07/15 10:40 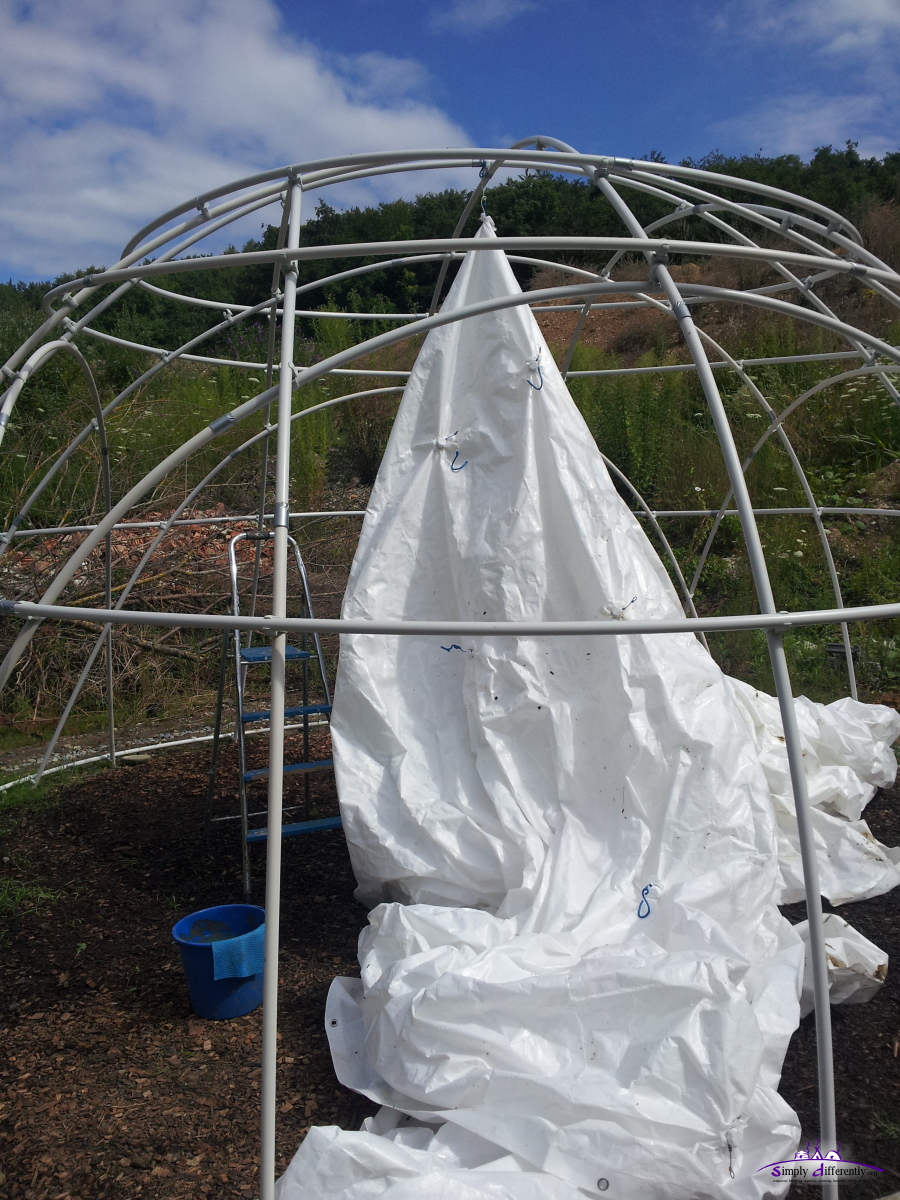 2014/07/15 10:43 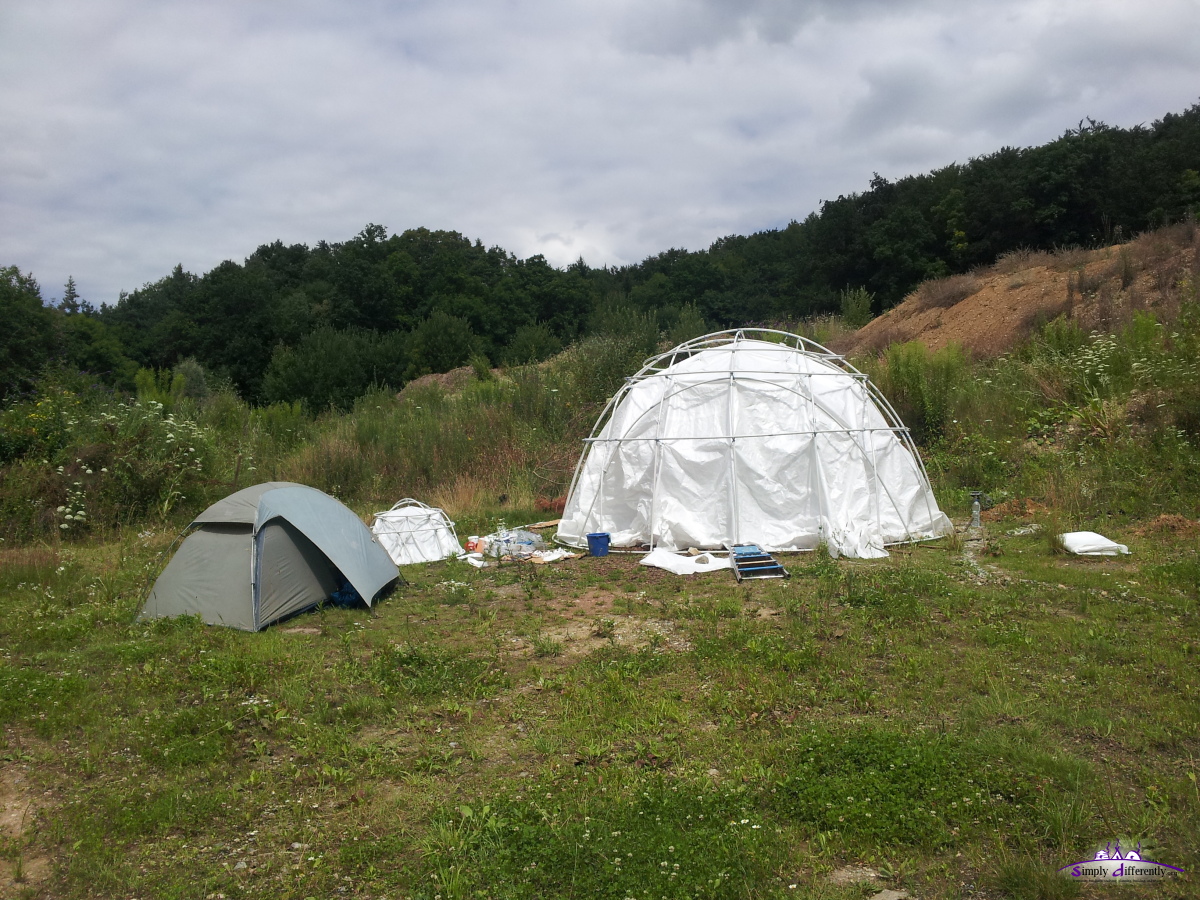 2014/07/15 12:11 About the door I haven't decided yet, whether an framed door, flap like door, or round door with a flap like with a tipi - I also consider to make two doors to create some draft during the summer. Other things I have pondered on:
2014/07/06: Finishing ConnectorsThe day before yesterday I realized it would be nice to add an additional line of connectors in the vertical, where the open 7a ring resides to fasten the rain cover - which means more Wire Captures to do. Also got more bottle caps, and made about 30+ Ghostly Connectors, sufficient to attach then the rain cover at the planned points.2014/07/05: Storm Aftermath & Pitching Skeleton Again
A thunderstorm approached my location with 100km/h+ winds, and within 10 minutes misplaced 2/3 fastened rain cover and unachnored (bad mistake) dome about 5m - so far no parts are broken, one pipe was overbent and replaced, no cover torn - the mix of wire-based connectors and hooks worked so far. The plan was to keep the site dry, so I had it covered at rain the last days, and uncovered at sunlight, but last night it rained a few hours - which means, I have to redry the wood chops covered place again during the next week, or choose another covering (sand, gravel or alike).
The next days it will be rainy, so not much work can be done at the site - I need 1-2 days dry so be able to finish the setup and anchor the dome properly, perhaps get the interior cover as well to add more weight of the overall setup.
Later the week I'm away for a few days, so likely next weekend continue with the dome setup.
Content:
|


| Home | · | About | · |  Tipi | · |  Yurt | · |  Dome | · | Features | · | Gallery |


Creative Commons (CC) BY-SA-NC 2005-2017, developed, designed and written by René K. Müller
Graphics & illustrations made with Inkscape, Tgif, Gimp, PovRay, GD.pm
Web-Site powered by FreeBSD & Debian/Linux - 100% Open Source